WOW to say im impressed would be an understatement, this is some serious dedication fair play to you!
Don't even want to know how much all the fabrication is costing!!

WOW to say im impressed would be an understatement, this is some serious dedication fair play to you!
Don't even want to know how much all the fabrication is costing!!
Seen some of his work elsewhere, the attention to detail is brilliant. Look after this one when it's done.
1998 Nissan 200sx s14a , 2000 std 5 speed with nismo supercoppermix clutch bn6 Sapphire Blue
That shell is like triggers broom if you carry on. Fair play all that rust...I probably would of just cried, project thread over
Cheers - The way I'm justifying it is looking at it as an investment.. that'll one day pay off hopefully!Originally Posted by pointz

I love his metal work - and I'm glad it's him doing the work, no cutting corners and everything's done properly (can't be said for the people who did the previous "repairs") - it will definately be very well looked after!
Haha it's getting that way
It didn't look too bad to start with
There was lots of swearing at it I assure you that
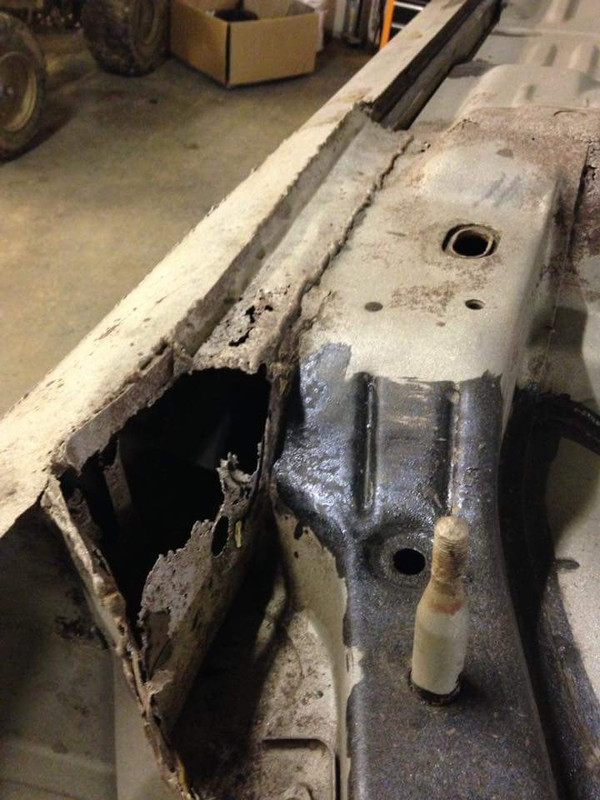
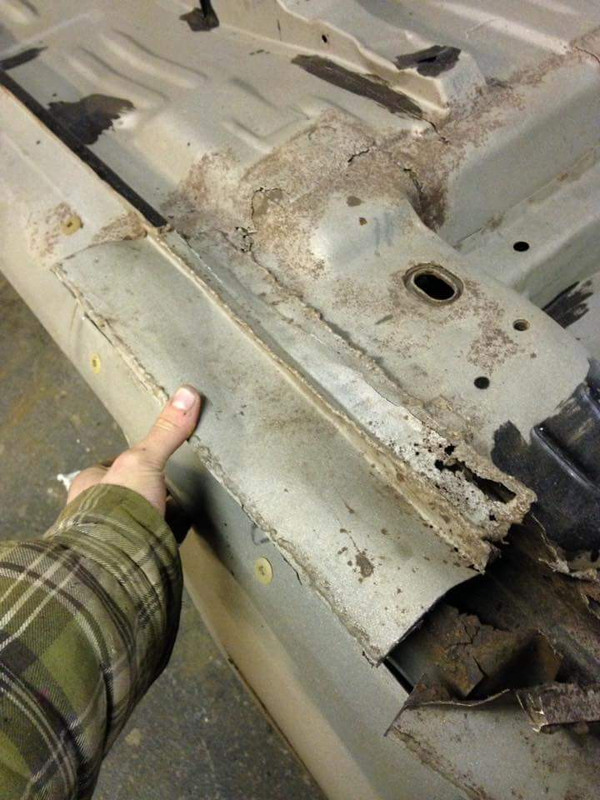
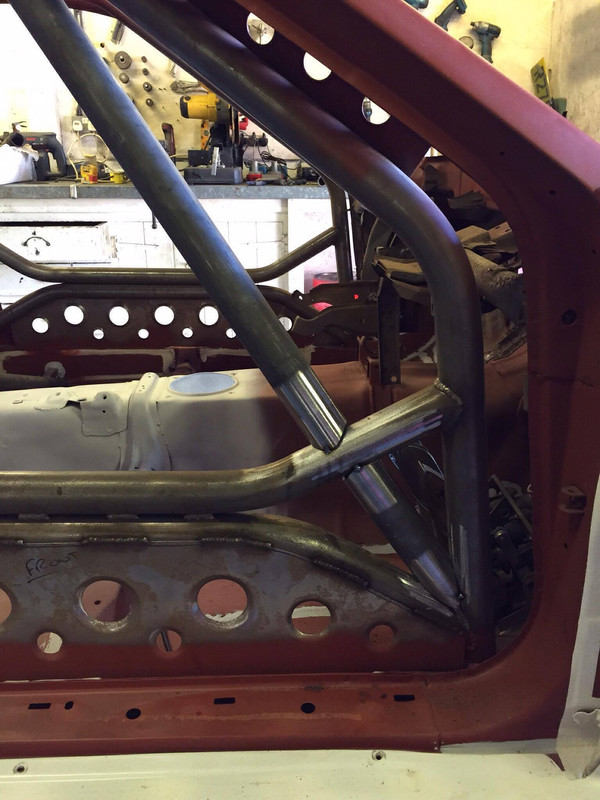
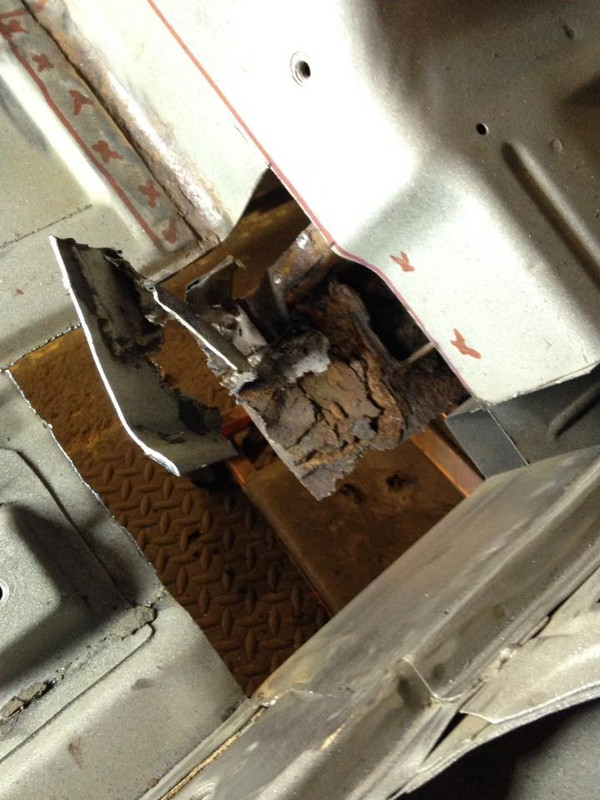
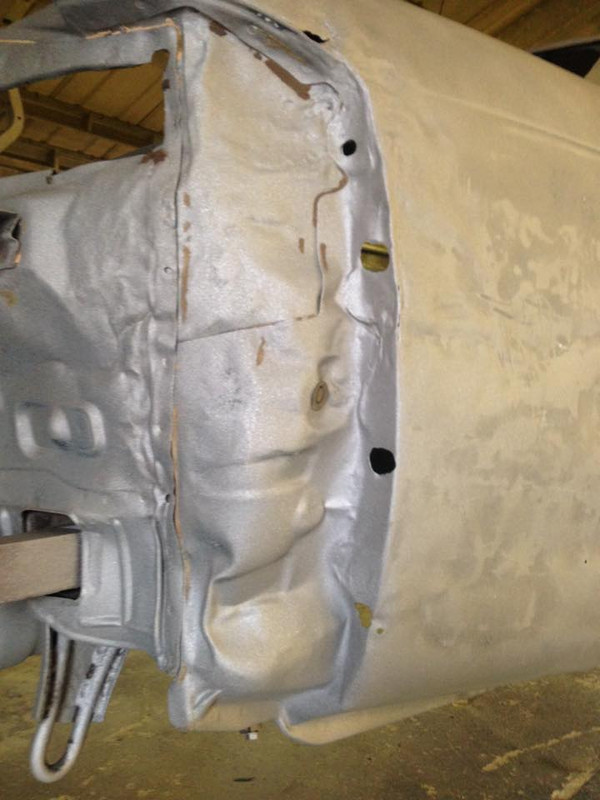
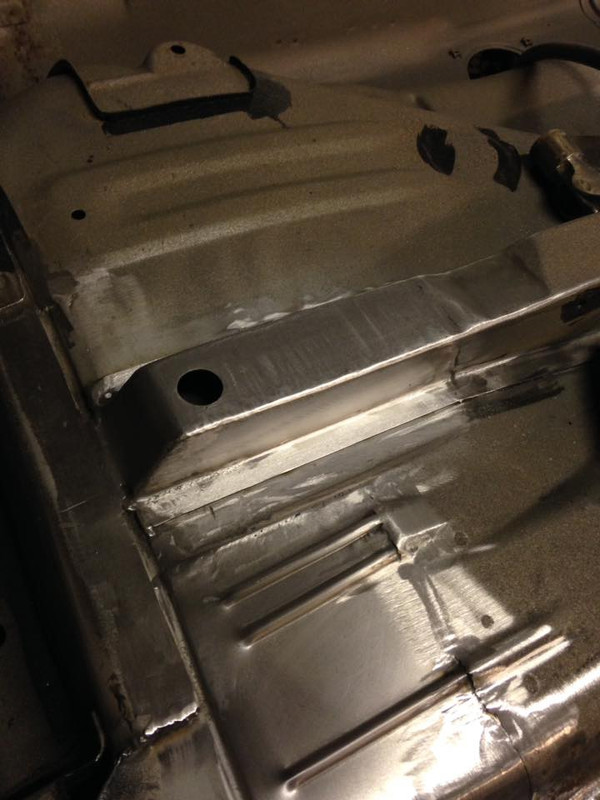
Drivers rear sill time
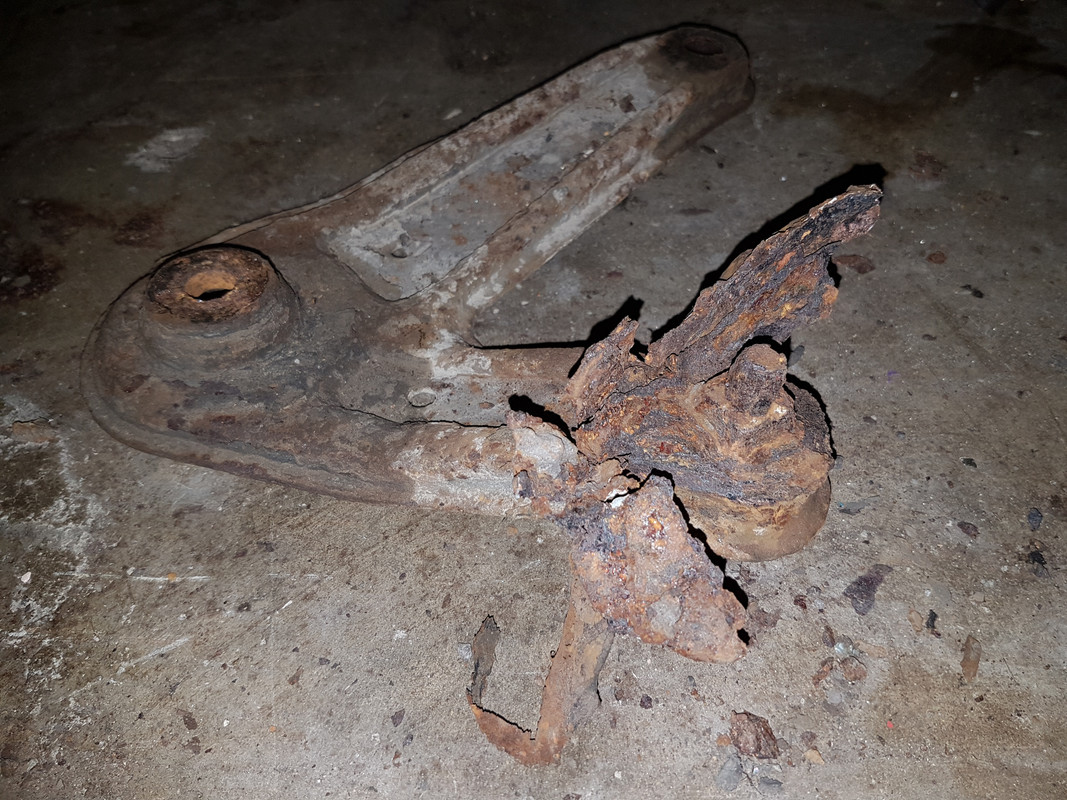
This is the one where when I was stripping the car, the bolt snapped on the subframe "boomerang" mount. The mounting point for it was that rotten that I just pulled the boomerang bracket off with a chunk of rust..
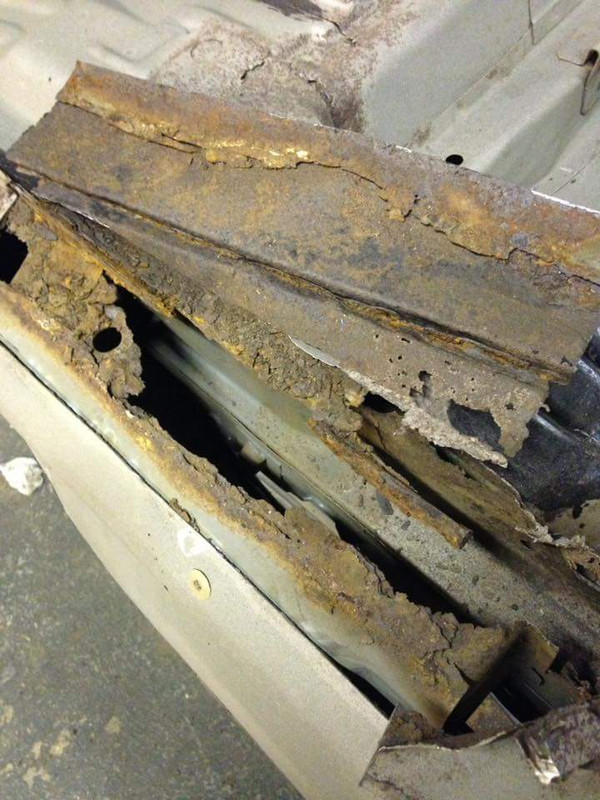
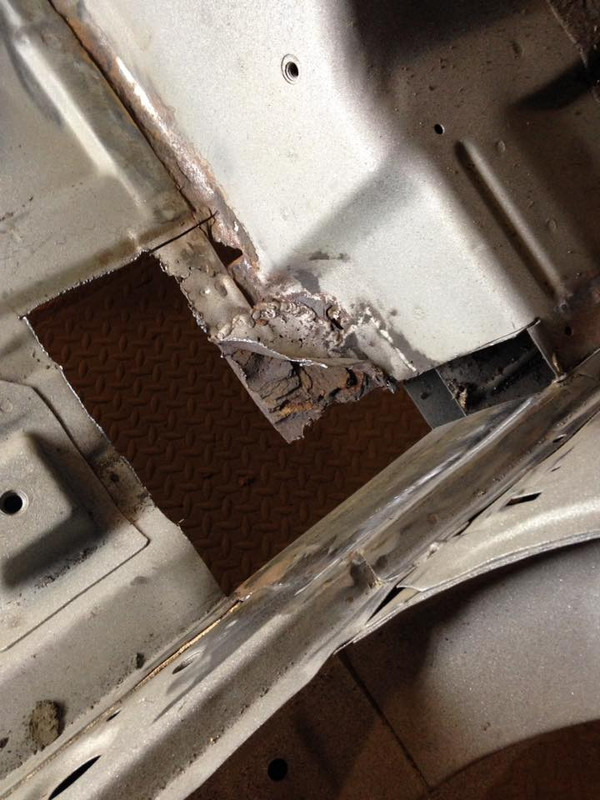
So we knew this side would be bad,
and here it is with the previous bodge/plate cut off
cowboys

Last edited by LukeShepp; 16-04-2018 at 18:01.
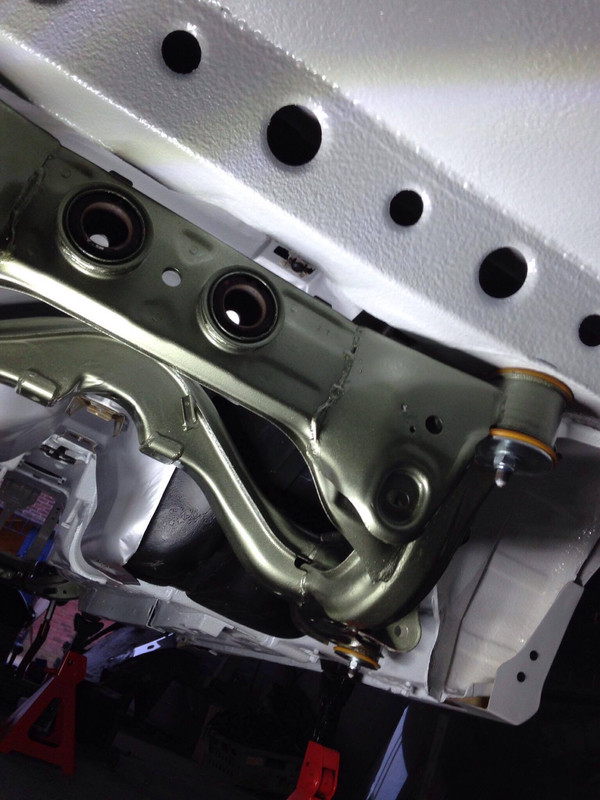
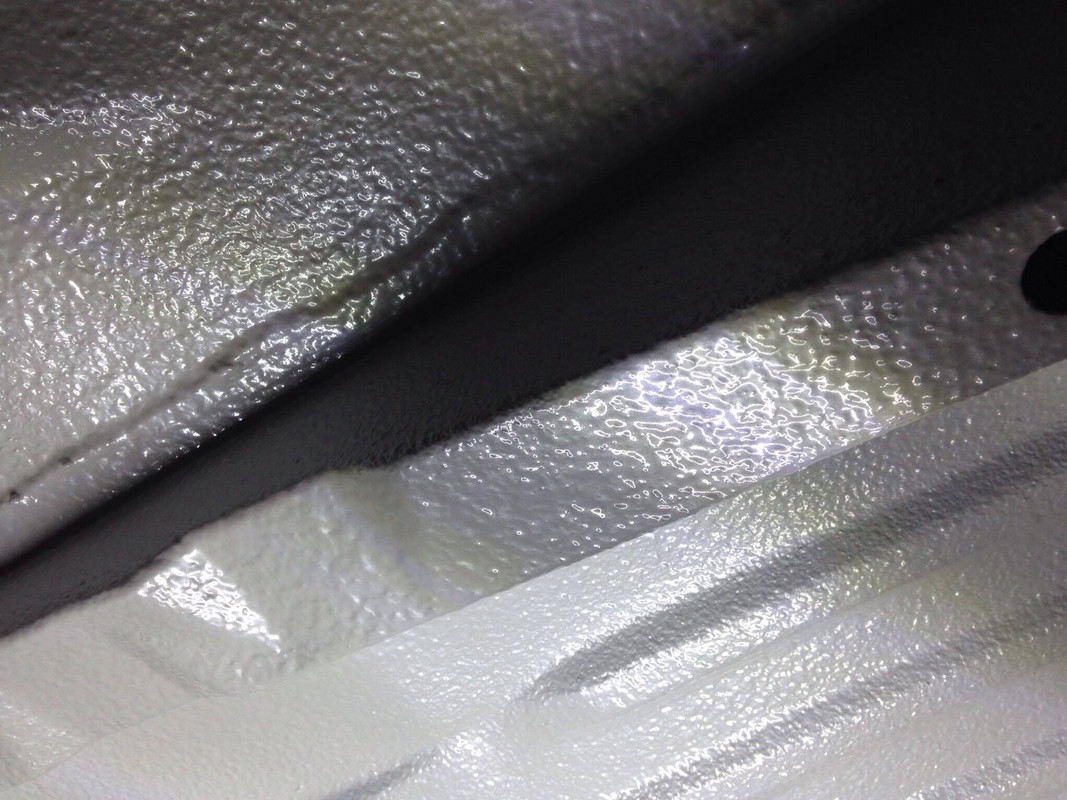
what seam sealer do you use? and what do you use to coat the insides of the sills? loving the work put into those sills
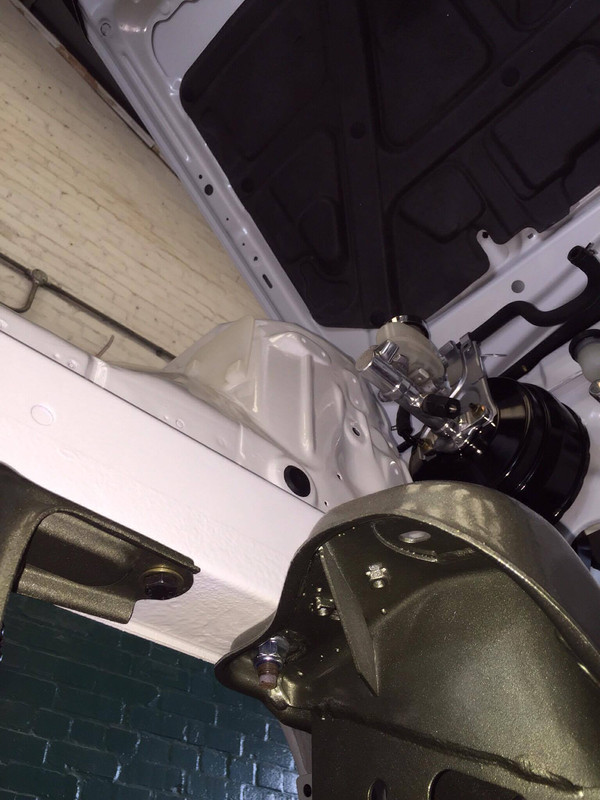
Steve is using weld through primer on the inside areas that are never to be seen again, and then rustisol coated
Seam sealer used is upol flex
Absolutely Amazing work by them. Are they a restoration specialist? Fair play for not just scraping the shell. It makes so much difference using a rotiserie when welding and for access.
Sent from my iPhone using Tapatalk
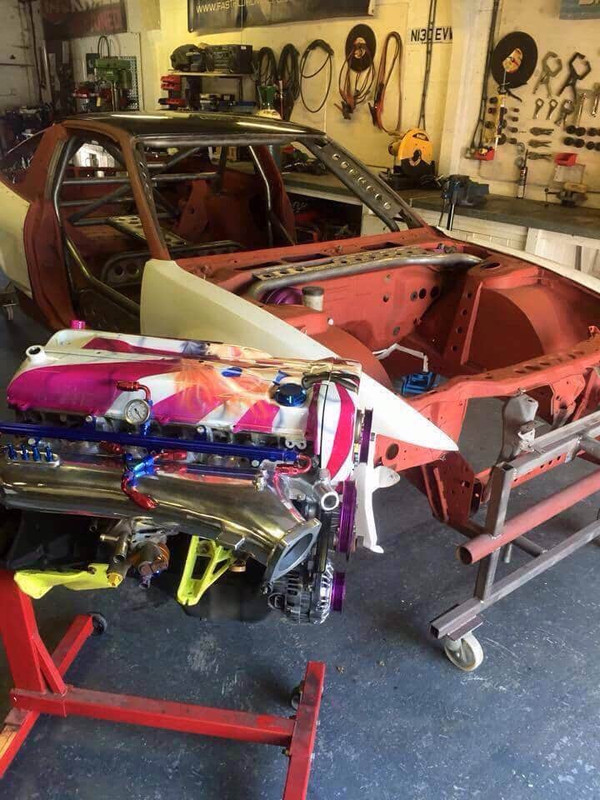
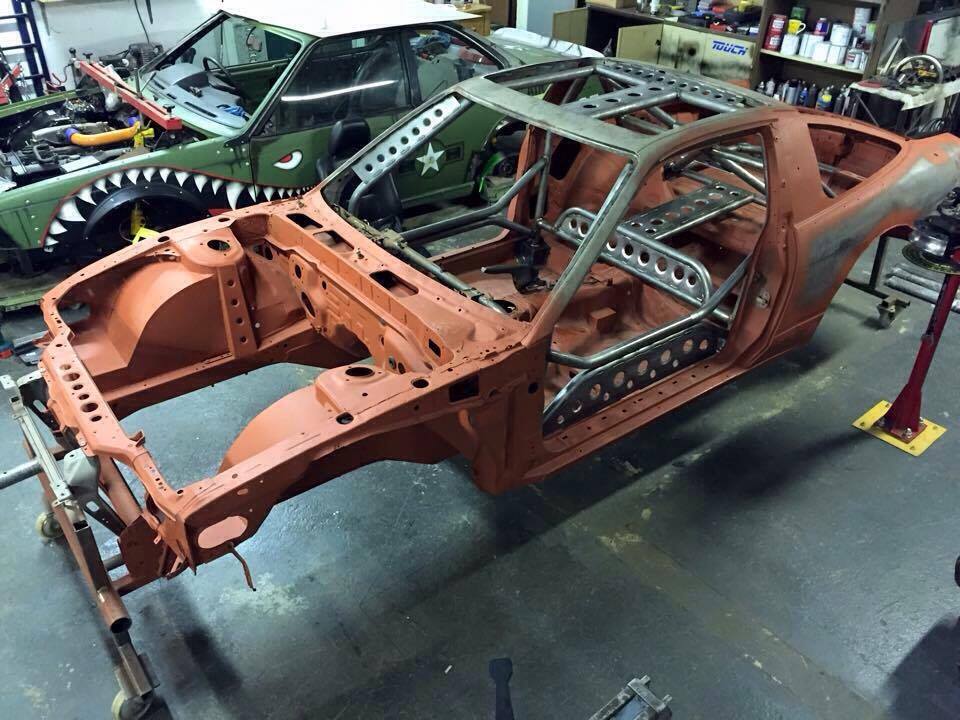
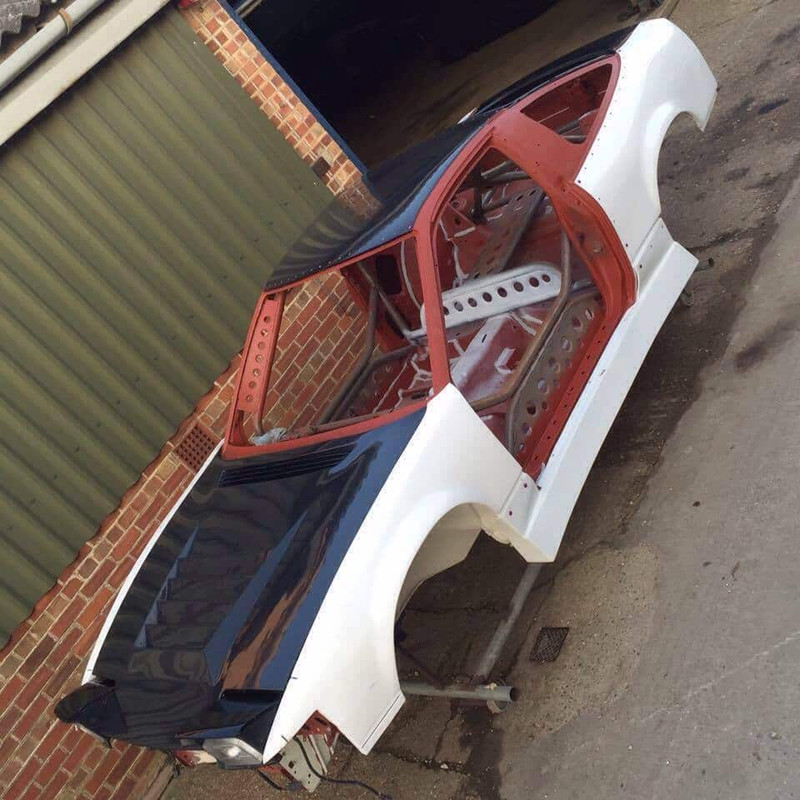
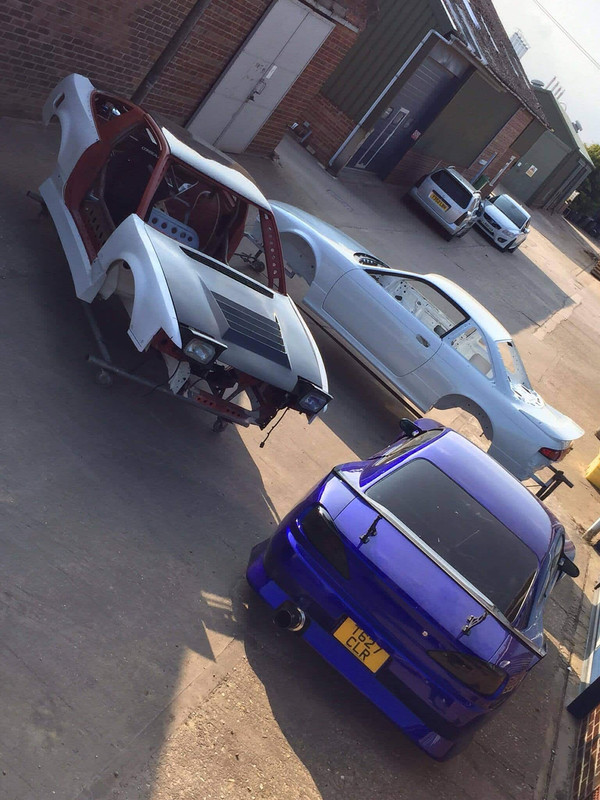
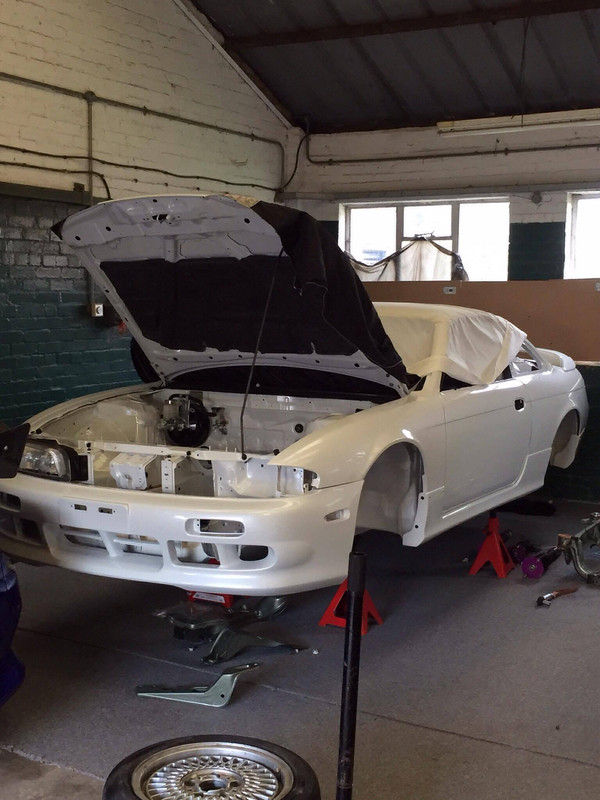
Here's an S13 and S14 that Steve has on the go.
The white s14 is the standard that mine will be completed to (albeit with different styling etc). The S13 is his personal project.

Last edited by LukeShepp; 16-04-2018 at 18:01.
Wow! What an excellent build thread and the pace is on another level! Good work! Where is this place and how much are they charging? Pm me if u dont want to say it publicly. I did mine myself so be good to know how much I saved. Glad I didn't let any old garage plate it up like yours was previously. Goes to show that it's not worth doing. Do it properly or don't bother.
Sent from my SM-G920F using Tapatalk
That white S14 is unbelievable. You're in safe hands it would seem
It really is. Look forward to mine being at that stage!
Went down to see steve and the car yesterday it's coming along very well and I should be getting kit, wings and overfenders next month!
Anyone know of a Kouki spoiler for sale? Struggling to find one!
Sent from my SM-G930F using Tapatalk
This is looking awesome! I've been in touch with Steve myself, because my 13 is a real mess! But can't afford to get mine to this standard. Maybe one day though.
Can tell his work is top notch and pretty much the only way to go for S bodies nowadays! Can't wait to see it finished!
Sent from my iPhone using Tapatalk
That's some fab fab work there. Well done for saving another sbody. To many being broken.
top work! there is no way I could afford this work, that's why I am doing it myself, downside is its taken me two years to do it right.
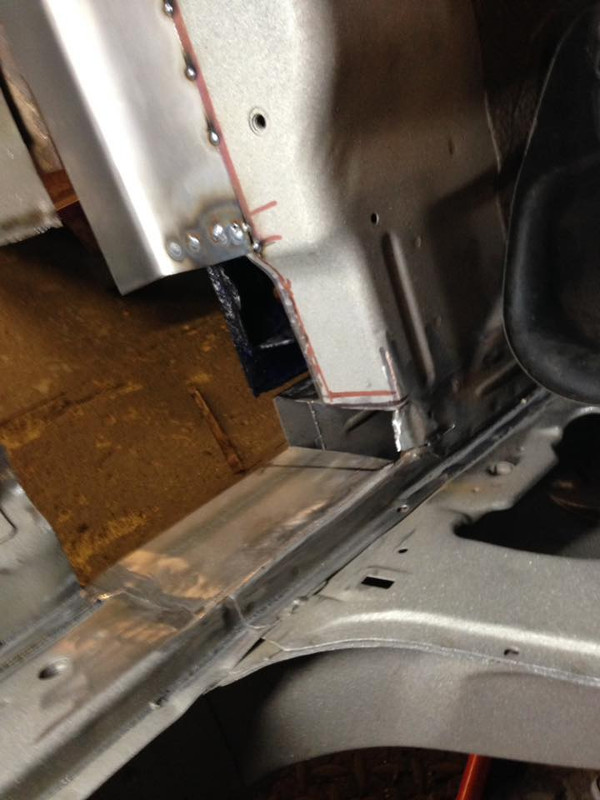
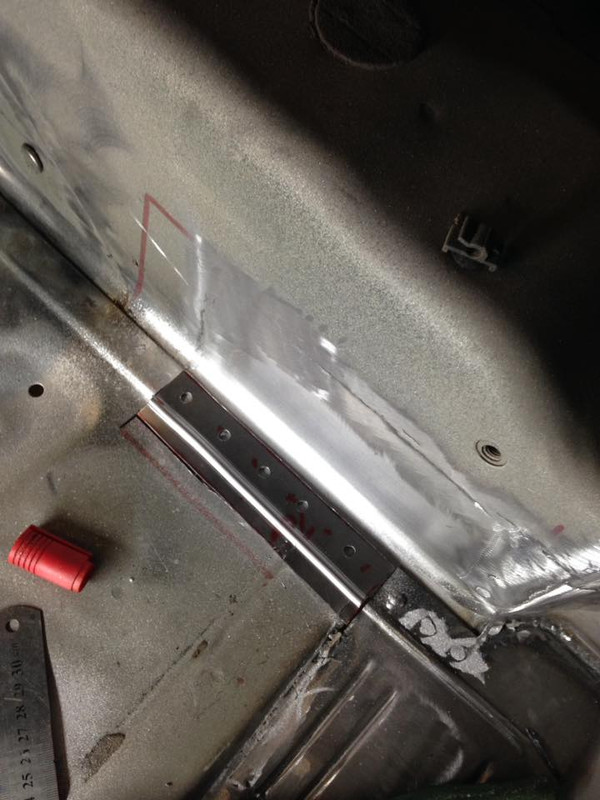
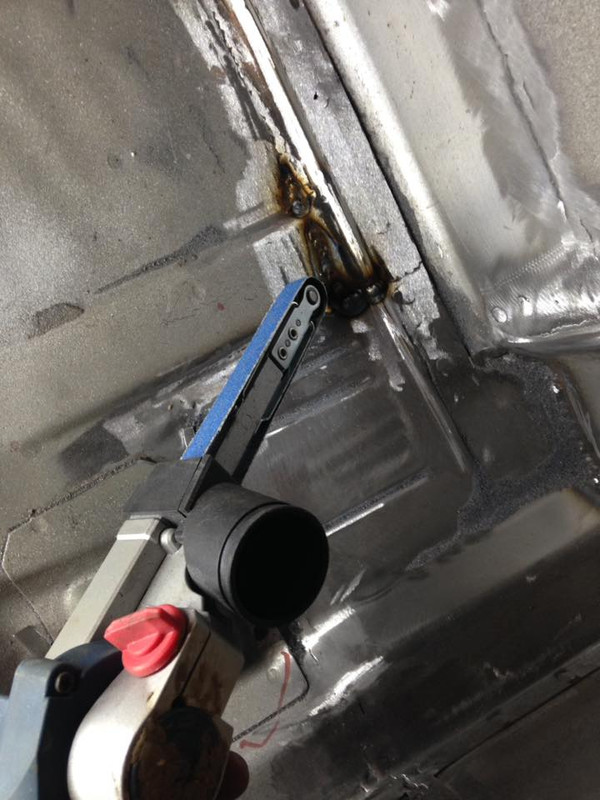
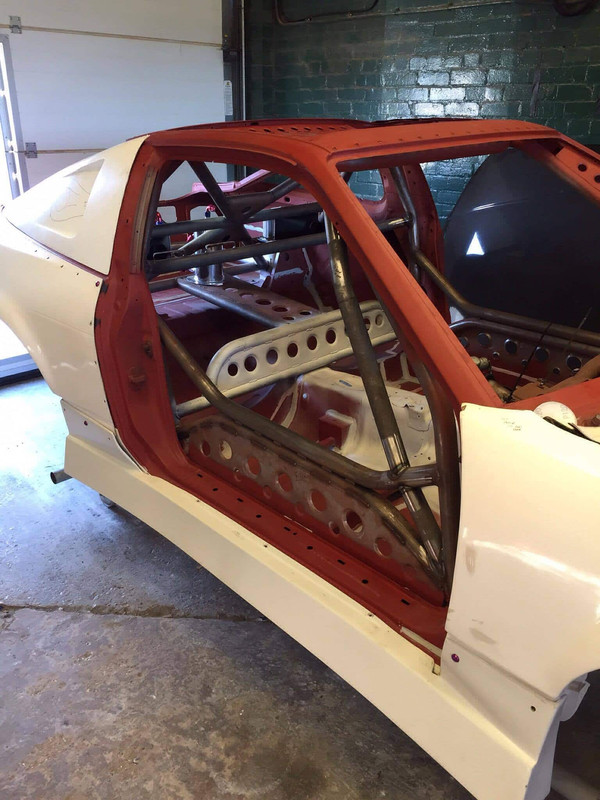
I like the idea of using the little Z brackets to hold up the sill outer skin at the bottom of the B pillar, I rebuilt it OEM style taking all four layers to the sill line and having one big sill sandwich. I wonder what the trade off is between ease and strength though.
it will definitely be plenty strong enough, just my inner engineering nerd thinking about the maths
will be watching this one.
Cheers guys!
Definitely be strong, and was a shame to get it covered up with the sill!
Thread is now close to the actual progress we are at now, some of the images of sections may not be in the order they were done - but they'll all be here and pics in the sections are in order
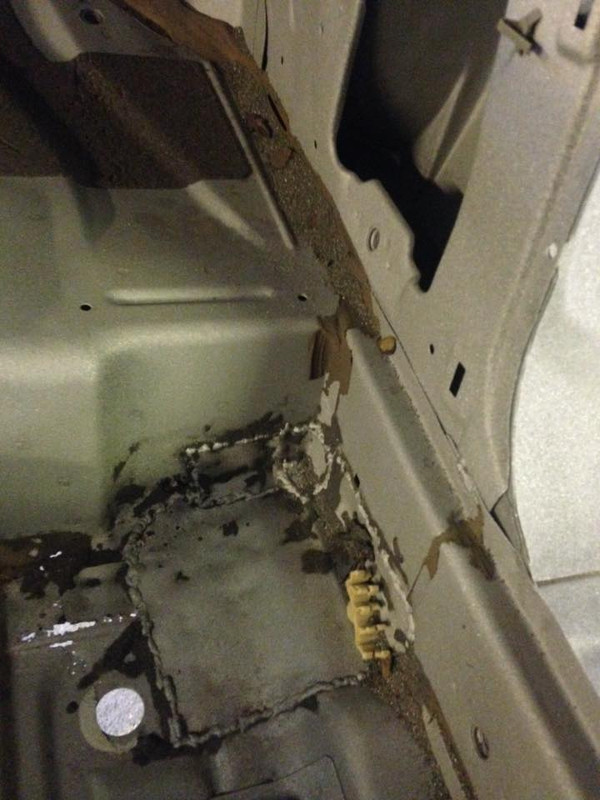
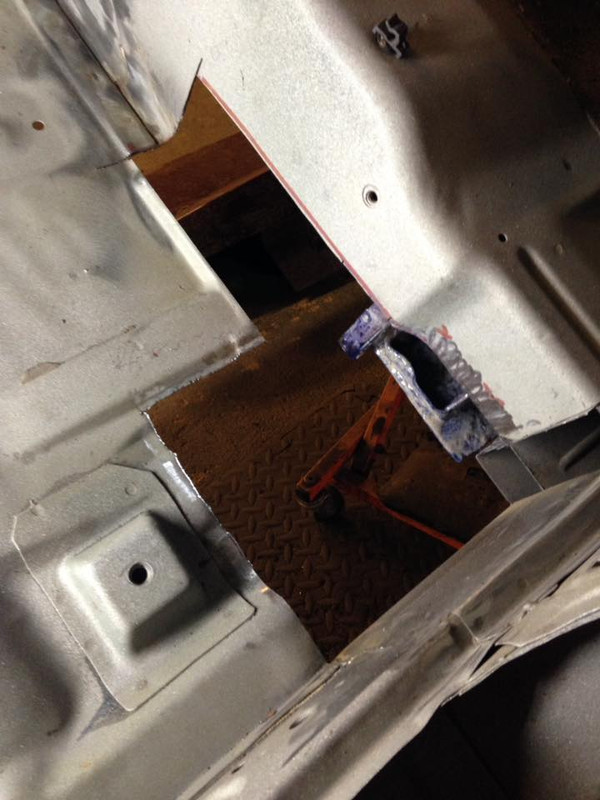
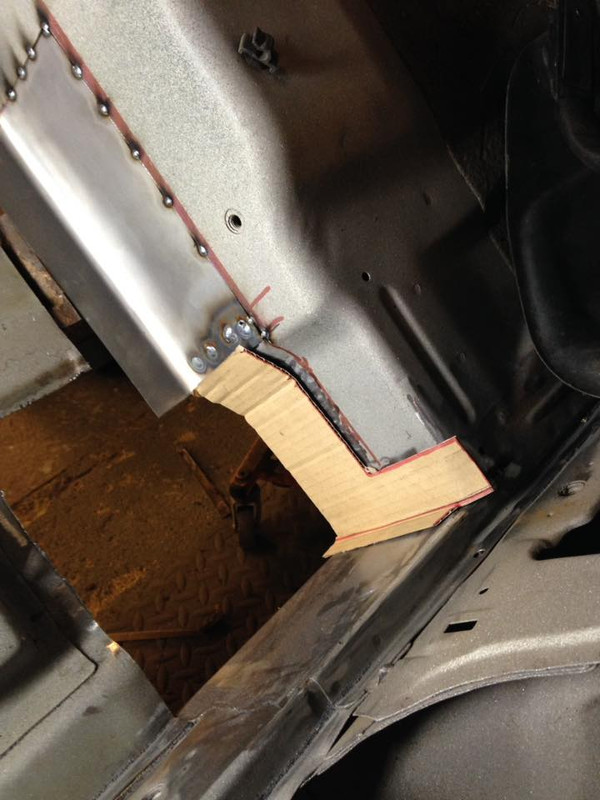
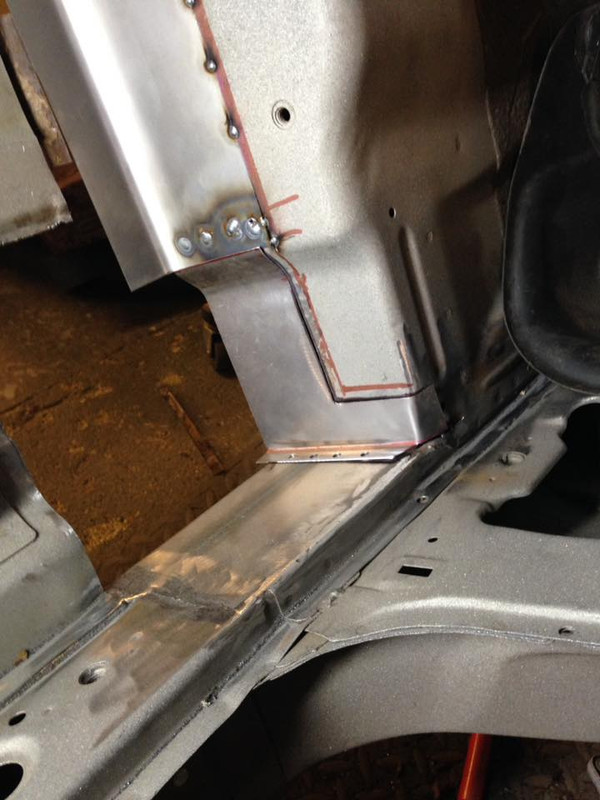
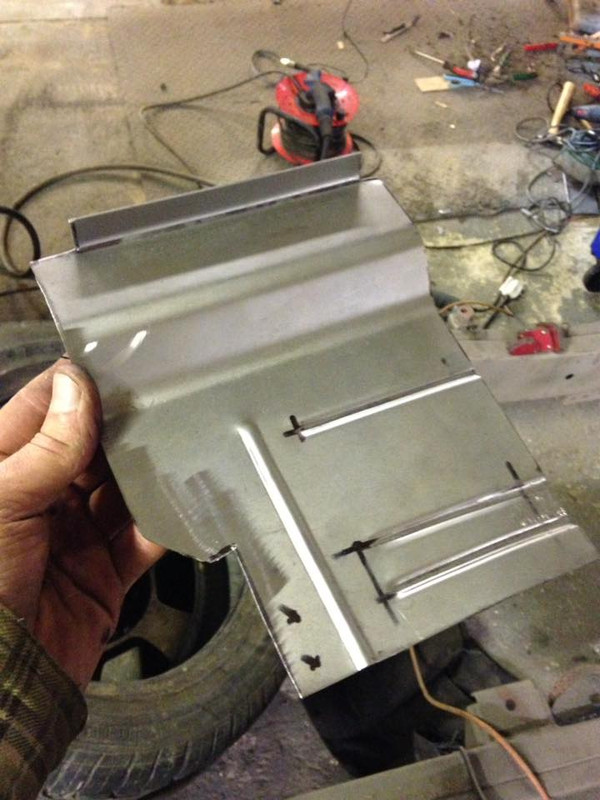
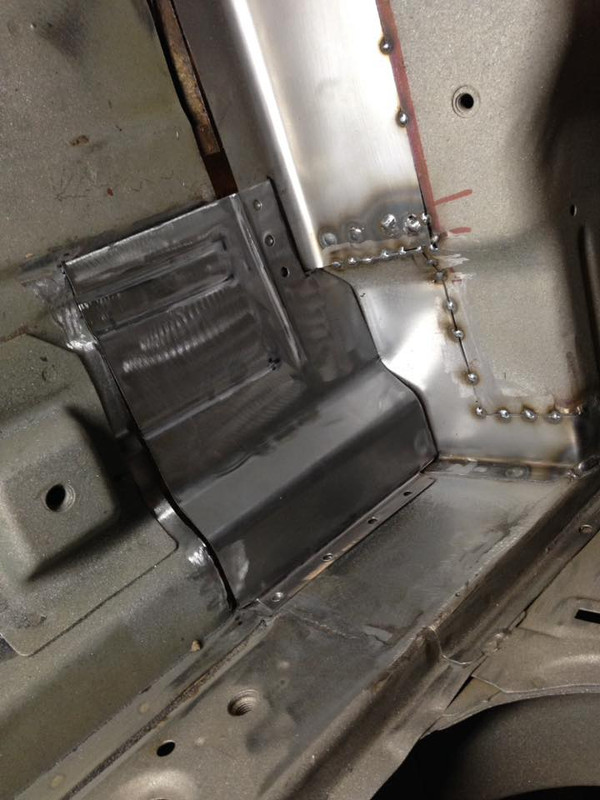
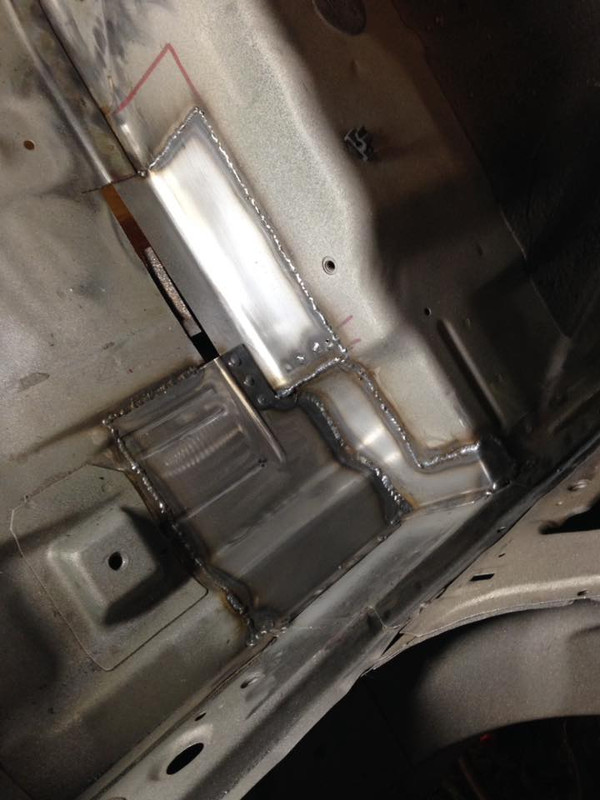
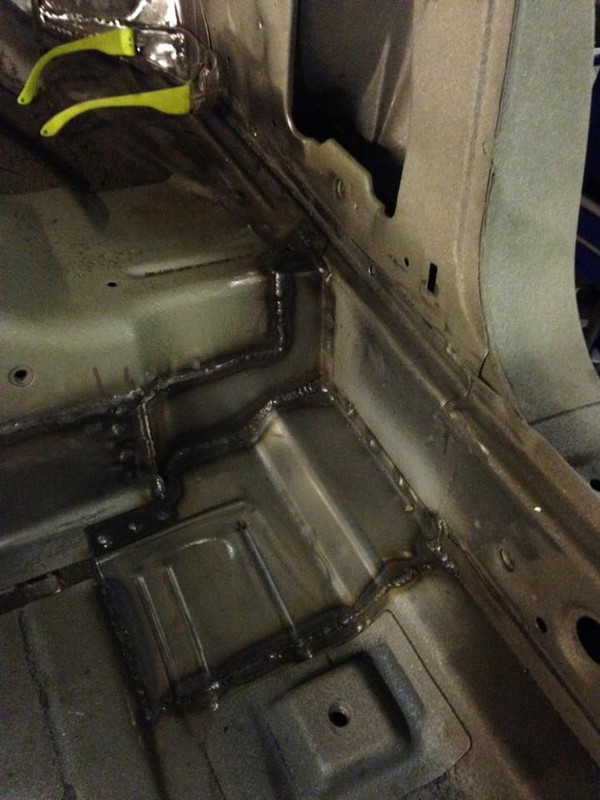
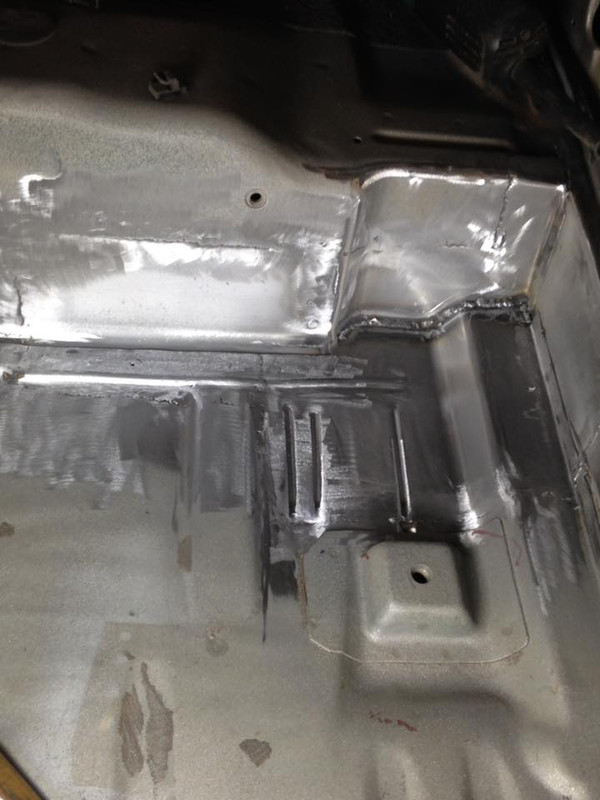
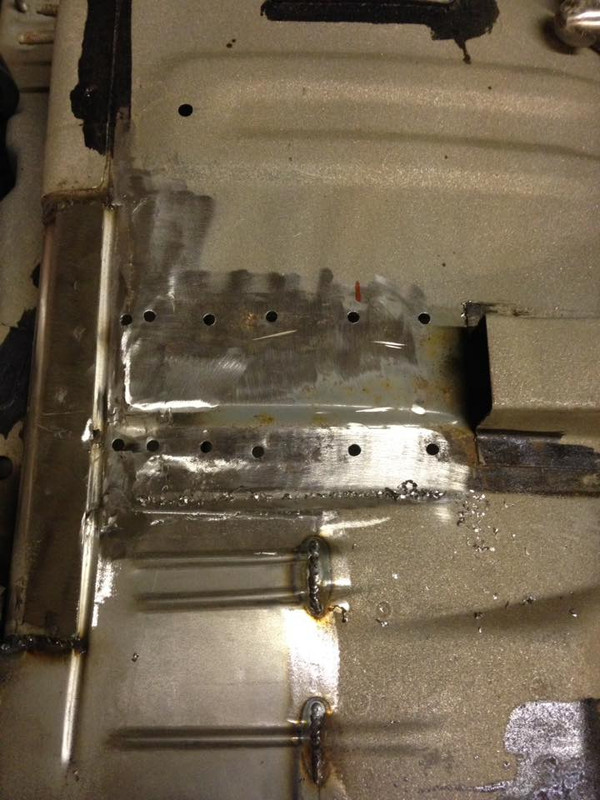
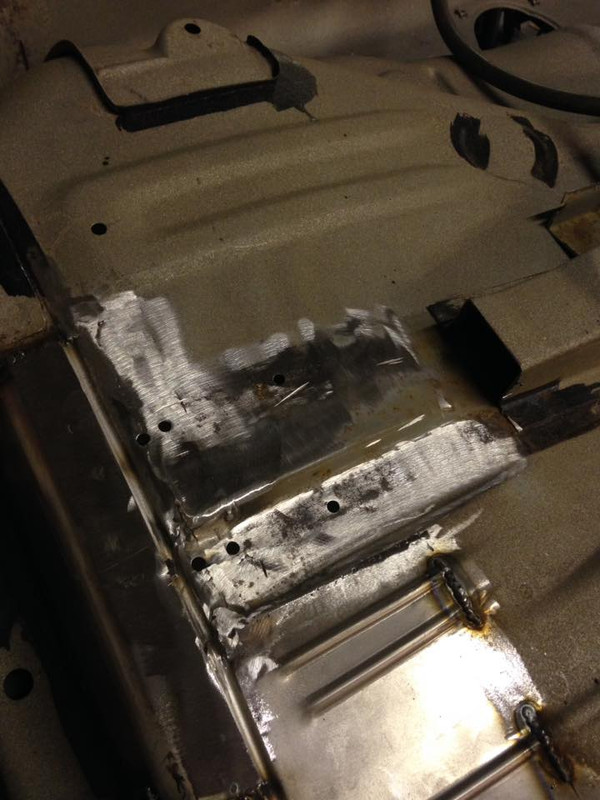
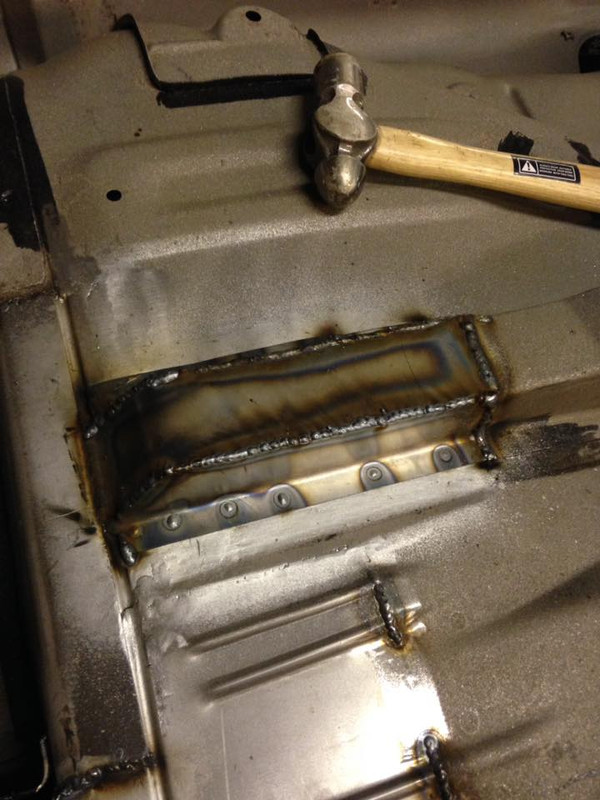
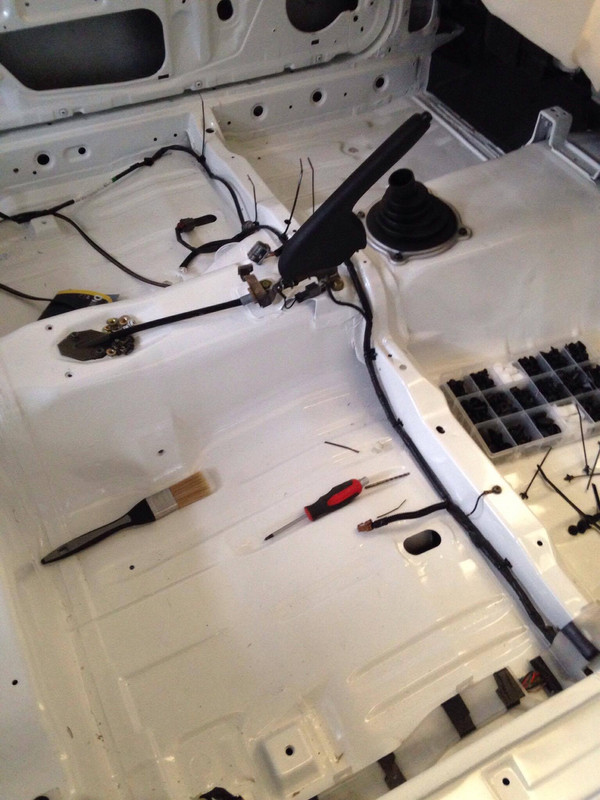
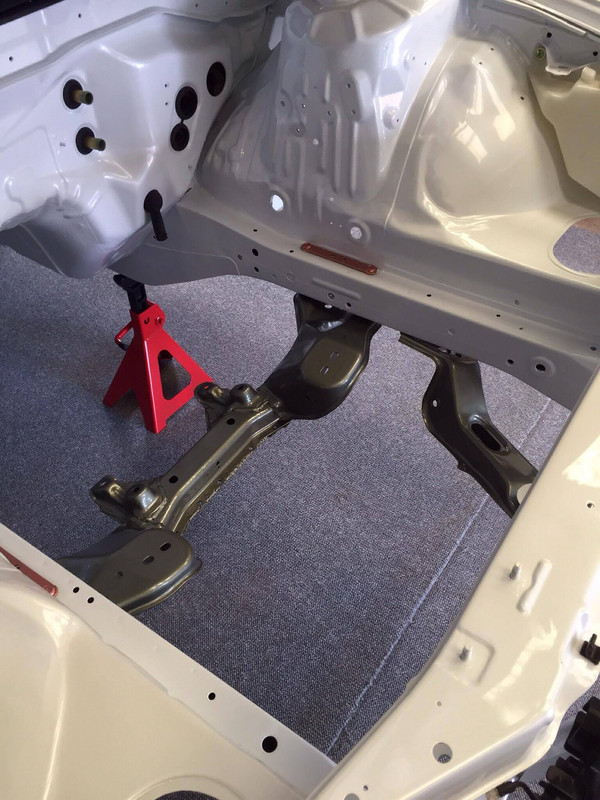
Properly fixing previous patches in passenger rear footwell:
Last edited by LukeShepp; 16-04-2018 at 18:00.
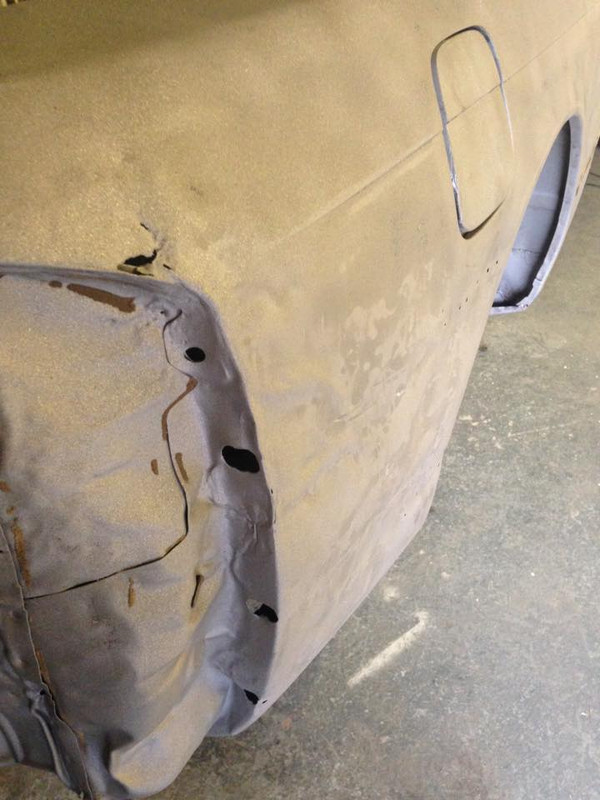
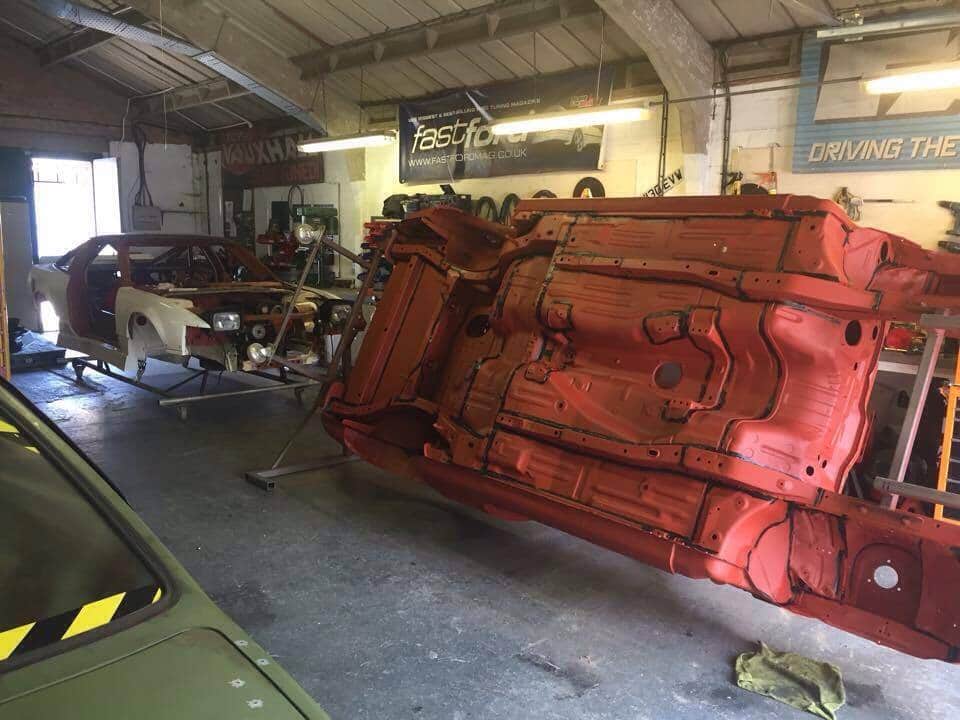
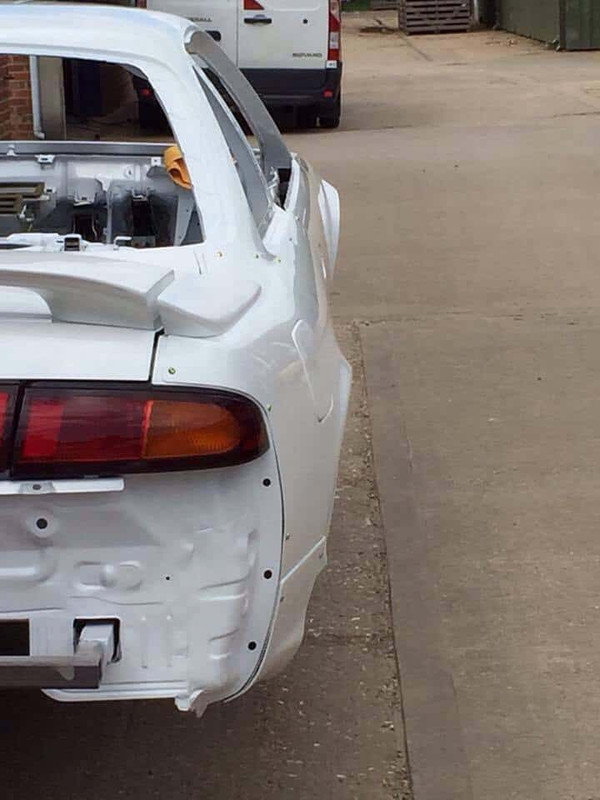
Due to the amount of accident damage on the rear quarters and the rear of the car, it was decided it would be better to find a shell and get some cuts off it to replace the damage. After a bit of searching Steve managed to find one in a scrap yard that had been sat there for 5 years! So he cut it in half, and trailered the rear back
Rear quarters and rear panel (not sure on what to call that bit..) will be unpicked - all the spot welds drilled out - and transferred over to my shell
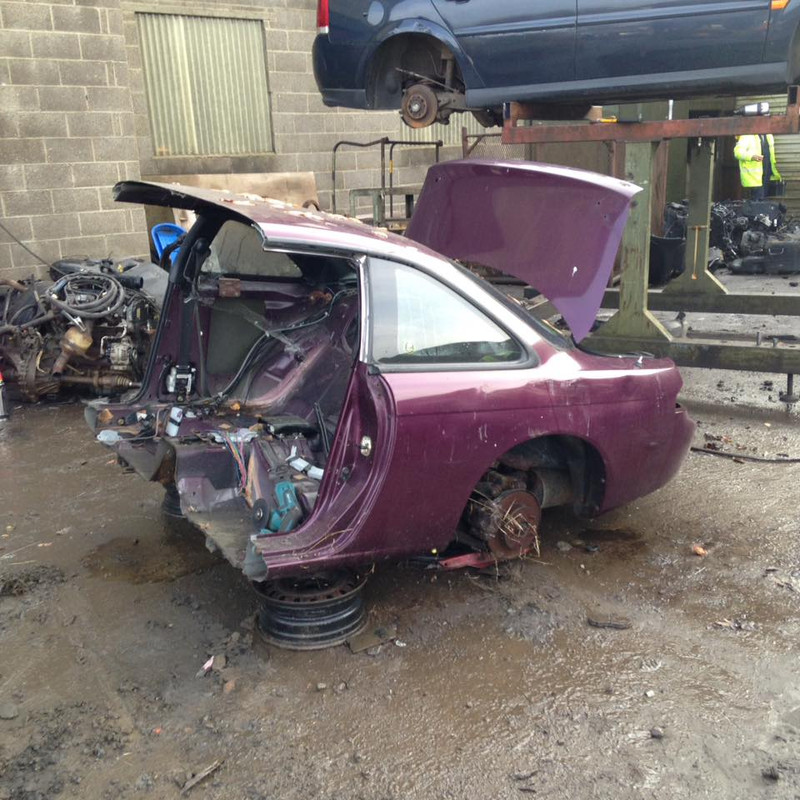
Last edited by LukeShepp; 16-04-2018 at 18:00.
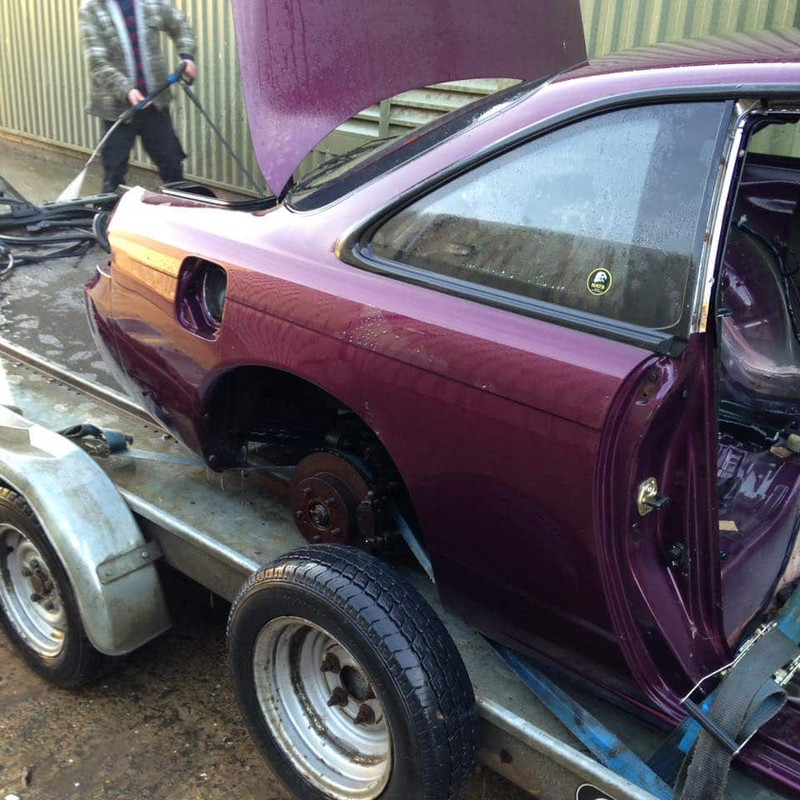
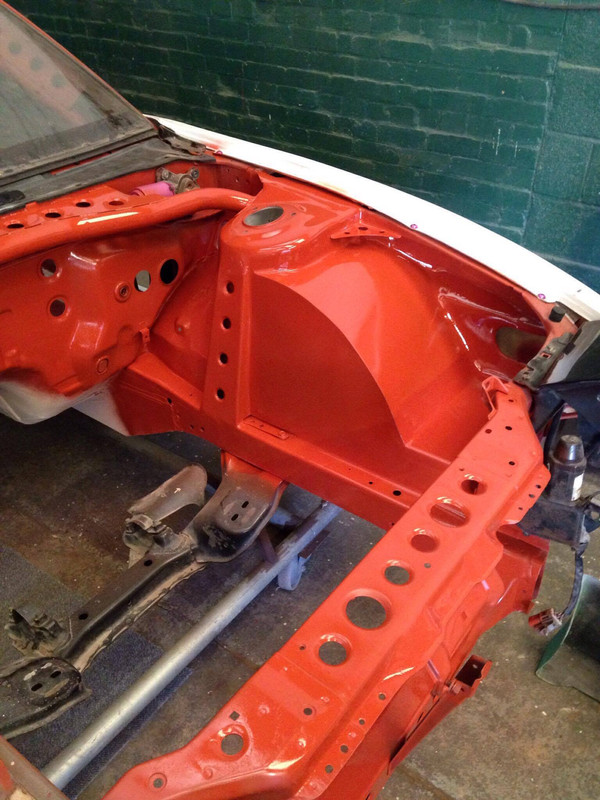
That spare shell didn't actually look too bad
1998 Nissan 200sx s14a , 2000 std 5 speed with nismo supercoppermix clutch bn6 Sapphire Blue
Front end damage, was a write off, and then it had been sat in the field for 5 years at the scrap yard so was rotten underneath too - luckily the bits we need are good
Sent from my SM-G930F using Tapatalk
Result then
1998 Nissan 200sx s14a , 2000 std 5 speed with nismo supercoppermix clutch bn6 Sapphire Blue
 Posting Permissions

 Reply With Quote