Page 4 of 6 FirstFirst ... 23456 LastLast
Results 61 to 80 of 103

Thread: R32 2-door Daily Streeter Rebuild

  1. #61
    Guest
    Join Date
    Mar 2013
    Location
    Bucks
    Posts
    278
    Rides
    0
    I loveeeeee that colour. Looks so good.

    What paint is it? make, type ?

  2. #62
    Guest Will@666Custom's Avatar
    Join Date
    Feb 2010
    Location
    Alton, Hampshire
    Posts
    1,136
    Rides
    0
    Quote Originally Posted by ratgreen View Post
    I loveeeeee that colour. Looks so good.

    What paint is it? make, type ?

    Thanks dude.

    It's a Custom Purple Pearl.

    It's made from mixing Pearl Tinters together, namely Blue, Purple, Red and White.

    It's a nightmare to paint as it's piss thin, There's probably a good 20 Coats in that bay..... 3-5 is usually sufficient.

  3. #63
    Guest Will@666Custom's Avatar
    Join Date
    Feb 2010
    Location
    Alton, Hampshire
    Posts
    1,136
    Rides
    0
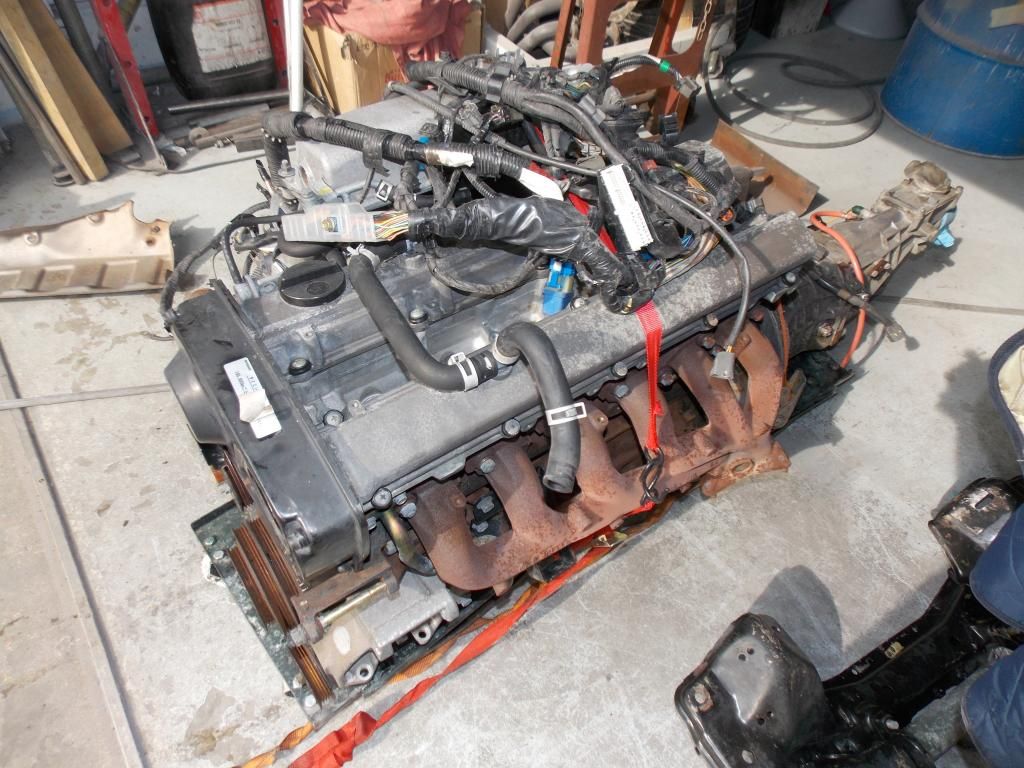
    Gave the Engine a Hot Wash and a Degreasing.... In preparation for a Refresh and some Paint.


  4. #64
    Guest
    Join Date
    Sep 2006
    Location
    aldershot
    Posts
    1,264
    Rides
    0
    woah dude impressive!!!

  5. #65
    Guest erixtar1992's Avatar
    Join Date
    Aug 2013
    Location
    london / luton
    Posts
    481
    Rides
    0
    bloody loving this!

  6. #66
    Guest kingj's Avatar
    Join Date
    Nov 2004
    Location
    near boro,cambs
    Posts
    4,900
    Rides
    0
    Loving this thread, the standard of your work is refreshing to see with so many paint shops rushing any old thing through like a conveyor belt! I mixed an almost exact custom purple pearl as that the other week too! Good choice keep up the good work mate. I am enjoying watching your progress.

    Regards J

  7. #67
    Guest Jonny Mac's Avatar
    Join Date
    Sep 2009
    Location
    Scotland
    Posts
    2,098
    Rides
    0
    awesome colour and some cool work going into this project like it!

  8. #68
    Guest Will@666Custom's Avatar
    Join Date
    Feb 2010
    Location
    Alton, Hampshire
    Posts
    1,136
    Rides
    0
    Quote Originally Posted by shifty biscuits View Post
    woah dude impressive!!!
    Hey Shifty, Thanks dude.

    This is Lil Joe's old 32 that was down that unit.


    Quote Originally Posted by erixtar1992 View Post
    bloody loving this!
    Thanks dude, Pleased to hear it.


    Quote Originally Posted by kingj View Post
    Loving this thread, the standard of your work is refreshing to see with so many paint shops rushing any old thing through like a conveyor belt! I mixed an almost exact custom purple pearl as that the other week too! Good choice keep up the good work mate. I am enjoying watching your progress.

    Regards J
    Thanks very much J.

    I've never been one for conformity myself, I like doing my own thing.


    Quote Originally Posted by Jonny Mac View Post
    awesome colour and some cool work going into this project like it!
    Thanks a lot dude, I appreciate it.

  9. #69
    Guest Will@666Custom's Avatar
    Join Date
    Feb 2010
    Location
    Alton, Hampshire
    Posts
    1,136
    Rides
    0
    Thanks for the positive response.

    After a bloody inconvenient month off for health reasons, I can get cracking with this again.

  10. #70
    Guest Will@666Custom's Avatar
    Join Date
    Feb 2010
    Location
    Alton, Hampshire
    Posts
    1,136
    Rides
    0
    Spent my recovery period buying up a mass of parts.

    I'm sure most people aren't interested in what they look like, But I'm quite proud that this car is mostly consisting of Parts and Products made in either England or Japan.


    Rocker Seals, Half Moons, Crank Seals, Cam Seals, and Injector 'O' Rings and Seals from Nissan.


    Exedy Clutch Kit.


    Rack Ends and Rod Ends.


    Electric Fans and Radiator Cowling.


    NTN Bearings and Uprated Teflon Drive Belt.


    Nissan Water Pump.


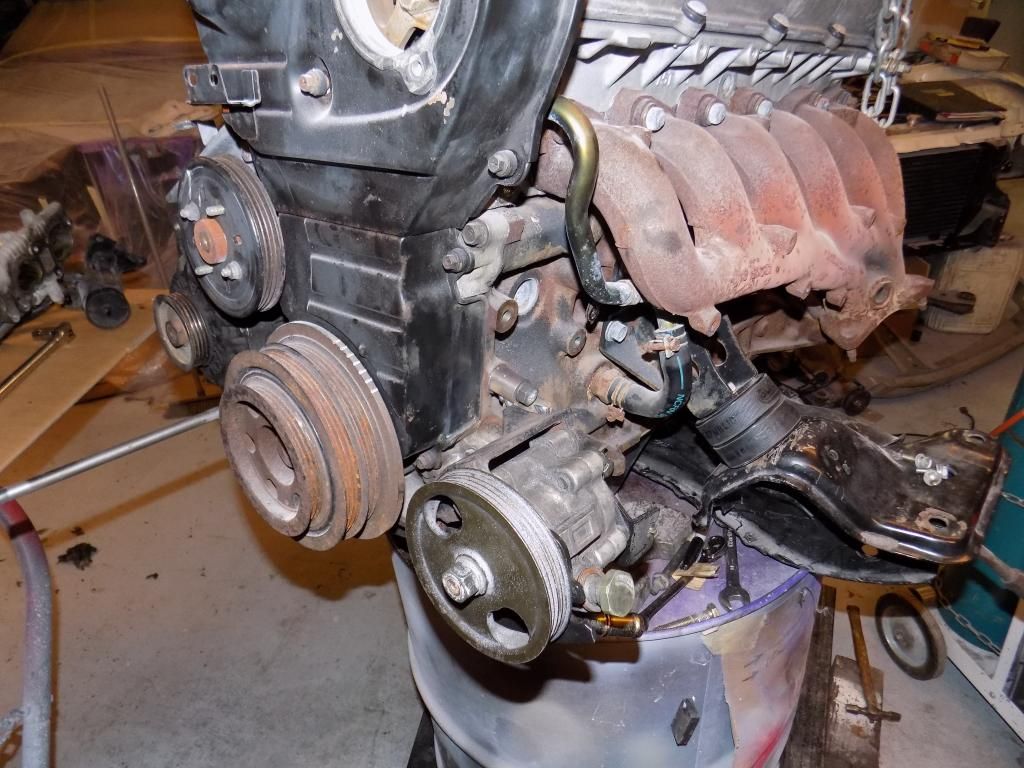
    Cometic Uprated Intake and Exhaust Gaskets.


    Magma Exhaust Wrap... ( Risky move to bring the Exterior Colour into the Bay )


    Uprated Clutch Bolts.


    3" Stainless Flexi for the planned Exhaust System.


    Uprated Flywheel Bolts.
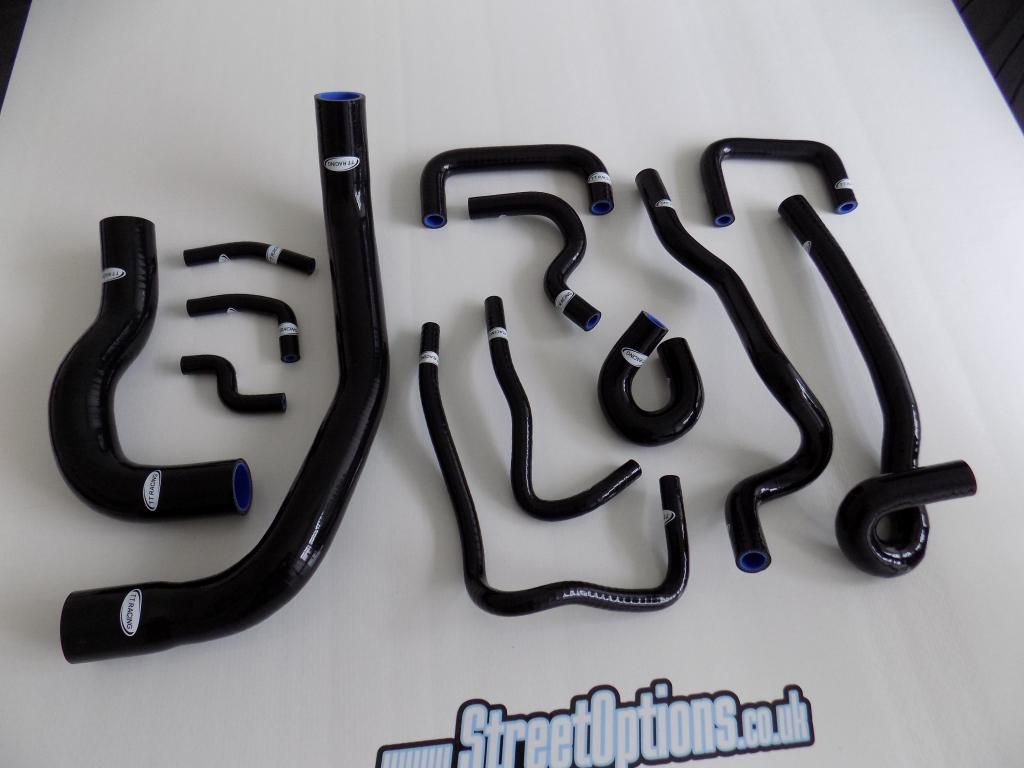


    Silicone Hose Kit.


  11. #71
    Guest Will@666Custom's Avatar
    Join Date
    Feb 2010
    Location
    Alton, Hampshire
    Posts
    1,136
    Rides
    0
    Binned the old Flex Plate.


    And replaced the Rear Crank Seal at the same time.


    And installed the Uprated Flywheel.


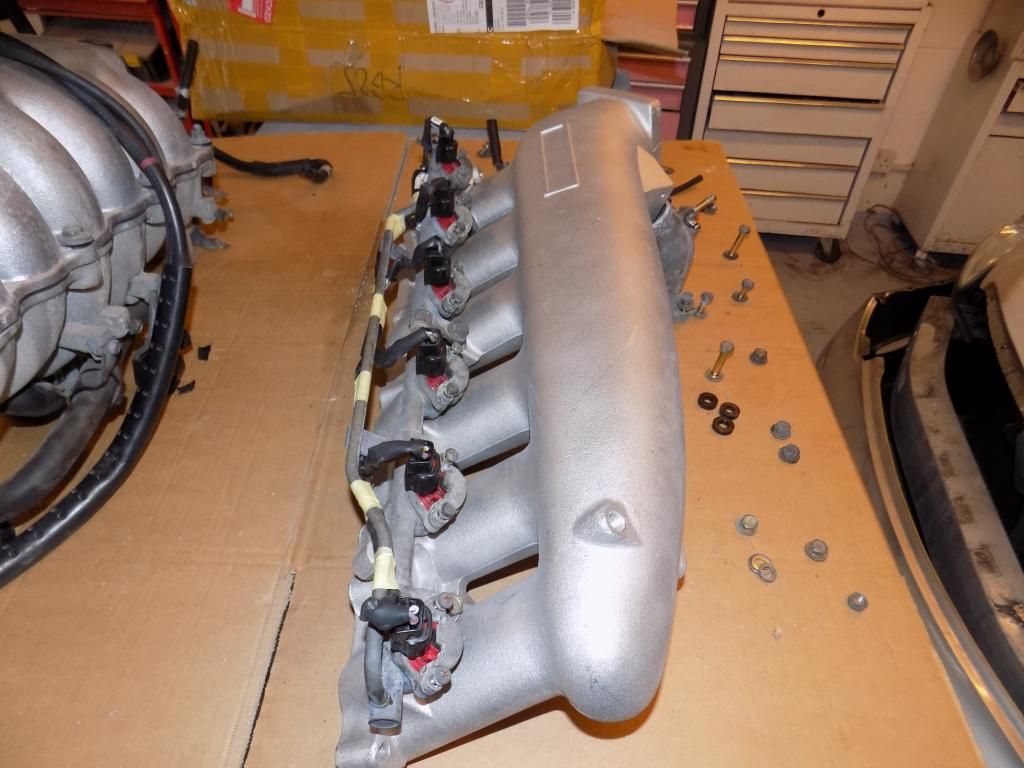
    Bought a Copy Greddy Plenum due to budget constraints.... We'll called it Freddy.


    A much neater set-up to the stock Intake.


    Did a dry set-up of the Fuelling.


    Modified the Fuel Pipe run from This...


    To This....


    Machined some fresh Spacers up, as the originals always get lost somehow ?


    And Rotated the Injectors to get the Wiring Loom routed neatly.


  12. #72
    Home Counties Rep LED sandwich's Avatar
    Join Date
    Oct 2008
    Location
    Harpenden
    Posts
    6,747
    Rides
    0
    Nice work dude
    Quote Originally Posted by TheBigShow View Post
    Reach arounds are more my thing, I don't like the taste...

  13. #73
    Guest Will@666Custom's Avatar
    Join Date
    Feb 2010
    Location
    Alton, Hampshire
    Posts
    1,136
    Rides
    0
    Quote Originally Posted by LED sandwich View Post
    Nice work dude
    Thanks dude, Appreciate it.

  14. #74
    Guest Will@666Custom's Avatar
    Join Date
    Feb 2010
    Location
    Alton, Hampshire
    Posts
    1,136
    Rides
    0
    Decided to move the Power Steering Pump from it's normal location, To one Lower down...

    In the hope of fitting the Fluid Bottle above it instead of on the Turret.... where it should look a lot neater.


    Before.


    After.


  15. #75
    Guest Will@666Custom's Avatar
    Join Date
    Feb 2010
    Location
    Alton, Hampshire
    Posts
    1,136
    Rides
    0
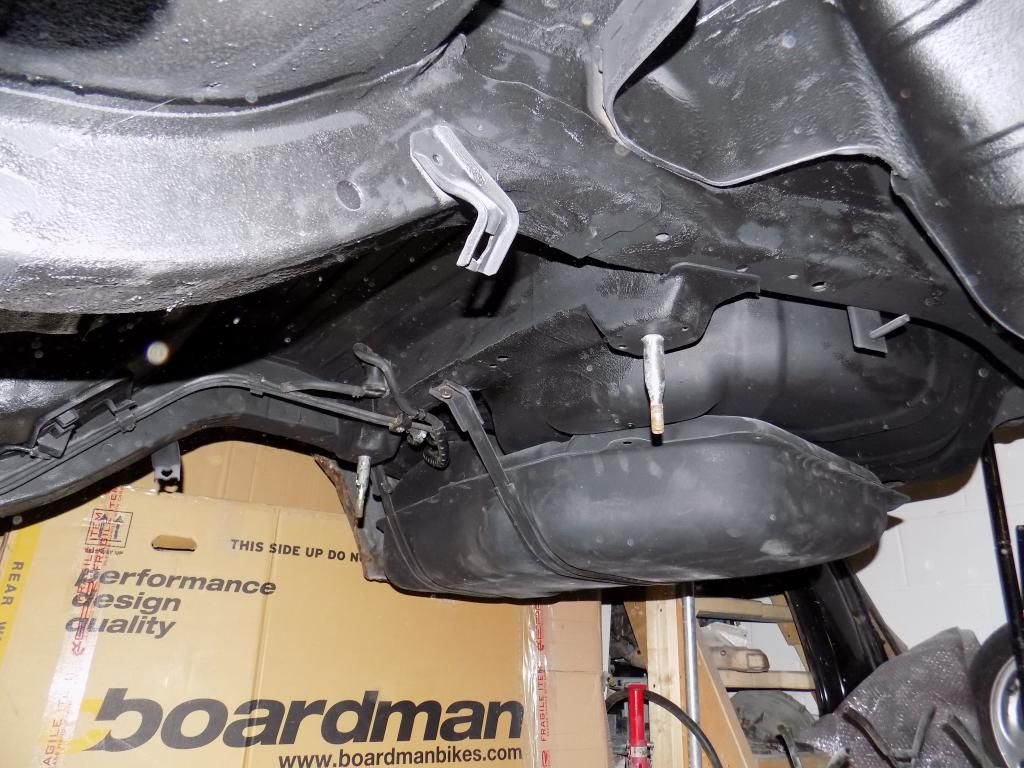
    Installed a new Walbro Fuel Pump in the Cradle, Installed it in the Tank... Then fitted the Tank in the Chassis.


  16. #76
    Guest Will@666Custom's Avatar
    Join Date
    Feb 2010
    Location
    Alton, Hampshire
    Posts
    1,136
    Rides
    0
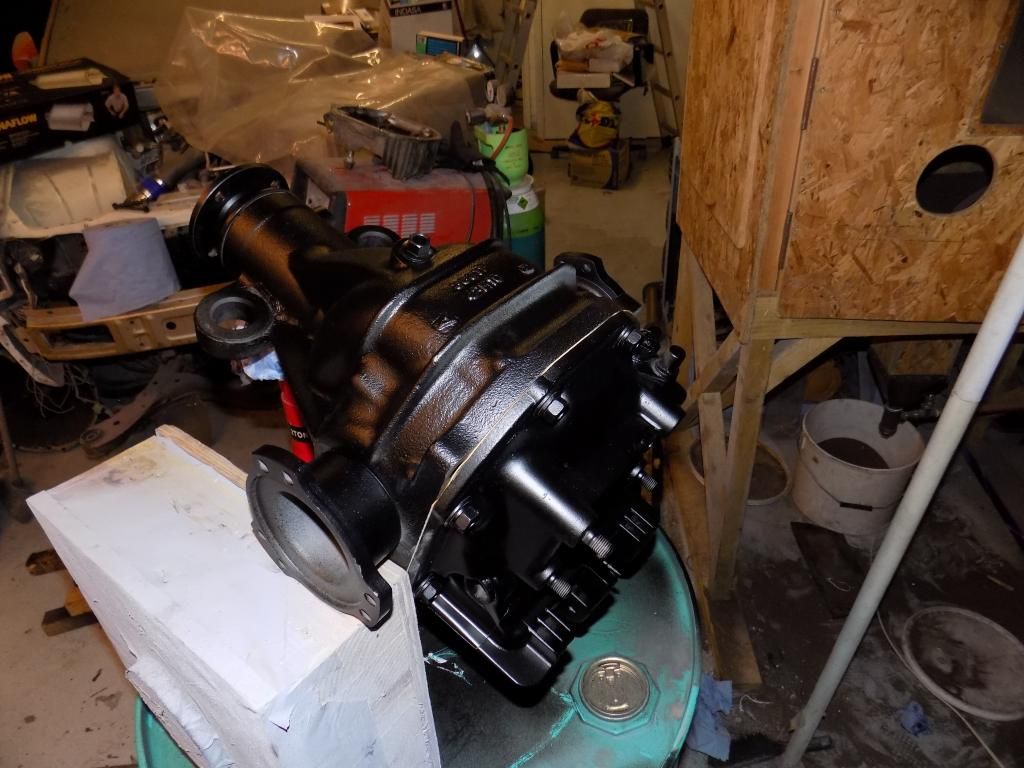
    Overhauled the Rear Diff.

    Opted for an Open S14 Diff.


    Cleaned it and Sand Blasted it.


    Etch Primed.


    And Painted.


    Made a Gasket.


    Filled it with Go Juice.


    Re-sealed the Nose Seal.


    And all Assembled.


  17. #77
    Guest Will@666Custom's Avatar
    Join Date
    Feb 2010
    Location
    Alton, Hampshire
    Posts
    1,136
    Rides
    0
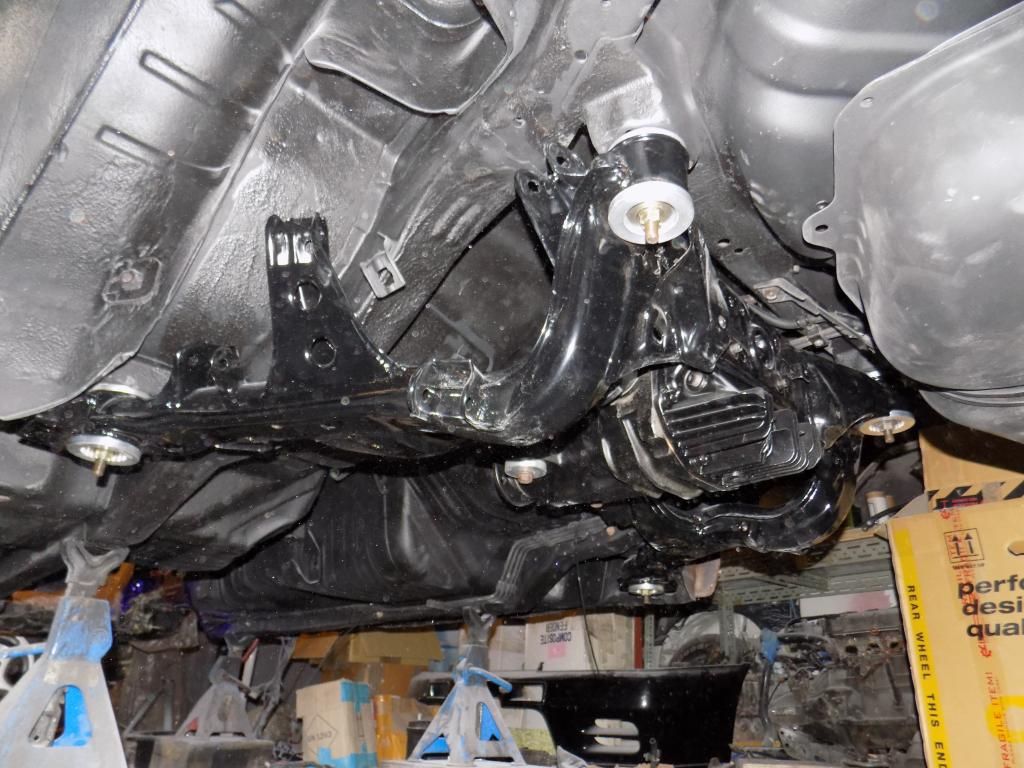
    At this point got completely carried away and installed the Diff in the Subframe, Completely forgot I hadn't made any replacement bushes for it.


    Machined up some replacement Bushes.


    Then got the Diff back in the Subframe and installed in the Chassis.


    Made some Stainless Washers before finally Nutting it up.


  18. #78
    Guest Will@666Custom's Avatar
    Join Date
    Feb 2010
    Location
    Alton, Hampshire
    Posts
    1,136
    Rides
    0
    Also made some Modifications to the Stock PS Fluid Bottle.


    And test fitted that.


  19. #79
    Guest Will@666Custom's Avatar
    Join Date
    Feb 2010
    Location
    Alton, Hampshire
    Posts
    1,136
    Rides
    0
    .

  20. #80
    Guest
    Join Date
    Mar 2012
    Location
    Gloucestershire
    Posts
    14
    Rides
    0
    Awesome build thread and some nice fab work!

Posting Permissions

  • You may not post new threads
  • You may not post replies
  • You may not post attachments
  • You may not edit your posts
  •