Page 3 of 6 FirstFirst 12345 ... LastLast
Results 41 to 60 of 103

Thread: R32 2-door Daily Streeter Rebuild

  1. #41
    Guest Will@666Custom's Avatar
    Join Date
    Feb 2010
    Location
    Alton, Hampshire
    Posts
    1,136
    Rides
    0
    Quote Originally Posted by dandan View Post
    I guess that random bar might have been to stop the bulkhead flexing under braking, could be worth installing something suitably bling to replace it with...
    I might be wrong though

    Good point dandan, I hadn't thought of that.

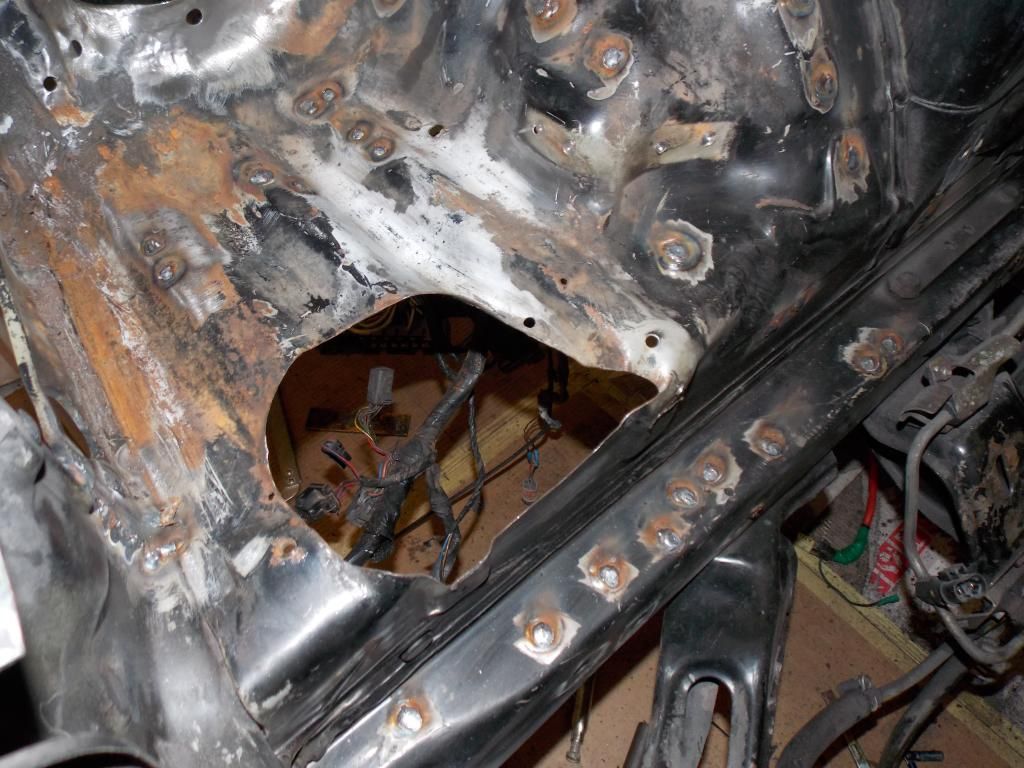
    I was a little thrown by the fact it wasn't actually connected to the Bulkhead in any way.

  2. #42
    Guest Will@666Custom's Avatar
    Join Date
    Feb 2010
    Location
    Alton, Hampshire
    Posts
    1,136
    Rides
    0
    I prepped all of the Holes to fill.


    I started with one of the hacked out Ex Intercooler holes, and made a Plate.


    Tacked it in.


    Then made a start Welding up the Holes.

    Cut a plate for the bigger holes and just welded the smaller ones.


  3. #43
    Guest Will@666Custom's Avatar
    Join Date
    Feb 2010
    Location
    Alton, Hampshire
    Posts
    1,136
    Rides
    0
    This was the next big hole to go.


    Made a rough plate to go in the other Ex Intercooler hole.


    And got that and a few other plates tacked in to finish off the random shape.


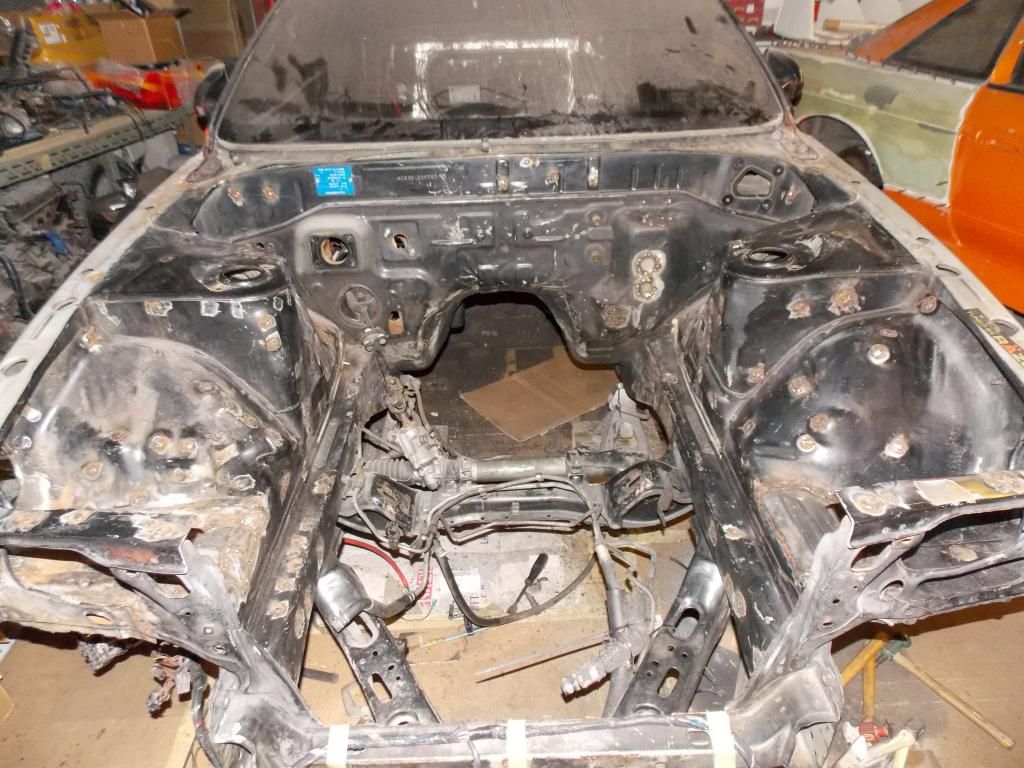
    Removed the Air Con.


    Made a couple of dimpled plates to be a bit different.


    Got them tacked in.


    Got the remaining welding done, ready to start grinding.


  4. #44
    Guest Will@666Custom's Avatar
    Join Date
    Feb 2010
    Location
    Alton, Hampshire
    Posts
    1,136
    Rides
    0
    I got all the grinding done.

    And also removed all the Sealer from the Seams.


    Anything remaining got sanded back to the factory ground coat.


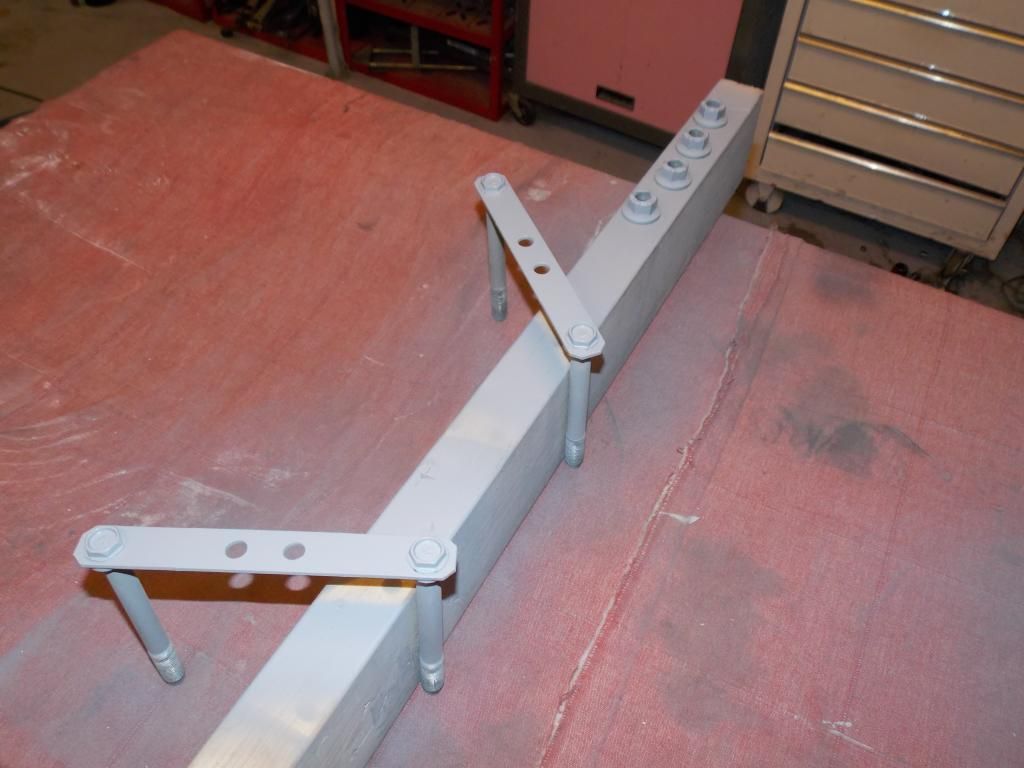
    Forgot about a couple of things, Like making the Mounts for the Slam Panel.


    And also a feed for the Air Intake.


    Then finally put an Etch Wash Primer down.


  5. #45
    Guest Will@666Custom's Avatar
    Join Date
    Feb 2010
    Location
    Alton, Hampshire
    Posts
    1,136
    Rides
    0
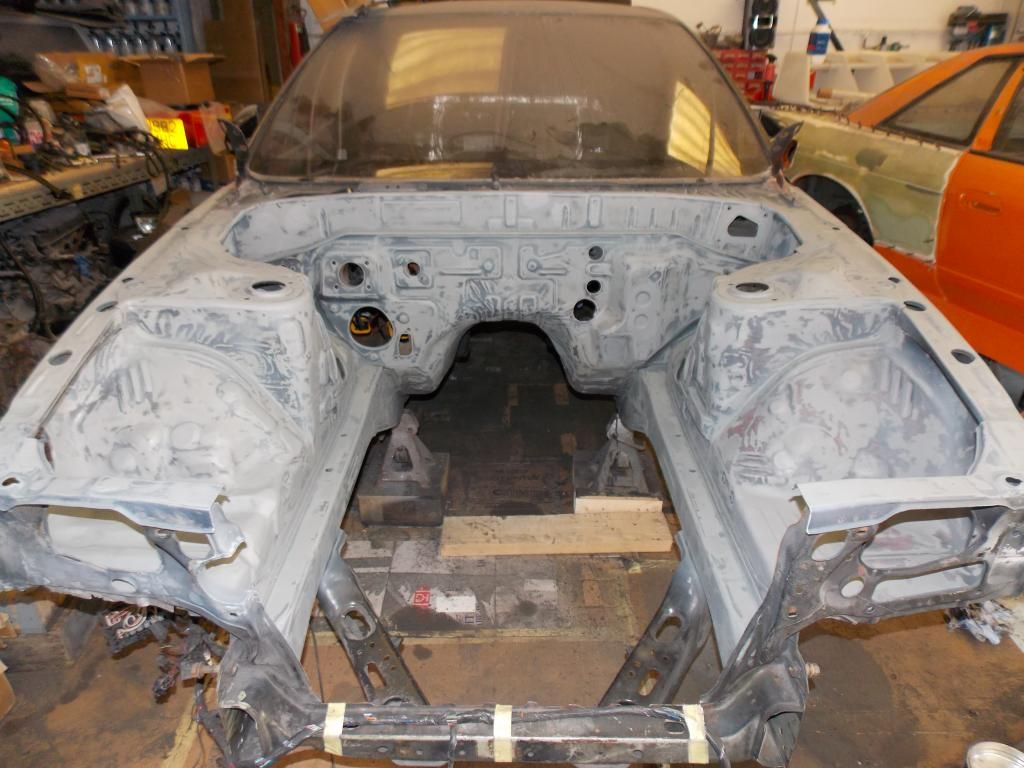
    Made a decision to blend the engine bay and give it a bit more flow.


    Got some Fiberglass in there to bulk it out.


    Got that knocked down and shaped.


    Then did some filler work.
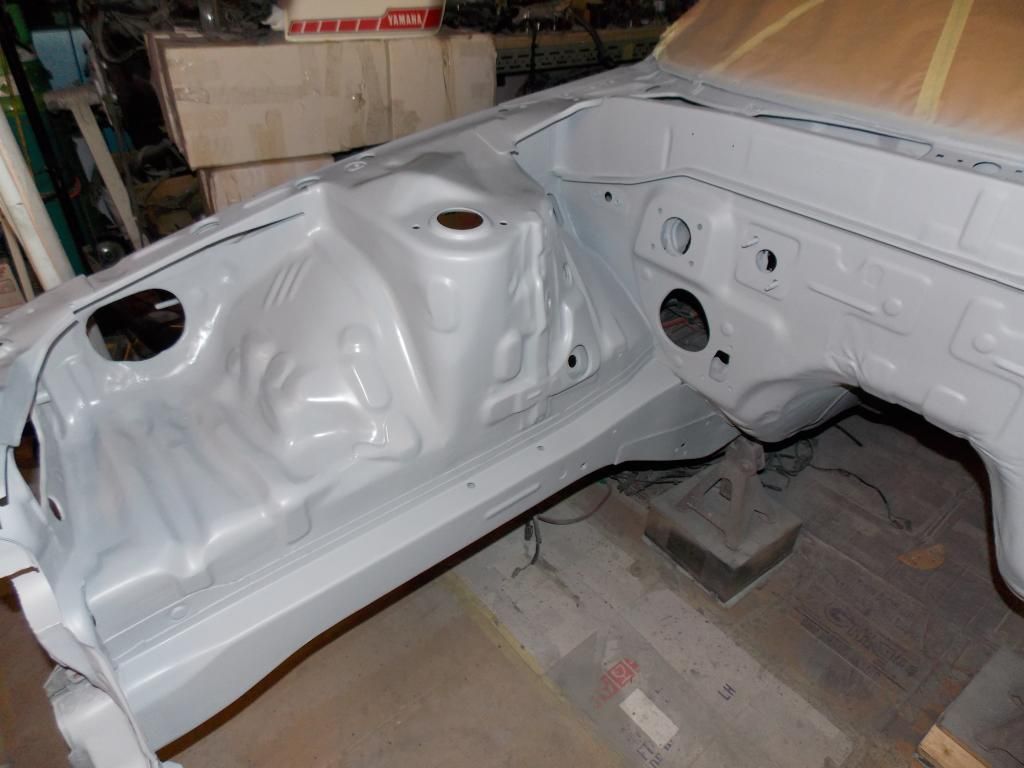


    Re Etch Primed it.


    And finally got it in Primer.


  6. #46
    Guest
    Join Date
    Jun 2005
    Location
    Wherever I run out of petrol!
    Posts
    14,549
    Rides
    0
    Nice progress will

  7. #47
    Guest
    Join Date
    Mar 2007
    Location
    Outside Ellon ;)
    Posts
    622
    Rides
    0
    I really like your project threads.

    The time you take to photograph the stages of the build and sharing your work details and how you tackle things is always interesting.
    I love the attention to detail. All the little intricate features makes it clear you have pride in your work, its getting rarer to see this standard of work put into r & s-bodys.

  8. #48
    Guest Will@666Custom's Avatar
    Join Date
    Feb 2010
    Location
    Alton, Hampshire
    Posts
    1,136
    Rides
    0
    Quote Originally Posted by MEL View Post
    Nice progress will
    Thanks a lot MEL.

    It's plodding along, hope to crack on with it once I'm back at work.

  9. #49
    Guest Will@666Custom's Avatar
    Join Date
    Feb 2010
    Location
    Alton, Hampshire
    Posts
    1,136
    Rides
    0
    Quote Originally Posted by s200rat View Post
    I really like your project threads.

    The time you take to photograph the stages of the build and sharing your work details and how you tackle things is always interesting.
    I love the attention to detail. All the little intricate features makes it clear you have pride in your work, its getting rarer to see this standard of work put into r & s-bodys.
    Thanks very much, I appreciate it.

    Unfortunately I very rarely get to finish stuff as well as I would like to, or with as much detail as I would like to; because it's often not practical... But I do try and make for a reasonably well rounded finish on most projects.

    I find a lot more people wanting to invest time and money into S and R Bodies now, Probably because you can have such a nicely finished individual car for a fraction of the cost of some awful modern blender cars.

  10. #50
    Guest Will@666Custom's Avatar
    Join Date
    Feb 2010
    Location
    Alton, Hampshire
    Posts
    1,136
    Rides
    0
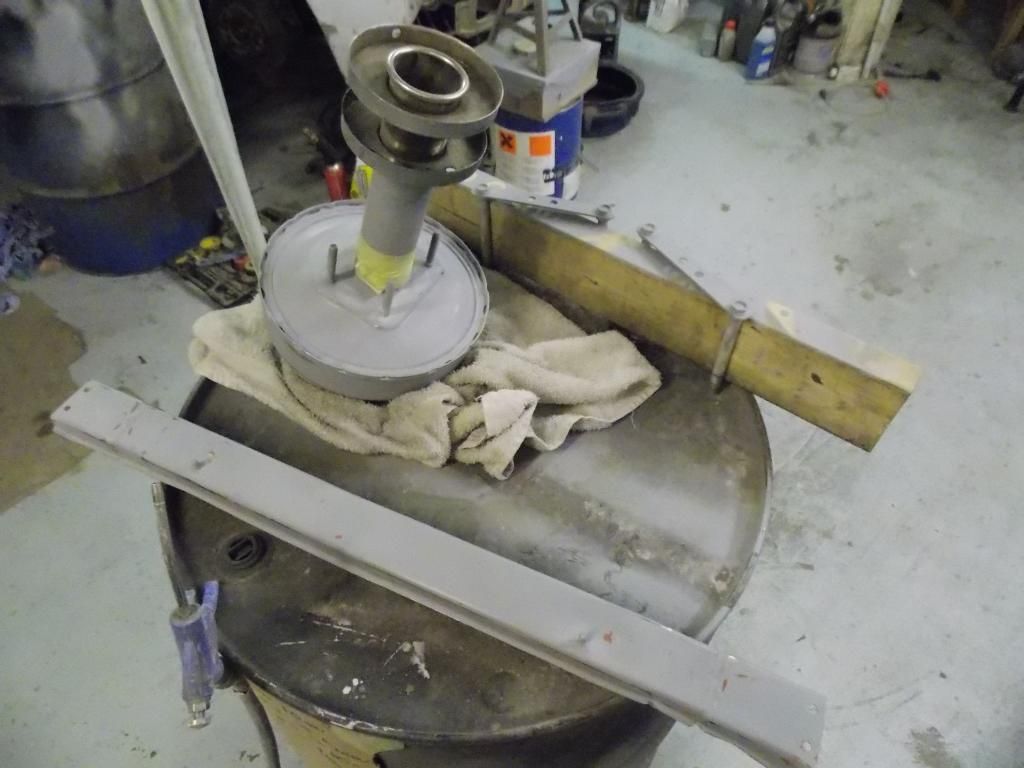
    The last things to do before painting the bay, Were prepping the BMC, Subframe Mounts and Slam Panel.


    The BMC had the usual pitting so Blasted it.


    Also did the Mounting Brackets.


    Then hit them both with the Etch Primer.


    And finally the 2K Primer.


  11. #51
    Guest Will@666Custom's Avatar
    Join Date
    Feb 2010
    Location
    Alton, Hampshire
    Posts
    1,136
    Rides
    0
    Also welded up the remaining holes in the Slam Panel.


    Ground it down.


    And Primed it.


  12. #52
    Guest
    Join Date
    Sep 2011
    Location
    Scotland
    Posts
    1,325
    Rides
    0
    i really enjoy reading your threads will. theres a lot of hard work and dedication in what you're doing - keep it up mate.

    how is the business? do you think you get much work off forums?

  13. #53
    Guest
    Join Date
    Jun 2004
    Location
    Surrey
    Posts
    15,511
    Rides
    0
    I want Will to redo my car when he's free. I need to get it running first though

  14. #54
    Guest Will@666Custom's Avatar
    Join Date
    Feb 2010
    Location
    Alton, Hampshire
    Posts
    1,136
    Rides
    0
    Quote Originally Posted by Ross. View Post
    i really enjoy reading your threads will. theres a lot of hard work and dedication in what you're doing - keep it up mate.

    how is the business? do you think you get much work off forums?

    Thanks very much Ross.

    It's not too bad, But it will never have the support or structure in this country that it does in others.

    I would say it's minimal, But hard to judge as so many people are on so many different medias now.

  15. #55
    Guest Will@666Custom's Avatar
    Join Date
    Feb 2010
    Location
    Alton, Hampshire
    Posts
    1,136
    Rides
    0
    Quote Originally Posted by JulesS14200 View Post
    I want Will to redo my car when he's free. I need to get it running first though

    You don't want to rush the 'get it running' stage, I would take your time, lol.

  16. #56
    Guest
    Join Date
    Jun 2004
    Location
    Surrey
    Posts
    15,511
    Rides
    0
    It's ok buddy, I'm in Australia at the moment anyway!

  17. #57
    Guest Will@666Custom's Avatar
    Join Date
    Feb 2010
    Location
    Alton, Hampshire
    Posts
    1,136
    Rides
    0
    This is the Purple Pearl Colour I chose for the Engine Bay.


    Painted everything in a White base first.


    Then started on the Purple Pearl.


    And finally shot some Clear.


    I'll take some more pictures with my new camera, As it doesn't come out very well currently.

  18. #58
    Guest
    Join Date
    Jun 2004
    Location
    Surrey
    Posts
    15,511
    Rides
    0
    Colour looks awesome

  19. #59
    Guest Will@666Custom's Avatar
    Join Date
    Feb 2010
    Location
    Alton, Hampshire
    Posts
    1,136
    Rides
    0
    Quote Originally Posted by JulesS14200 View Post
    It's ok buddy, I'm in Australia at the moment anyway!

    Nice one, good for you.

  20. #60
    Guest Will@666Custom's Avatar
    Join Date
    Feb 2010
    Location
    Alton, Hampshire
    Posts
    1,136
    Rides
    0
    Quote Originally Posted by JulesS14200 View Post
    Colour looks awesome
    Thanks dude, It probably won't appeal to the masses... But I quite like it.

    Should be a nice contrast to the Exterior Colour as well.

Posting Permissions

  • You may not post new threads
  • You may not post replies
  • You may not post attachments
  • You may not edit your posts
  •