


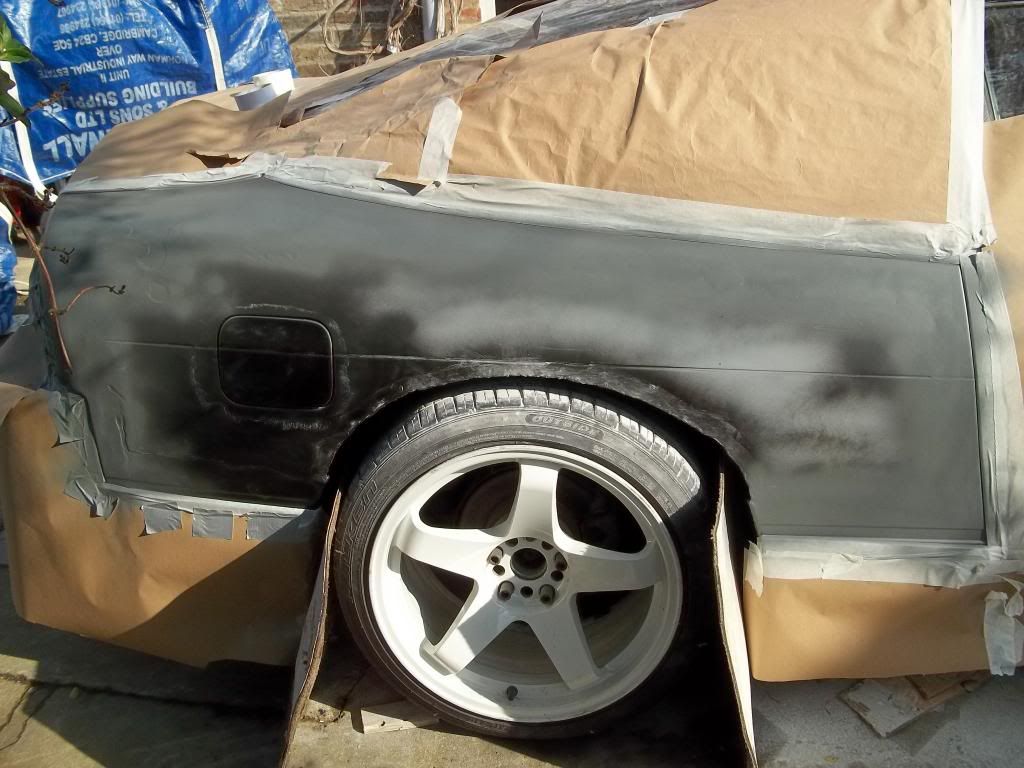
Wheel checked under compression to ensure no clash with new arch. And primed.
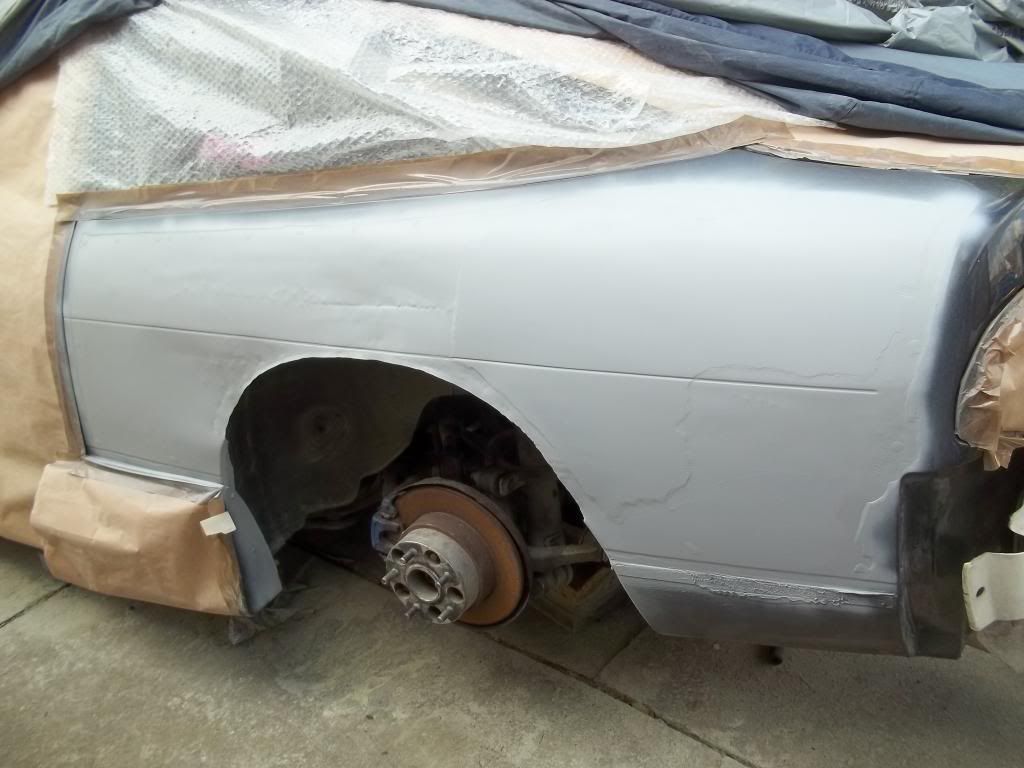

Wheel checked under compression to ensure no clash with new arch. And primed.
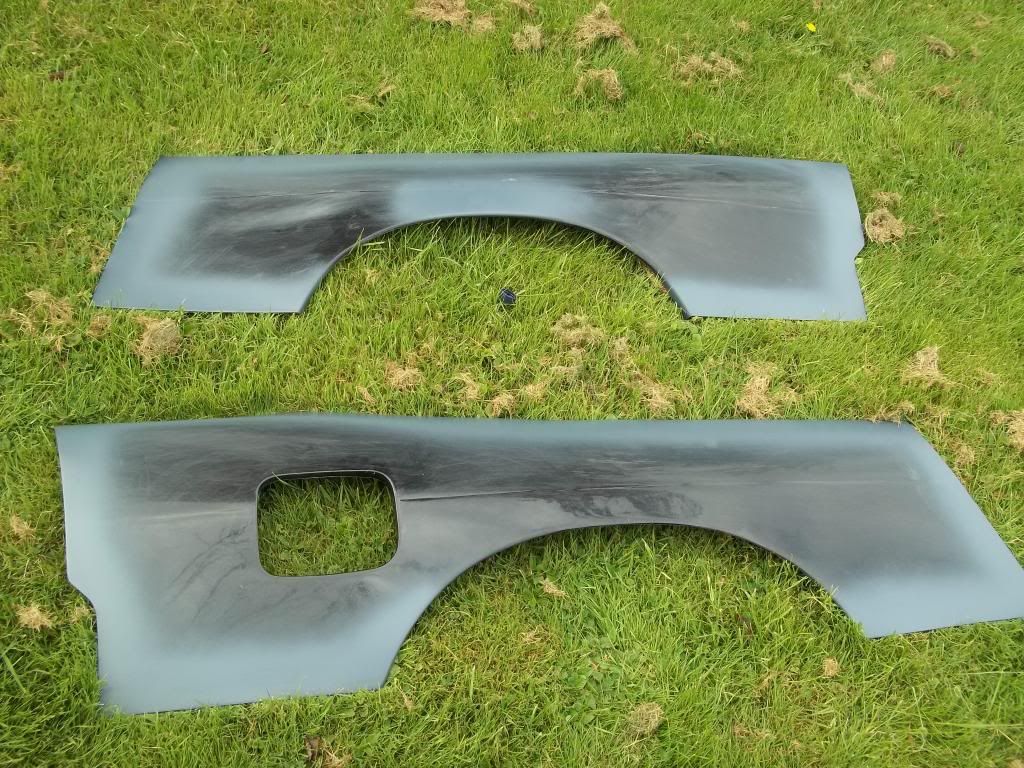
Hey man. Good to see you saving/reincarnating Joe's car.
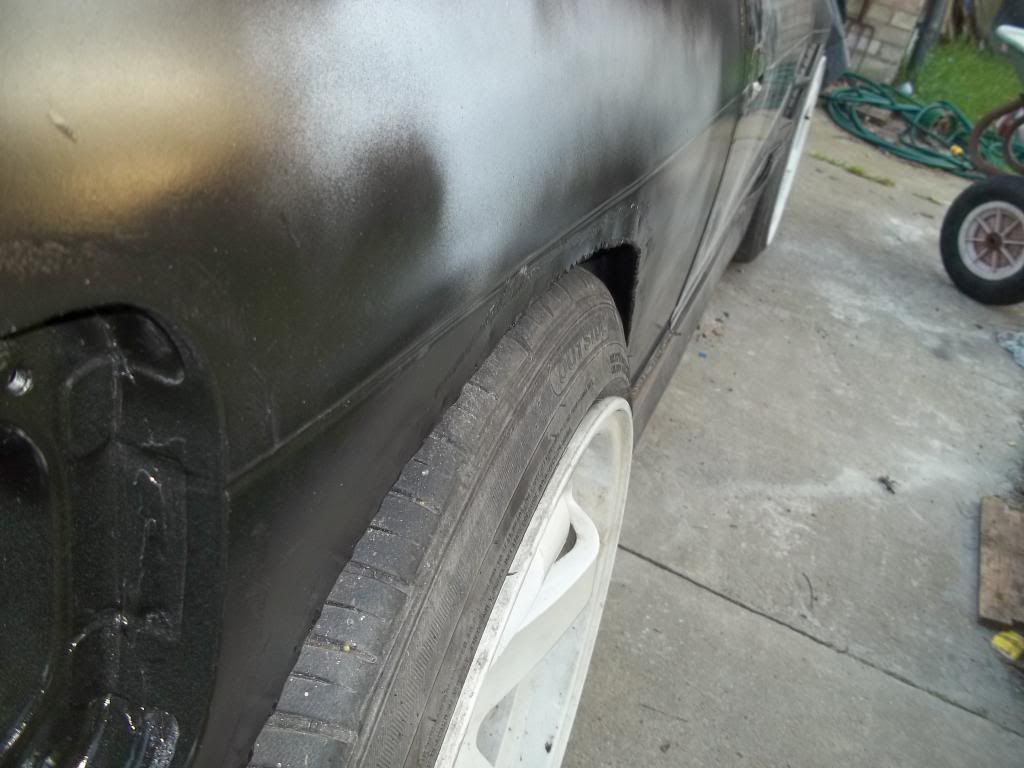
A quick word of advice though. When I had my arches chopped as part of my widening, they only cut to the swadge line like you have.....and I hit it all the time. I Would take it higher if you plan on having the car remotely low. It looked fine on the ground under compression, but the extra down force created by cornering and/or rising/dropping back roads brought the arches into regular contact with they tyres. To the point I'm looking at getting them cut again, even thought the fiberglass wings are now in the way.
Edit: Link to my build thread showing the pic of where mine was cut and welded;
http://www.sxoc.com/vbb/showthread.p...t-Sil80/page26
Last edited by MapBoy; 11-04-2014 at 12:03.
Good advice there, but with the old SP1's that we used to run, the rears would never rub at a decent ride height unless I loaded up the back of the car with junk. That was a 255/35/18 on a 10.5j I believe. If he wants to run full baller low like yourself he will have trouble for sure but at a 'low' height I reckon it will be okayOriginally Posted by MapBoy

I guess it would be good future proofing if he ever wanted to go full baller on the wheels.
Hey guys - yeh this has been my main concern for a while now. Rubbing on the arches. OK I'm glad you brought it up. OK I think best way to proceed is to get the metalwork finished. And get the chamber etc setup right. Then Idealy I would take the car for a spin at night and see if I could make it rub, if is ok then I could continue with the new fenders. But problem is that the car won't be road legal for months yet so that's not gunna happen.
Maybe I could check it by using some spring compressors and compressing the coilovers copmpletely - do you think that will work?
Yeh I'm not planning to run particularly low - I am surrounded by speed bumps so can run too low around here. I'd be so gutted if I went through all this and then the arches rubbed...
Anyway - here's today's work:
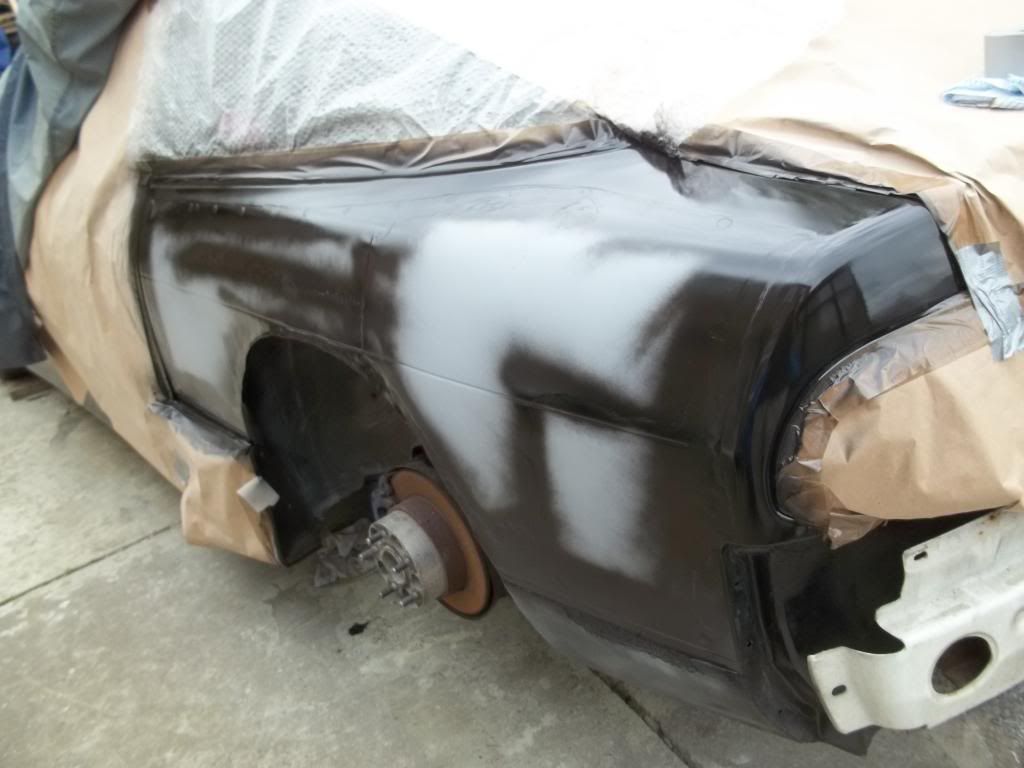
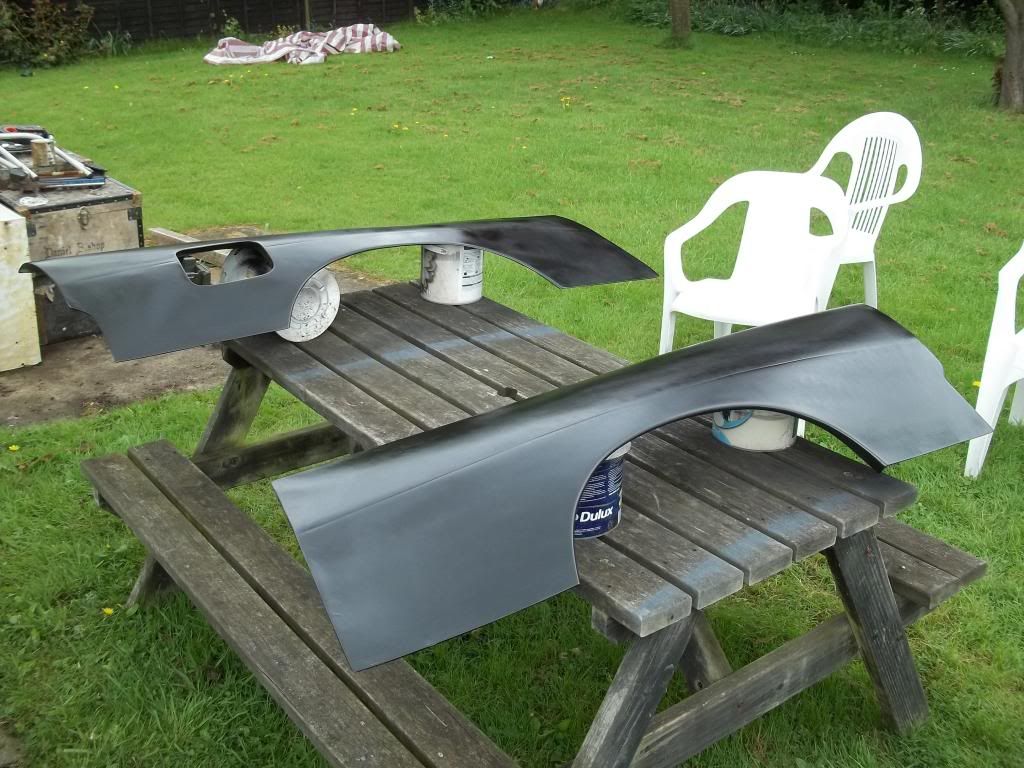
NS sprayed black where required. OS cut and welded. OS stripped, holes filled, zinc primed.
LOl just checked out your thread. Your welding is soooo much better than mine. I feel stupid now
Also - I wanted to keep the old over-fenders but now it seems a better idea to get some new ones, ones that wrap all the way around the back, right up to the light cluster. Anyone know where to get some +30mm's like the style I have described please?
Car looks good fella!👍 remember seeing this when your bro had it,nice to see it still in the family👍
As for your arches catching I only welded mine the same as you and mine has never caught,even with 2 adults and 2 kids in it and my s13 is low. Plus there's still some more room to go a bit lower so I think you'll be fine.
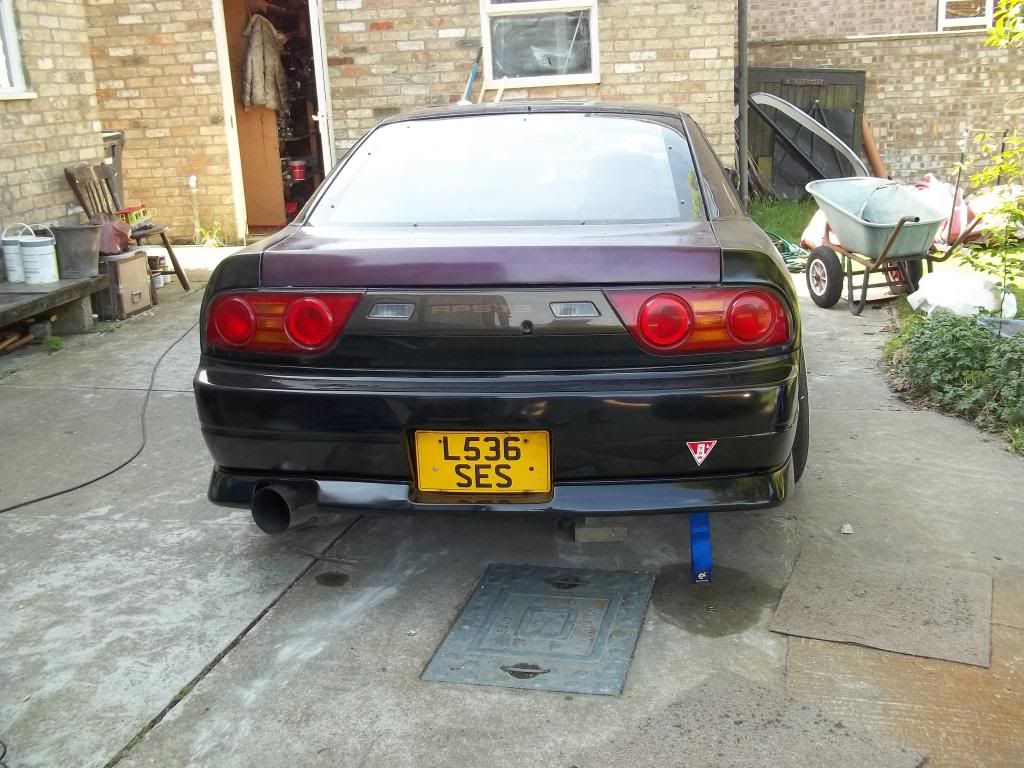
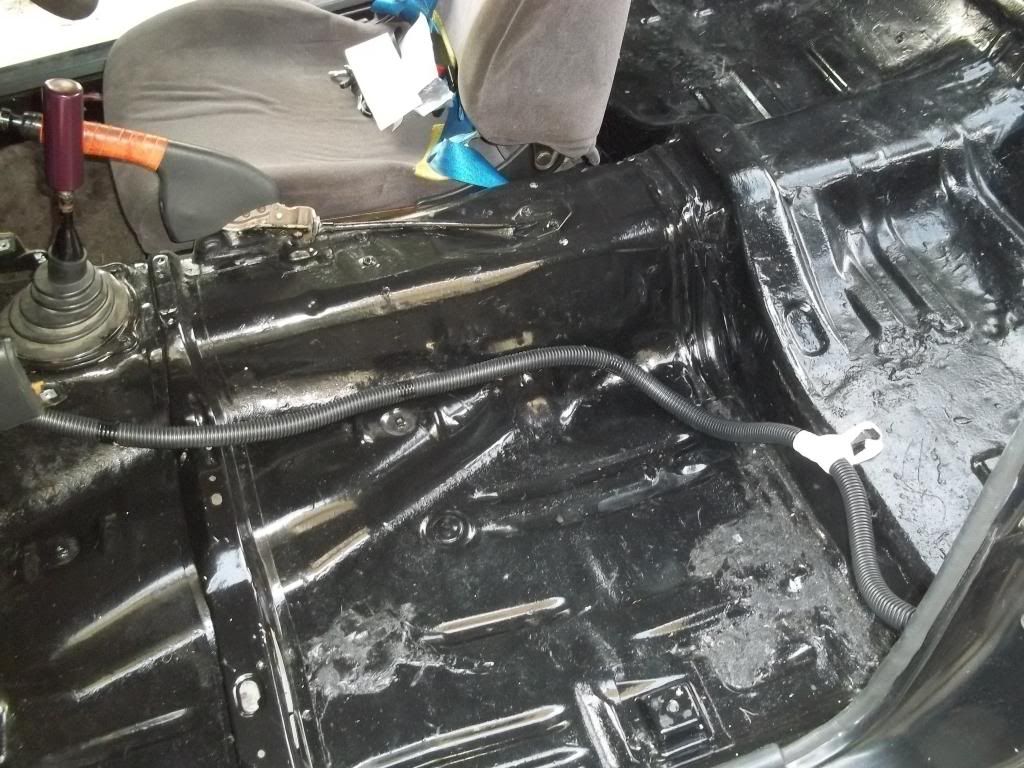
Hey guys! OK got quite a lot done today:
1) finished rear paintwork with 2 layers of lacquer - so that should stop any future water getting in
2) fitted rear toe hook.
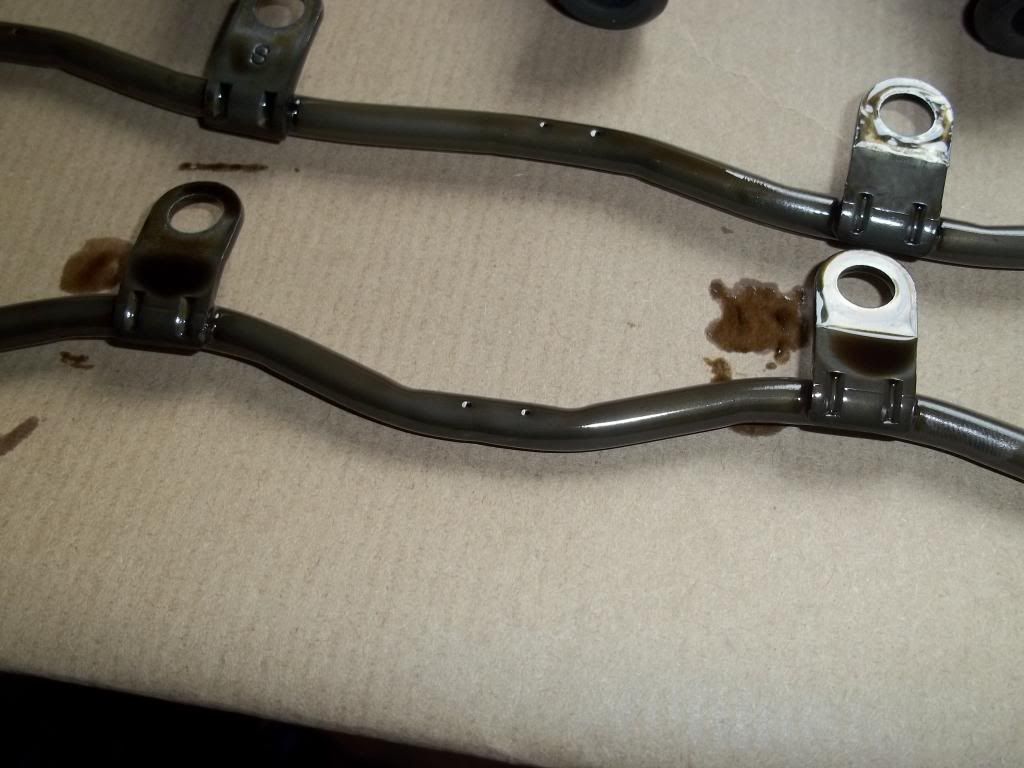
3) addressed the rear possible catching problem. I compressed the springs and found that yes the tyres JUST rubbed on the new arches. I probably could have got away with it but to be safe I removed wheels and wound the chamber arms in further. Then I noticed that the arms were looking rusty and horrid. So removed then, stripped them, and gave them a nice coat of Emperor purple which looks great. Re-attached everything and with new chamber tucks inside the arches perfectly, so that's a weight of my mind
LOL my thread? I cant take any credit...got a garage/bodyshop to do mine. I have a lot of speed bumps on the road to my house, I scrape a bit lol.
Have a look on FB at "MagicAero" he does very good quality wrap around fenders. I don't know if he does 30mm ones though.
LOL I thought that was a bit too good for a non-pro lol. Don't feel so bad now lol.
Yeh well I've phoned all the companies I can find and the only wrap-around fenders I can find at +50mm or +70mm offset. There's nothing wrong with that size but it just isn't the look that I'm going for. So I may have to repair and re-use my old ones, which means that a lot of my crap painting/bodywork that I did will no longer be covered up. At this point the rear quarters have surpassed my limits of skill so time to hand it over to someone who knows their stuff. I have contacted GDUK and Darran says he is gunna come out and have a look and see if he can finish it off for me. Fingers crossed.
EDIT - yes will check out MagicAero and see if he can help also - ta
Now for stuff that I can get on with:
- front end lacquered, now just needs a polish.
- battery mounted properly (was held in with ratchet straps lol)
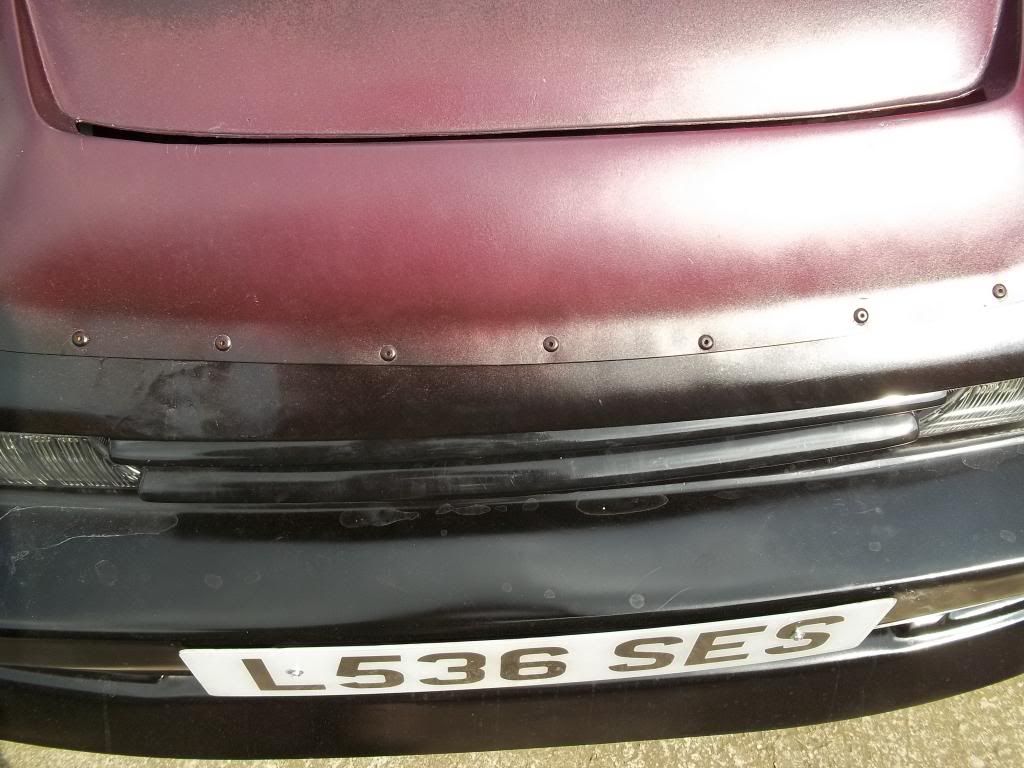
- rear bumper bar chopped about and stuck some wood on it lol. But good thing is that bumper sits right now, it used tosag down 25mm, now it's solid and perfectly flush.
Last edited by jont; 16-04-2014 at 10:18.
Loving the battery mount haha
The tray was from Ebay, the arms were from Honda S2000. The wood was from... errr the ground behind the shed lol.
OK haven't been doing much this week as my nerves are playing up. Got the holes in the fenders filled - which took friggin ages.... about 7 hours of sanding. And primed. Can't get much further with the rear 1/4's until a body shop gets involved. Does anyone know a decent Cambridge bodyshop that I can use? Incase GDUK don't come through. Thanks
Hmm well GDUK didn't get back to me and fed up of chasing shops so proceeding ahead solo:
- modified/filled rear quarters to accept my existing replikit fenders
- painted fenders
OK started paint the rear quarters for the second time:
OK today quarters painted. Again...
Also front grill arrived. One of the lugs is broken. As a result it doesn't fit properly. On the left it stick out 20mm too far and looks rubbish. Will have to do something about that at some point.
Ok grill fixed

Are you rubbing the paint back with wet and dry after it's dryed before giving it a final polish?
or is it just get it to the track and have some fun, don't waste time on asthetics?
Heya - at the beginning of the paint job I was rubbing every coat down (2xprimer 2xcolour 3xlacquer), then after like the 5th day I just got fed up with sanding sanding sanding and more sanding. Now it's just spray it on, and that'll do. Hopefully a final polish at the end should bring some shine to it.
Yeh TBH it's just a temporary paint job, meant to last a year or so until I can get back to work and save some funds for a pro paint job. Whatever that costs nowdays... up to £3k I suppose. Not sure what colour that'll be yet.
OK today's jobs done:
1) finished lacquering the rear quarters. That's all exterior paint done now(thank god)
2) put conduit on all of the interior loom and engine bay loom. I figured as the car will be bazzing around a track it'll be best to ensure there is ZERO chance of a wiring short & fire with the wiring moving around.
3) painted some odds and sods inside the car. The project is going to be Black car with Purple and Blue hig
4) re-did the battery mount for the 3rd time. Happy with it now lol.
Oh BTW - I don't suppose anyone has a fuse box cover for a 180SX? Lost mine a while ago.
OK weather has turned bad so can't get on with any body work. Instead going to get the engine freshened up and ready for use. Have purchased the following maintanence items:
- 5W40 Synthetic Engine Oil
- Blueprint Oil Filer
- Blueprint Fuel Filter
Also it seems prudent to ensure that he lubrication system is in top notch as the car will be used on track. I have already had a gated sump sump fitted, which is good. But I'd also like to clean the oil spray bars to ensure the lube system is nice and clean. Took cam cover off, top of the head looks in great condition. Very clean and the cam lobes are in great shape.
Removed spray bars. I am not sure if they are in good shape or not but best not take any chances so will clean them. I need to find out the best way of cleaning them.
 Posting Permissions


 Reply With Quote


