-
Guest


-
Guest

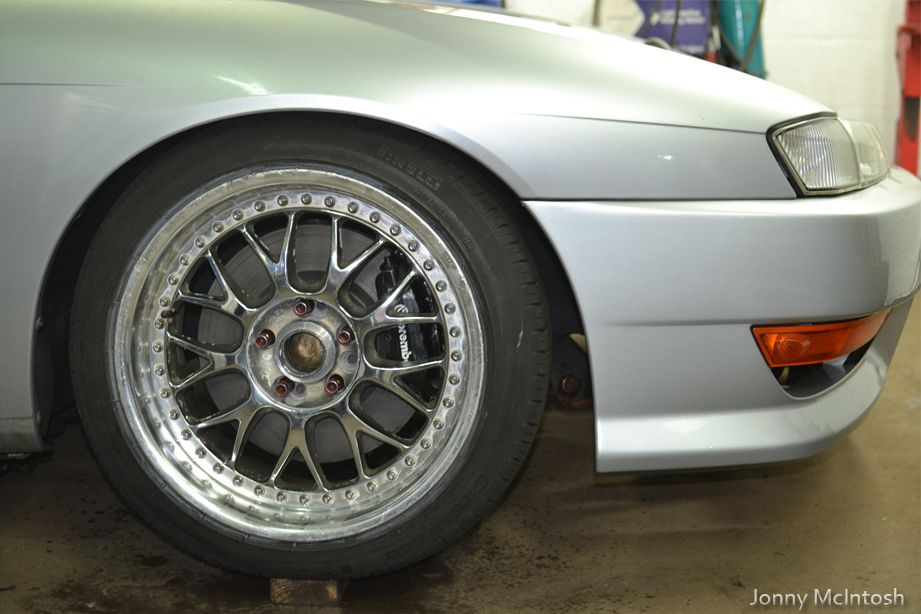
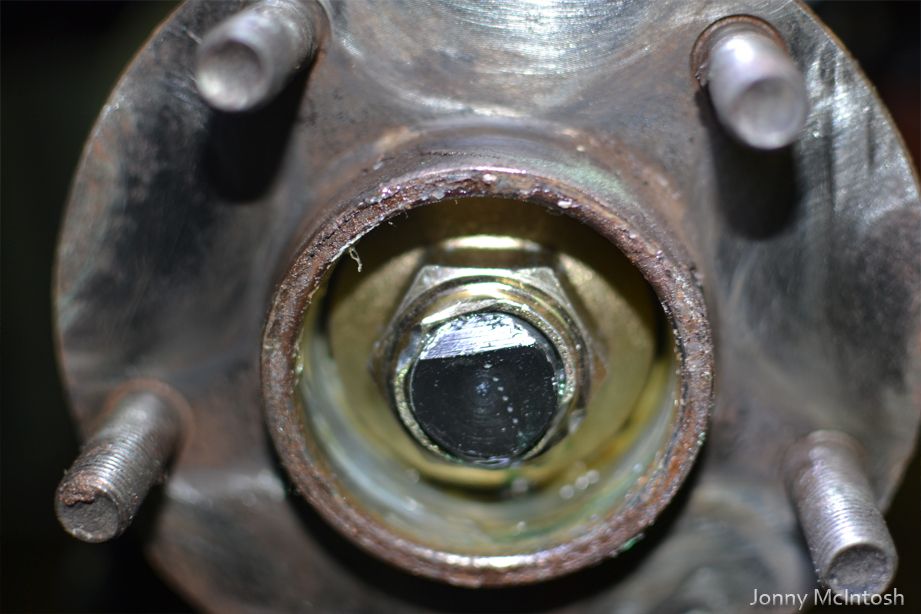
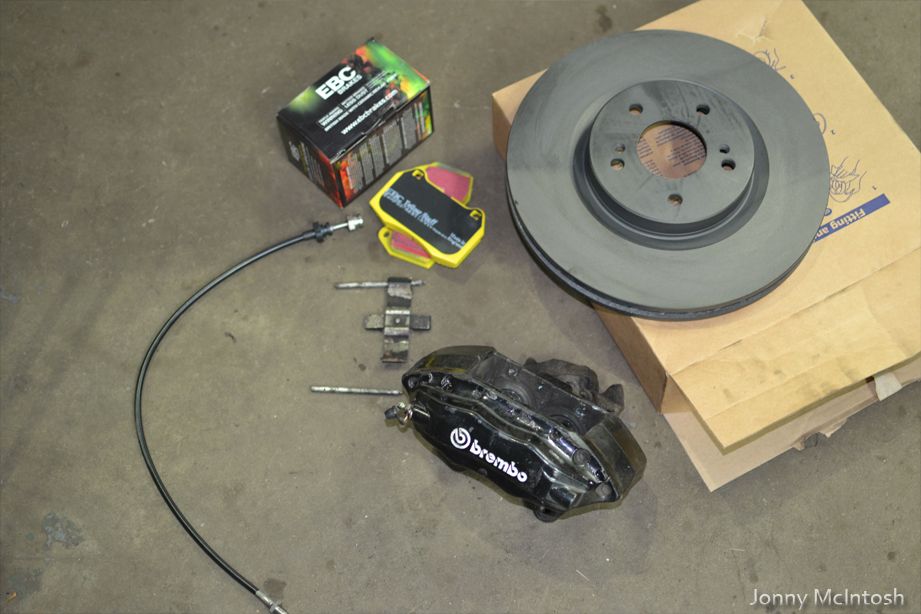
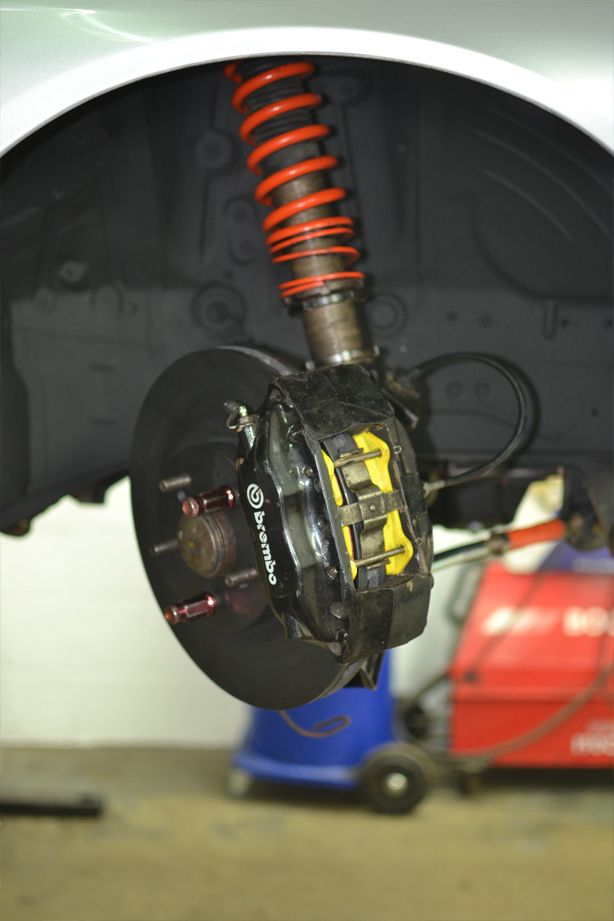
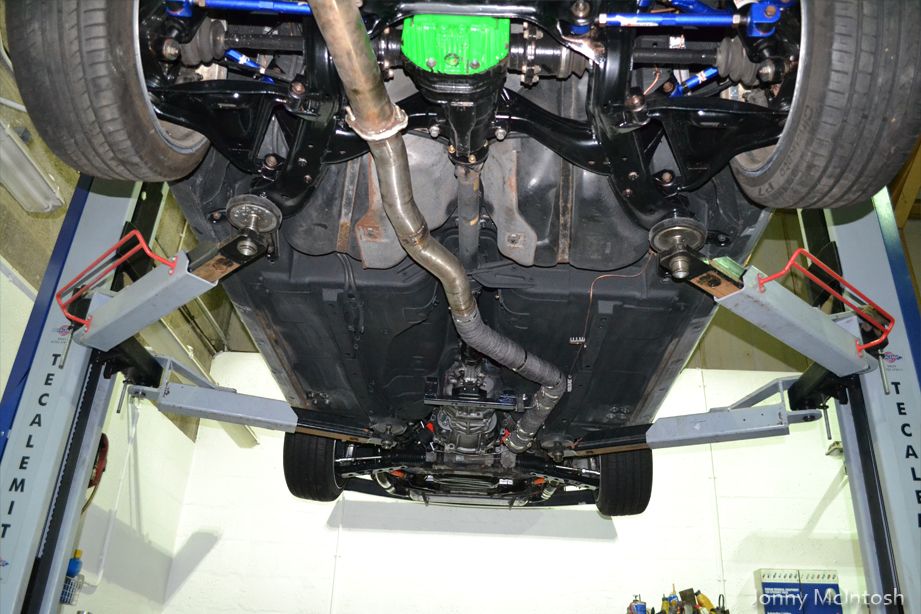
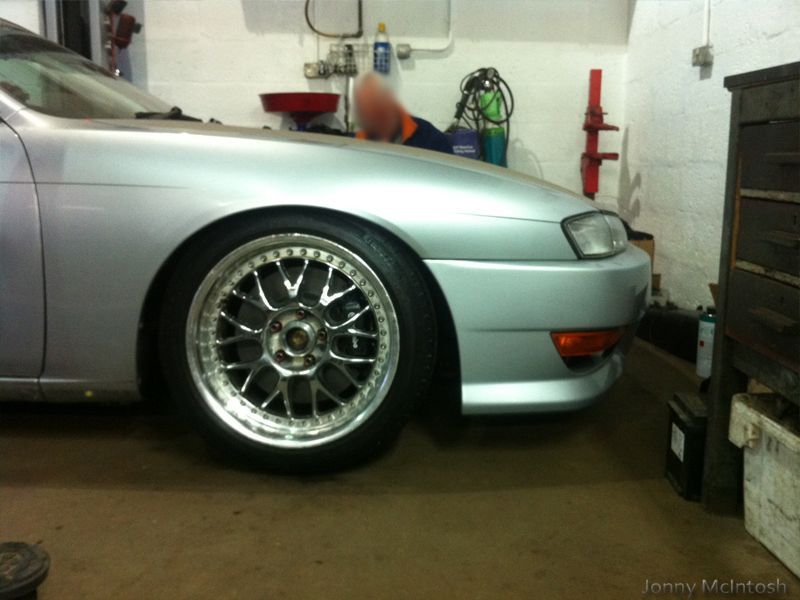
Damn those brakes are beautiful!
-
Guest
-
Guest
left to do before I can drive it
stuff:
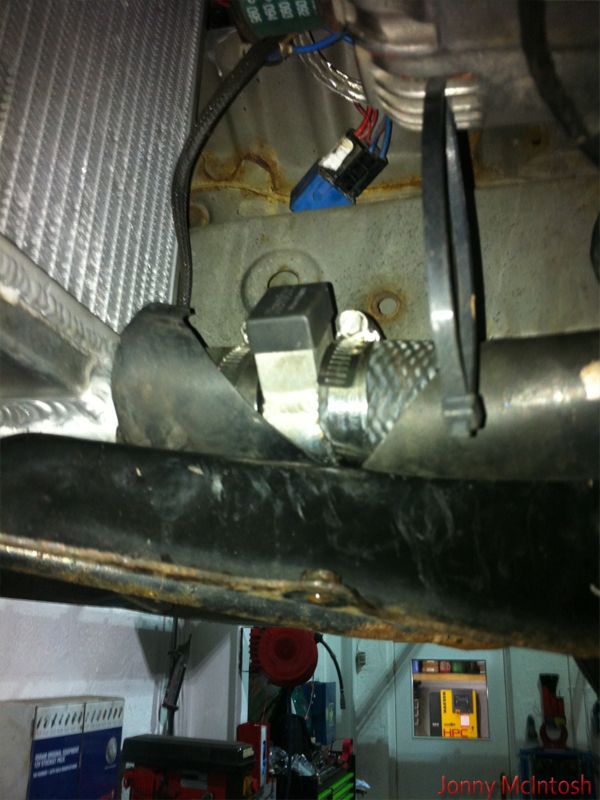
secure fuel pipes at rear chassis leg above camber arm
align car properly
fit p/s pump replacement washer on top hose
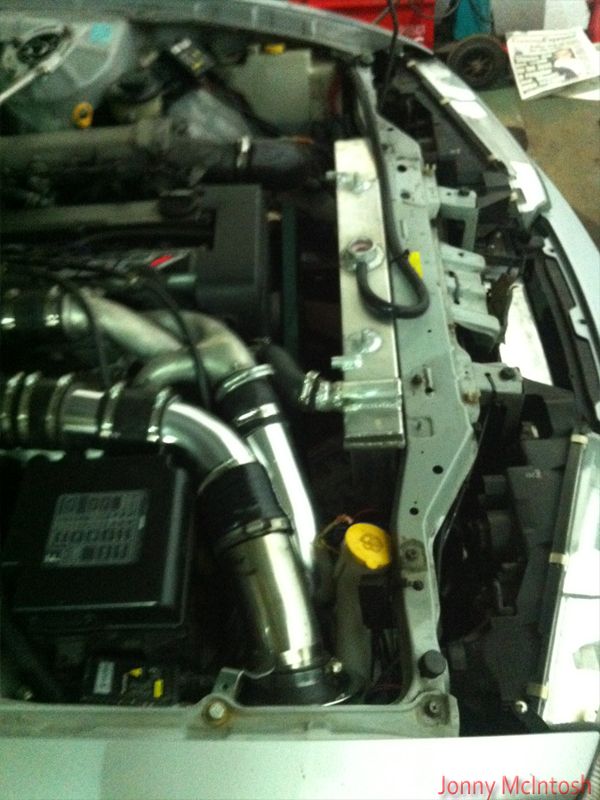
tidy loom at bulkhead and mount wiper relay inside car
fit bungs for recirc coming from ASH ebay
wire fan switch through a new relay, also wire revote fan controller
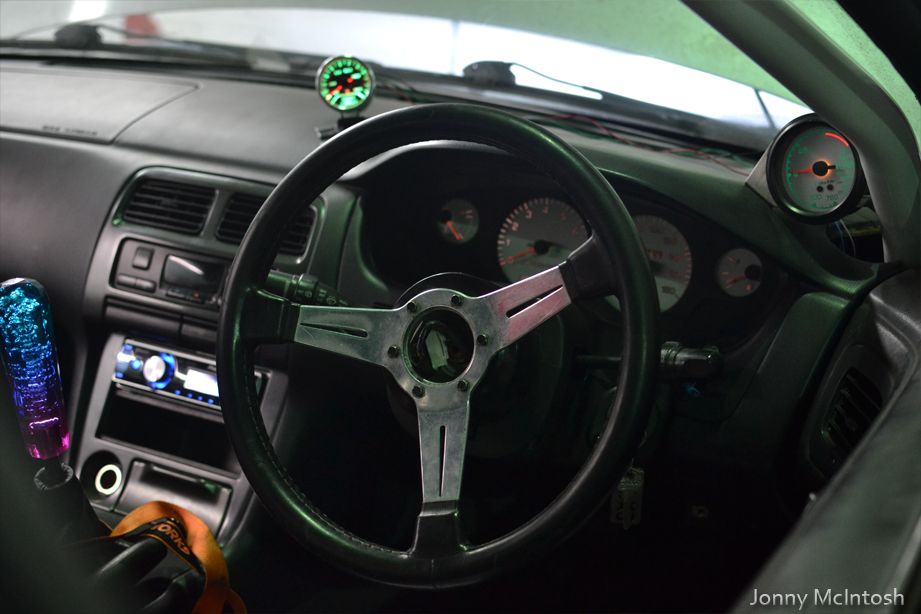
INTERIOR
-fit hydro
-fit harnesses around cage and tighten floor mounts
-buy sunstrip
-secure battery into boot and make earth cable
-fit Dakota rev counter signal converter
-fit water temp gauge to dash with 12v ign feed
-tidy up ecu loom on pass floor finally and secure ecu, possible mount in glovebox for easy removal
-switches for fan in dash
-fix HID relay for headlight
-
-
Guest

I think you are due a video update Jonny!
-
Guest
Just seen the videos on instagram sounds beautiful 
-
Guest
big updates!
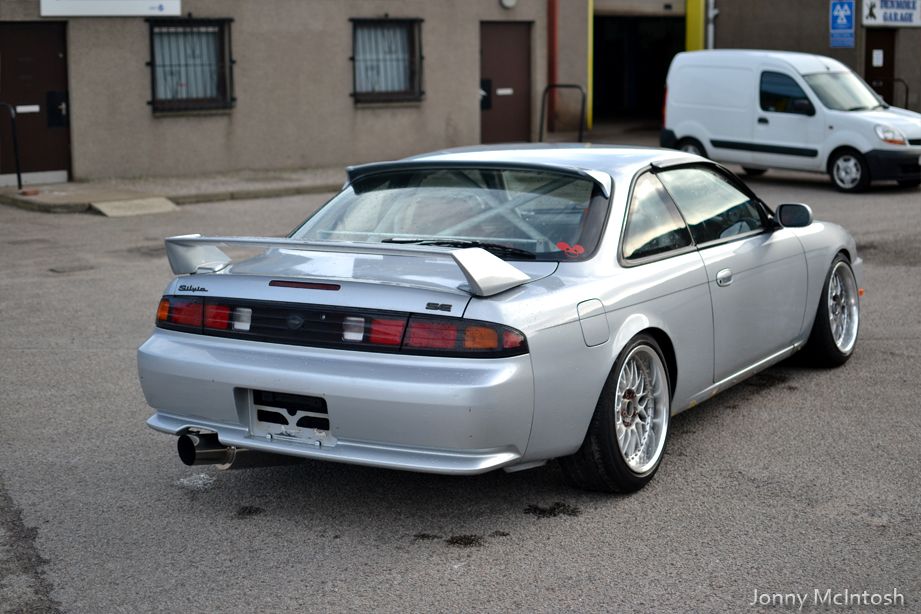
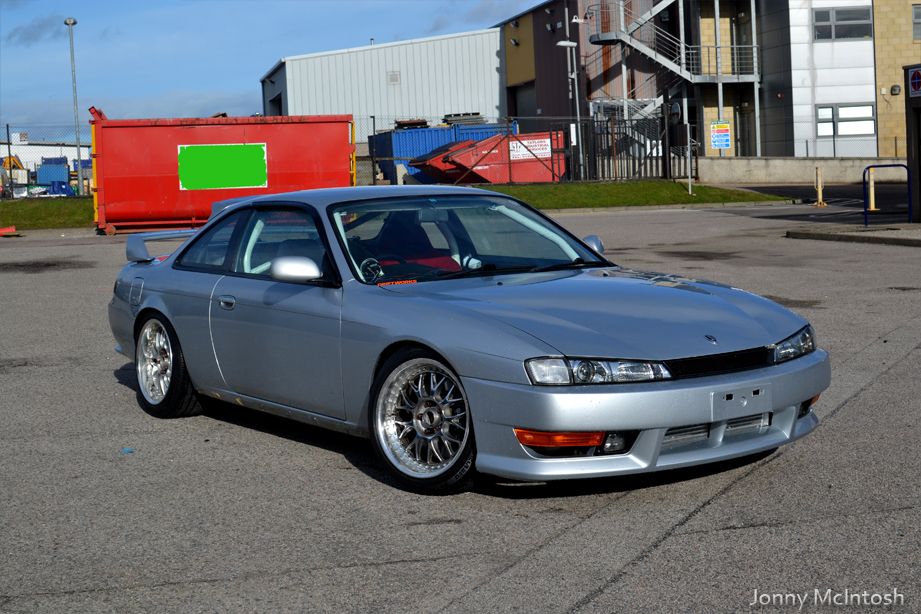
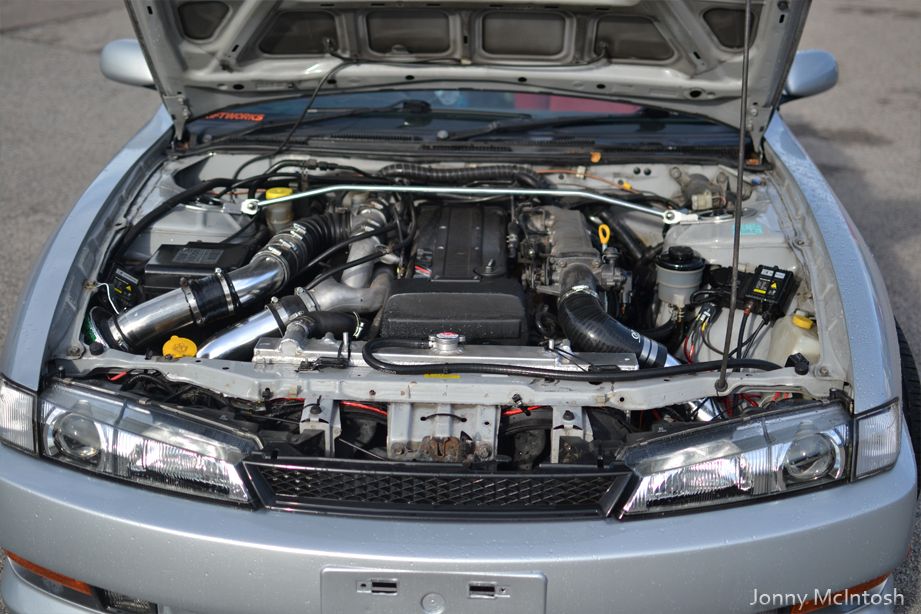
spent tuesday night doing most of the finishing work on the car
wired in the fans with a on/off switch on the dash under the clocks to a relay in the bay then to one of the fans
then wired in the revotec relay to the other one as it has a sensor in the bottom hose now
wired in the water temp gauge using feed from the stereo loom for a switched ign live
then wired in the greddy boost gauge using a light source from the back of the clocks
fitted all the interior back together with everything working too which was a bonus, just a few more bits to go back on like the glovebox and foot well trims
ran the battery cable down the diver side into the boot and cable tied to the cage and so on


got the bungs fitted to block the factory recirc, so the engine is finished now
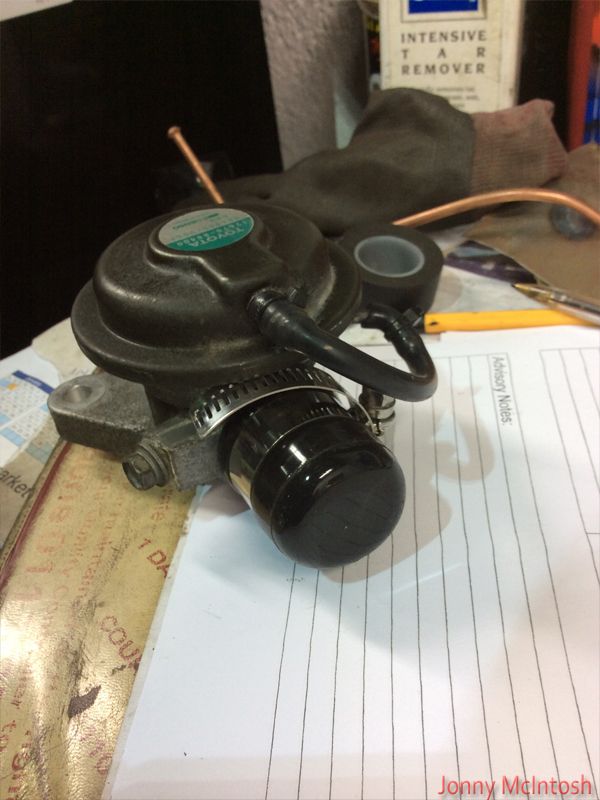
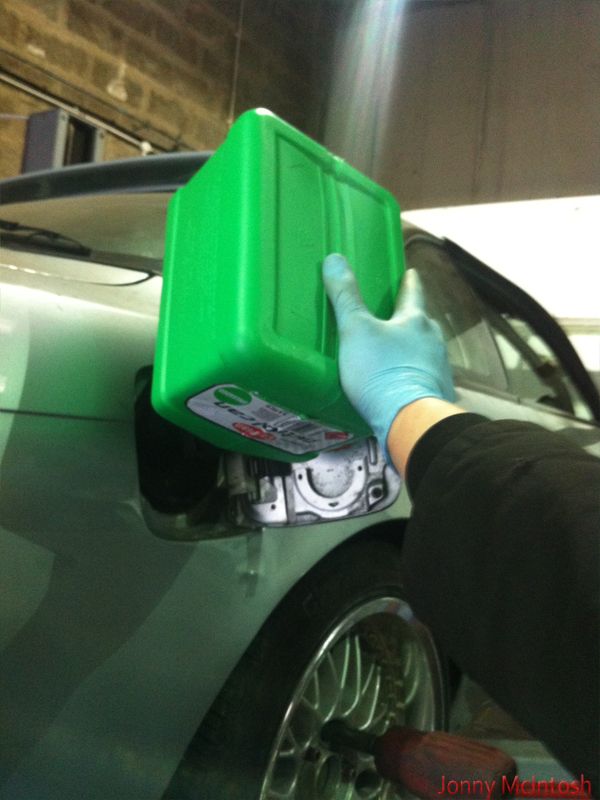
replaced one of the p/s washers for the fluid bottle to pump neck so was ready to go
pretty sure there was more stuff done too but i can't remember!
later on in the evening i thought i'd done everything and tried to fire it up
http://youtu.be/tQ5kIoRQvjg
unfortunately wouldn't go....turns out, long story short an earth for the ecu relay didn't have good contact as i'd had it on/off a few times, so it was not turning on the ecu.
called it a night as it was 11pm and i'd been at work since 7am that day and had work 7am the next day again....
----------------
wednesday night mark came round (redsx) to give a hand with getting it going
so with a new earth for the relay everything was working and it started up,
as expected it needed the coolant bled which was done in minutes and the power steering bled
this wasn't so simple, the pump was making some pretty bad noises and it was leaking everywhere
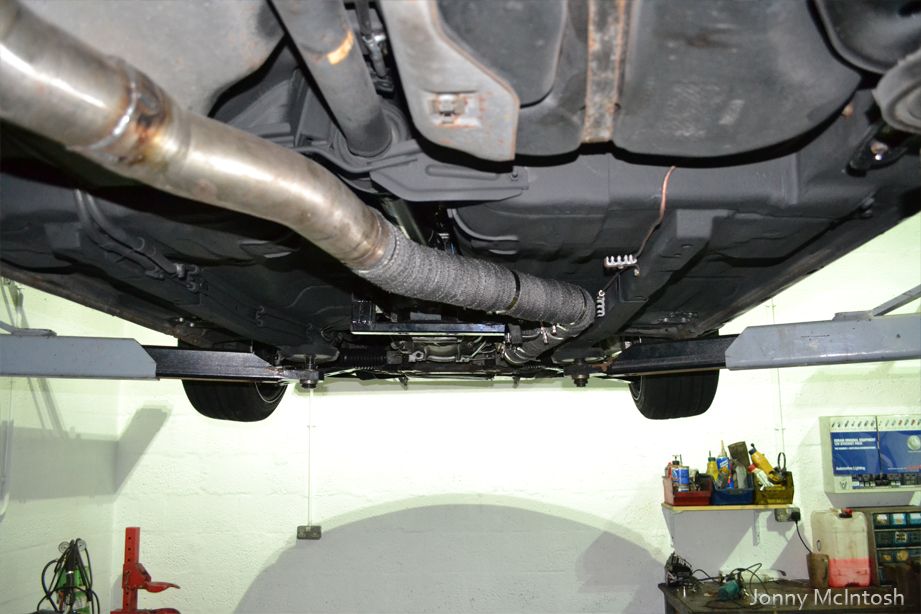
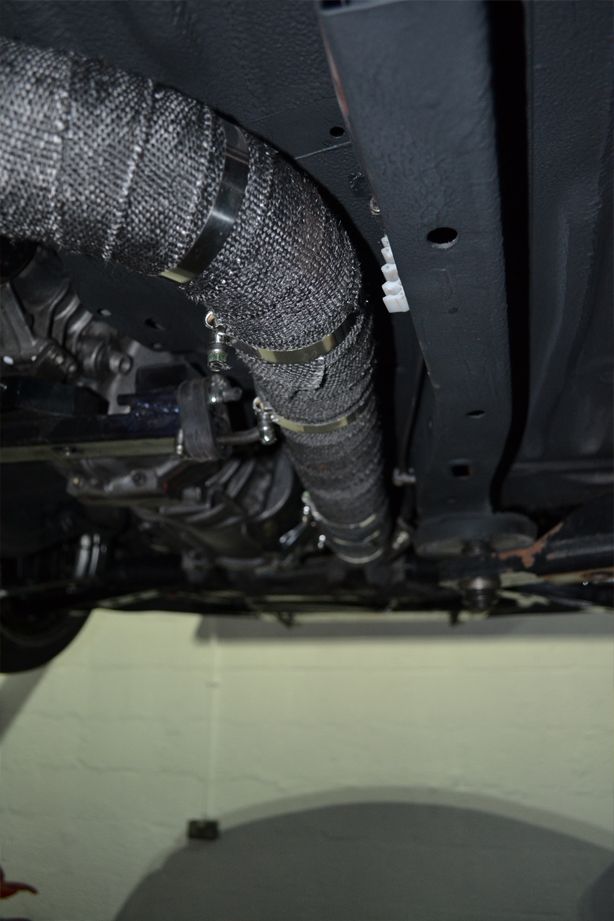
decided to carry on though, listen to that exhaust noise it sounds AMAZING!
http://youtu.be/CtZlThrvCsQ
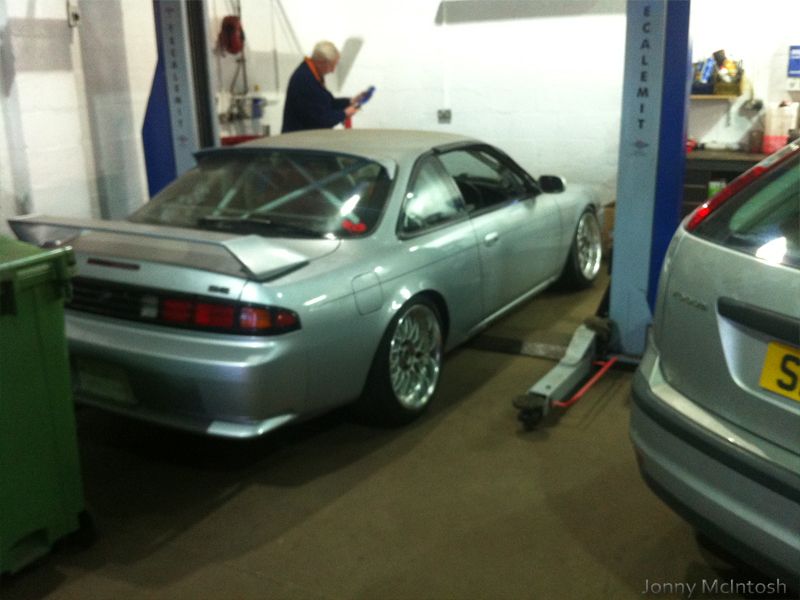
so with the coolant bled and half power steering it was time to see if it would move on it's own......
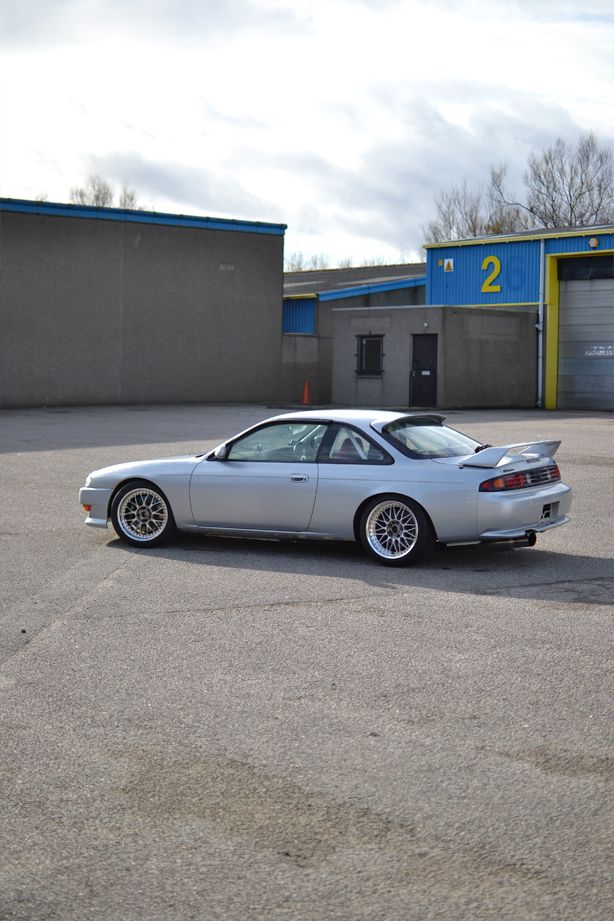
ahhh wow!! what a fantastic feeling it is to drive it again!! needs alligned but apart from that it's amazing
really can't wait to get it out and open it right up fully!!
---------
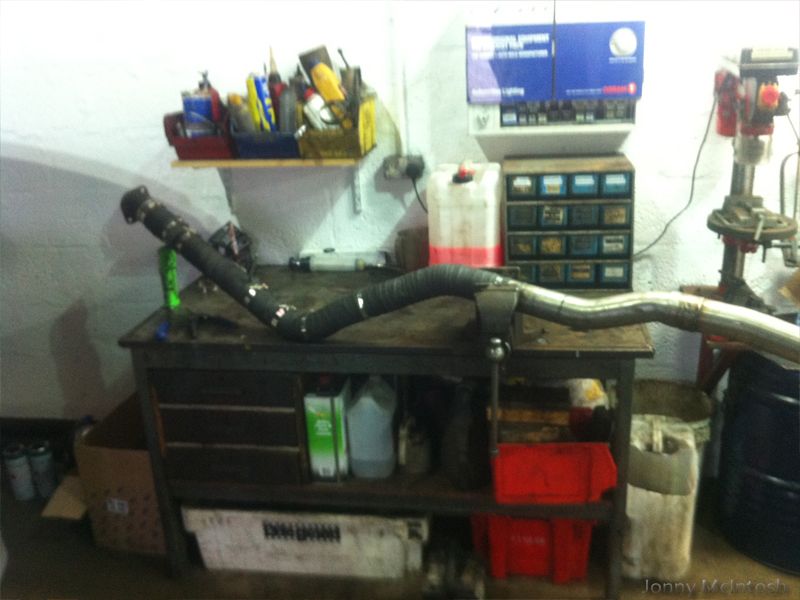
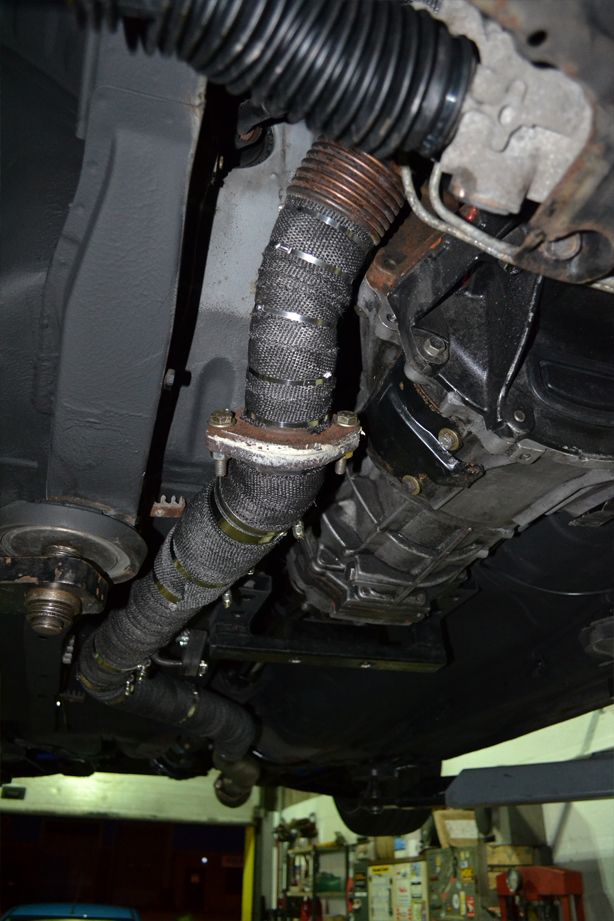
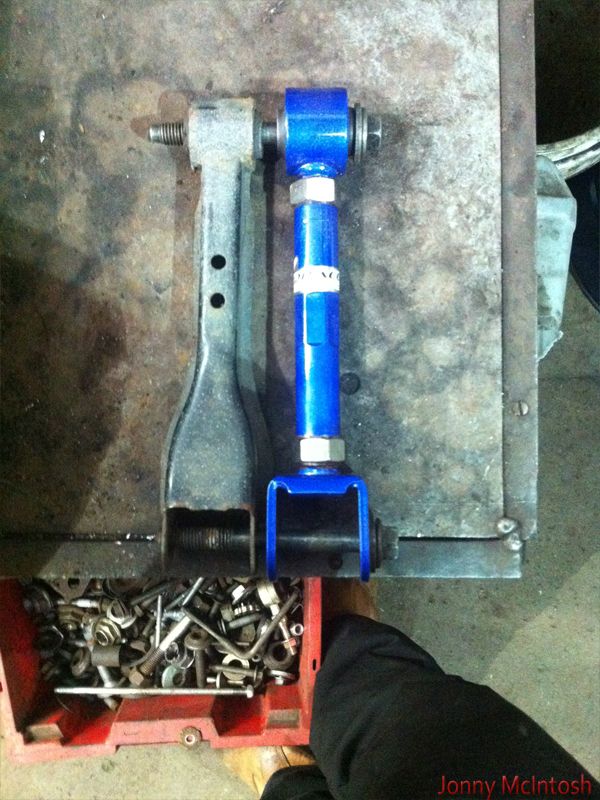
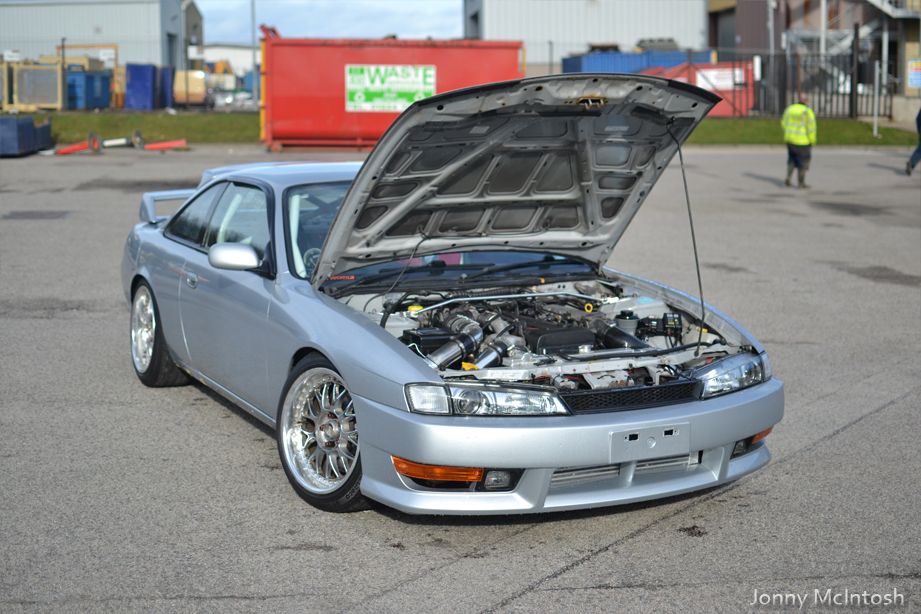
next day, after a discussion with dan smith, decided to do what he's done and fit a soarer banjo to the pump as that's the correct size and make it all mix together somehow
it would seem that the s14 factory pipe banjo is smaller than the soarer banjo
so emptied the power steering fluid and removed the s14 pipe
removed the power steering pump and swapped it with my spare one from my old soarer which i knew was good
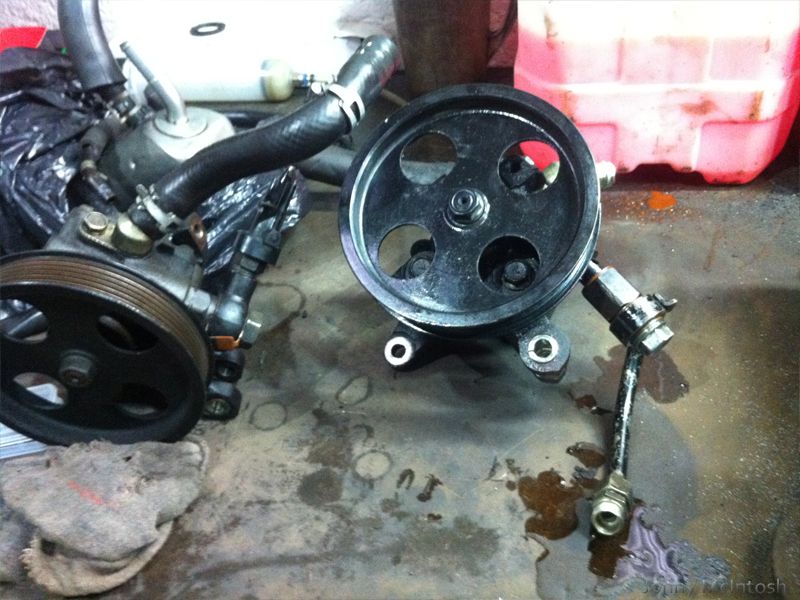
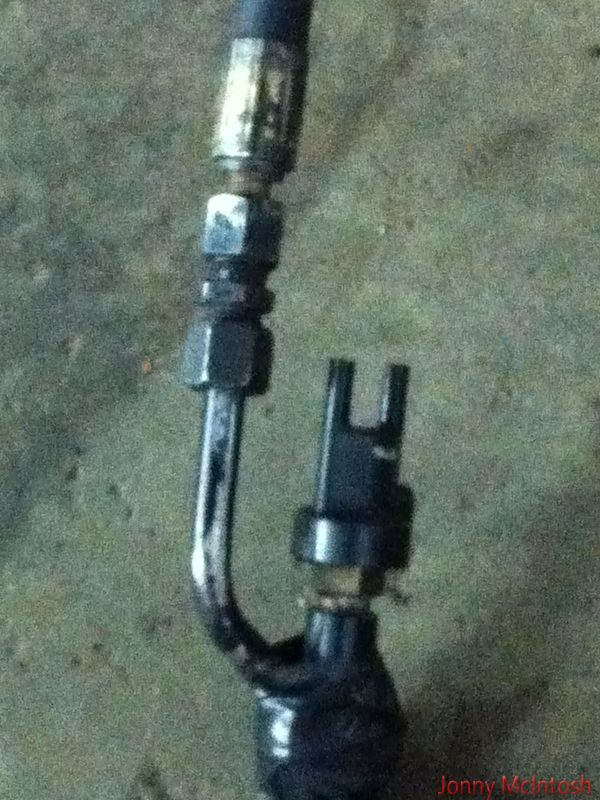
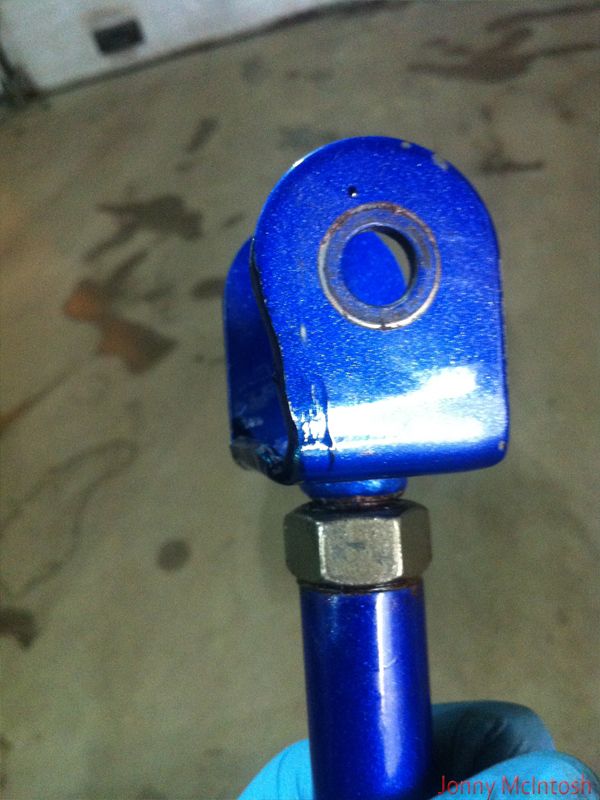
banjo comparisson can be seen here

so the hydraulic shop next door to my work managed to get the soarer banjo onto the s14 pipe
used a female fitting onto the s14 hose
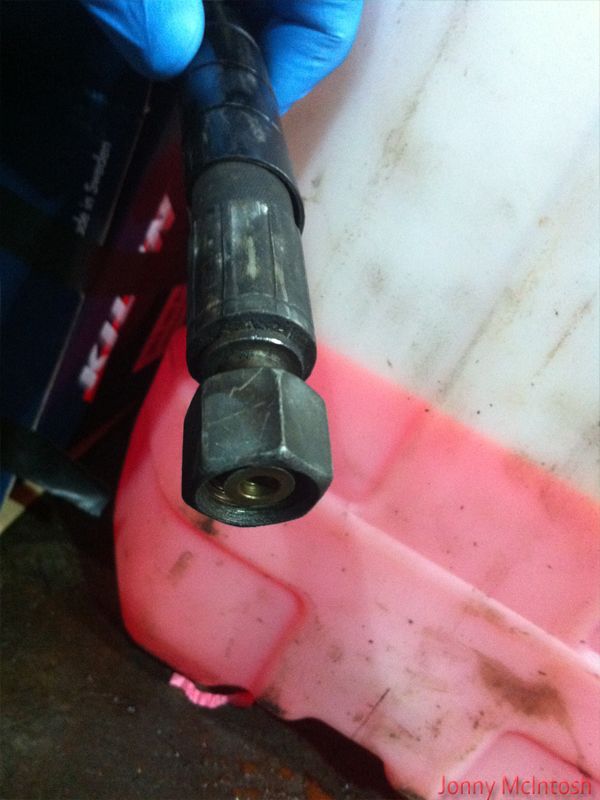
and another nut onto the soarer banjo pipe
which went together like this
fitted and filled up with new fluid
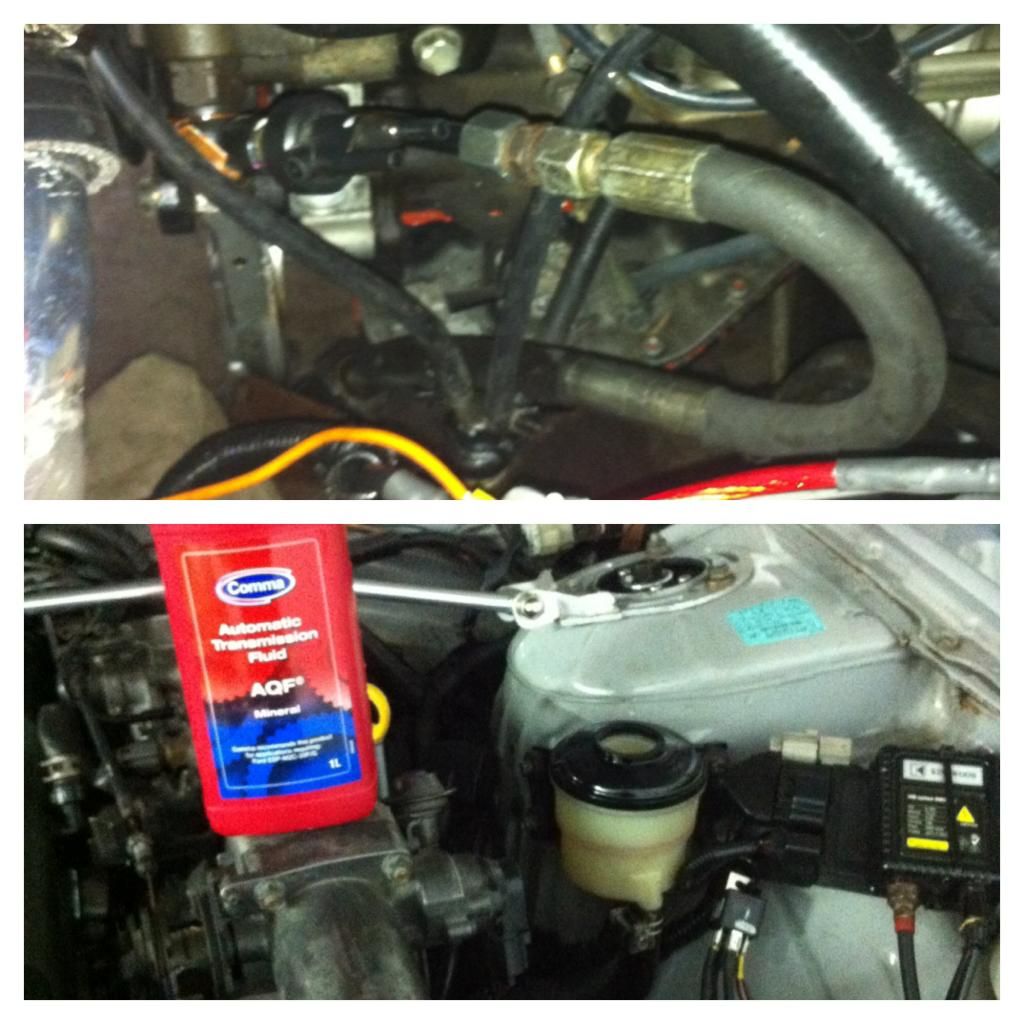
started it up and it was perfect! such a difference, new pump was quiet and had no bleeding issues, was basically fully bled by the time i started the engine as i'd manually turned the wheels lock to lock and left it overnight with the cap off
apart from that the noises are pretty cool too! sounds like a ridiculous race car now haha
-
Guest
-
-
Guest

Christ almighty that sounds sweet! Good work 
-
-
Guest
epic build!!
good work pal, must have cost you an arm and a leg!
-
Guest
Great effort! Sounds awesome. I'm sure it will be amazing to drive too
-
Guest
thanks guys
bit of an update, waiting on some parts arriving, having a running issue with it now since it's only started to reverse out of the garage then parked every day so I think it's choked up the plugs
taking them out tomorrow morning for a clean, I had the idle control valve off tonight for a wee bit of a clean including the part inside the inlet manifold
I have a 2jz pcv valve on order from Toyota and will be here Thursday, mark noticed my current hose has collapsed and expands when revved, so I thought I'd best to change both since the 2jz valve is a highly recommended upgrade anyway
battery box is on the way from ebay, and a battery voltage gauge for the dash
along with a compression tester so I can be sure it's all good
booked into Wallace performance next week for a 4 wheel lazer alignment and will be buying my road tax on Saturday morning so I can drive it home from my work 
oh also putting a new battery in tomorrow
-
Guest
I am so unbelievably jealous of you for this, Jonny. Need to see it skidding!
-
Guest

Looks amazing! would love a jz in mine
-
-
Guest

IT LOOKS AAAAMMMMAAAAZZZIIINNNGGGG! Awesome job dude....
-
Guest
 Posting Permissions
- You may not post new threads
- You may not post replies
- You may not post attachments
- You may not edit your posts
-
Forum Rules


 Reply With Quote
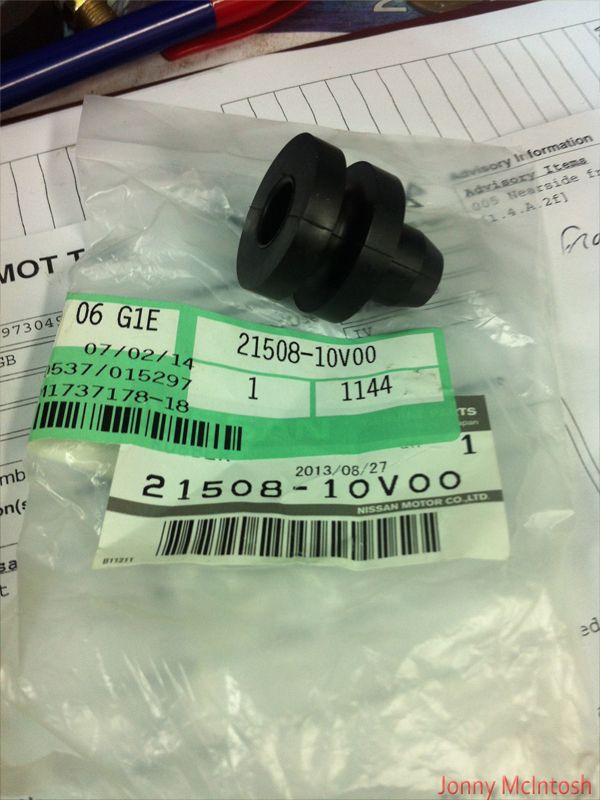


 looks awesome


 really makes me reconsider the plans with my car! hahahahaha!