Page 2 of 6 FirstFirst 1234 ... LastLast
Results 21 to 40 of 119

Thread: The Whole 3.6 Yards, Suzuki Cappuccino

  1. #21
    Flamethrower Pablo13's Avatar
    Join Date
    Aug 2006
    Location
    Wanstead
    Posts
    7,763
    Rides
    0
    Got a few quick comparison videos of the old and new exhaust for you all:

    Old
    http://www.youtube.com/watch?v=IrQuVfrWqqM

    Suzuki Sport
    http://youtu.be/yG-npBtGZGQ

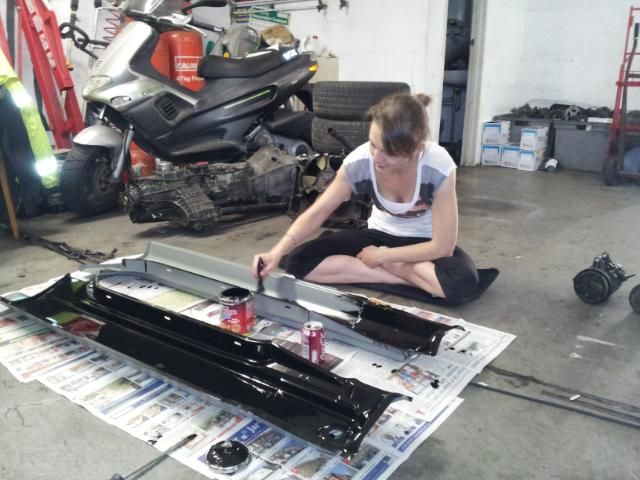
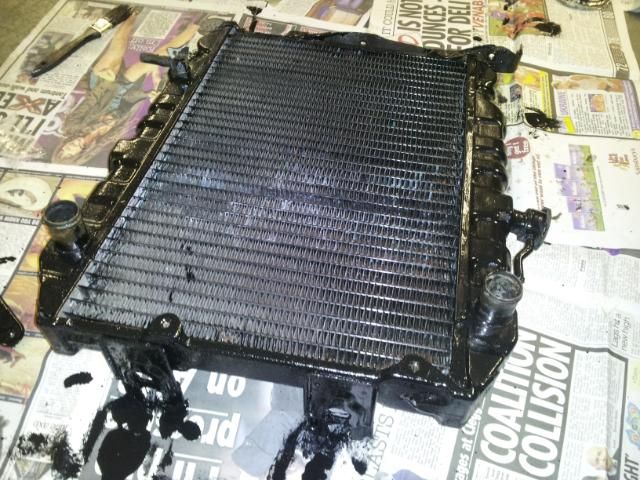
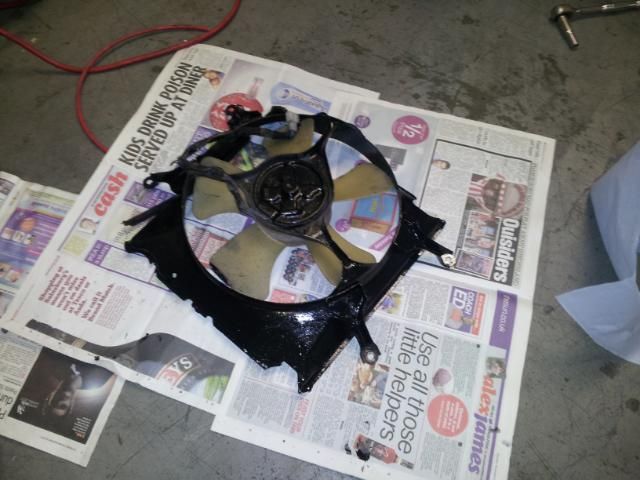
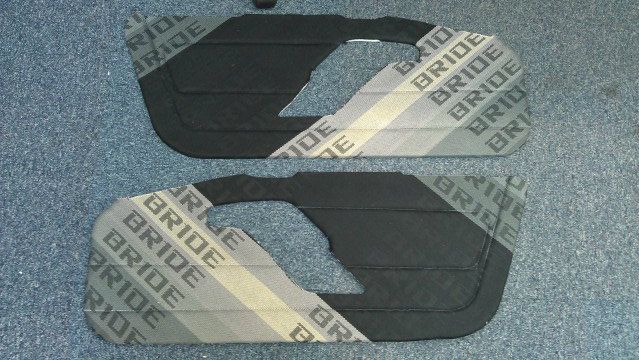
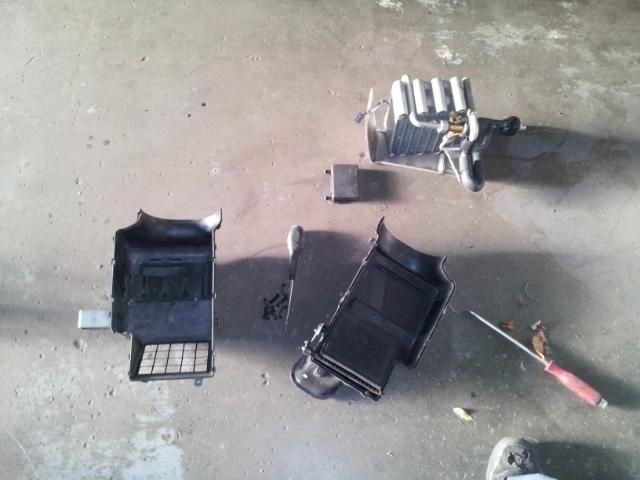
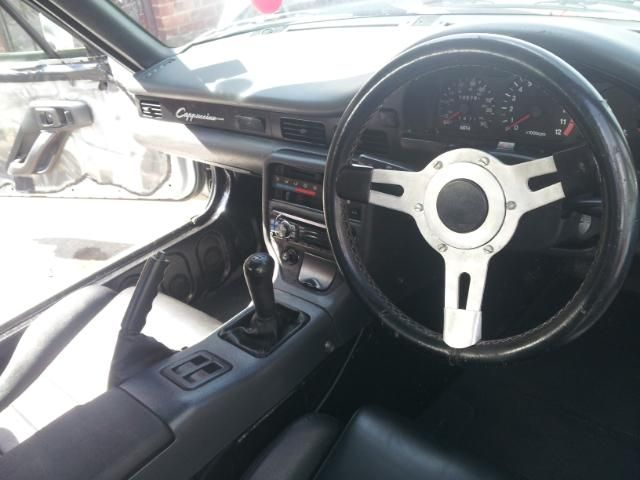
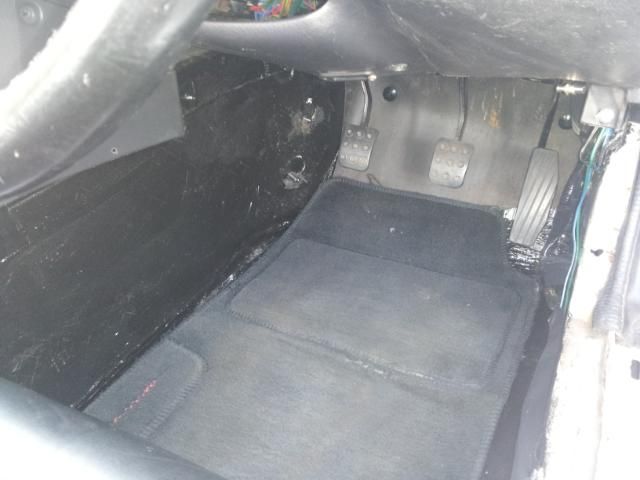
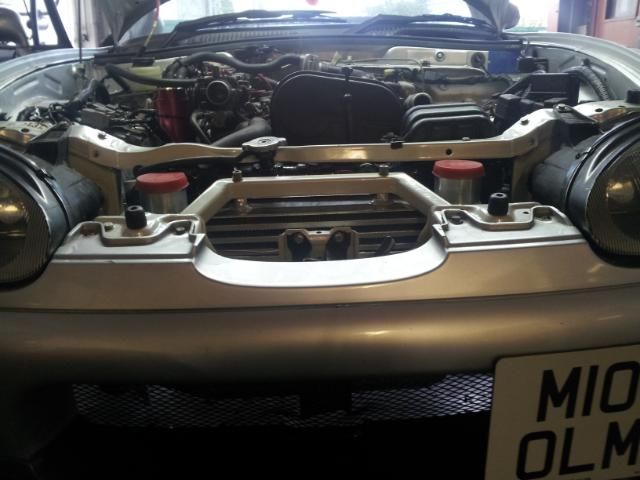
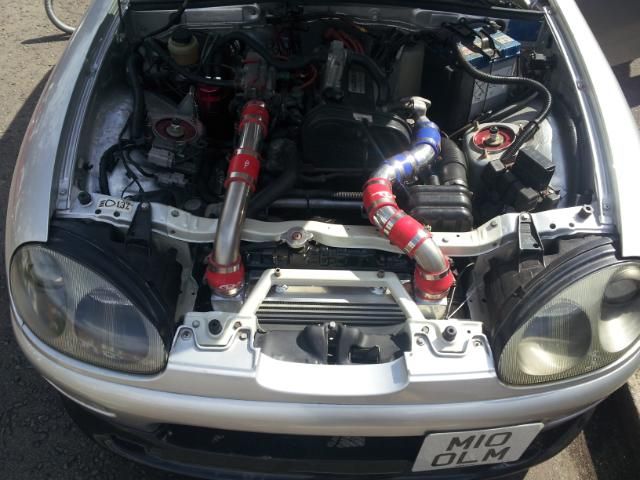
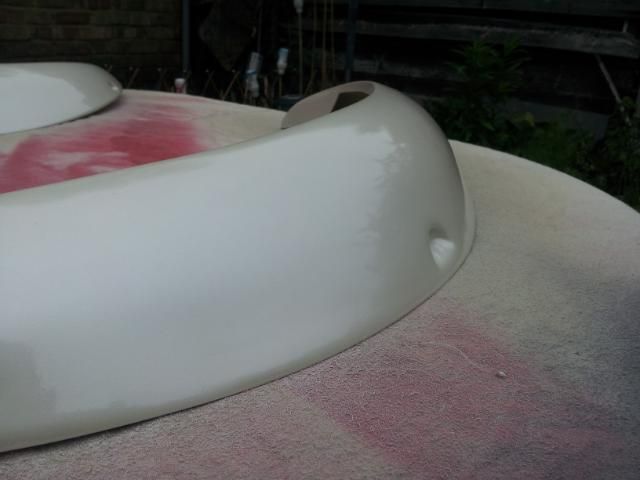
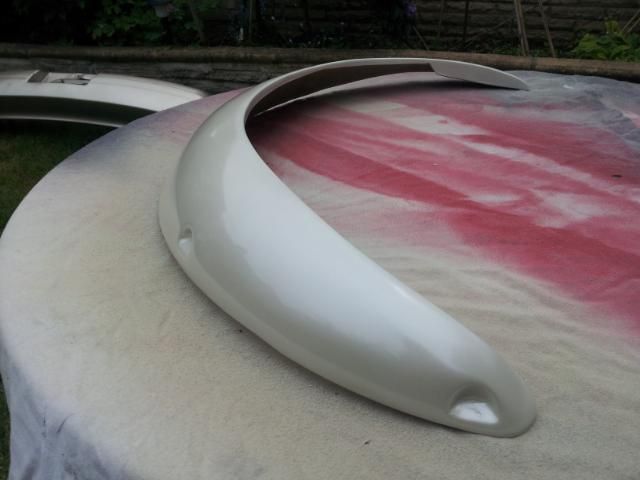
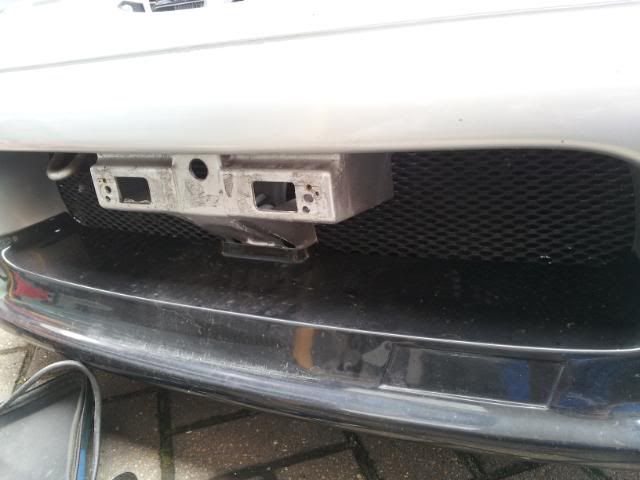
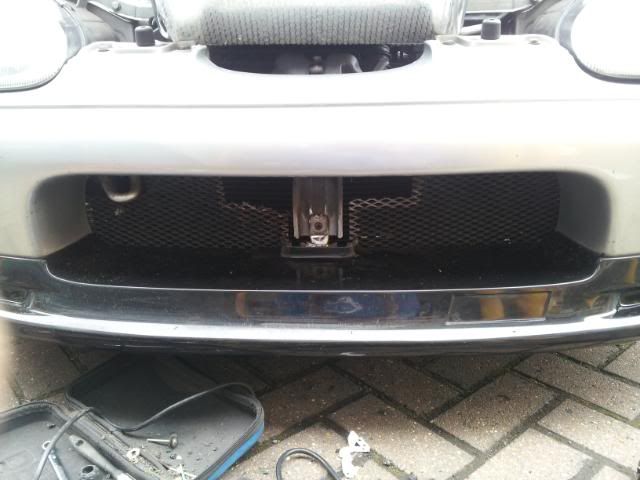
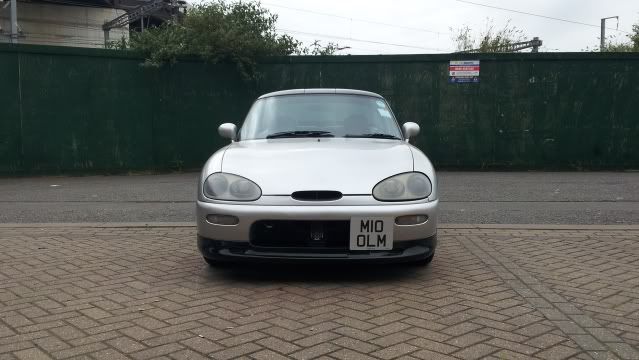
    Did a few more slight tweeks over the weekend, have a look...


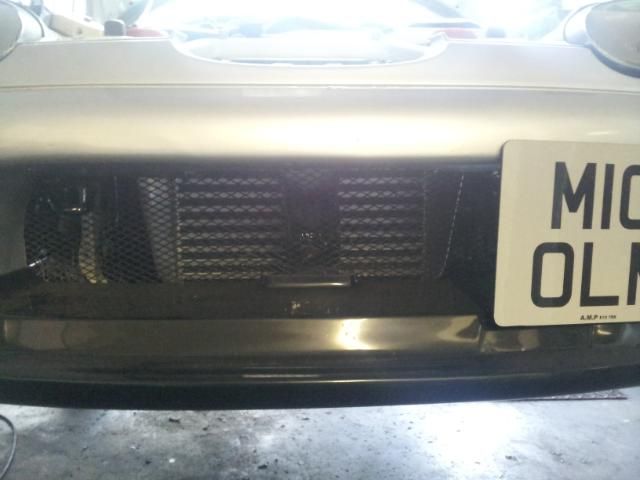
    As you can see I'm in need of some new mesh, but pleased with the results
    Last edited by Pablo13; 28-08-2012 at 19:25.
    bstmeetbllk

  2. #22
    Flamethrower Pablo13's Avatar
    Join Date
    Aug 2006
    Location
    Wanstead
    Posts
    7,763
    Rides
    0
    Just a little update today. I got some replacement mesh for the front, It's in, but needs a bit more adjustment and fixing in place to be perfect.

    I also added this little guy to join me in my travels. Sort of a lucky charm I guess

    And he proved a good addition as we went on a little 5 day break to the Isle of Wight with my other half. Thankfully all our bits we needed we got in, crucially packed in soft flexible bags for maximum room. Drinks and laptop in the roof cavity too, and she performed well Here she is sunning herself at Ventnor.

    Only thing to report was that my drivers front indicator stopped working on the drive down. Bought a bulb for it but it didn't fix it, so I'm expecting it to be a loose wire somewhere or something similar. Other than that she was faultless. One thing we have been doing was soften the suspension in the past month or two. Since the monster sport diff mounts were fitted things were a bit firmer, so we backed it off a bit after that. The Isle of Wight roads are quite bumpy we culminated the process there getting back down to the softest setting at the back for a while and ending up 1 click from soft, front slightly stiffer at around 3 or 4 clicks from soft. We even spotted a Suzuki dealership on the island so anyone planning a trip down there in a cappo is catered for
    bstmeetbllk

  3. #23
    Flamethrower Pablo13's Avatar
    Join Date
    Aug 2006
    Location
    Wanstead
    Posts
    7,763
    Rides
    0
    I have been accumulating some parts


    I had also re-covered my rear interior plastics in a leather/vinyl materal but wasn't happy with how they came out. I have since pulled it all back off, cleaned the adhesive off it all, plastic welded holes that had been cut in them for speakers and began flocking them.
    I have also ordered some new wheels that should arrive in the country before the month is out
    bstmeetbllk

  4. #24
    Flamethrower Pablo13's Avatar
    Join Date
    Aug 2006
    Location
    Wanstead
    Posts
    7,763
    Rides
    0
    Here is a quick one of my rear panels for you all.

    One before flock


    And a finished example


    I also took my door cards off yesterday


    And then took them to pieces ready for a rebuild


    I'll leave you with a snap of my new wheel that I can't fit yet due having a random boss currently bolted to my car
    bstmeetbllk

  5. #25
    Flamethrower Pablo13's Avatar
    Join Date
    Aug 2006
    Location
    Wanstead
    Posts
    7,763
    Rides
    0
    Been outside today working on the headlights. Its been nearly a year since I de-yellowed them and they looked like they needed another pass. I used G10 by hand It looked better but not great so I followed that with some Poorboys 2.5SSR, 3m Finesse it, and waxed in the shiny ness


    bstmeetbllk

  6. #26
    Guest Dave270r's Avatar
    Join Date
    Apr 2006
    Location
    Sudbury
    Posts
    5,490
    Rides
    0
    Looking good. First time I've seen this thread. When do the wheels get bought?

  7. #27
    Flamethrower Pablo13's Avatar
    Join Date
    Aug 2006
    Location
    Wanstead
    Posts
    7,763
    Rides
    0
    Down the garage again. In fact I have left the old girl there for some loving over next week to get as much of the welding done and dusted as possible.

    But firstly it was time to attempt the intercooler fitting,

    Emptied everything out the way including removing the air con stuff. Nice warm day to do it, but it never worked so was just un-needed weight really.


    I wasn't much help myself while all the fabricating was going on,
    so I spent my time painting the insides of my new sills with Por 15

    The rad mounts were extended like so

    fabbed this nifty bracket up for the top and another for the bottom.

    Everything else fits back in behind still too


    Also noticed the "intake" for the airbox didn't actually go anywhere.....

    it does now

    First time we have had the front bumper off and there are lots of little rusty areas in need of some help. I especially like the "lets put some filler over the rust" bodges on the inner wings :


    That's for another day though. I hung the bumper on to give you an idea of how it will look


    Began mocking the boost pipes, but I really need to order some 90 degree bits to complete


    And thats how we left it. I'm car-less till next week, but I have been promised some pictures of progress to tide me over in the meantime

    bstmeetbllk

  8. #28
    Flamethrower Pablo13's Avatar
    Join Date
    Aug 2006
    Location
    Wanstead
    Posts
    7,763
    Rides
    0
    Quote Originally Posted by Dave270r View Post
    Looking good. First time I've seen this thread. When do the wheels get bought?
    That's cos I've posted it up in one go today Wheels coming shortly
    bstmeetbllk

  9. #29
    Flamethrower Pablo13's Avatar
    Join Date
    Aug 2006
    Location
    Wanstead
    Posts
    7,763
    Rides
    0
    Things are moving on nicely. Removed the dash.

    And a few wires

    Everything in fact, and then got on with the welding of the footwells


    Strip down and de rustifaction of the front end via wire brushes, metal ready, and Por 15. Warning, what follows is like and advert for Por 15 and I appologise in advance


    Tidied the outside edge of the rad

    Fan got it too


    Oh, and I got my re trimed door cards back. They look great and I'm over the moon with them. The foam backing has been replaced and the stiching follows the original lines, have a lookie,

    Can't wait to get them back together
    bstmeetbllk

  10. #30
    Flamethrower Pablo13's Avatar
    Join Date
    Aug 2006
    Location
    Wanstead
    Posts
    7,763
    Rides
    0
    The air con evaporator was removed from the heating system for even less weight.

    Tidied up the pedal boxes and a few other bits too

    New floor at the front

    Complete with reinforced jacking point

    It was looking nearly complete

    Then had to cut out more bodged welding


    The front end got a lick of paint to complete


    bstmeetbllk

  11. #31
    Flamethrower Pablo13's Avatar
    Join Date
    Aug 2006
    Location
    Wanstead
    Posts
    7,763
    Rides
    0
    Driver side is complete just needs paint

    Started on passenger side

    No air con here

    The front has started to go back together
    bstmeetbllk

  12. #32
    Flamethrower Pablo13's Avatar
    Join Date
    Aug 2006
    Location
    Wanstead
    Posts
    7,763
    Rides
    0
    I CAN HAS FLOOR!!!

    All metal on both sides and everything

    Ground the aircon blank back a bit

    Started to tidy but not quite finished

    Things started to go back inside

    Held off with the door cards and wheel. I'm still waiting on some screws for the Nardi and sills will get started next week so want to keep the nice stuff out the car until then at least. Got to here

    No carpet, but mats. Perfectly liveable


    Bumper went back on, you can see we still get a bit of 'cooler at the top where the original went

    but most of it is down here

    Re adjusted catch set up

    The boost hoses were made up with what we had, some further adjustments will follow later


    Feels quite a bit different now, more eager to please and I have gained some wastgate chatter too which is something I have been wanting for a while so very pleased
    bstmeetbllk

  13. #33
    Flamethrower Pablo13's Avatar
    Join Date
    Aug 2006
    Location
    Wanstead
    Posts
    7,763
    Rides
    0


    Oh, you would like to see inside the box?

    Well as its you


    And to finish this post of pure teasing, I give you "hint of door card"

    Thank you and good night
    bstmeetbllk

  14. #34
    Flamethrower Pablo13's Avatar
    Join Date
    Aug 2006
    Location
    Wanstead
    Posts
    7,763
    Rides
    0
    The flares weren't to sexy when they arrived


    But they are now


    I'm sure you'll have seen hints of this white pearl colour, like on the front end, this is the colour the whole car will be going eventually too
    bstmeetbllk

  15. #35
    Flamethrower Pablo13's Avatar
    Join Date
    Aug 2006
    Location
    Wanstead
    Posts
    7,763
    Rides
    0
    Your now all up to date, like a boss
    bstmeetbllk

  16. #36
    Guest Teggers's Avatar
    Join Date
    Jul 2006
    Location
    Down in the foam, playing with the string...
    Posts
    13,144
    Rides
    0
    Looks great! A LOT of work but worth it in the end to keep one of these little gem's going. Looking and going better then ever too

  17. #37
    Guest Dave270r's Avatar
    Join Date
    Apr 2006
    Location
    Sudbury
    Posts
    5,490
    Rides
    0
    Nice choice on the rims

    I can't believe these things rust as bad as S bodies

  18. #38
    Guest
    Join Date
    Jun 2005
    Location
    Wherever I run out of petrol!
    Posts
    14,549
    Rides
    0
    Bout fcuking time, gonna look mini pimp on dem rims

  19. #39
    Guest Ashleyyy's Avatar
    Join Date
    Dec 2010
    Location
    Land of Robin Hood
    Posts
    3,072
    Rides
    0
    So cool nice work pabs some serious effort and attention to detail there

    On a side note where have you got your copious amounts of bride material from? Selling any?

  20. #40
    Guest Simaroon's Avatar
    Join Date
    Jun 2007
    Location
    S Wales
    Posts
    1,669
    Rides
    0
    Love this !!

    Lots of work gone into it I want to buy it

Posting Permissions

  • You may not post new threads
  • You may not post replies
  • You may not post attachments
  • You may not edit your posts
  •