Page 1 of 6 123 ... LastLast
Results 1 to 20 of 119

Thread: The Whole 3.6 Yards, Suzuki Cappuccino

  1. #1
    Flamethrower Pablo13's Avatar
    Join Date
    Aug 2006
    Location
    Wanstead
    Posts
    7,763
    Rides
    0

    The Whole 3.6 Yards, Suzuki Cappuccino

    Just thought I would show you lot what we have been up to with Nikki's Cappo

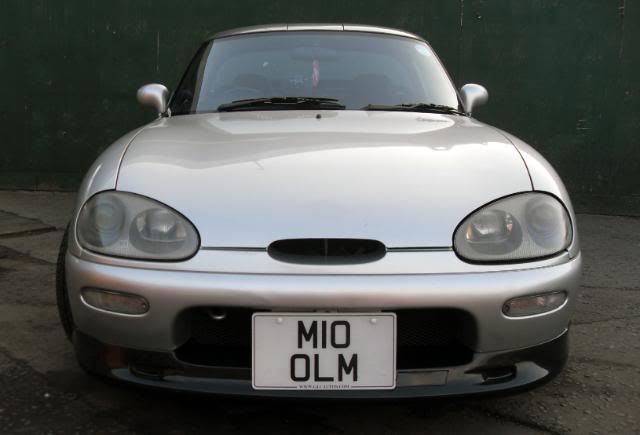
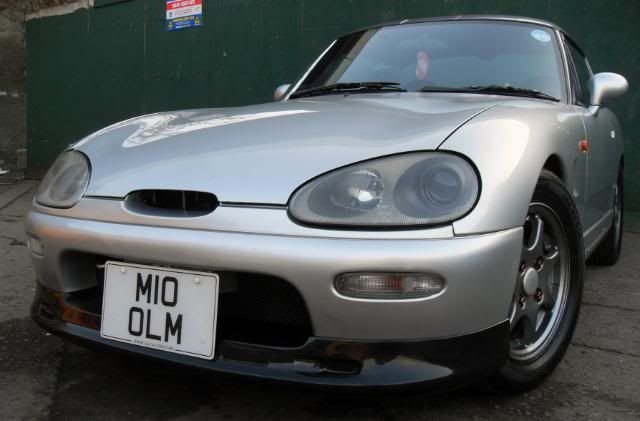
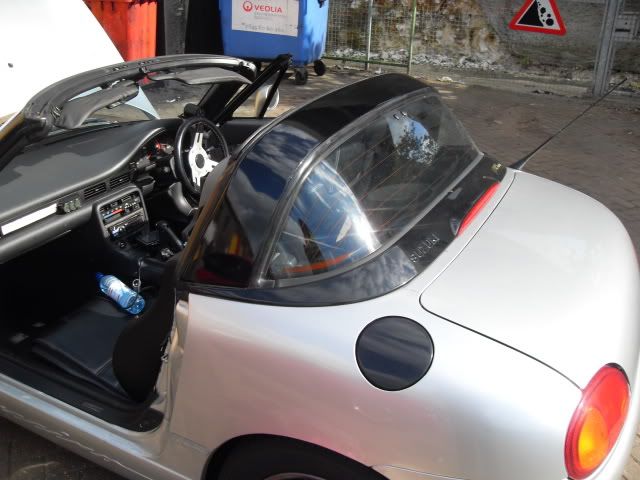
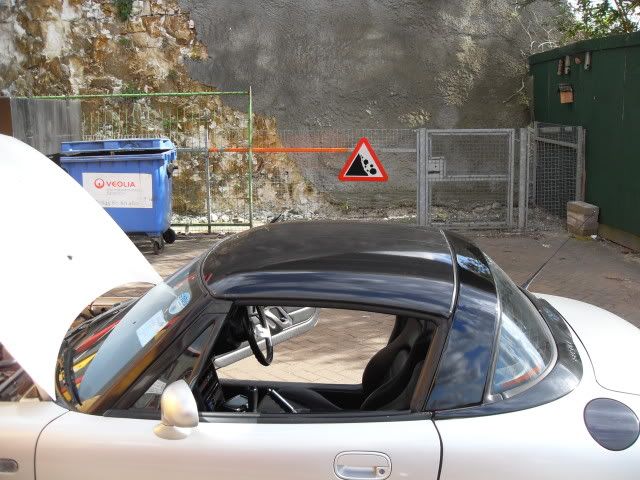
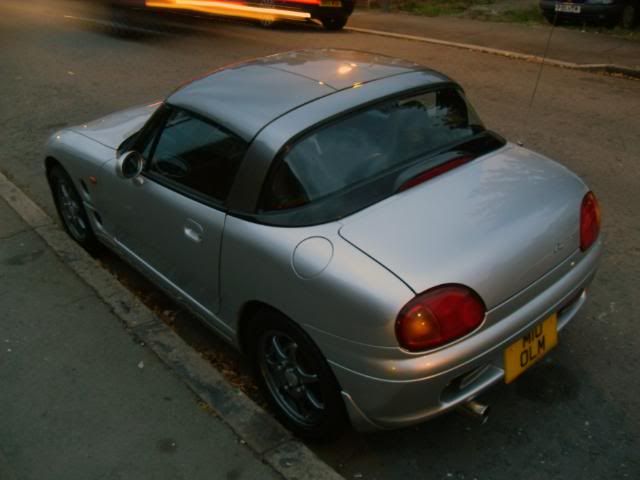
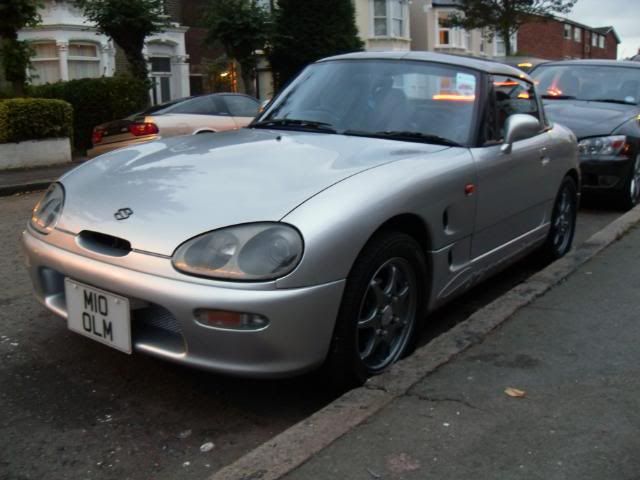
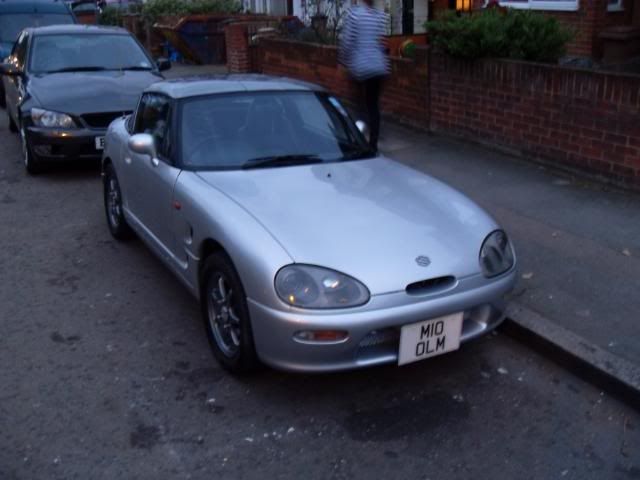
    Welcome to my little diary/project thread. Here are a few pictures of my cappuccino which I picked up about a year ago. These were taken after an extensive clean which she desperately needed, and the awful rusty mudflaps were taken off. The car was cleaned inside and out, claybared, polished, and then waxed. Still a few imperfections here and there but much better than when I first clapped eyes on her.

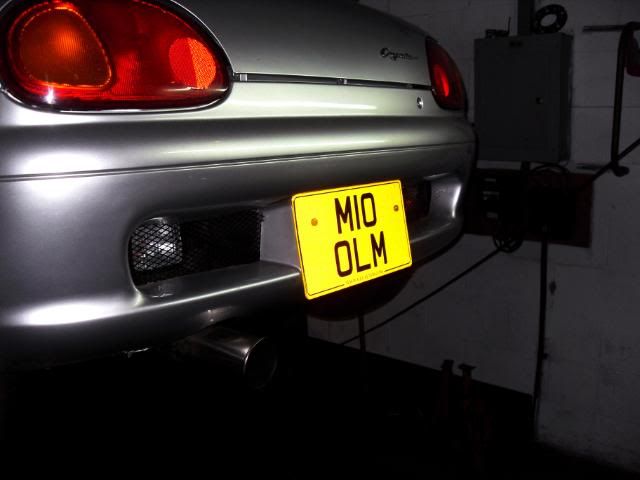
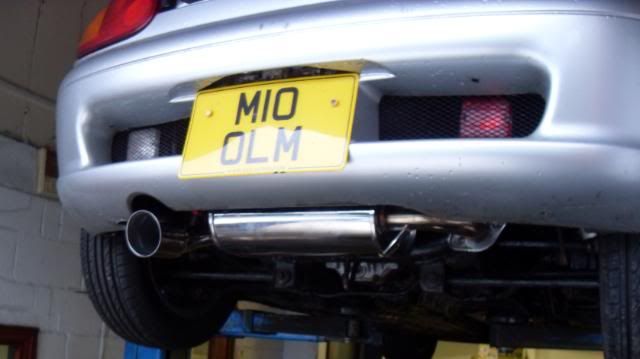
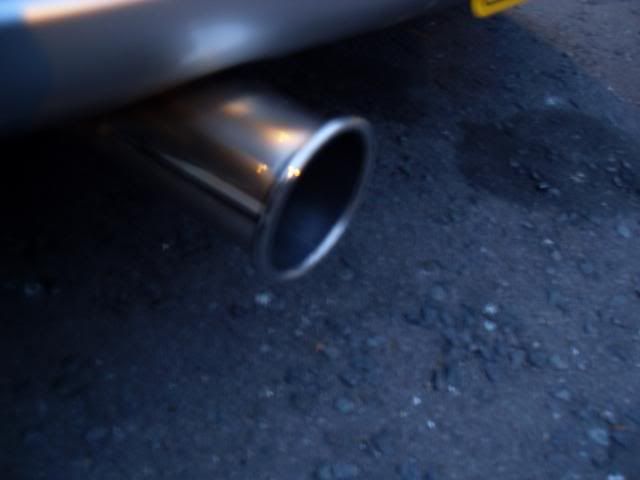
    Some sort of homebrew exhaust
    Since these were taken I have debadged the bonnet, and painted the mesh black again as it was silver.

    She has also been treated to an oil change with some nice fully synthetic oil and a genuine filter, a set of NGK spark plugs, a K&N panel filter, fitted new fuel filter which was a bit fiddly and rusted but we got there in the end. Also flushed the coolant system refilled. she seems a lot more peppy now and you can actually hear the tubby spooling, which you couldn't before. Dont think she has had much love recently as the fuel filter looked as old as the car and the spark plugs were rusty.

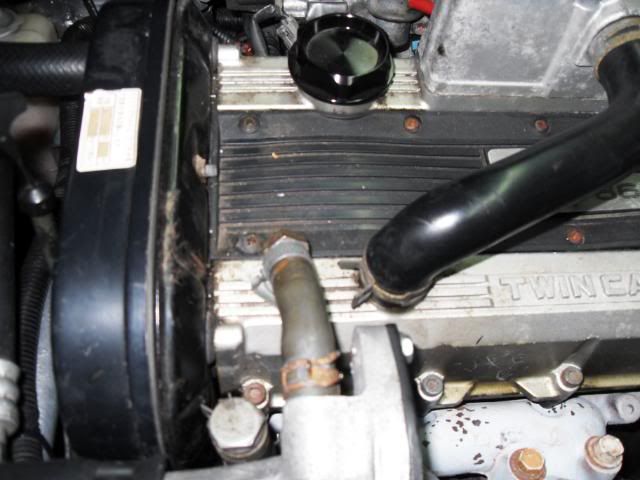
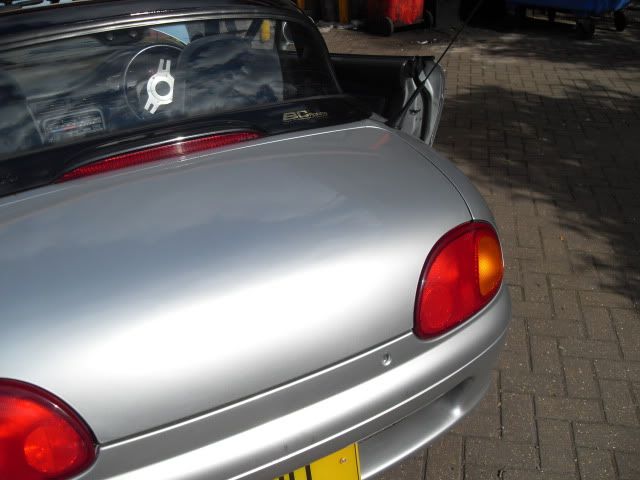
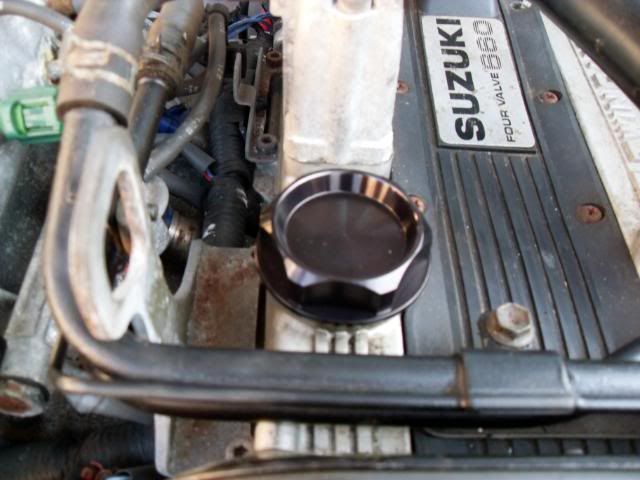
    The oil cap seemed to be weeping out the top so I changed the oil cap for a nice simple anodised black tegiwa one. no fitted pics yet, but looks like this:

    I was tempted by a Suzuki sport one, but not tempted enough for the price I could find one for

    Coming from an Evo as my last car (yes quite a change, but a good one ) the brakes have not instilled much confidence. I gave the car a brake bleed while changing fluid to dot 4 on the weekend, but I'm still not happy so some more upgrades for the brake system will be in the pipline.

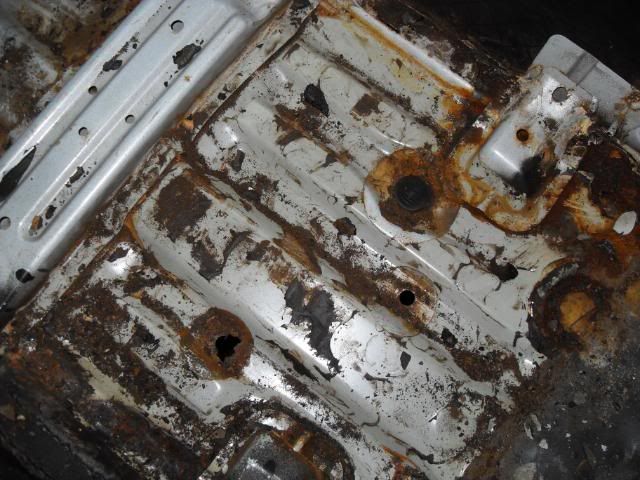
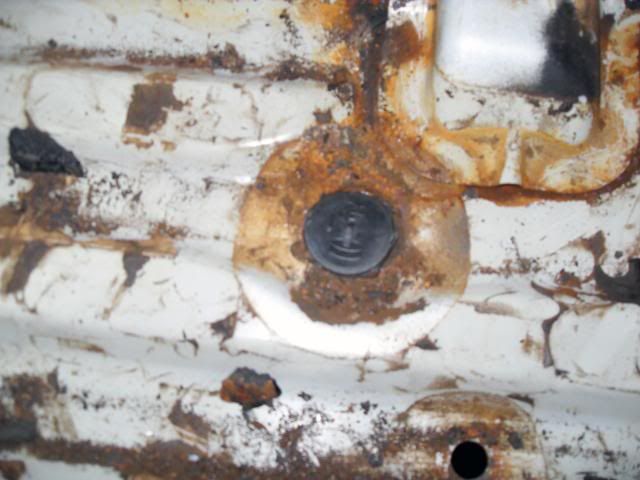
    Ah, oh yes, rust What drew me to this car was the advert saying that it had all been done, but when we got there and looked properly we found a few holes in the floor that need to be redone. Needless to say I haggled some more money off the asking price to cover it. Aparently it was only "done" a year or so ago, but will have to be done propperly this time round

    Anything else? Yes actually : While I was servicing the car I noticed a broken front spring and leaky dampers. Replacements ordered today. It also wouldn't be a Cap if the speedo didn't work intermittently would it? Which, with the aid of a passenger has been traced to the connector behind the seat, so I'll need to get round to that too.

    Also in the pipeline are a gearbox and diff fluid change, I have the oil, but was struggling to find the fill hole for the diff so gave up until next time Also have a kmh to mph converter to fit to make motorway fast lane overtaking a bit safer as standard the car is limited to 87.

    Once I'm happy with all the mechanicals of the car I will most likely look to giving the old girl a hint of aggression to her styling. Stay tuned
    Last edited by Pablo13; 28-08-2012 at 17:47.
    bstmeetbllk

  2. #2
    Flamethrower Pablo13's Avatar
    Join Date
    Aug 2006
    Location
    Wanstead
    Posts
    7,763
    Rides
    0
    Few more goodies turned up

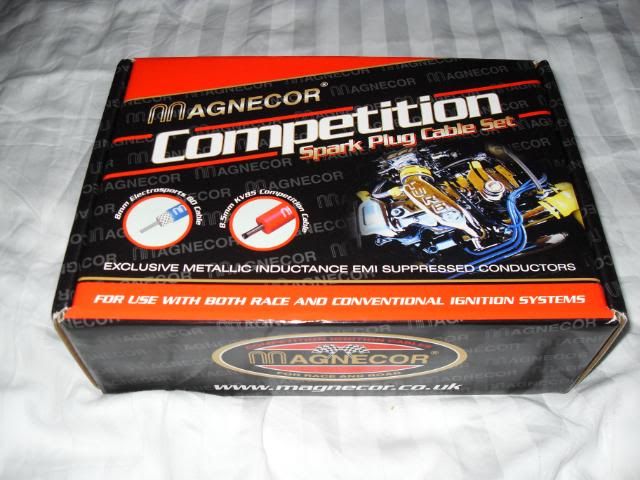
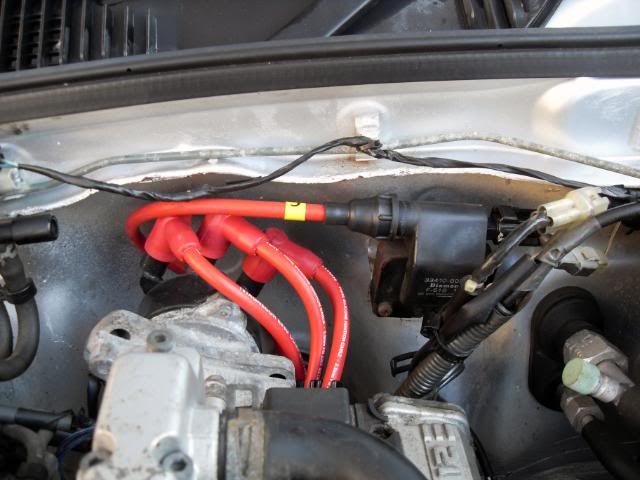
    Magnecor KV85's which I just got fitted this evenng after work. little bit of a squeeze getting the spark plug cover back on after due to the extra lead thickness. It was a bit dark by the time they were in, so no fitted pics yet.

    And this
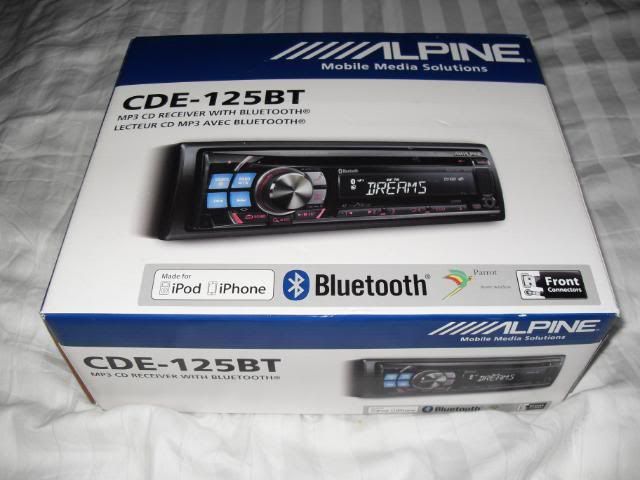
    I had an Alpine 103BT in my last car, loved it and its built in bluetooth handsfree, handy USB slot, mp3 fan-dangle-ness, etc. I'm not getting on with the JVC in there at the mo, so decided to order another 103BT. Anyway a few weeks passed, still no stereo. So I contacted them to see what was going on and was told it was dispatched quite a while back. I told them that I had not recieved it yet. Thankfully they said that they would get a replacement out to me. Although, after they checked their stock and realised they had no 103's left they sent out a 125 instead, Bonus ;D. To be fair though I have no idea what the difference is yet :X Looks almost exactly the same and has the all important features I wanted. I'll let you all know when I find out what the difference actually is Sadly it isn't fitted yet as I need to order one of those apline aerial adaptor doo dahs for it

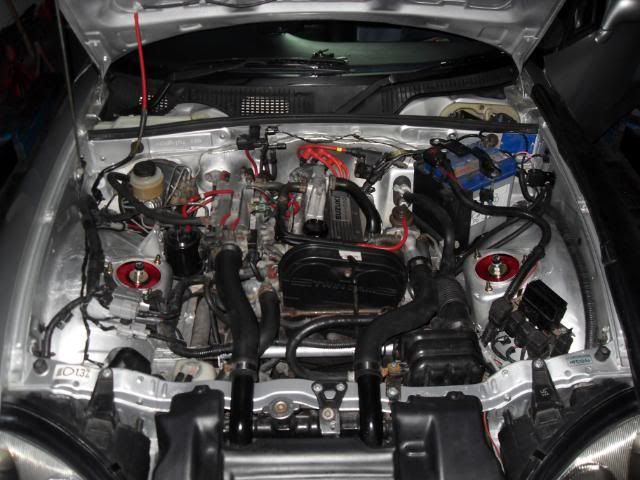
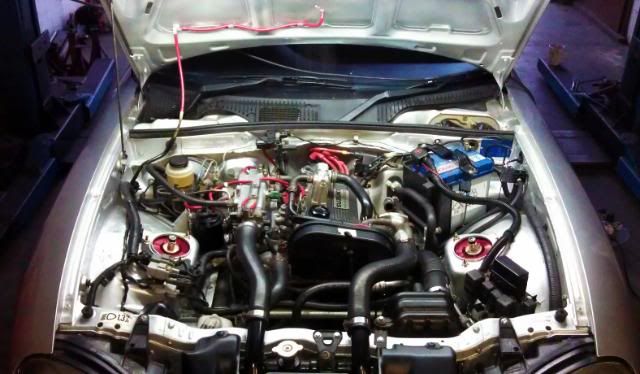
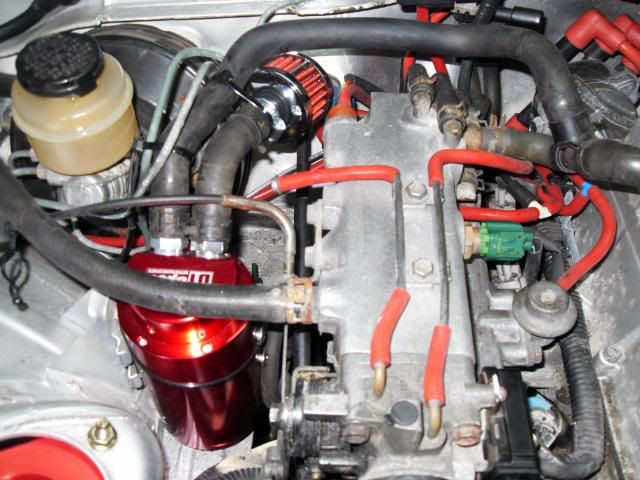
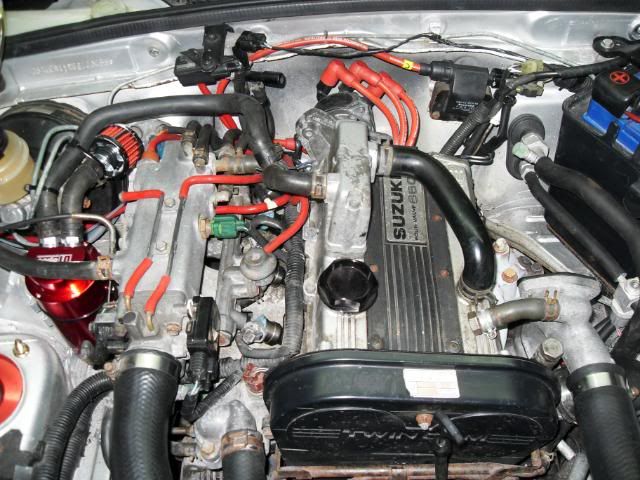
    I did finally manage to get a shot of my engine bay however,

    Showing off the new leads
    and cap

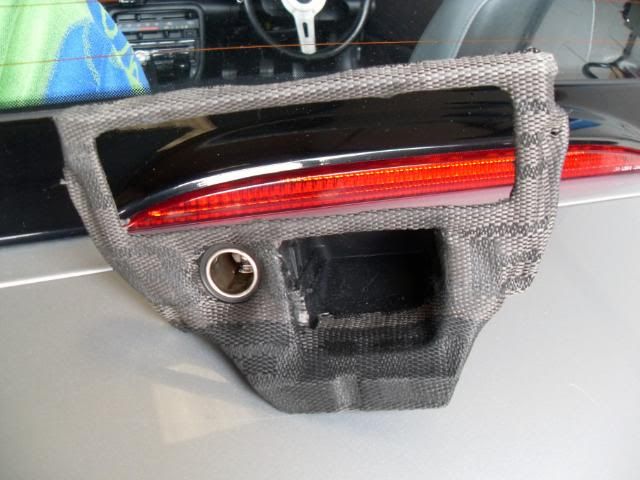
    Then I happened upon so offcuts of bride material I had laying about, The majority of the graduation sections had already been used and the main bits left were all black, which I think I prefer as its a bit more subtle. So, what could I try first? Console cover! Ran outside with my screwdrivers, a bit if spray adhesive and a few choice staples later and....
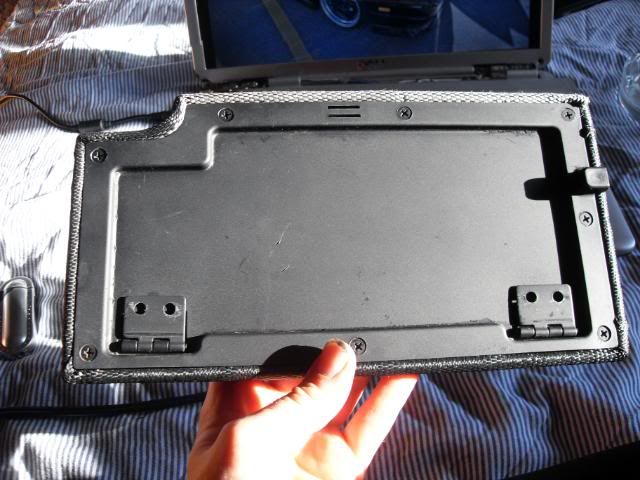
    Its not 100% perfect, but It'll do me and it makes a nice addition to the interior


    Hmm, now your giving me ideas. What about a wedding dress made of bride material?

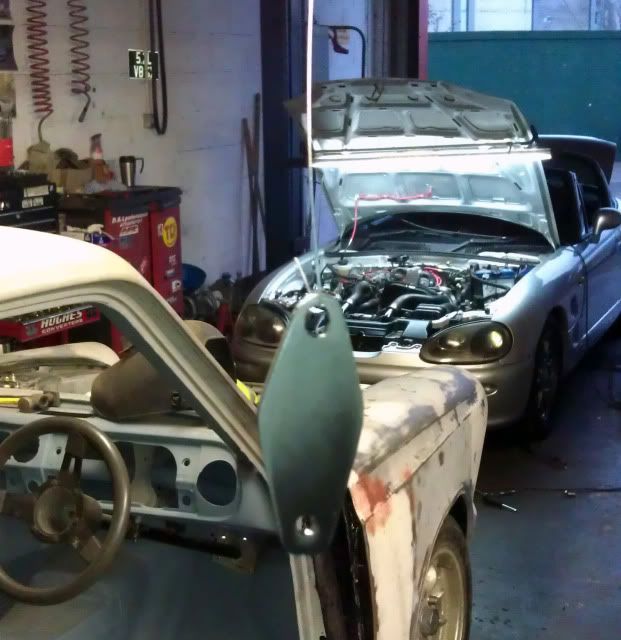
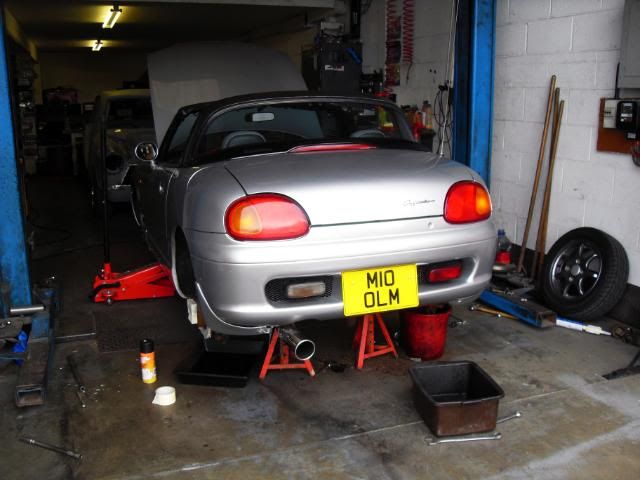
    Got down the garage to get a few things done.
    Stereo is now fitted, not greatly as the little retaining bolts were missing from the sides, but its in and working and making the crappy speakers sound better than they ever did with the old one. I also had an led interior light bulb meant for another car, but with a bit of spreading out of the terminals I got it to fit


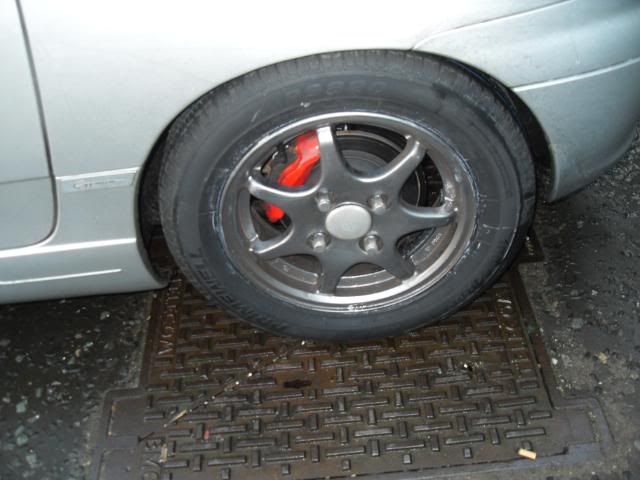
    I also stripped down the brakes and gave everything a good wire brushing as well as a few other rusty components, swept quite a load of crap up afterwards. Masked the discs up for painting
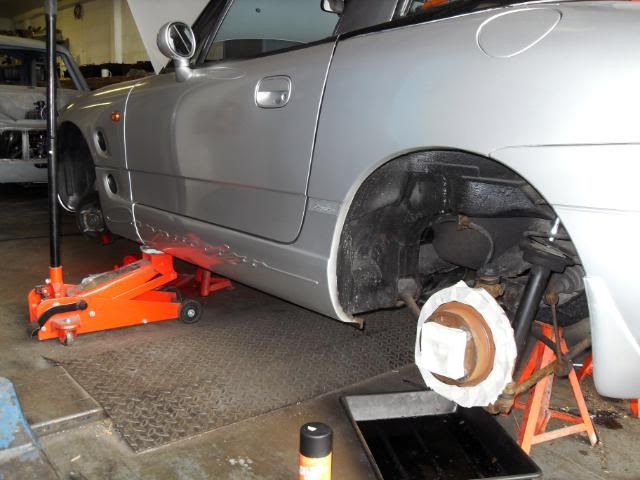
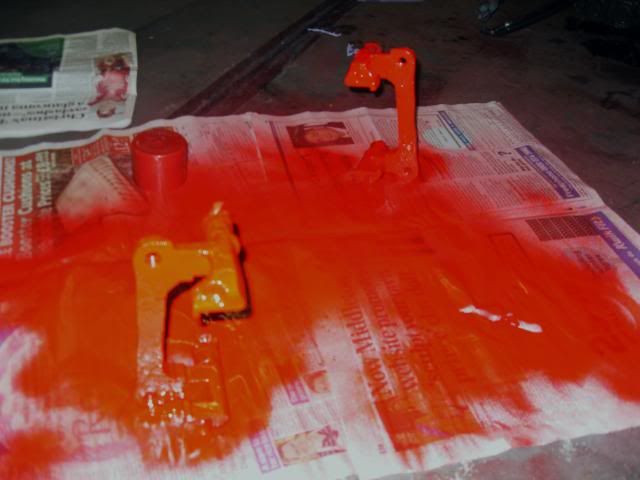
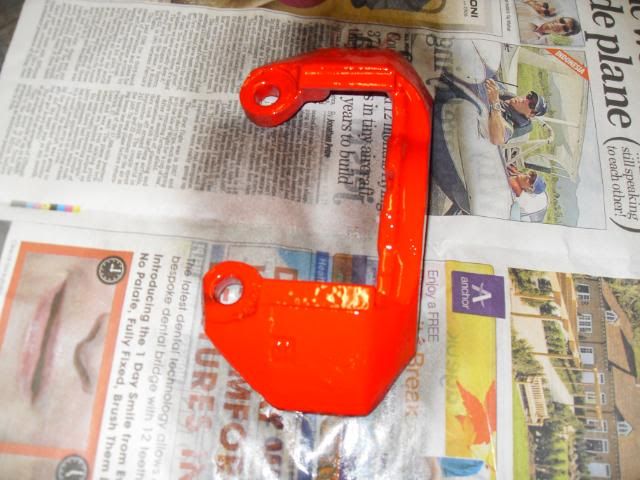
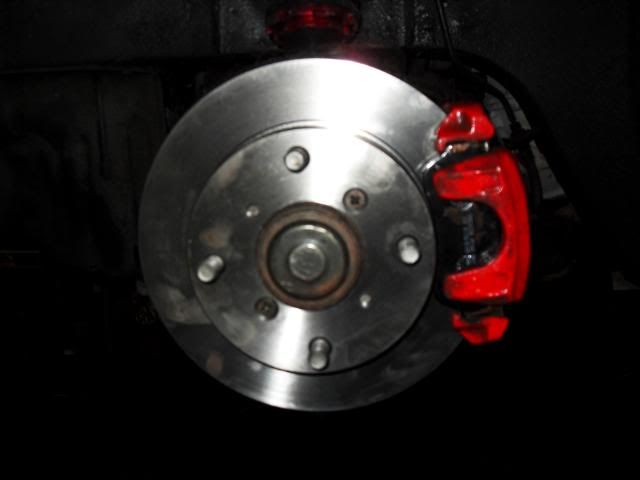
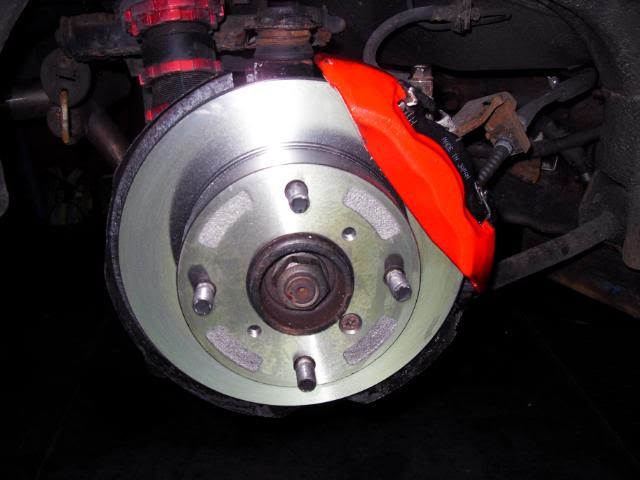
    and decided to liven the colour of the calipers up a tad


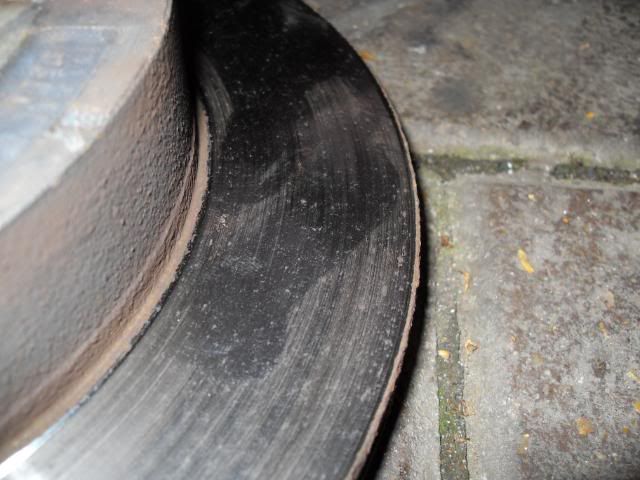
    rusty bits of the discs went black

    One of the front calipers back together
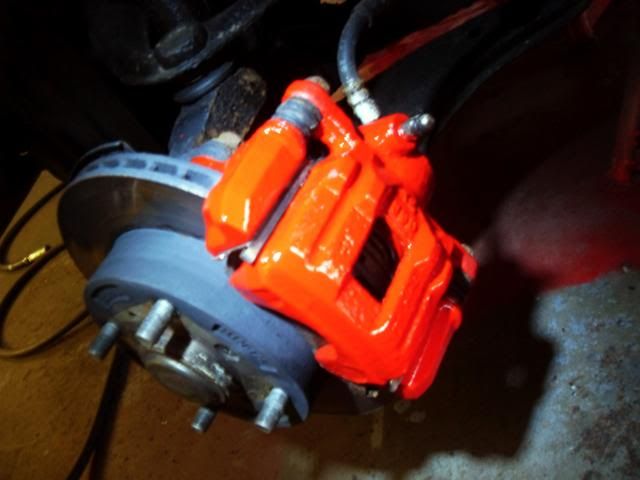

    As well as all that I also got the handbrake cables changed as they were maxed out on the adjuster and I still could not park on hills without leaving it in gear and the steering turned. Much tighter now.

    Then I had a play with the dodgy speedo connector which had bady corroded terminal inside. Cleaned them up and plugged back in. I also took advantage of the door beeping thread as it was driving me mad. Cut the wire for it while retaining the headlight warning. Speaking of which, my headlights were not looking too great. One was brighter than the other, and when you flicked to high beam the one that was bright would go dim. Started by cleaning the earths nearest the lights, but no change. In the end it turned out to be a dodgy fuse.
    bstmeetbllk

  3. #3
    Flamethrower Pablo13's Avatar
    Join Date
    Aug 2006
    Location
    Wanstead
    Posts
    7,763
    Rides
    0
    More goodies!


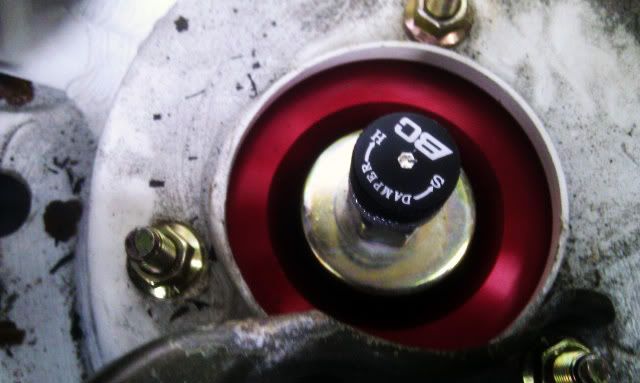
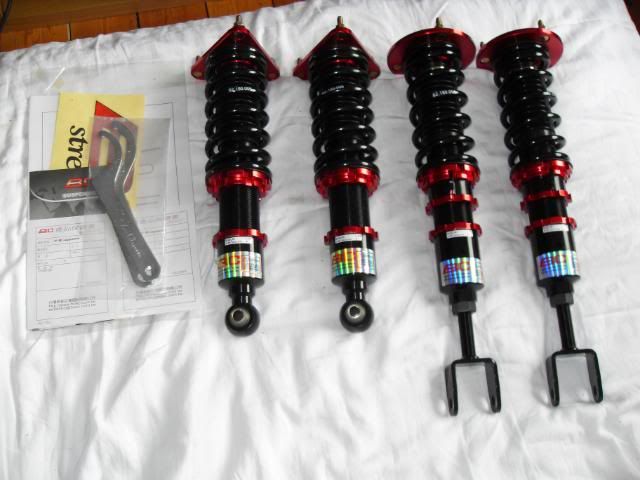
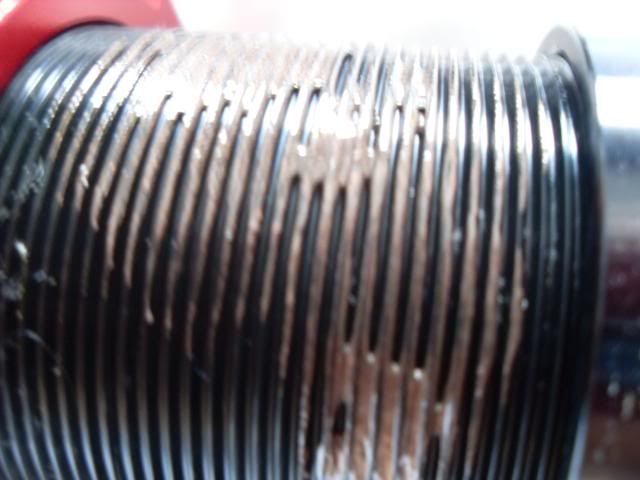
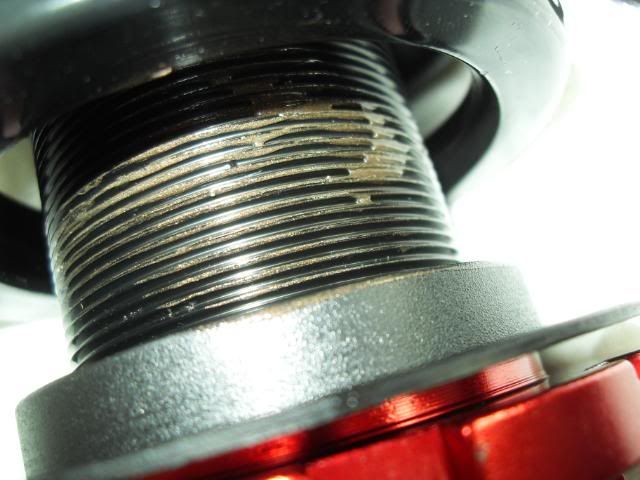
    Coilovers turned up today. First things first was to strip them down and grease the threads up in preperation for our lovely UK roads.


    While I was there I also double checked the preload and was lucky I did. The fronts were ok at 3mm, but the rears were all over the place with one at 8mm and the other at 5mm. Now all reset to 2mm all round, and I also double checked the even-ness of the ride heights so there all ready to fit.

    Will most likely need a bit of height adjustment when on, and once more once they have settled in a bit. Eagerly went to fit the fronts earlier, but the front anti roll bar links are rusted to buggery and just spining which is not allowing me to get the strut over far enough to get on the nut to split the lower arm, grrr
    bstmeetbllk

  4. #4
    Flamethrower Pablo13's Avatar
    Join Date
    Aug 2006
    Location
    Wanstead
    Posts
    7,763
    Rides
    0
    Replacement caliper got fitted. Then once that one done and bled up, I could remove these
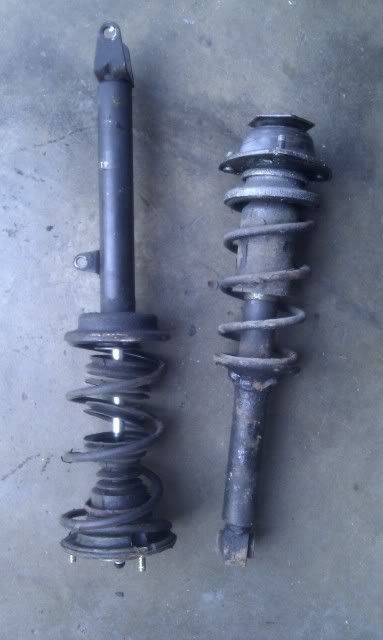
    Lovely condition, mmm :

    Then the good stuff could go in

    A front fitted
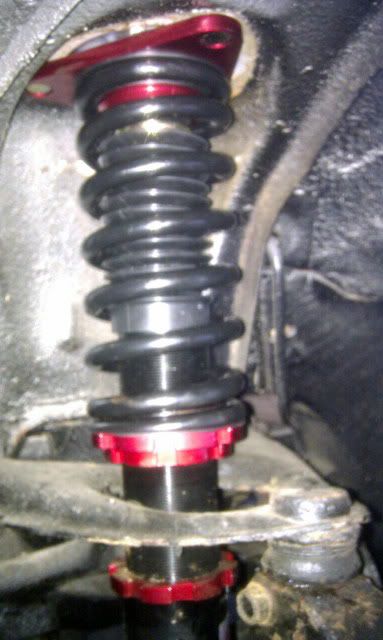
    Rear
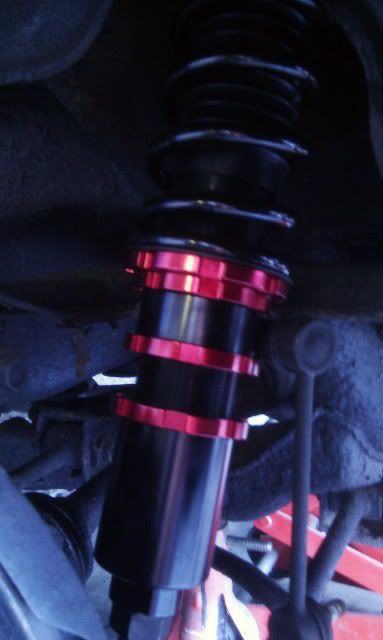
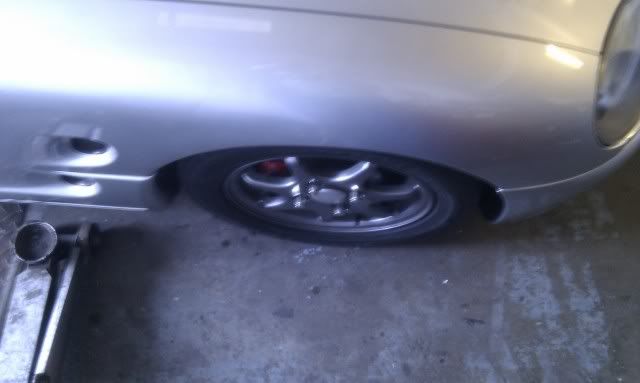
    Got the wheels back on then checked the ride height out.
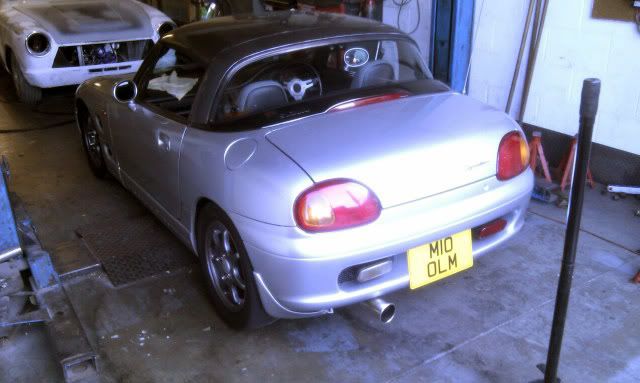
    Front was looking a bit too low for my liking, still need to be able to mount the evil that is known as "the speed bump"

    We jacked it back up and raised the front 10mm and rechecked
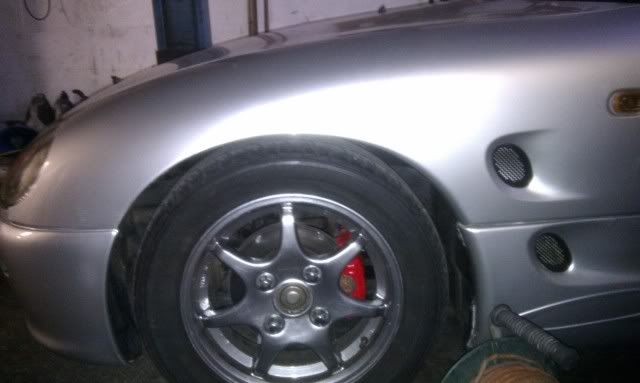

    And the rear height
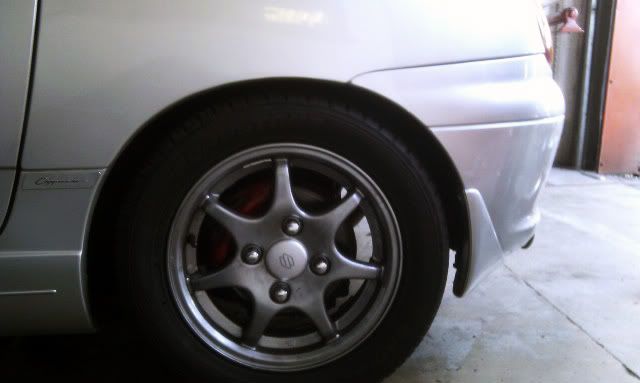
    Arch gap is literally milimeters with the current 185's on there
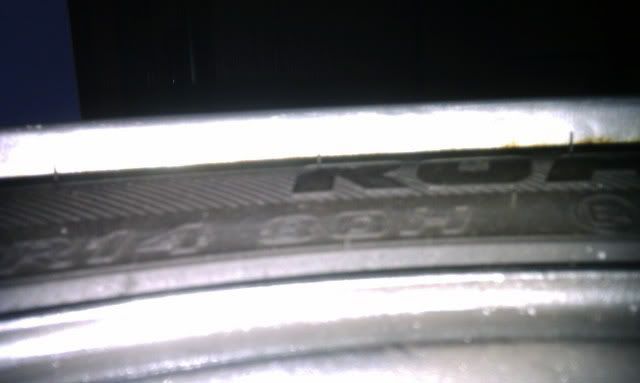
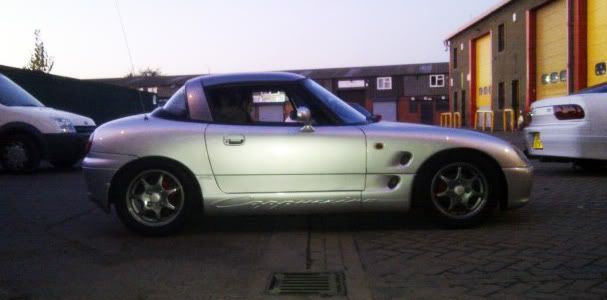
    It was getting a bit dark, but I managed to get a few pics to see how she sits


    I set the dampers to max and went for a spin, too hard. Backed it off ten clicks and went for another spin better but still a tiny bit firm so I went for another 5 softer and left it there.

    I got the idle control soleoid thingy striped down and rebuilt with a rubber ring too. So no more tappy tappy on idle

    The drive home lovely, no boaty pitching or un-needed bouncy-ness. I could feel all the bumps in the road, but it is smooth with it. I also managed to get over the speed bumps I encountered on my travels, few larger ones to tackle yet, but so far, so good
    bstmeetbllk

  5. #5
    Flamethrower Pablo13's Avatar
    Join Date
    Aug 2006
    Location
    Wanstead
    Posts
    7,763
    Rides
    0
    Since you last see me I have carried on softening the damping. Now around 10 from soft on the front and 7 on the rear. Being such a light car it doesnt need to be over damped, although I would say if I was going out on track I would probabbly go for about 14 clicks, but for general road use I think I getting quite close to settings I am happy with. Also had a bit of chassis scrape (gets the rust off ) on a rather large speedo bumpu Now raised it another 8mm all round. For some strange reason my 185 tyres are also 55 profile which isn't helping matters.

    So this weekend I stayed at home and had a little play with minor body mods. First off:

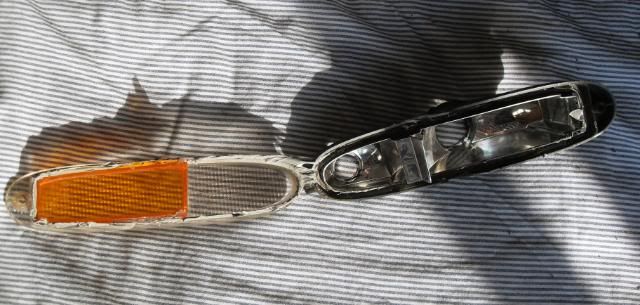
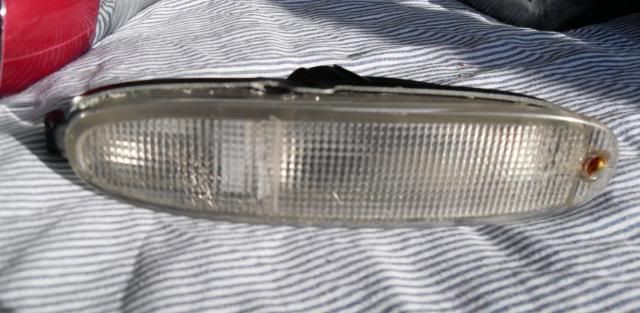
    De-oranged the indicators, used a hair dryer to open gave them a quick clean inside and then heated the glue back up and they resealed well

    Back on the car, the right way around as the writing on them was upside down when i took them out.


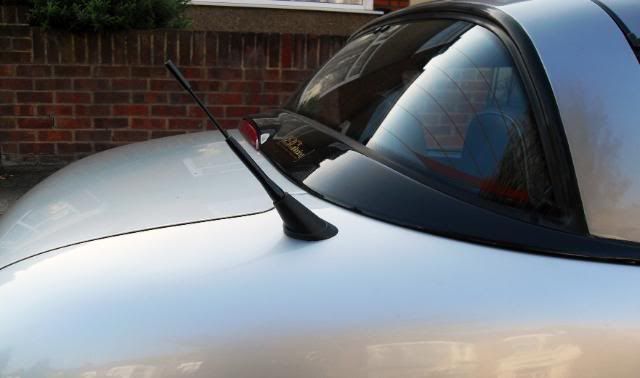
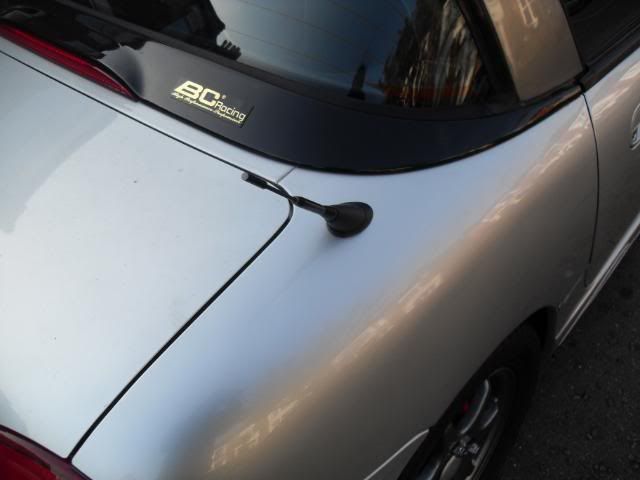
    After that I turned my attention the the aerial, which I'm not overly keep on, so removed it and its base and refitted this in place

    Also note my little BC badge I added

    Thats it I'm now off to give her a nice wash
    bstmeetbllk

  6. #6
    Flamethrower Pablo13's Avatar
    Join Date
    Aug 2006
    Location
    Wanstead
    Posts
    7,763
    Rides
    0
    Moar Changes!

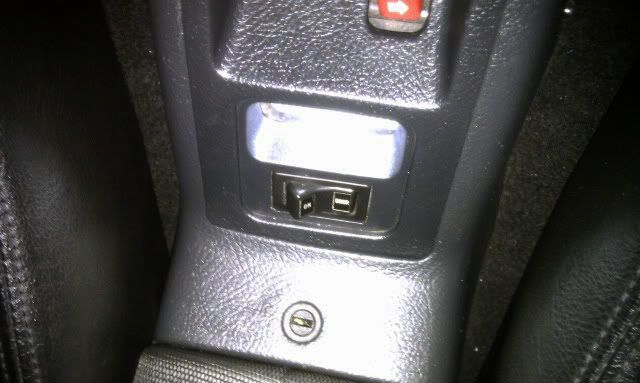
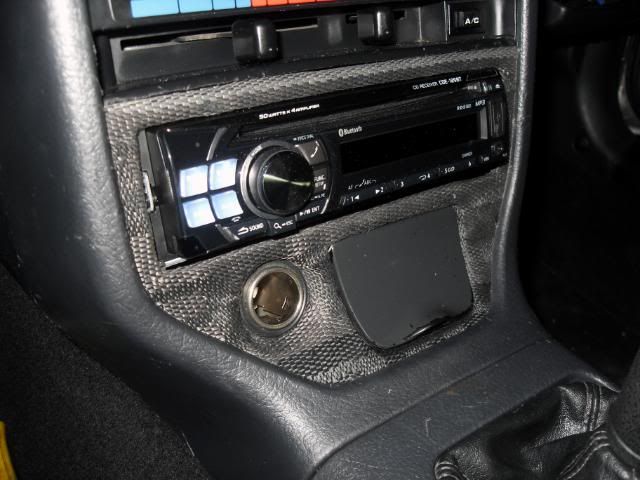
    I got hold a centre console insert as mine was cracked and broken. Added some bride off cut I had left over

    And popped it in

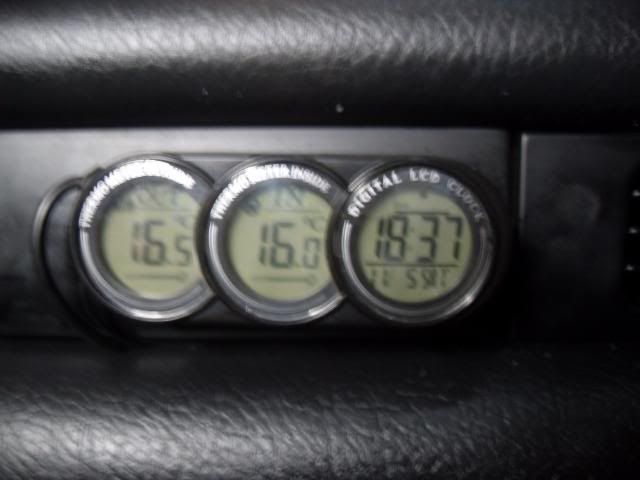
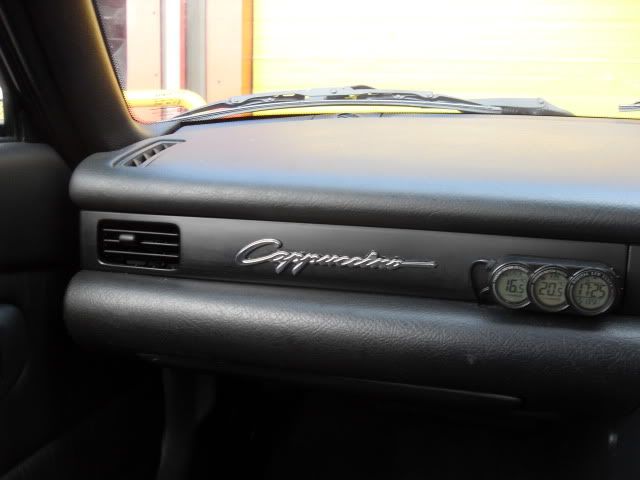
    Annoyed at the lack of clock in the cap I purchased this from ebay

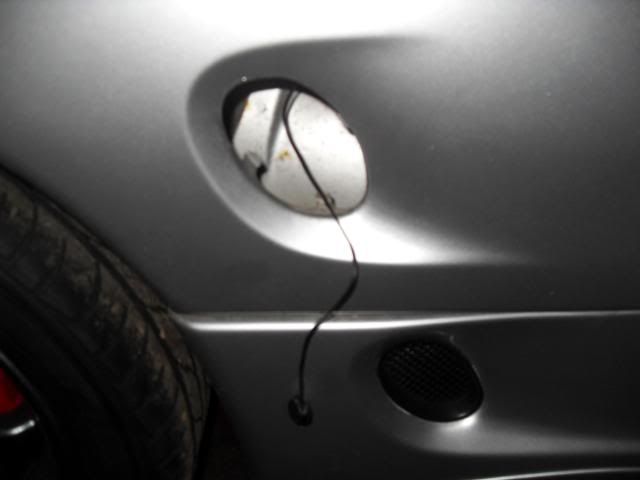
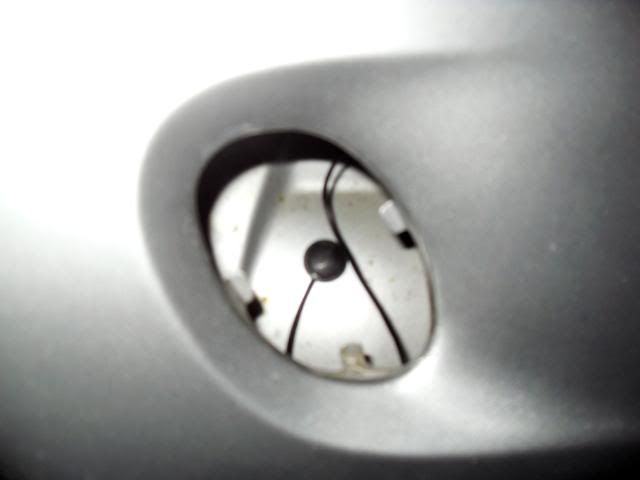
    It comes with a cigarette lighter adapter, but I choose to cut it off and hard wired it in. It also has an inner and outer temp sensor so I routed the outer sensor to somewhere where I thought would be good for an accurate measurement.

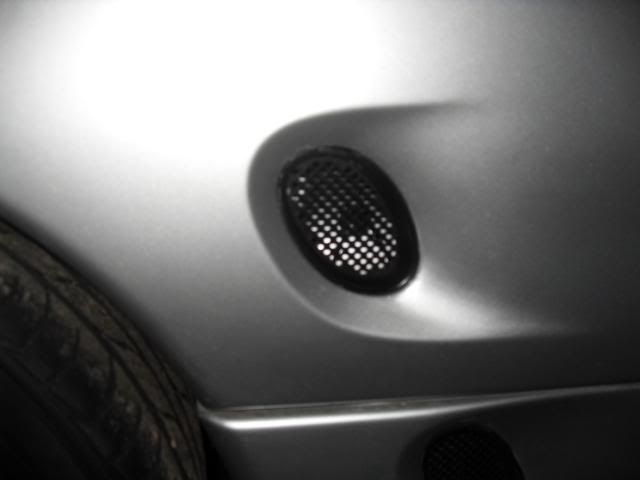
    See a use for the wing vents! A quick clean of the surface and stuck it on

    And hidden away again


    I have also noticed I have been getting a bit of a wet seat : Turned out one of the seals isn't at its best on the roof, so I gave it a good clean out and cleared my drain channels. If that doesn't fix it I have go see how much Mr Suzuki wants for some new ones.

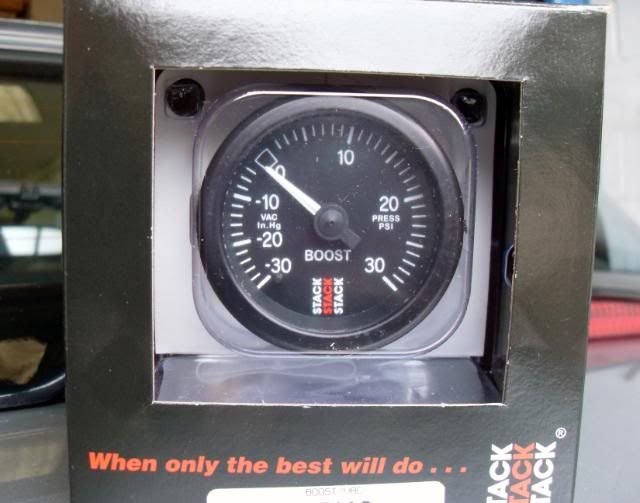
    Next up, got this

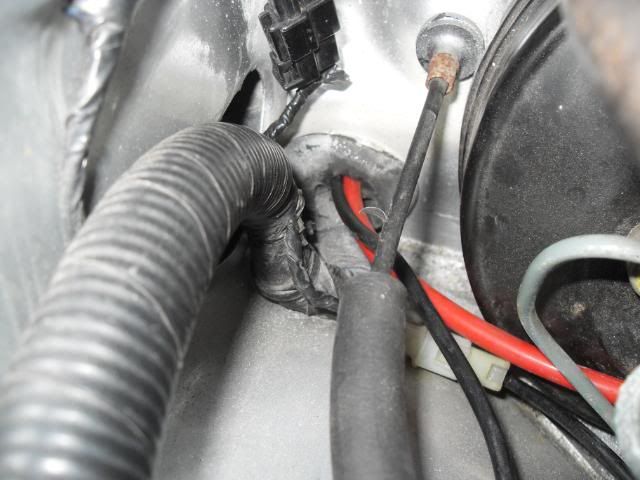
    Routed the piping though this grommet

    Stuck it here in a universal pod for now

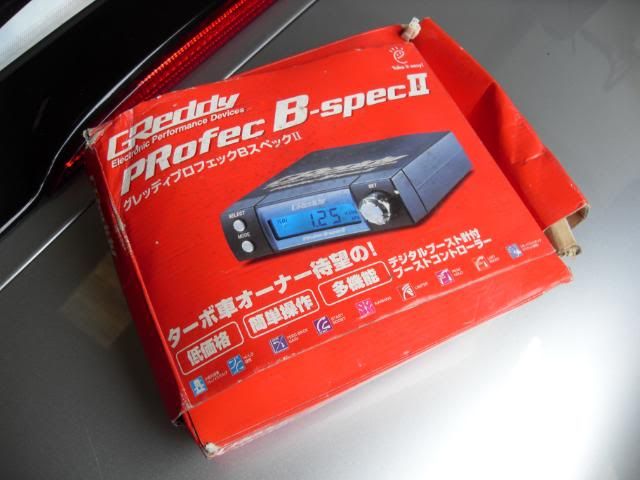
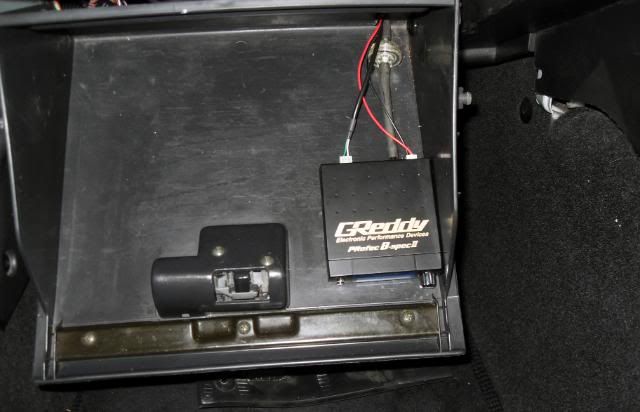
    As I had expected, it revealed that I was only boosting to 9psi, I suspected that due to slightly leaky tubby gaskets I noticed the other day. Luckily I had one of these laying about. Intended for the Evo but I never fitted it.

    Stuff like that comes in handy when moving from one turbocharged car to another

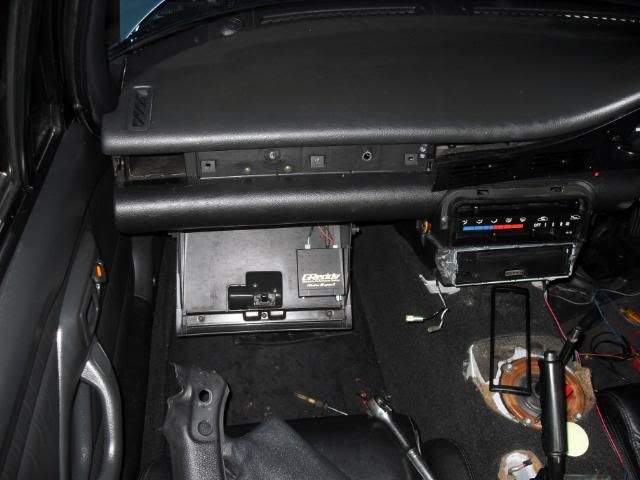
    As you know, space is at premium in here, so it now resides in the glovebox complete with filter

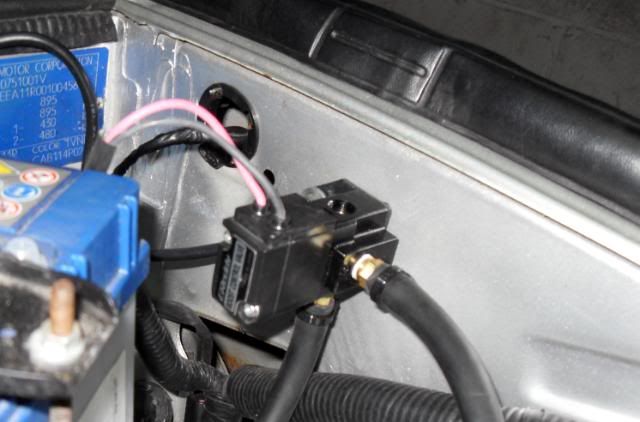
    And the solenoid got monted here

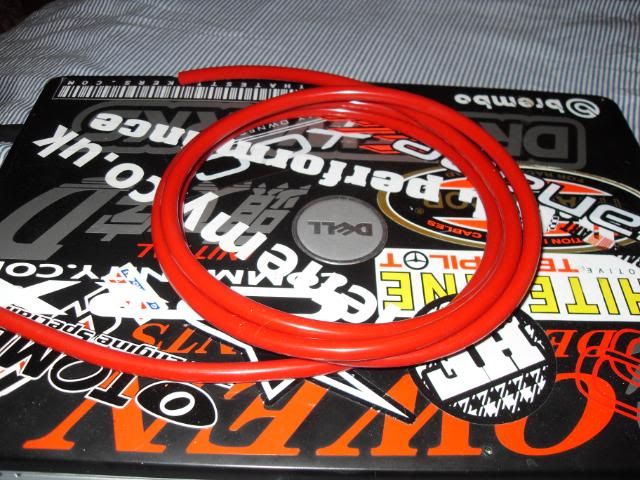
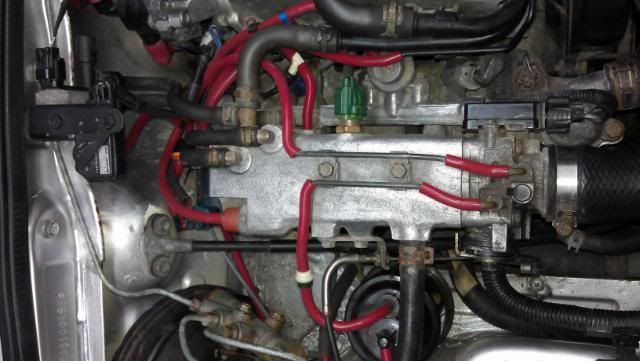
    I had some red hose left over so......

    Then got stuck in :wink:

    And then I ran out. Managed to do the majority of hoses in that size though

    Will have to get a bit more now to finish off. Looks like red is fast becoming my accent colour.

    Quick mess about and I got the boost back up to 11psi. I will do the tubby gaskets soon too, dont worry. More fine tuning tomorrow, but I think I will aim for something like 12psi on the low setting and 13 or maybe 13.5 on the high one with my standard ecu. Should be safe enough.
    bstmeetbllk

  7. #7
    Flamethrower Pablo13's Avatar
    Join Date
    Aug 2006
    Location
    Wanstead
    Posts
    7,763
    Rides
    0
    Back down the garage again

    But before I show you what I have been upto this week, I'll just run though my boost issues I'm having : I have two settings on the controller one is set to 5% gain (the lowest setting) and the other 35% (the highest) both produce 11.5 psi So I did a bit of searching on the cappo forum and found a couple of culprits to check.

    Firstly though I chopped that bolt

    And how it looks fitted, still a bit of poke but much better than before

    Then turned my attention to one of the possible culprits mentioned earlier. The dump valve. I got a blanking plate made up.

    And fitted it along with a makeshift plug for the pipe

    I also bought some more red hose to finish the job I started last week

    Did a bit more

    How its looking now

    And the result? It feels a tiny bit better in that its not fluctuating as much now, but its still not producing the right amount of boost so it must be something else. Possibly a lazy actuator? I think I'll start a thread in technical and see if I can get to the root cause of it.

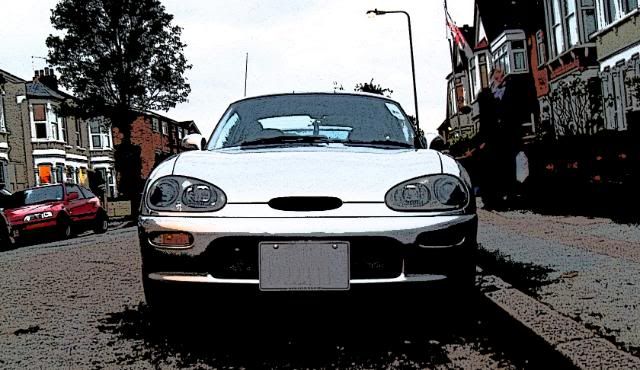
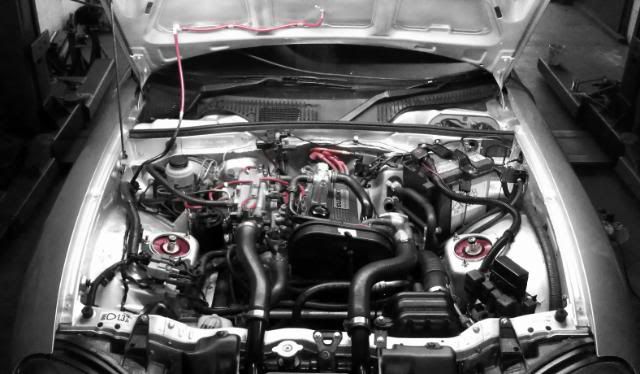
    Anyway thanks for looking and I will leave you with a little photoshopped pic I was messing about with editing these pics
    Last edited by Pablo13; 28-08-2012 at 18:04.
    bstmeetbllk

  8. #8
    Flamethrower Pablo13's Avatar
    Join Date
    Aug 2006
    Location
    Wanstead
    Posts
    7,763
    Rides
    0
    In the end we got the boost stabilized now which is nice. Even hit fuel cut a few times along the way

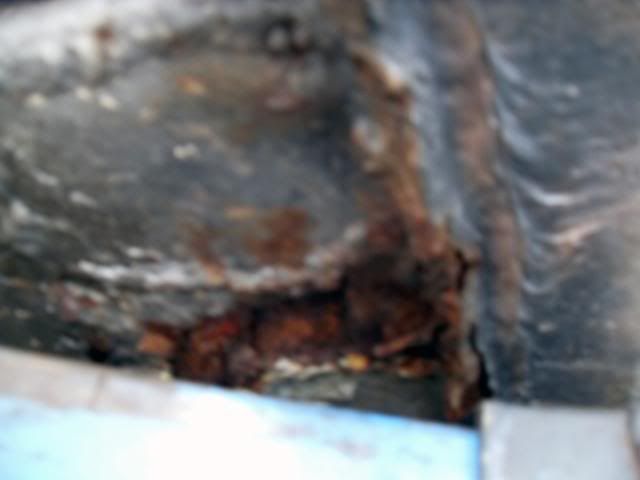
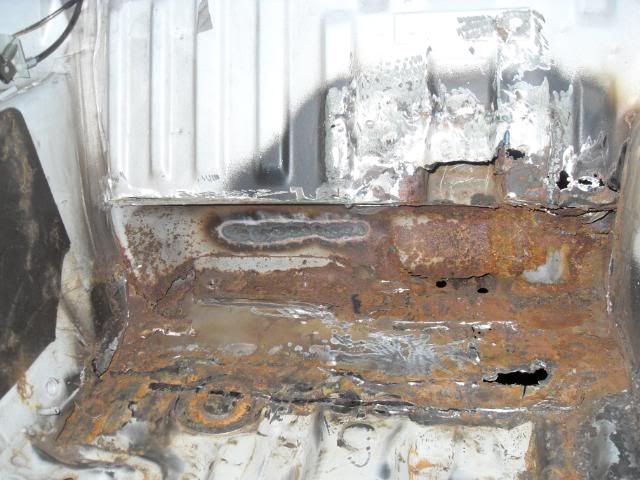
    I finally managed to get my car on the ramp an see how bad the rust is. Worse than an S13 is the answer, here is one of the holes to do

    Something similar on the other side too

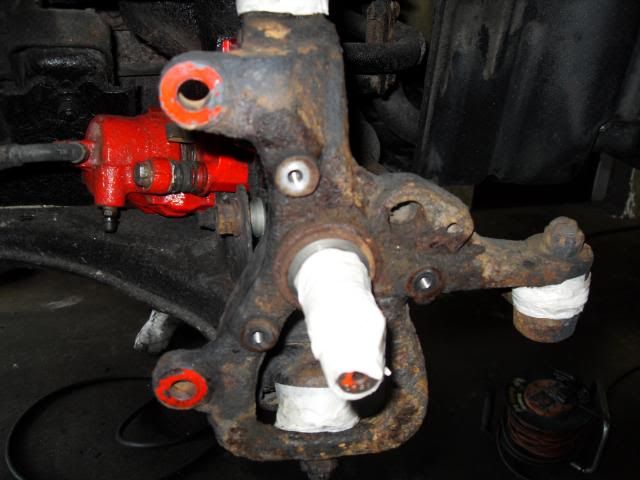
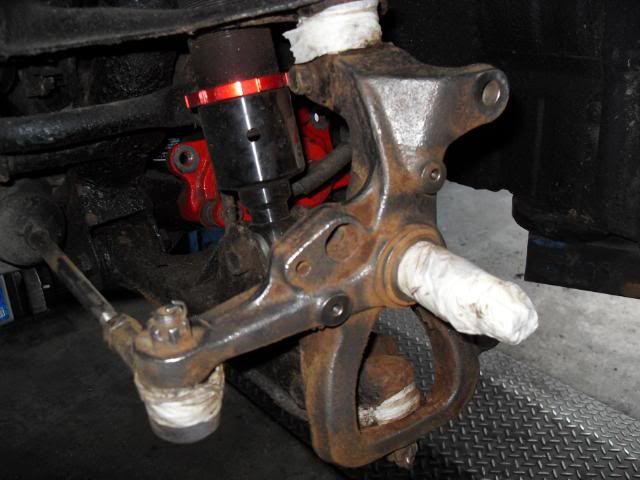
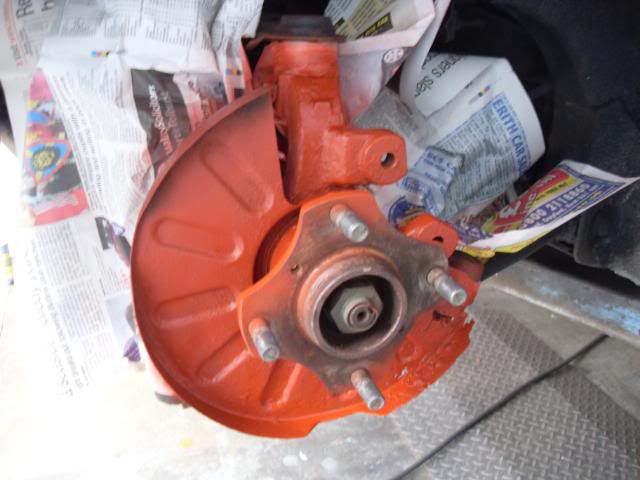
    My brakes were still making a scraping noise here and there, so went for a full strip down of the discs and refreshed the knuckles too.

    After a wire brush

    Zinc oxide primer

    They then went black but forot to get a snap :-/

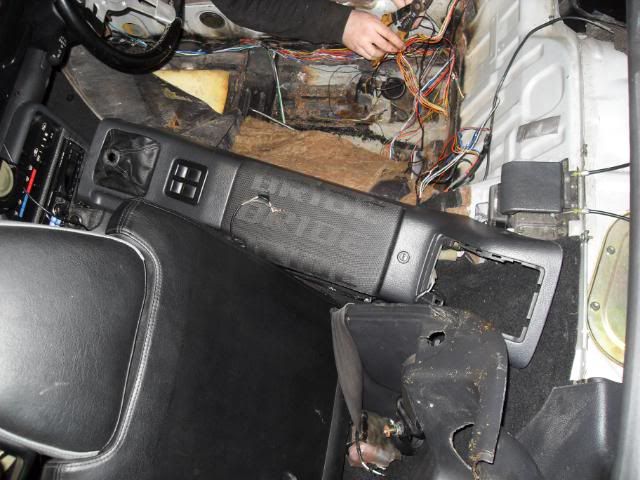
    Then ripped my interior apart

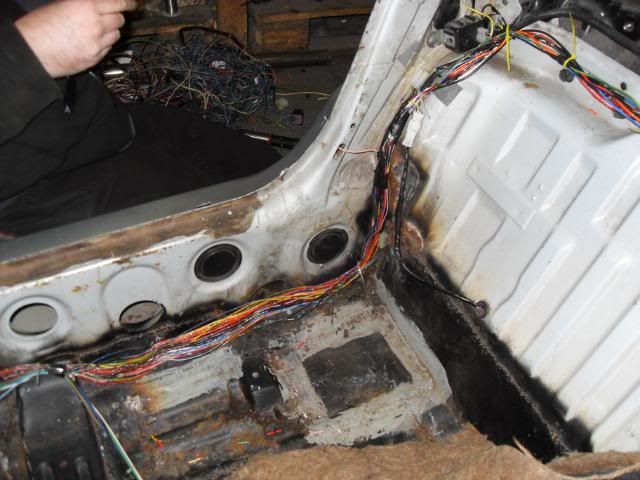
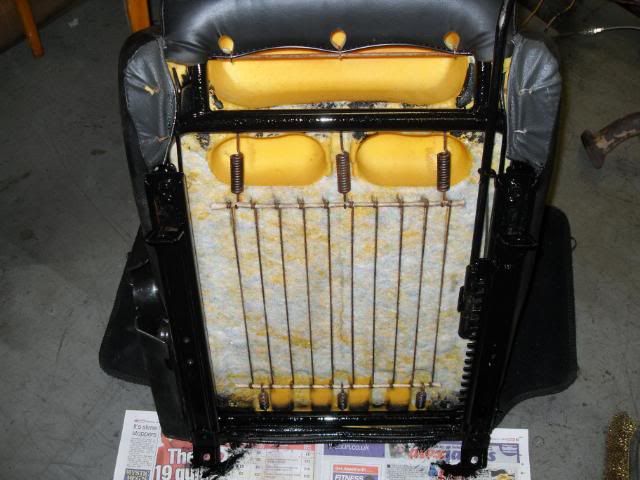
    My electrics were still playing up and we found that the seat belt mount was chaffing the loom and a few dodgy twist and tape repairs were found and fixed. The loom was also re routed and lengthed a bit to avoid an contact problems with the belt or the seat in the future.

    It was all wrapped up and protected after.

    Also note rust inside


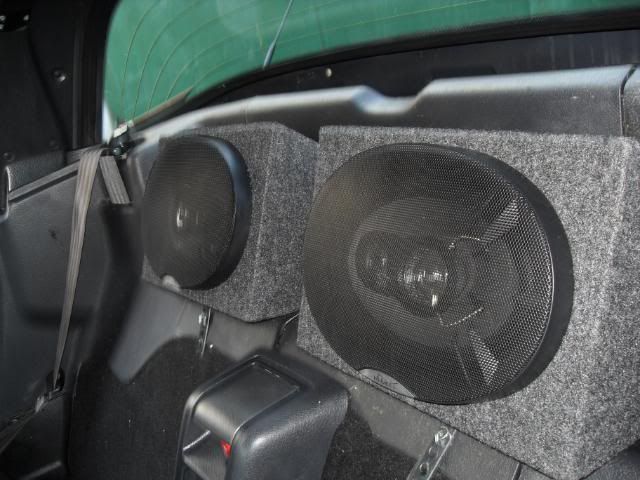
    Other new additions are a pair of 6x9 speakers fitted in their own little custom boxes on the rear shelf, sadly again I'm a bit low on the picture front
    bstmeetbllk

  9. #9
    Flamethrower Pablo13's Avatar
    Join Date
    Aug 2006
    Location
    Wanstead
    Posts
    7,763
    Rides
    0
    Amassed some parts for another stint at the garage

    Namely N2 ECU, 295cc injectors and gaskets to do the tubby.


    Another little niggle I have had recently is the inability to fill my tank fully for some reason. Some kind of air lock in the tank would stop you getting more than two thirds of a tank in there at a time. I had read on here that the filler can get a bit rusty and block up, but when we checked it it was all ok.

    I think the poblem lies with the breather pipe, which I believe runs back to the carbon canister, so it could be that at fault, or the metal lines have rusted away. Had more important things to do, so left that for another day and moved on.

    Removed the all the gubbins.
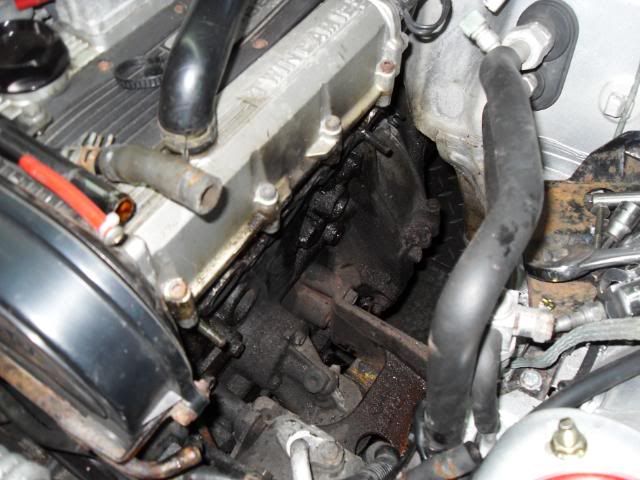
    While the manifold was off I noticed that there where alot of steps and lips in the castings around the ports, so I decided to gently port match the manifold so the gaskets lined up better.
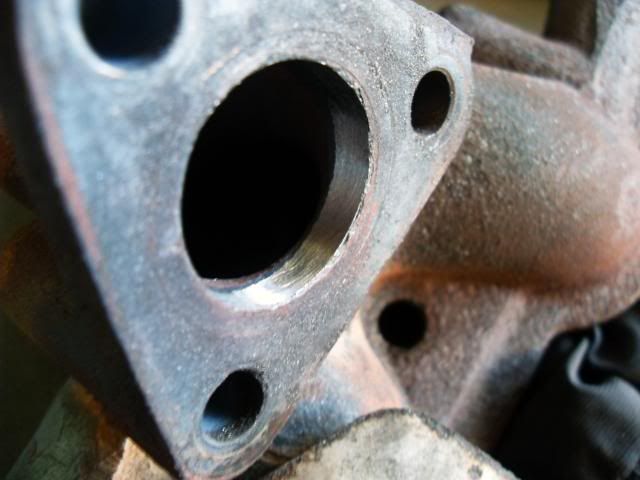
    Also did the head ports.

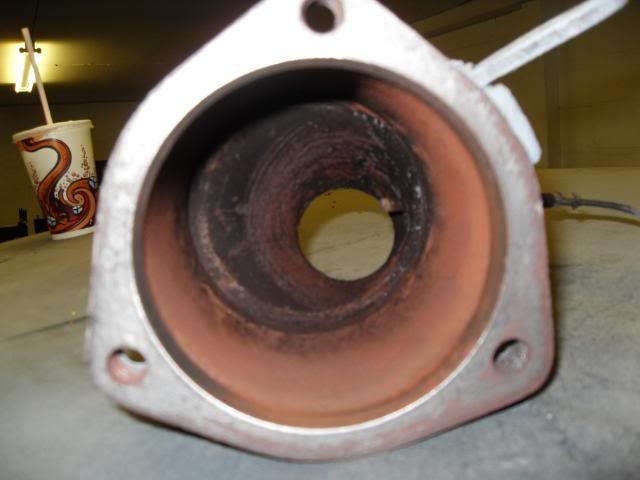
    While the cat was off.....it would be rude not to

    I also found another lip at the bottom flange of the cat too.

    Ground it down.


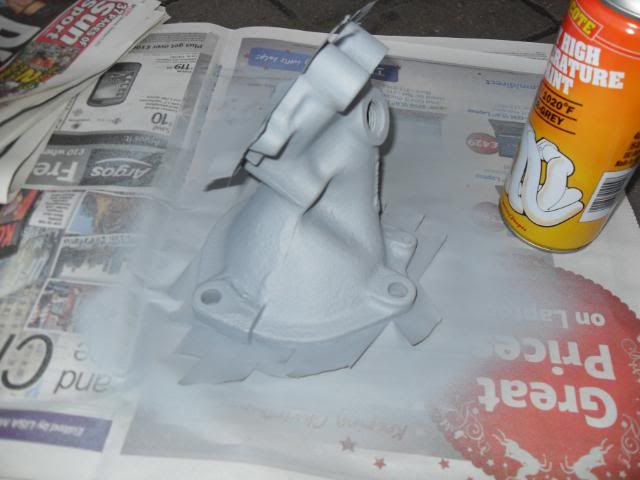
    I fancied tiding up the rusty iron look to the exhaust components. I would have gone red but used it all on the brakes, although I had some VHT "silver" paint to hand so used that up
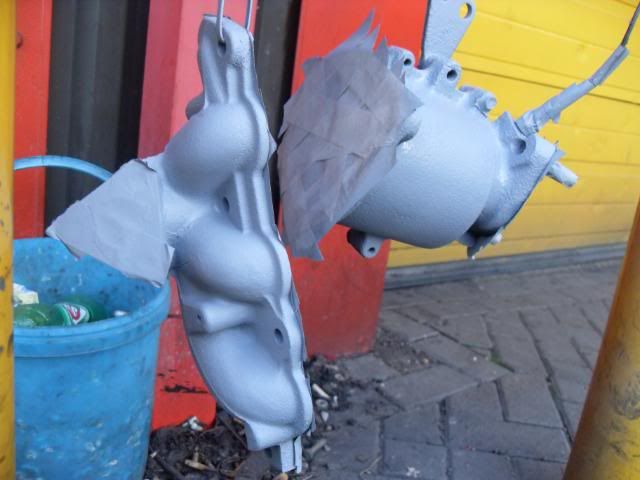
    Actually looks more grey than silver IMO but its tidier than rust at least


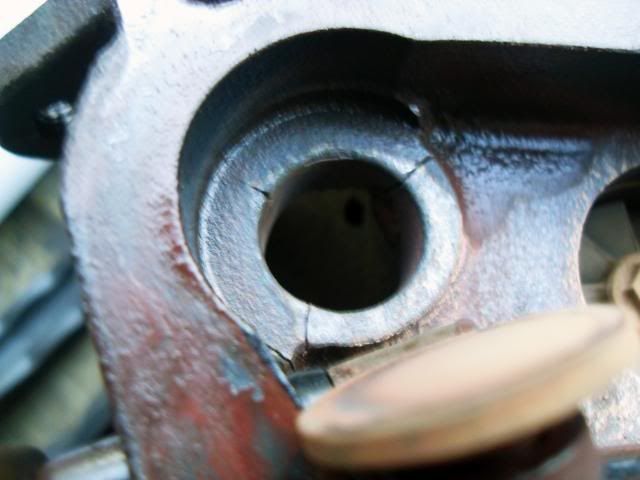
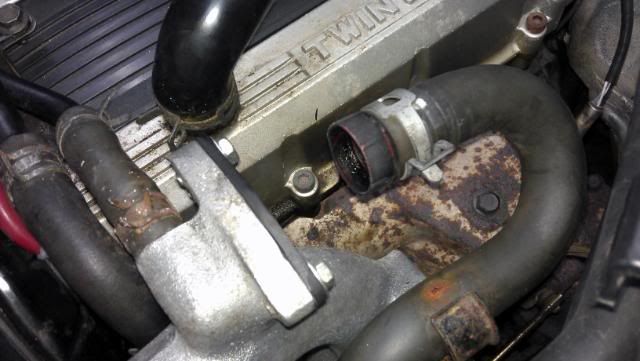
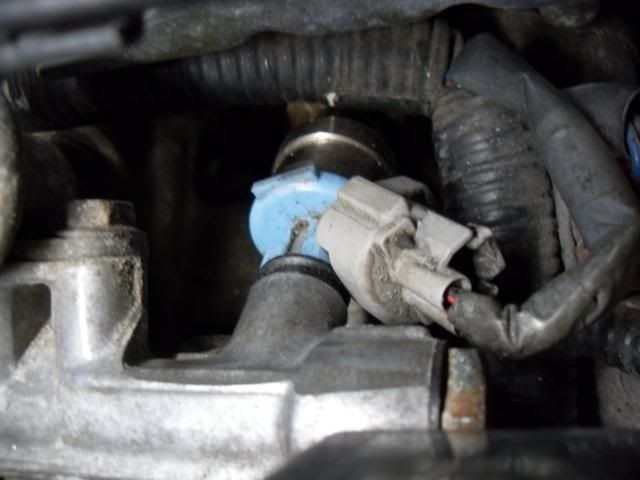
    While the tubby was off I think we discovered the real reason my boost isn't as stable as I like and why I only get 9psi when run purley off the actuator

    4 cracks in total, you can just make the fourth one out following the outter circle of the wastegate seal. Most likely down to previous owners not letting things cool off propperly before turning the enigne off So a matching tubby for the N2 will be coming sooner than thought.

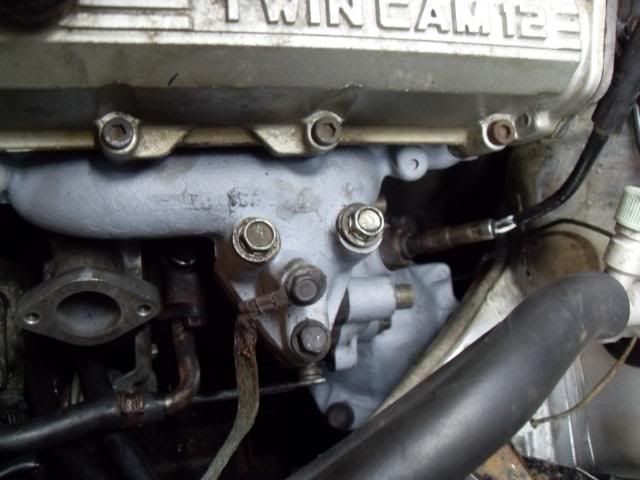
    Got it all bolted back together ready to refit.
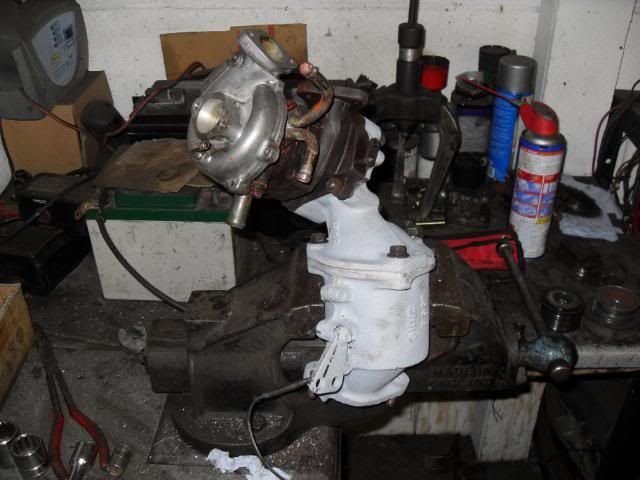
    Manifold back on minus heat shield due to snapped bolts

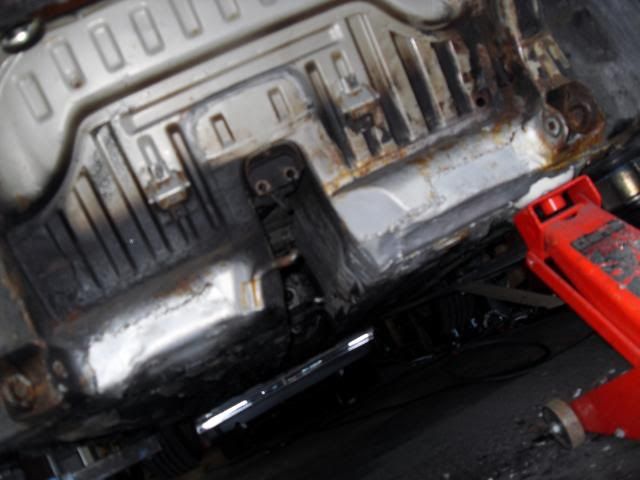
    The whole underside of my car, including any and all components apart from things I have touched, is coved in a thick layer of tar like underseal.......or rust Even things like the aluminium exhaust heat shield got it.
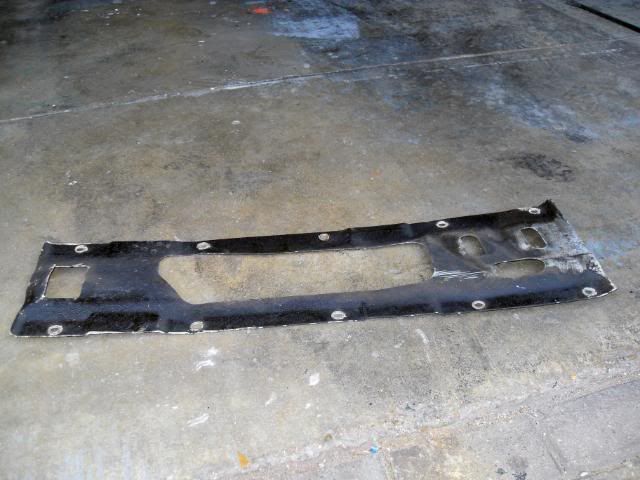
    So while it was off I gave it a dam good scrubbing and it came up like this.
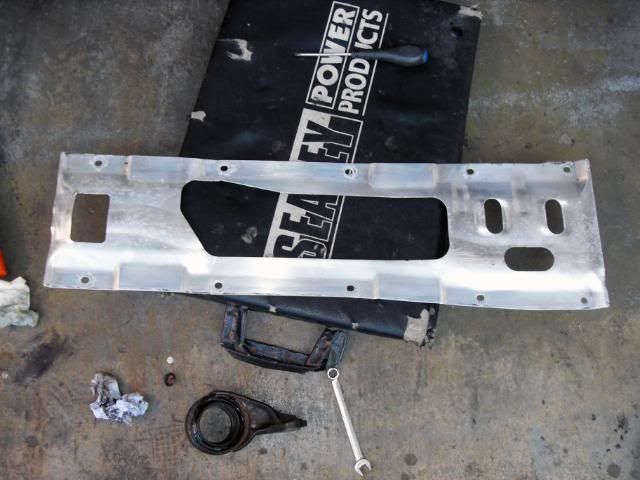
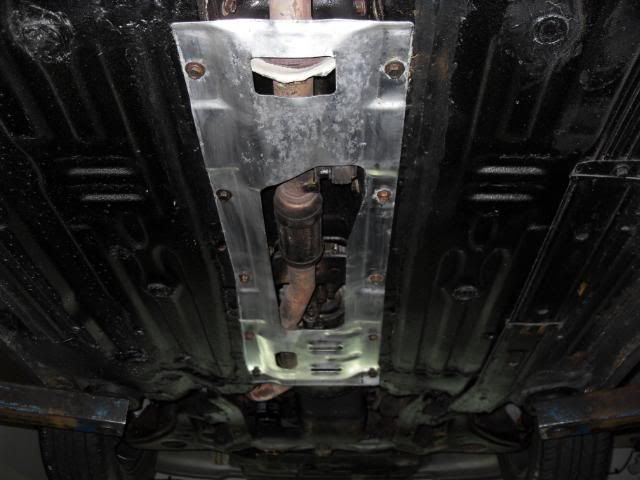
    The rest of the exhaust system had a few blows on the welds and missing gaskets, so we did what we could for now
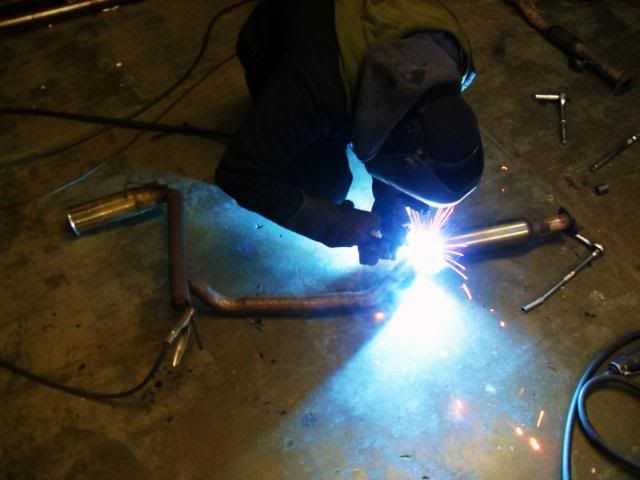
    Refitted all of it.

    Then on to the injectors and ECU. Old and new next to each other.
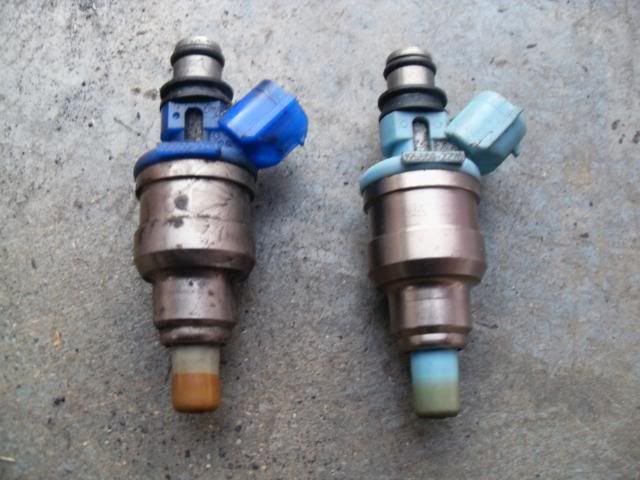
    Popped in

    And the results? She sounds an octave meaner now, and idles camly. strangely sounds a bit more content with herself ;D All the engine noise now actually exits through the tail pipe, which is nice I have yet to take advantage of adjusting the boost up to its full potential, which I will most likely do later today, but she easily went off the clock on the way home :P All in all, I'm pleased with the days work.
    bstmeetbllk

  10. #10
    Flamethrower Pablo13's Avatar
    Join Date
    Aug 2006
    Location
    Wanstead
    Posts
    7,763
    Rides
    0
    I Had a few issues with the injector seals perishing and they have been in and out 3 times. Now they are all fitted with the seals from the old injectors and all seems well. While this had been going on somehow the little plastic cap that goes on the end on the idle control valve had dislodged itself and started to make sucking sound that left me scratching my head for a few days wondering where it was coming from. Thankfully its all fixed and back to normal

    I did grab a picture of my 6x9's though. Not as pretty as a Garage John or similar, but they sound good


    Recently I had also noticed that my two of my tyres seemed to have given up holding air for any decent amount of time. They have a fair amount of tread left on them but on close inspection all the side walls had age cracks and a chunk or two missing from bad parking from previous owners. I do want new wheels, but as we are in the middle of winter I decided just to get a set of cheapy tyres to get me though to spring time. I think I may have also managed to wrangle them as a work expense, which makes it sound better when I tell you I spent £180 on something called primewells (who? ).

    They are black, rubbery and round :P They're also 185 section and 60 profile as opposed to the 55s that were on there. You may also note from that shot that I have removed my rear mudguards for now as one had some damage on it.

    Friends following me had noticed that my lights had a slight flicker to them so I also spent some time re routing and cleaning earths. My roof still seemed to be leaking, I'm starting to think this may be why carbon roof panels are such a popular modification in Japan So I spent a bit more time playing with the seals, mainly at the ends. Its rained quite a bit last night and seems better.

    And finally I also bought myself some............mainly for the grammatically incorrect Japanese name ;D...............Piaa Hyper Dimple Super LED 501's for my sidelights.

    Before

    After

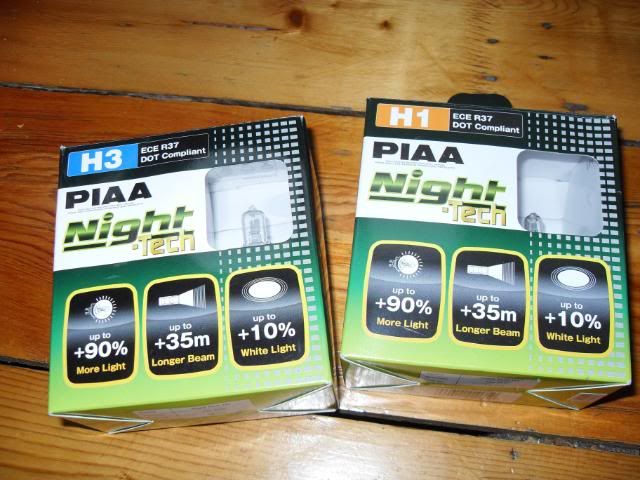
    They don't seem to fully light the casing up for some reason possibly due to the daytime picture, but are much less yellow and emit a nice white light so I am happy. I have also added some Piaa H1 and H3 bulbs to my Christmas list so they'll be joining the lighting party at the front shortly.
    bstmeetbllk

  11. #11
    Flamethrower Pablo13's Avatar
    Join Date
    Aug 2006
    Location
    Wanstead
    Posts
    7,763
    Rides
    0
    Well over the festive season I seemed to have aquired a few more Cappuccino related goodies

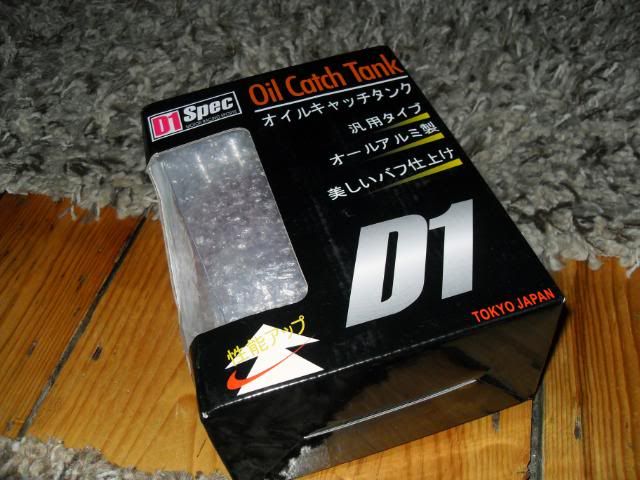
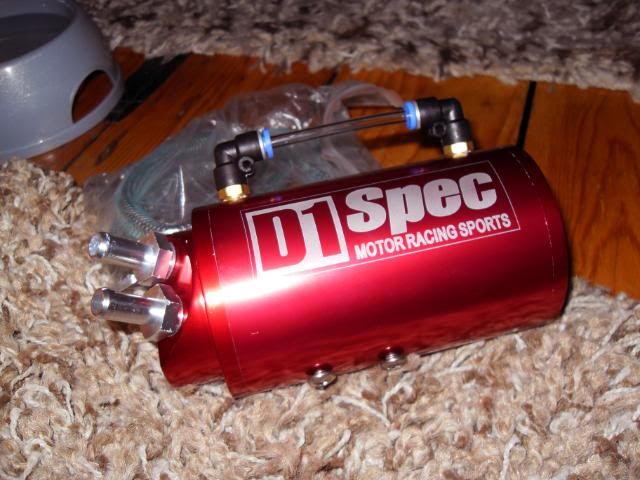
    I bought myself a catch tank

    Looks like this out the box, red of course

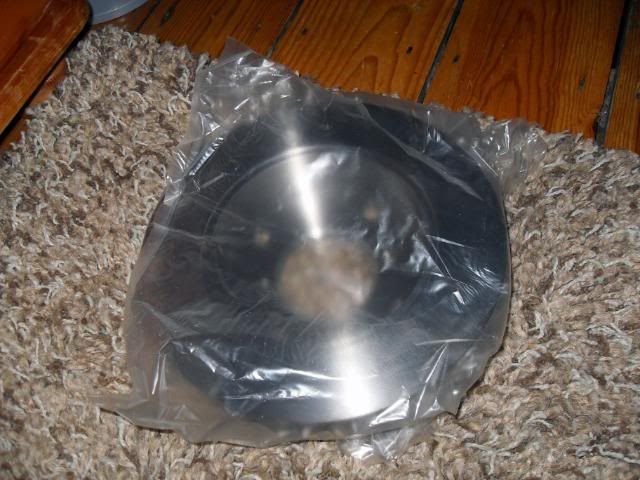
    And I happily got these rear discs for Christmas as my current ones have a nice groove in them

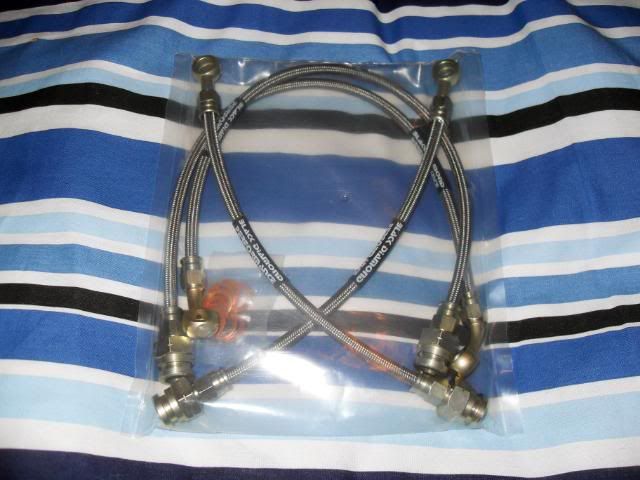
    To go with them I have ordered some Black Diamond Predator pads all round and some new front discs too, although they have not turned up just yet. These did though

    So I can wait to get that little lot on

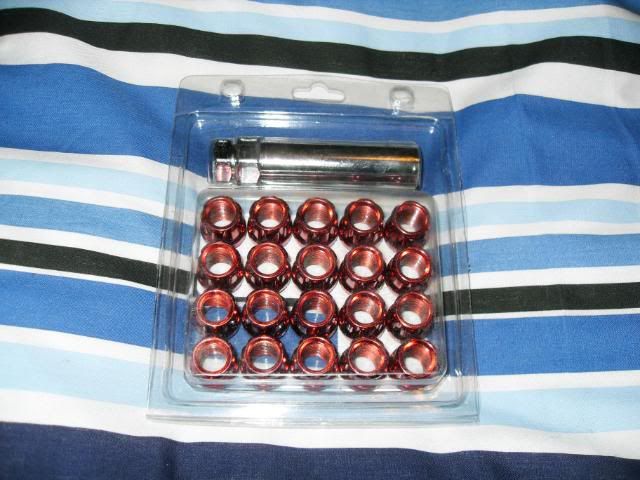
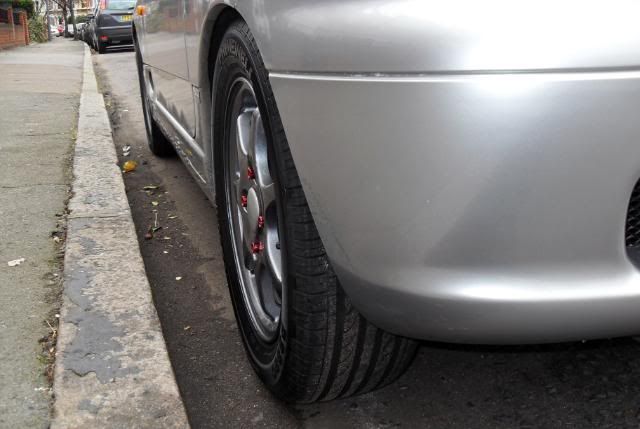
    Another present I got was a set of new wheel nuts that dont give the appearnce of my car looking like a scythed chariot as per the current ones. I asked for either black or red ones.....can you guess? yes :P......

    Just to show the depth difference between old and new

    And fitted

    I was going to hold off fitting them until I got a new set of wheels, but I think they make a nice subtle change all on their own

    And as also mentioned earlier, I got these

    Daytime comparison shots didn't really help though : Still took some though :P

    Before

    After


    Not an amazing difference, so I tried to get my passenger to get a shot when we went out for a spin in the evening, but the shutter speed was too slow for a decent shot

    They light up the road much better than before.

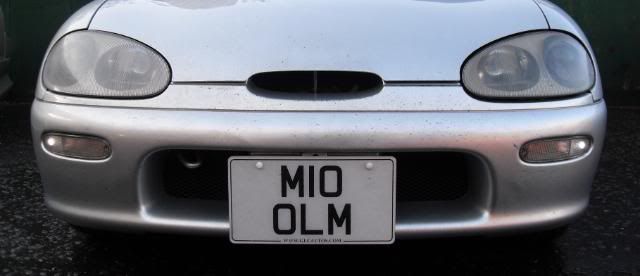
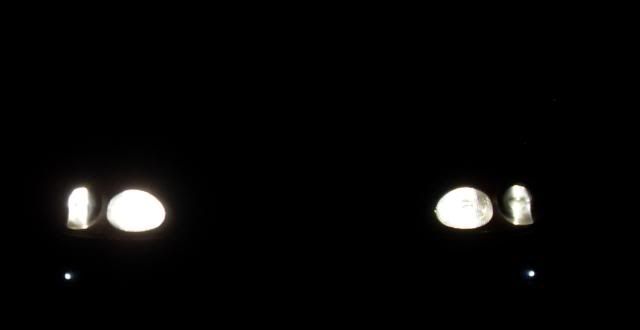
    Afterwards I did manage to get a nice dark head on shot for you.

    Thanks for looking
    bstmeetbllk

  12. #12
    Flamethrower Pablo13's Avatar
    Join Date
    Aug 2006
    Location
    Wanstead
    Posts
    7,763
    Rides
    0
    Time for the first propper update of 2012.

    It nearing 3,000 miles since I bought her, so she had her second oil change in my ownership.

    And then we got on with doing the brakes. Here are the old fronts

    Still had a bit of life left in them but I thought I may aswell change them too

    Newies (mucky paw prints were cleaned off after )

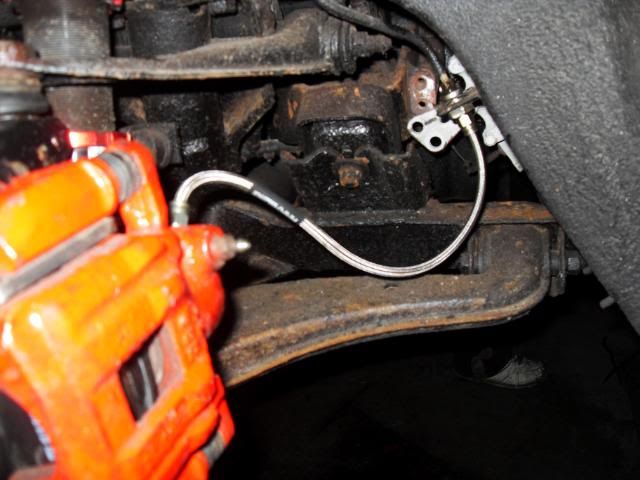
    Brake lines on the front went smoothly...

    Rear set up

    The rear lines didn't play ball and the left side rounded off. The next join on the pipe looked like its tucked nicely up out the way, so we left it how it was for now and will try and fix it when i drop the subframe and tank to attack the rust.

    Got my catch tank fitted

    Close up of the routing chosen, sadly no red hoses that size to hand....at the moment

    Which also meant I could loose the pipes at the front and blocked off the take offs left

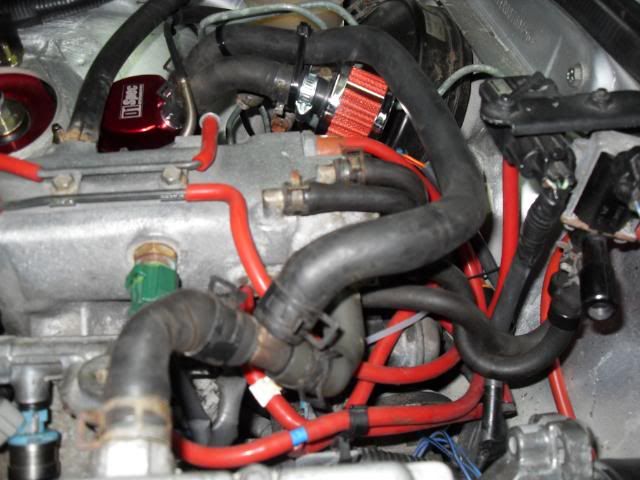
    And now the bay looks a bit like this. Also note I have removed the hook for the engine crane to tidy it up a bit. Will keep hold of it in a safe place and pop it on if I ever need to take the engine out.


    And now time for another subtle mod.......

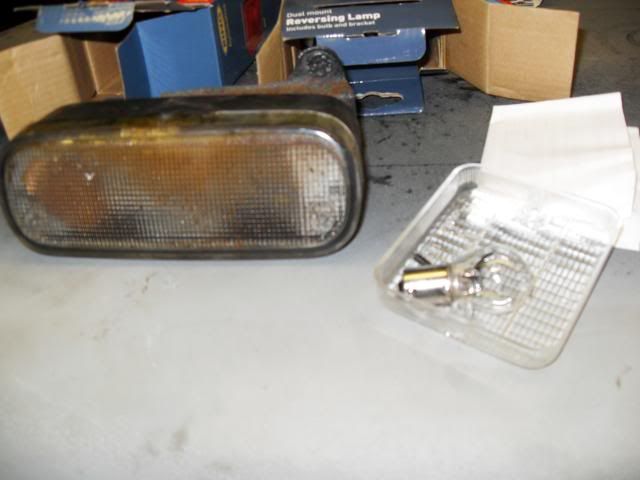
    My old reversing light had seen better days

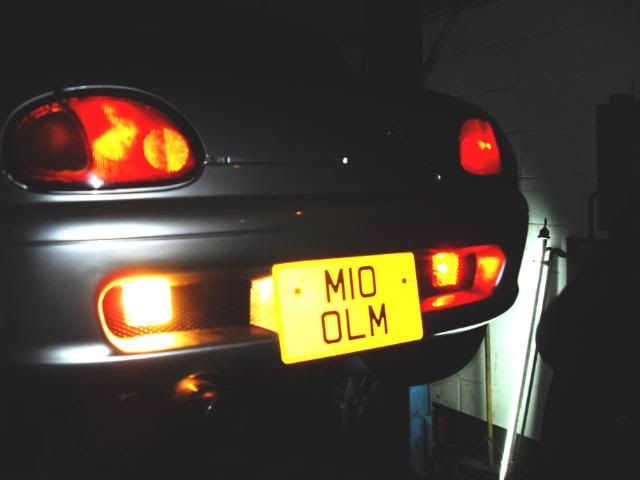
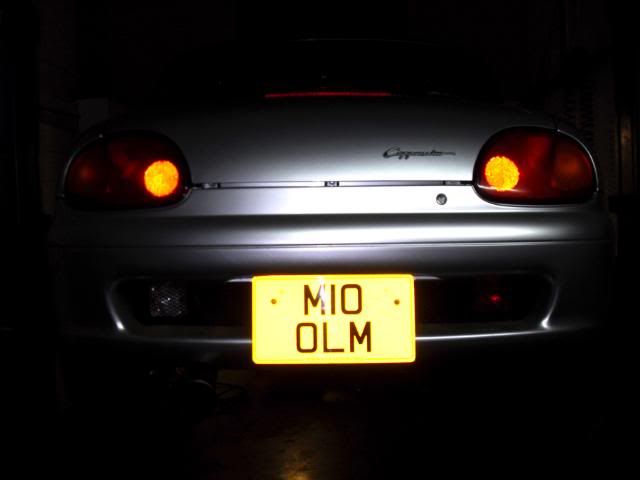
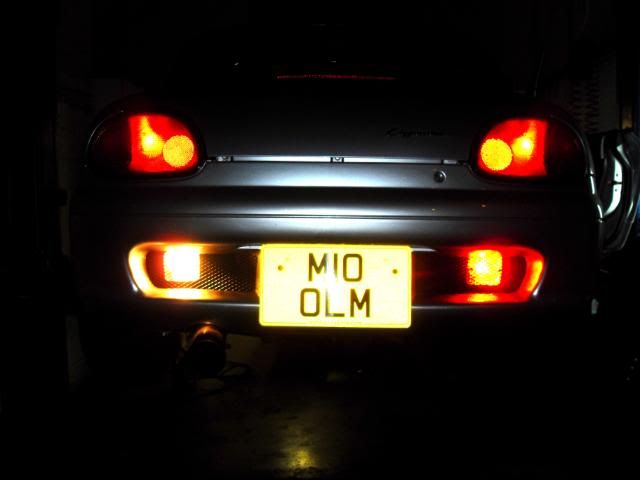
    So I got some new mesh, removed the old ones. Then I fitted nice new mesh that doesnt have a hole on the middle After that was done I then mounted the new lights behind the mesh, Handily mounting them on the chassis rails It was getting dark but looks a bit like this:

    Off

    On


    bstmeetbllk

  13. #13
    Flamethrower Pablo13's Avatar
    Join Date
    Aug 2006
    Location
    Wanstead
    Posts
    7,763
    Rides
    0
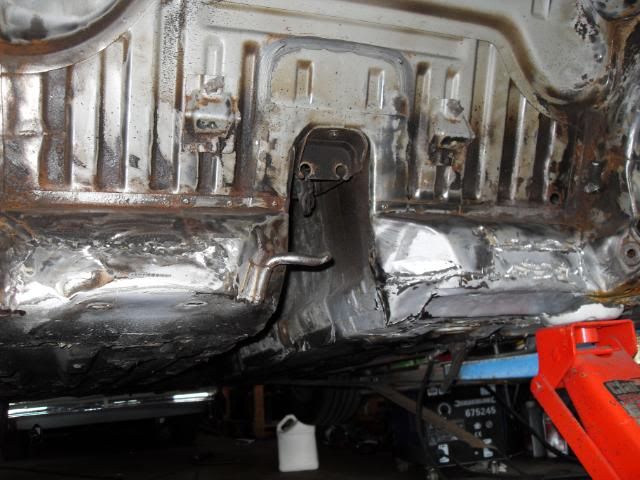
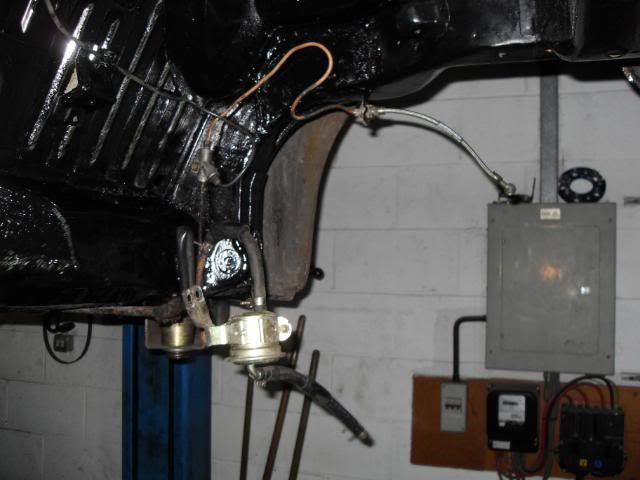
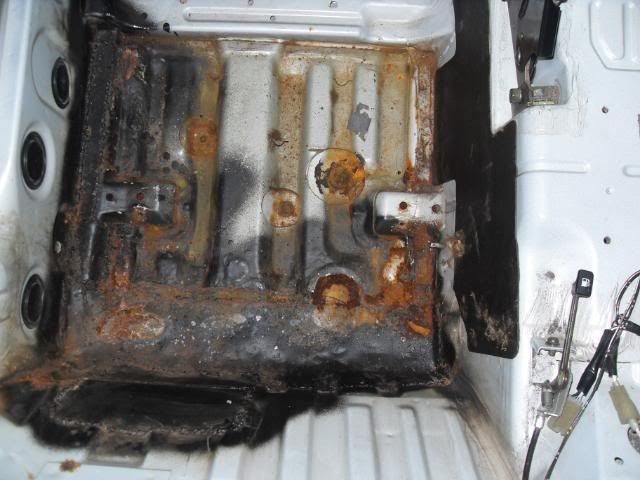
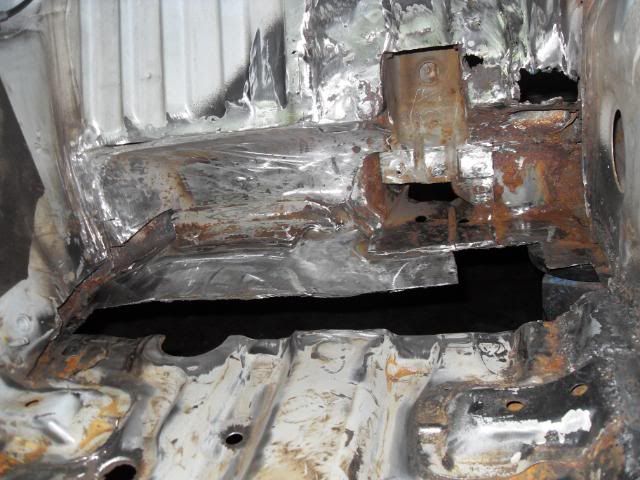
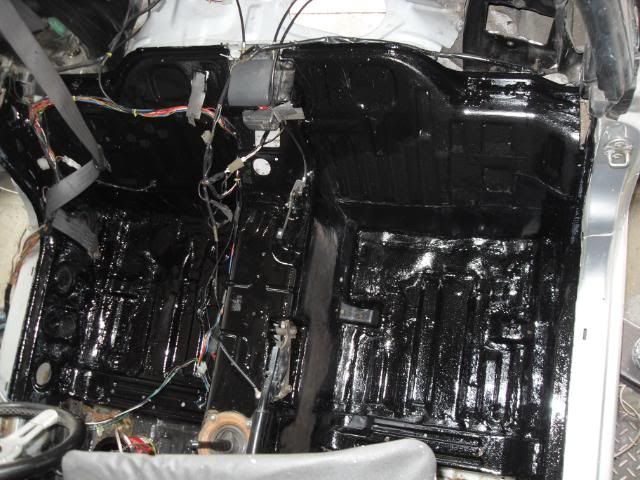
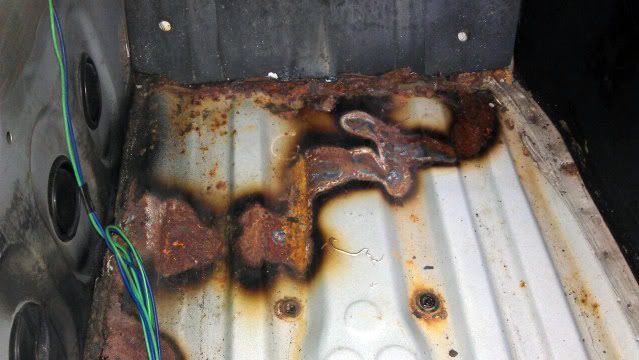
    Went down the garage to start of my rust repairs, which started by removing this
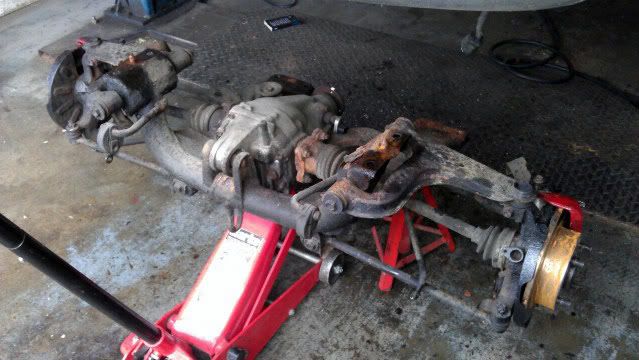
    And my fuel tank and the carpet so we could takle the worst, but by no means the only bit to do
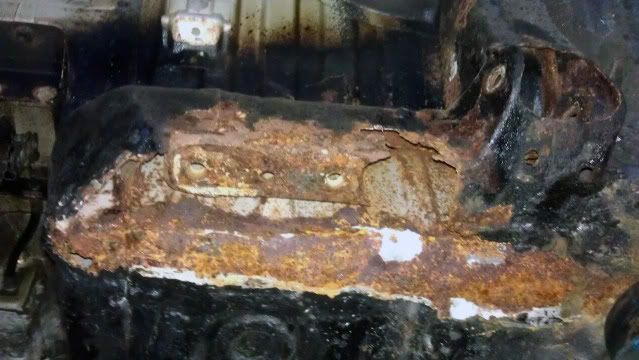
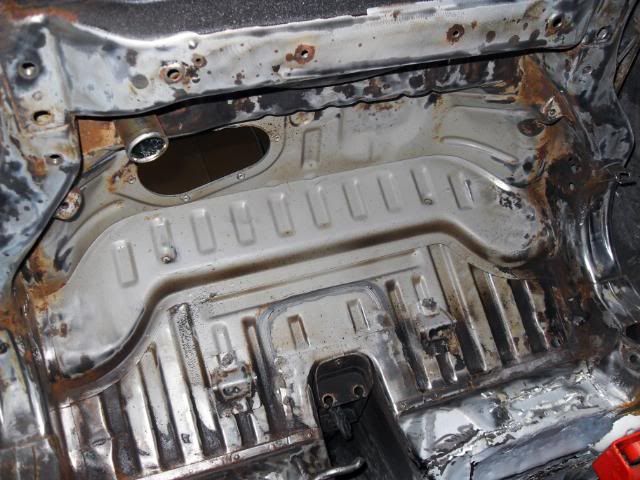
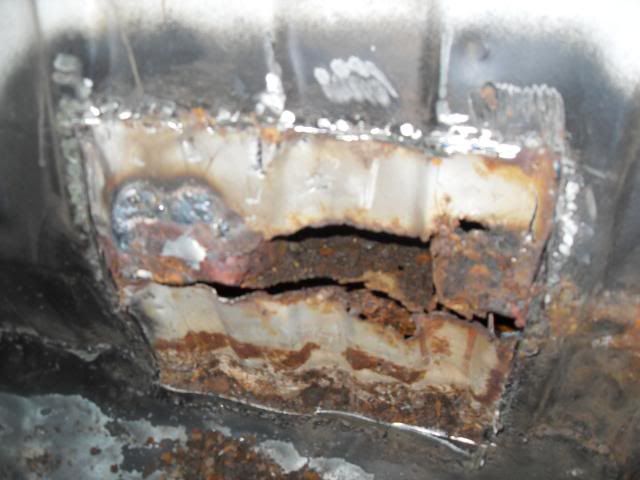
    The old repair inside was removed, and it was cut out in sections and new metal tacked in to keep some strength
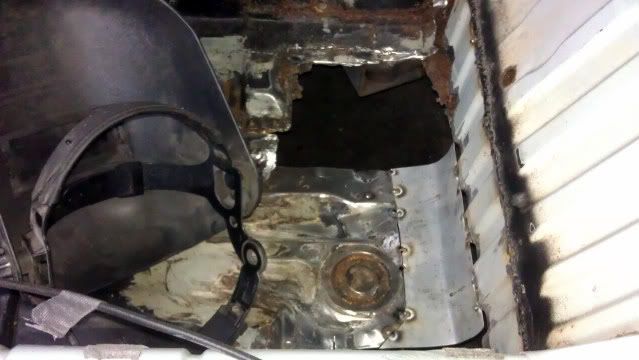
    Unfortunately while the carpet was out we noticed some holes at the front of the footwell too and more dodgy repairs that will need attention

    Same on the passenger side too
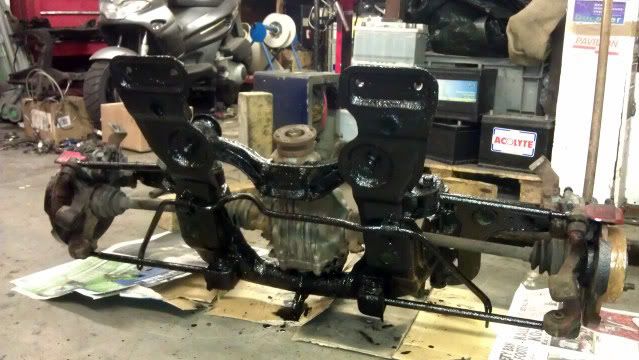
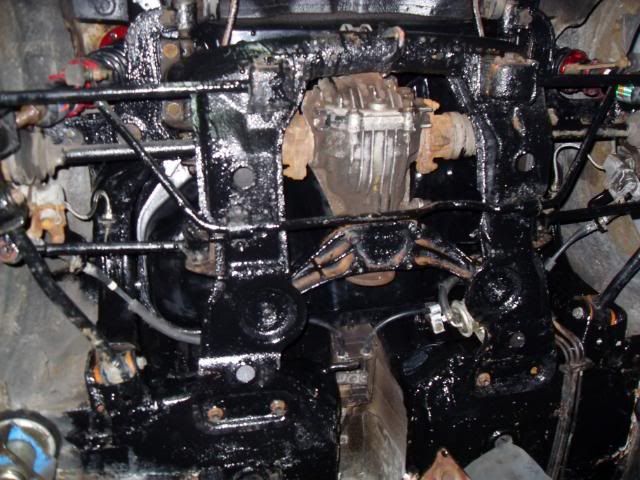
    but no time for that today. While the subrafme assembly was out I gave it a quick wire bush to remove the loose rust
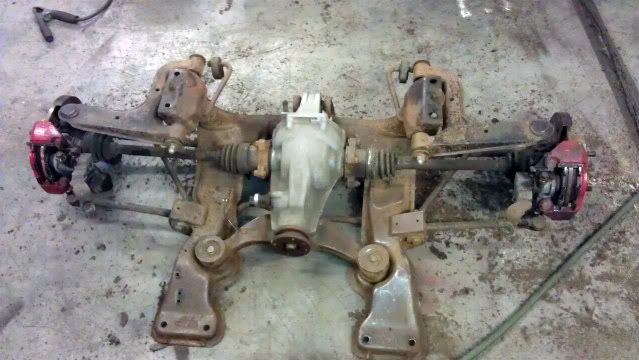
    Then a quick coat of Por 15


    As welding would be occuring we removed the tank to reveal yet more surface rust and a few small patches (50p in size) that need to be addressed.
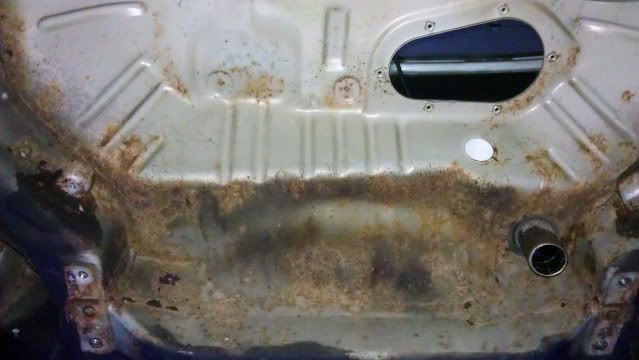
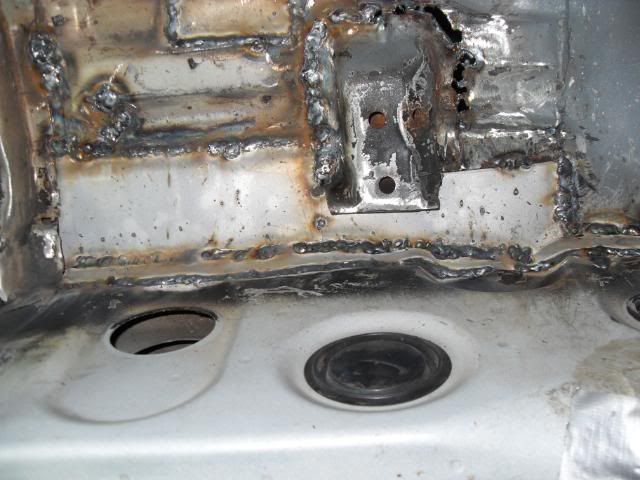
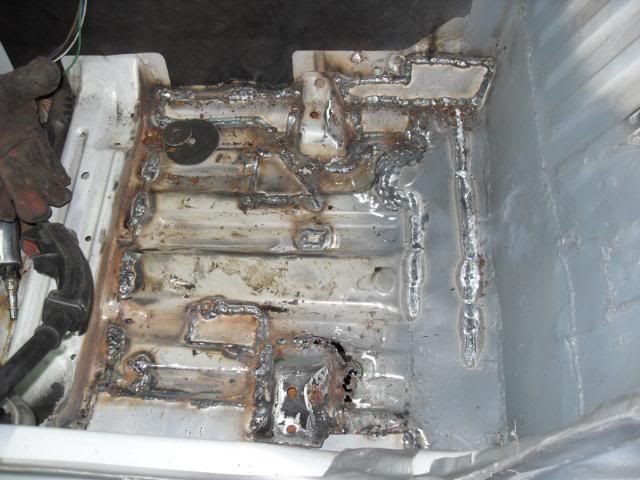
    Slowly started to build up the inner and outer floor pans
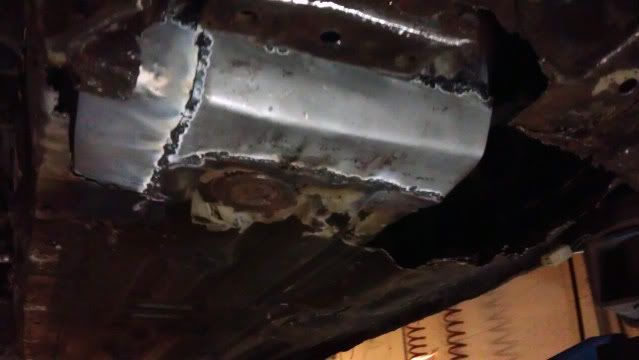
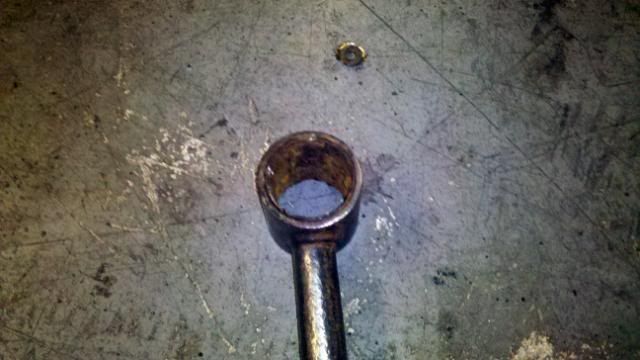
    Unsure of the correct discription of the arms, but the bushes where shot, the bolts holding them on snapped when we tried to remove them and the Remanence of the bolts had rusted itself to the bushes on both sides. We removed the bush and tidied the arms up.

    More Por 15

    Now it was getting quite late in the evening now and we had brought nothing with us to replace the knacked bushes. Ingenuity and a bit of luck prevailed. Handily a mk1 Cortina is undergoing a long term restoration at the garage and had a selection of yet unfitted poly bushes, one set of which fitted lovely and snuggly into the arms without removing the outter metal sheath of the old bush

    Now we ended up spending a long saturday night getting this sorted and inveitably this happened.....
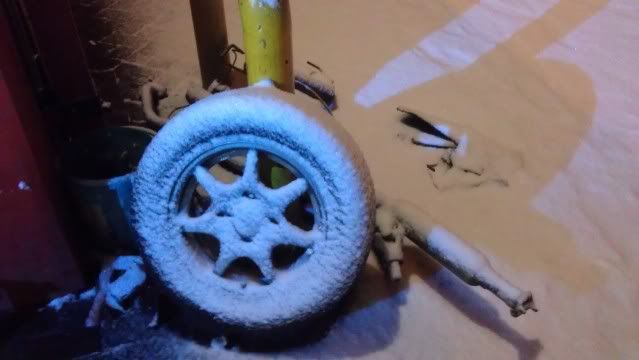
    This is the fuel tank outside as we was welding
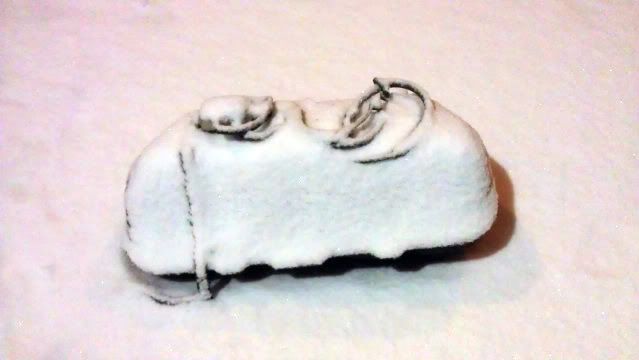
    For some reason, possibly cos it was so cold we ended spending all night doing this and ended up driving home in the snow well past 5am. As you can imagine we were very tired and very cold. We ended up not getting any more pictures, but I can tell you we finished off the rear of the floor, but didn't dress the welds and propperly finish up. The car was refitted with just a drivers seat, no carpet and the bare essentials to get me home and to work next week and we will be continuting the saga next weekend. Hopefully things should come apart a bit easier second time round.
    bstmeetbllk

  14. #14
    Flamethrower Pablo13's Avatar
    Join Date
    Aug 2006
    Location
    Wanstead
    Posts
    7,763
    Rides
    0
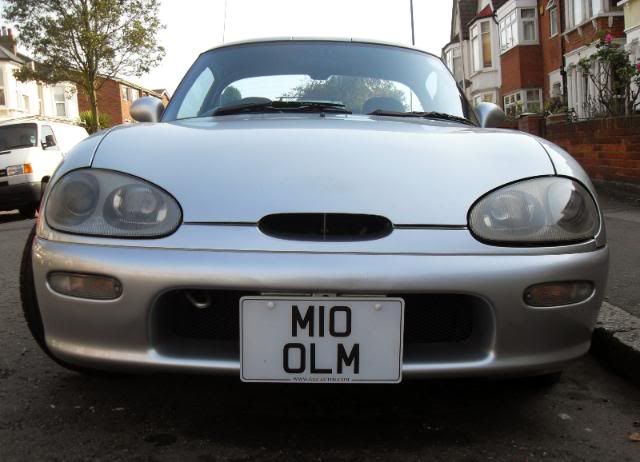
    This is where we got too last week. As you can see we ony had time to give it a quick covering with primer and the salt on the road is already doing a good job at turning it back into rust again!

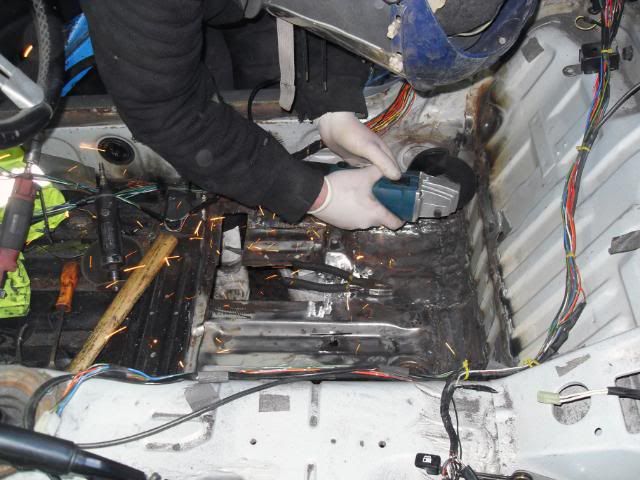
    So we made a start with the wire brush and grinder to tidy the welds up

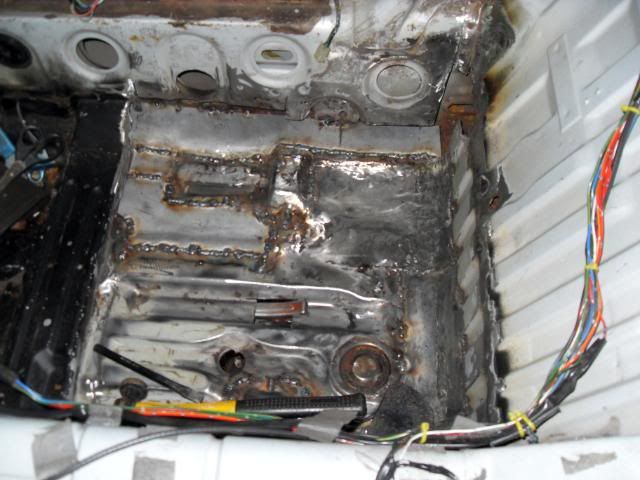
    The floor was slowly starting to come back together too

    Nearly there

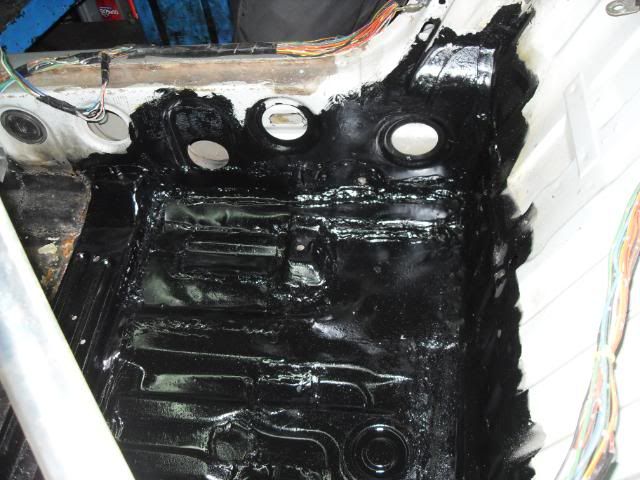
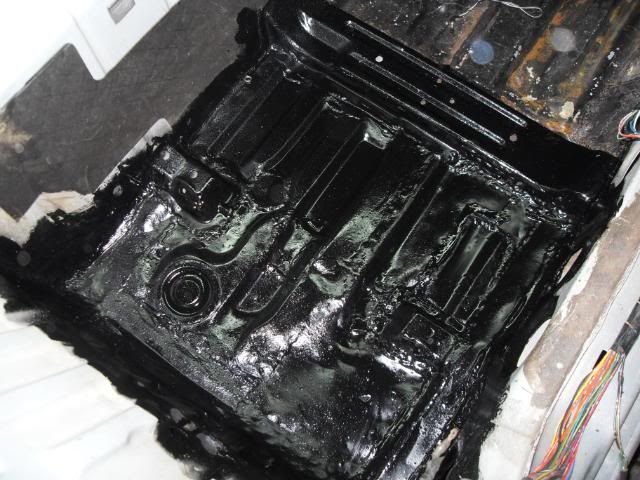
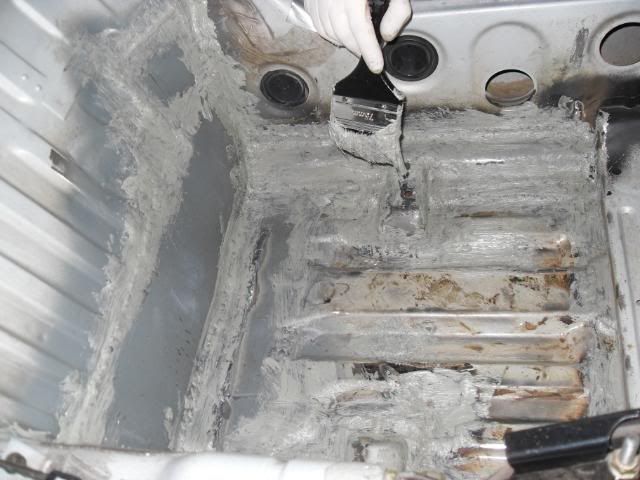
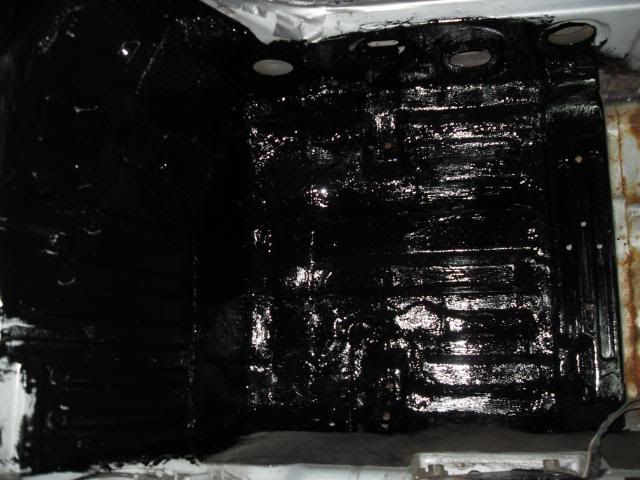
    Tidied the welds a bit then added some tiger seal and lots of Por 15 and when it was all done it looked like this


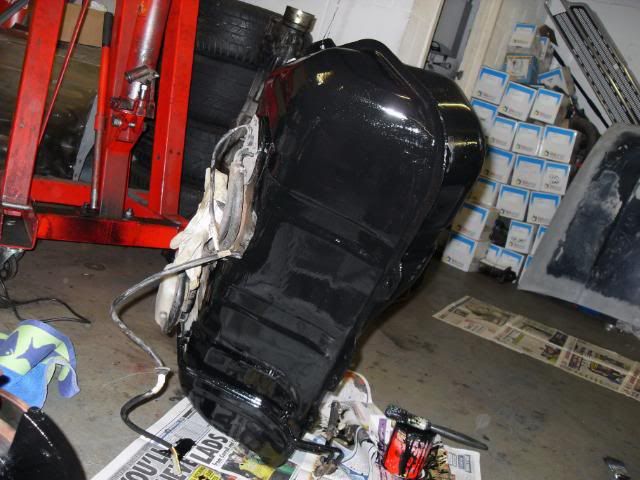
    Meanwhile, the tank got taken back to bare metal

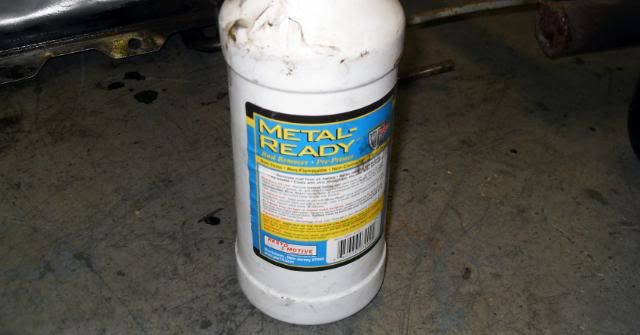
    The seam still had some rusty bits that the wire brushes just wouldn't get off so any questionable areas were coated in this

    Then more Por 15

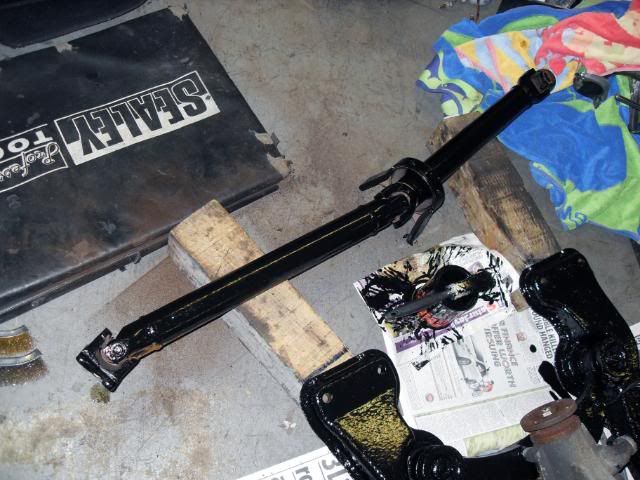
    Everything ended up with a coating of it, including us, the prop

    Even the seat frames

    And the subframe got its second coat, although I still managed to miss a few bits

    Back under the car more rust was attacked and metal readied

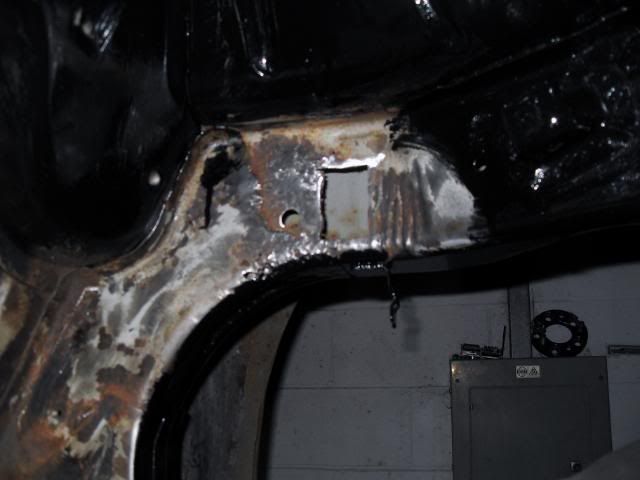
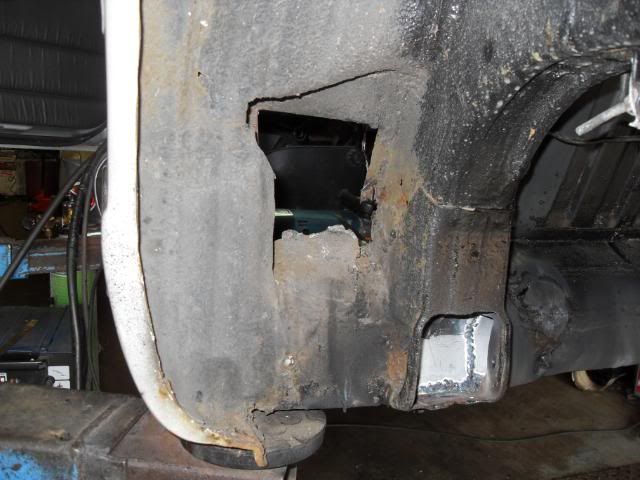
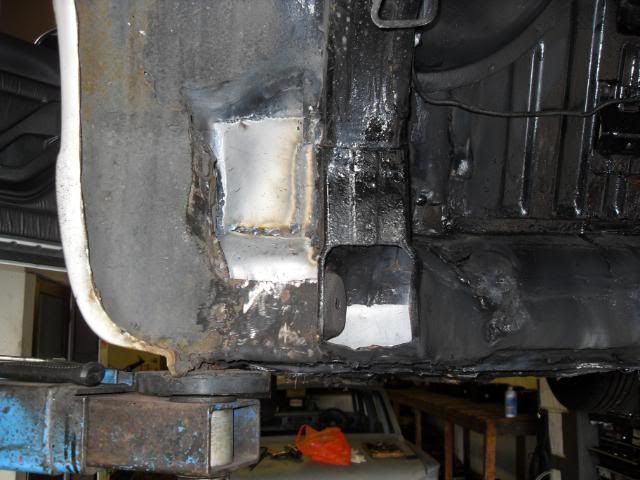
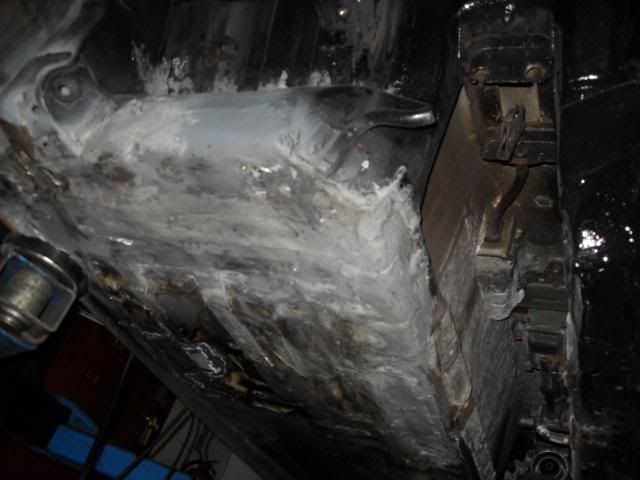
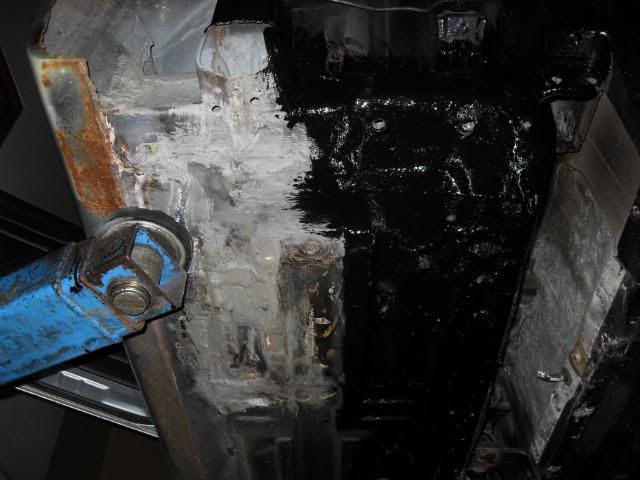
    There were four little patches to do under here, a pair on the inside of each chassis leg like the picture....

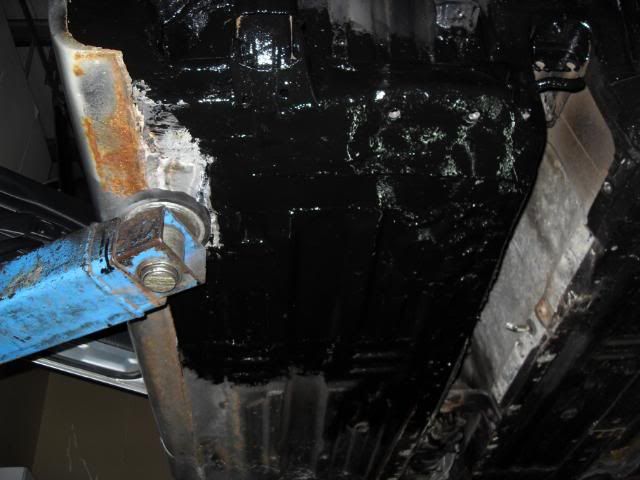
    ......and two little patches above the subframe mounts on each side.

    Then more Tiger Seal and Por 15 until it looked like this

    Everything came apart alot easier the second time round and we had reached this stage by 9pm.

    Lines back in place

    Unfourtunatley though the paint took forever to dry in this cold even with a heat gun helping it along so we had alot of standing about waiting. Eventually we started to assemble when it was a bit tacky still. Here is the tank back in place complete with fingerprints
    And finally the subframe.
    We got back a bit earlier than last week, but it was still a fair old slog. Thats the main bit of my rust addressed now, but there is still the matter of the sills, the front of the floorplans on both sides and a bit of rust behind the bumper, so I'm sure they'll be many more days like this to come
    bstmeetbllk

  15. #15
    Flamethrower Pablo13's Avatar
    Join Date
    Aug 2006
    Location
    Wanstead
    Posts
    7,763
    Rides
    0
    Small update. I ordered myself a new distributor cap and rotor arm, and a new alternator belt to replace my slightly squeeky old one which all got fitted today. I also got hold of a take off front lip. I fitted it today and its a great fit it slipped on so well that it held itself in place without any fixings.

    Some test fitting


    I fixed it propperly and added a few new supports and to be sure though


    It was just meant to be a test fit, but I was so pleased with it I've left it on. It will get painted eventually, but I don't think it looks to bad as it is for now.

    bstmeetbllk

  16. #16
    Flamethrower Pablo13's Avatar
    Join Date
    Aug 2006
    Location
    Wanstead
    Posts
    7,763
    Rides
    0
    Guess what?

    [Gameshow Voiceover] IIIIIIIITS WELDING TIME!!! [Gameshow Voiceover/]

    Before we get started let me just show you my gear oil lid masquerading as a bung


    Oh dear......

    Here is the passenger side. On the face of it just surface rust yes?


    [Gameshow Voiceover] AHH, SUCH A SHAME I'M AFFRAID THATS THE WRONG ANSWER! LETS SEE WHATS BEHIND PATCH NUMBER 1!![Gameshow Voiceover/]


    [Gameshow Voiceover] THAAAAATS RIGHT, YOU'VE WON SOME MORE RUST, WOO!!! [Gameshow Voiceover/]

    And so it went on, who ever welded this car needs shooting.....in the face......in front of his family


    Got it in a workable state


    Fixing


    Fixing some more


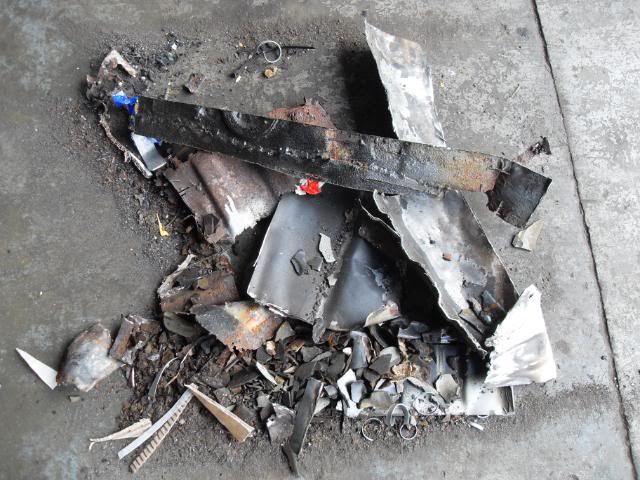
    Scrap


    Painted inside


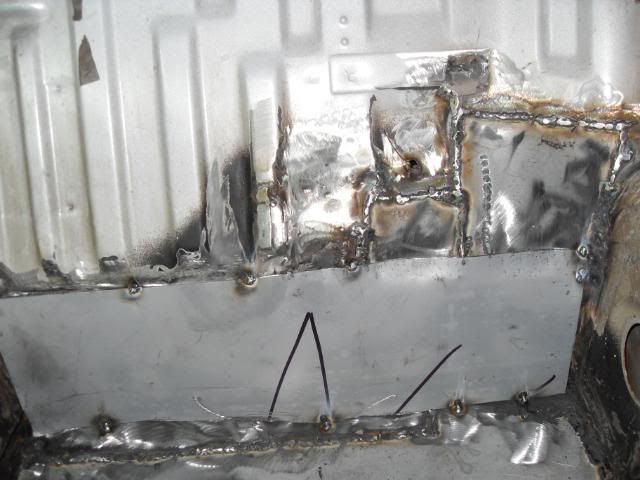
    Then plated


    Got painted outside when it was finished too, but forgot to get pics.

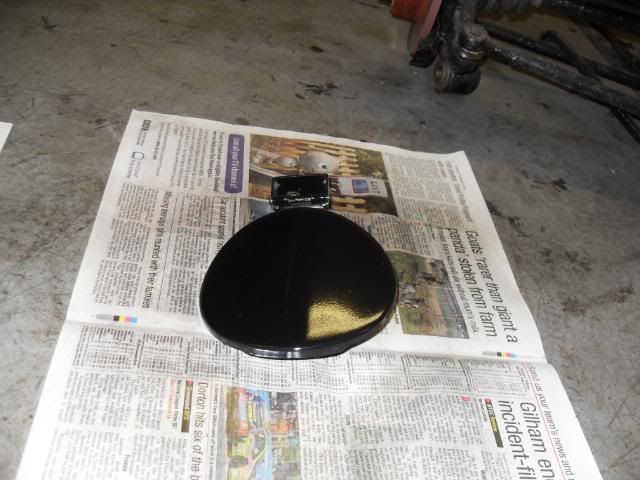
    I decided to take my filler cap off as it had surface rust on the inside. I ended up removing all the paint back to bare metal treated it and have painted it in satin black with a small dash of laquer.


    The car does need a repaint, and it slowly does seem to be turning black. Damn sight better than rust brown though!

    Thanks for looking
    Last edited by Pablo13; 28-08-2012 at 19:21.
    bstmeetbllk

  17. #17
    Flamethrower Pablo13's Avatar
    Join Date
    Aug 2006
    Location
    Wanstead
    Posts
    7,763
    Rides
    0
    Got hold of some JDM spec clear side repeaters the other day. After some cutting, soldering of wires, some mounting point adjustments as they are slightly different to the UK ones, I got them fitted.


    Finished up the welding on the passenger side.


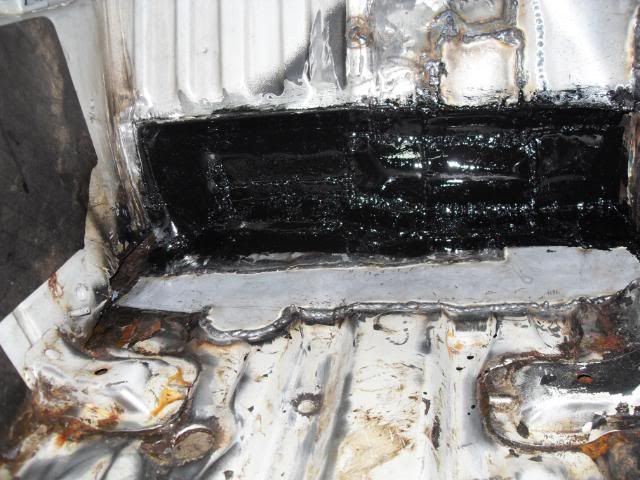
    Then tidied the welds and added lots of seam sealer.....

    And lots of Por 15

    Finished it off by tieing the whole area together (notice its starting to go black?)

    I also carried on with more Por 15 in the wheel arches to complete the rear end protection

    Underneath got a similar treatment


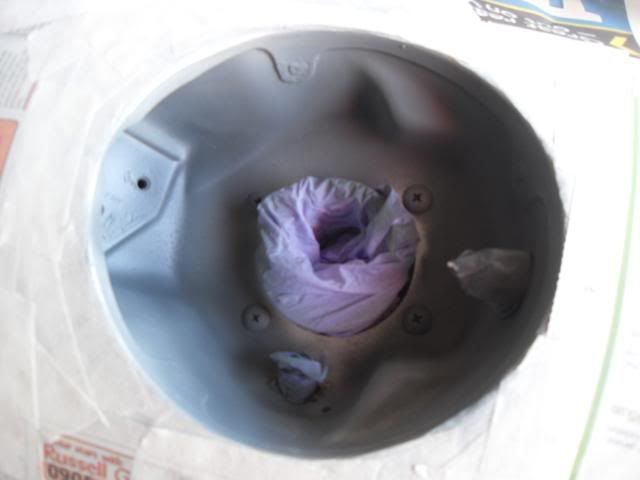
    I prepped the inside of the the fuel cap area too.

    Then it went black.

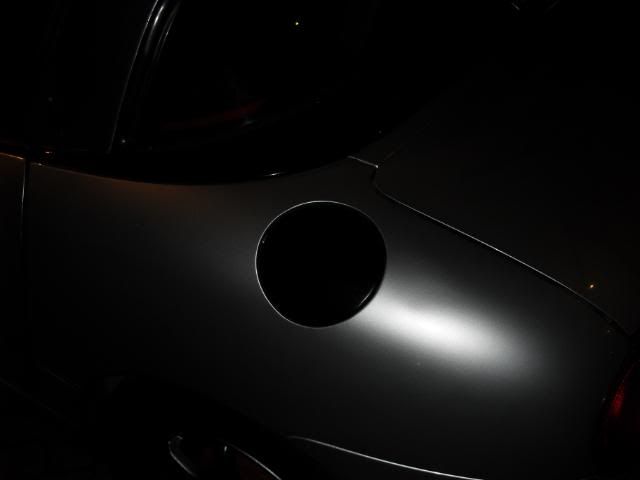
    I also decided to change the filler cap from matt black to a Volkswagen Orca Schwartz black. It looks like this most of the time

    But when the sun hits it you get a slight gold tinge to it, best captured by me in this blurry photo pre laquer.

    I also started but didn't finish the boot in Por 15

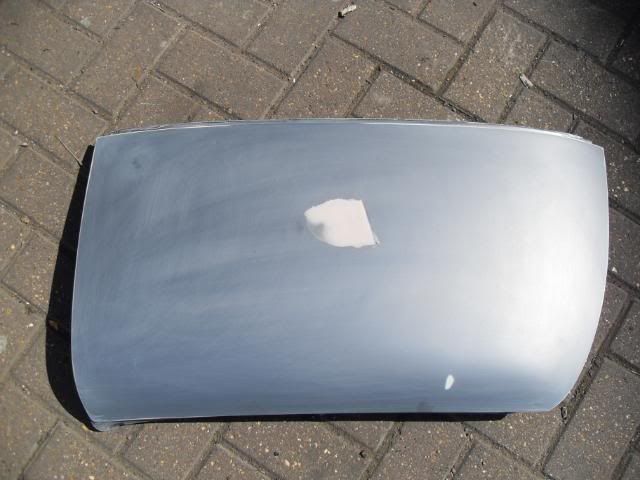
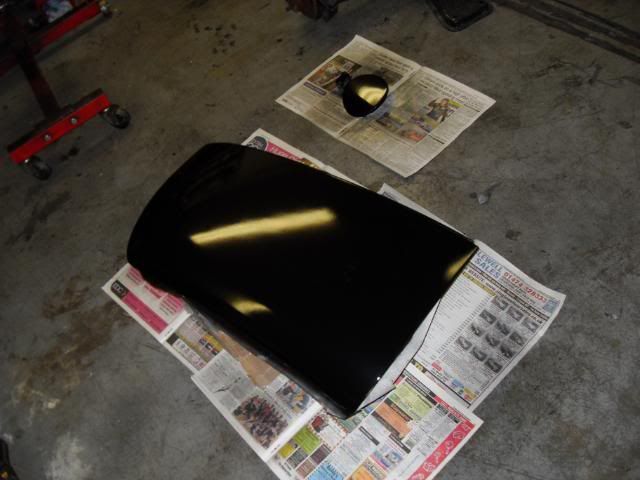
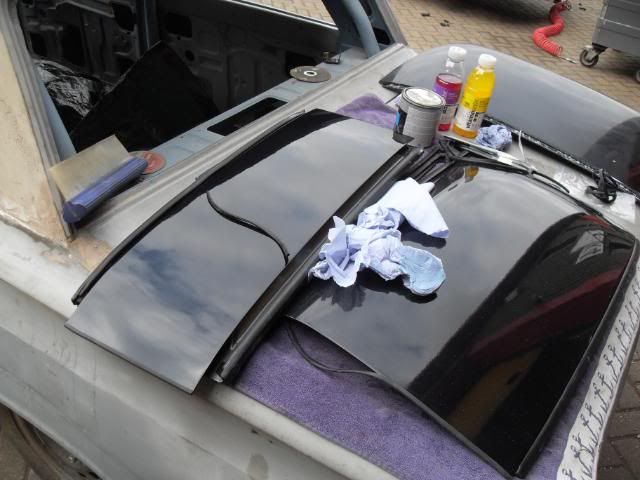
    And then got on with prepping the roof panels


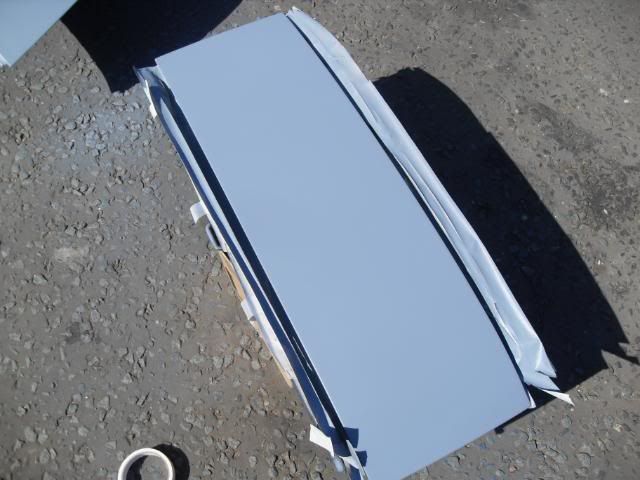
    In paint and laquer, although still a bit flat and orange peely


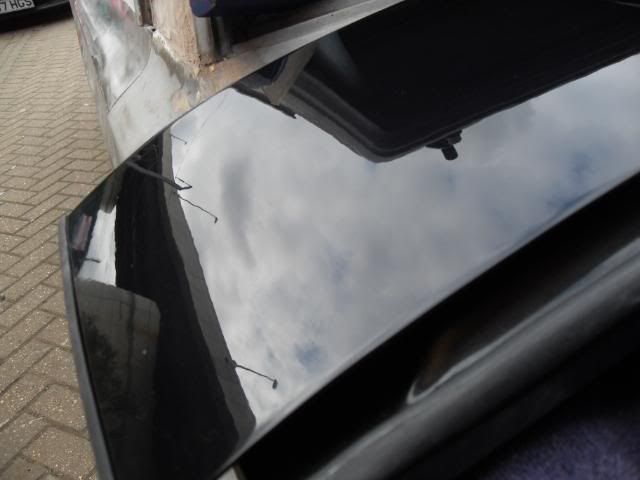
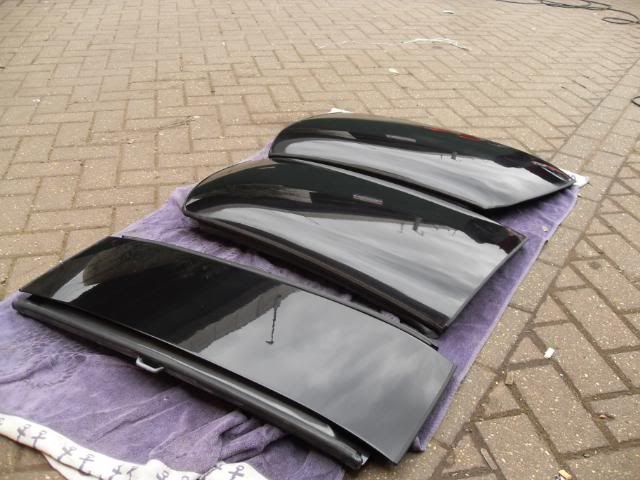
    So I Wet sanded them down with 1200 grade and 2000 then mopped them with G3 and G10 and refitted the seals and rubbers

    Looking alot better close up


    Back on the car at the end of the day


    Best bit of paint on the car IMHO. This will be the last bit of welding work and hopefully it should make it through the MOT now. A little bit more painting will happen though, hopefully with the roof bar next.
    bstmeetbllk

  18. #18
    Flamethrower Pablo13's Avatar
    Join Date
    Aug 2006
    Location
    Wanstead
    Posts
    7,763
    Rides
    0
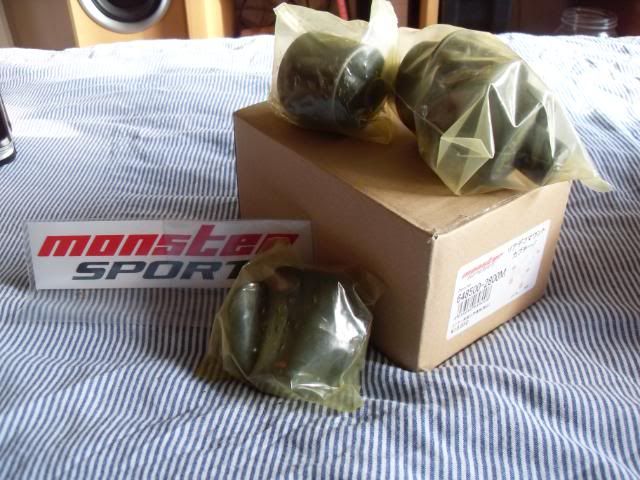
    These turned up

    Monster Sport diff mounts

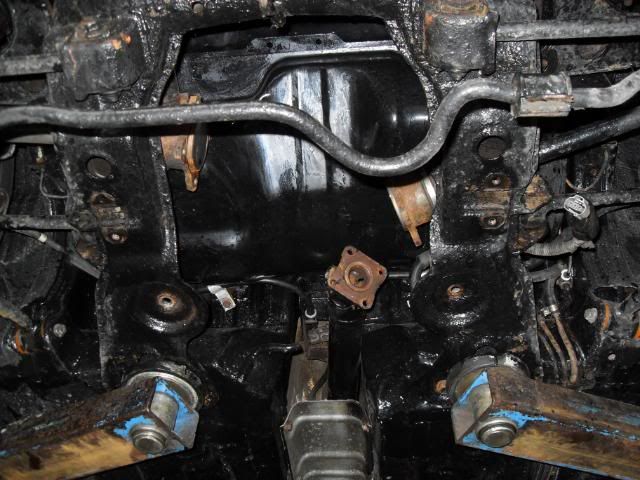
    While it was up on the ramp I had a chance to check up on the underside. all seems well no signs of any rust coming back for now. The subframe still has a few bits here and there but nothing major. The shell is looking good though. Got on and got the diff out

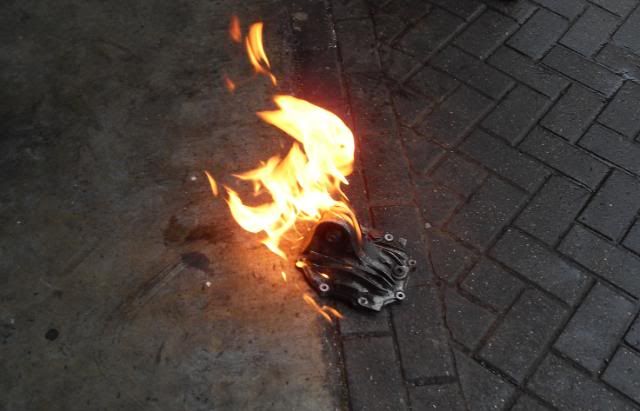
    Then set about removing the rear bush with a bit of flame action

    Diff ready to go back in

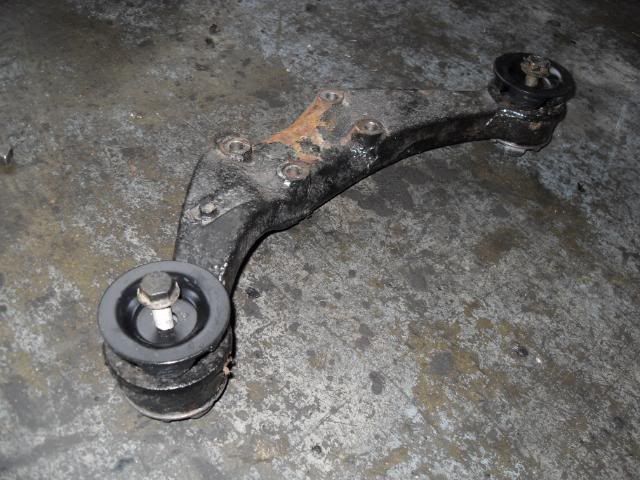
    And the brace with new bushes fitted

    I had a little clonk going from 1st to second which has disappeared and it feels alot tighter all round, certainly alot tighter than the Ferrari I past on my way home that had spun out in the fast lane

    I also had a quick chance to test fit my new back box.

    Need to order some 2" T304 stainless tubes and a few bends to make up my downpipe and centre section first though, so the old one got stuck back on for now.
    bstmeetbllk

  19. #19
    Flamethrower Pablo13's Avatar
    Join Date
    Aug 2006
    Location
    Wanstead
    Posts
    7,763
    Rides
    0
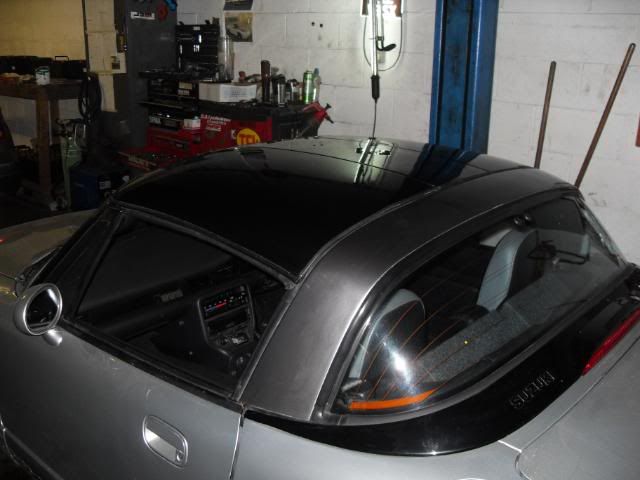
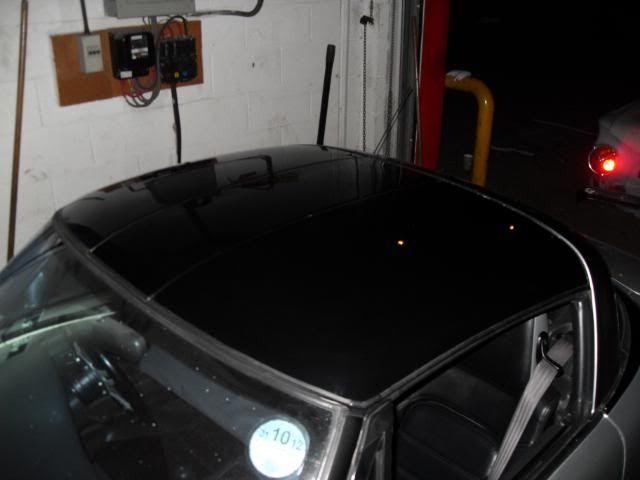
    Been waiting for the weather to improve before I painted the roof bar black to match the roof, as it was a lovely day today I finally managed to get round to it. Looks like it should always have been black


    Next was to remove the Cappuccino badge off the boot, think it looks so much better


    I then re-used the badge on my dashboard

    bstmeetbllk

  20. #20
    Flamethrower Pablo13's Avatar
    Join Date
    Aug 2006
    Location
    Wanstead
    Posts
    7,763
    Rides
    0
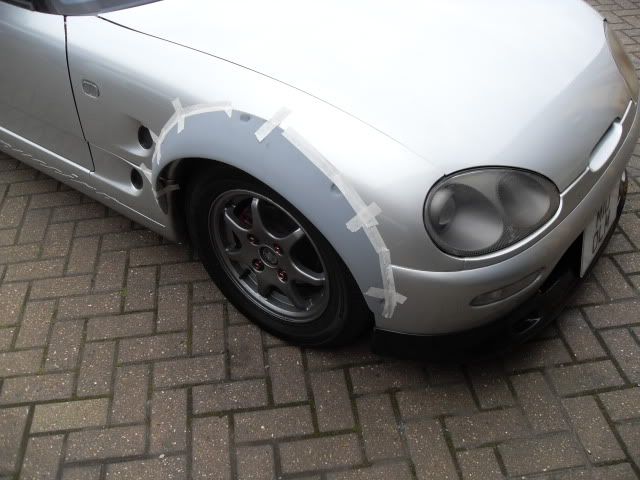
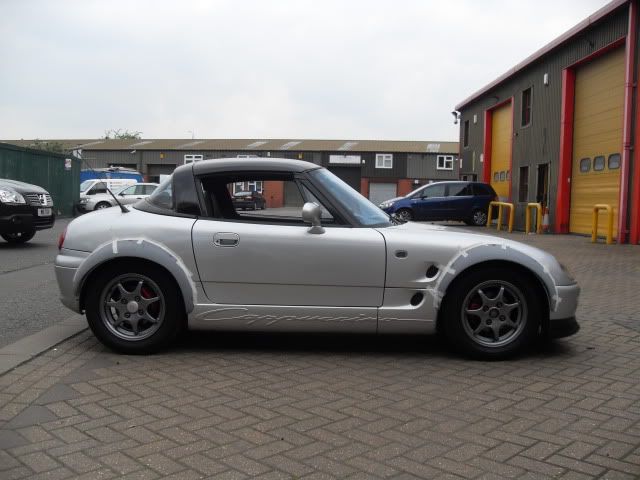
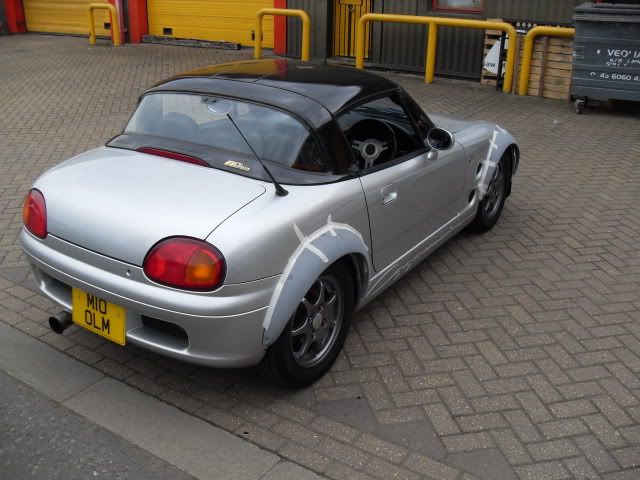
    Well I took the plunge and bought myself some arches. Manged to have a quick test fit today.


    Meant to be for an MX5, but look like they should work well and the rears give me 80mm extra room, which is enough to get the wheels I want to fit.......to fit

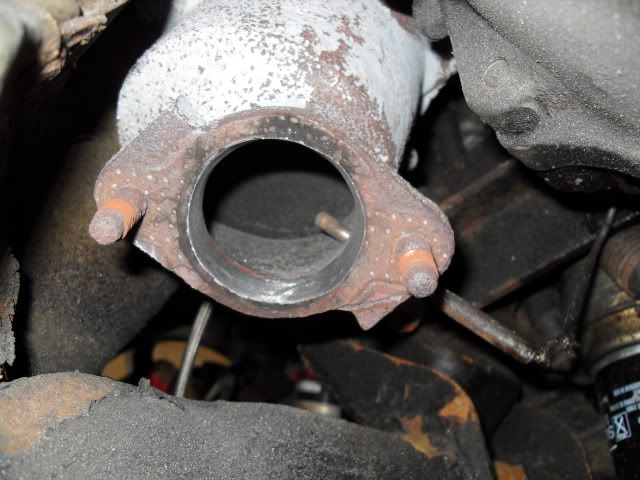
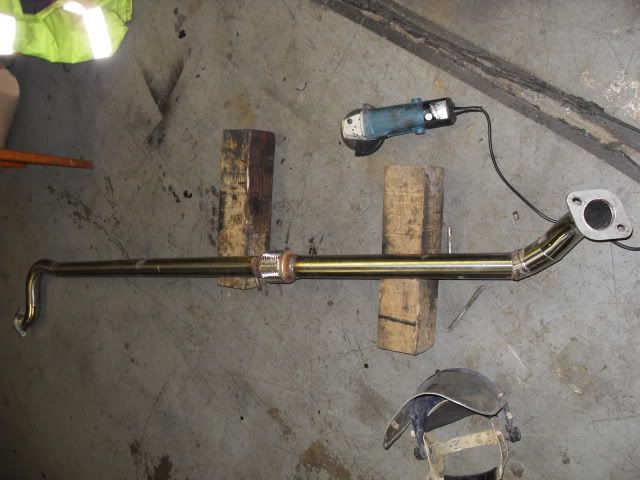
    Everything to make my exhaust arrived last week so we made a start today. First things first I came back to the Cat section and measured the exit that I enlarged when I did the turbo gaskets earlier on. It measured 1.75" which was fine for the old exhaust, but not the new. I re-attacked it and got it to a 2" diameter.


    Then we began mocking and tacking


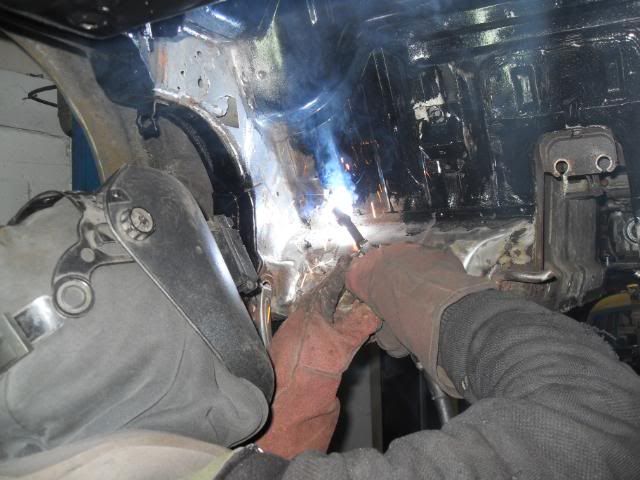
    Welding


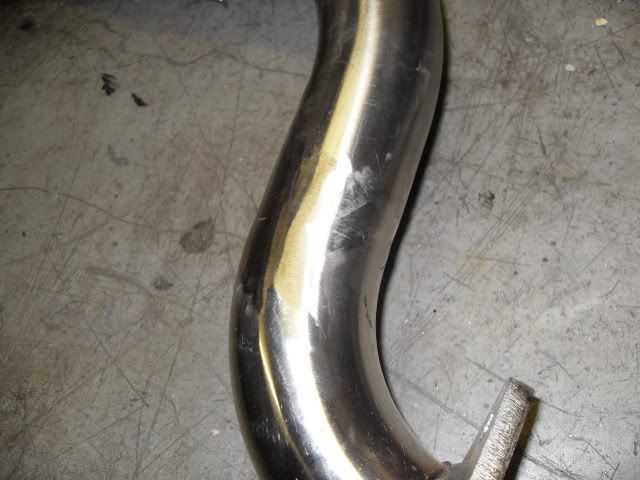
    No TIG available so all the welds that could be, got ground back after. Like this:


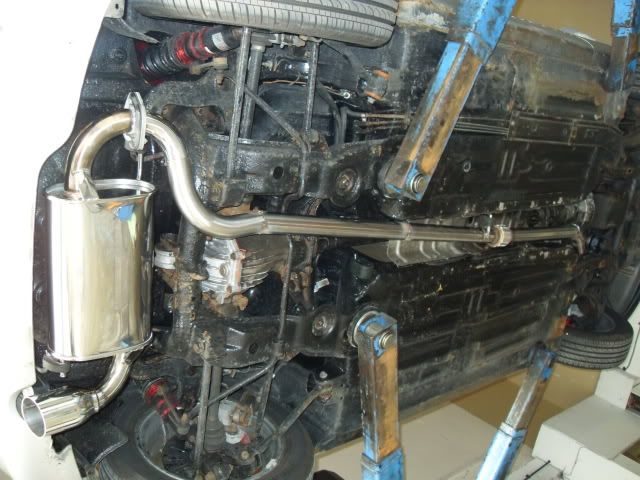
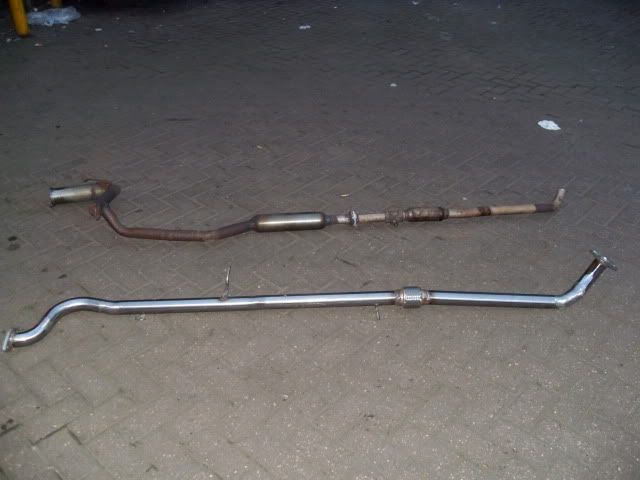
    And all said an done, old next to new

    Both could be said are home brew examples, but one is much nicer than the other

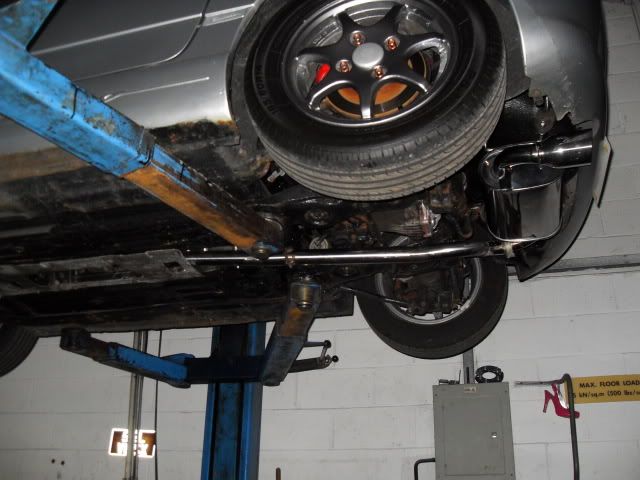
    All fitted with the Suzuki Sport back box


    Sounds good
    bstmeetbllk

Posting Permissions

  • You may not post new threads
  • You may not post replies
  • You may not post attachments
  • You may not edit your posts
  •