-
Flamethrower


The Whole 3.6 Yards, Suzuki Cappuccino
Just thought I would show you lot what we have been up to with Nikki's Cappo 
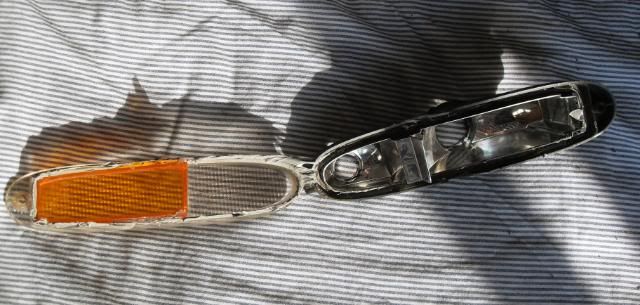
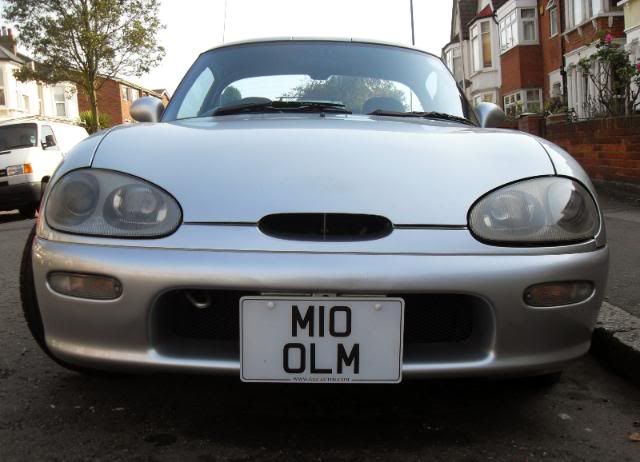
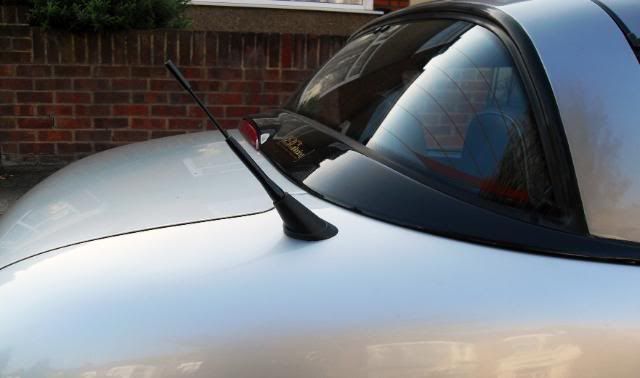
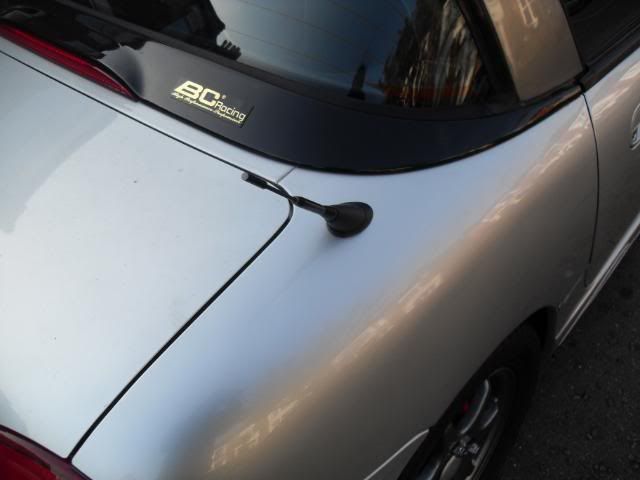
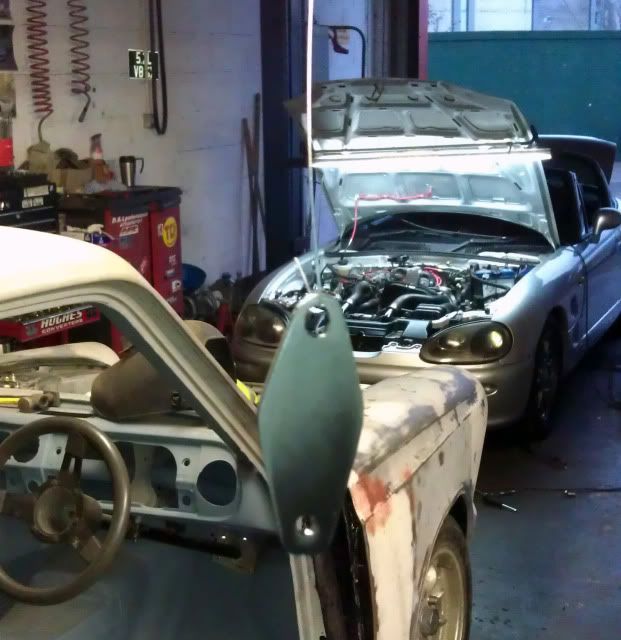
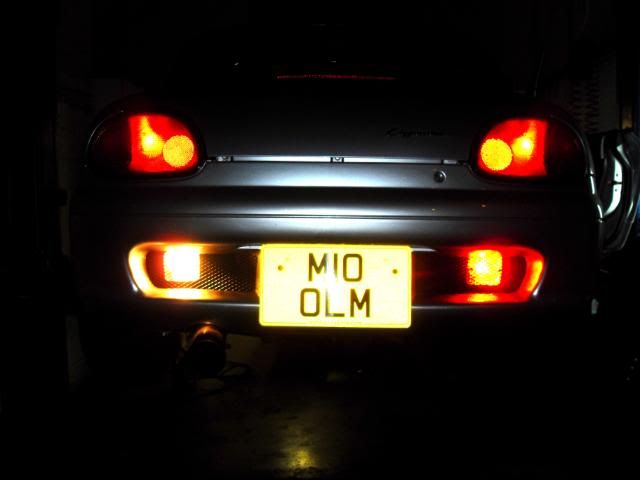
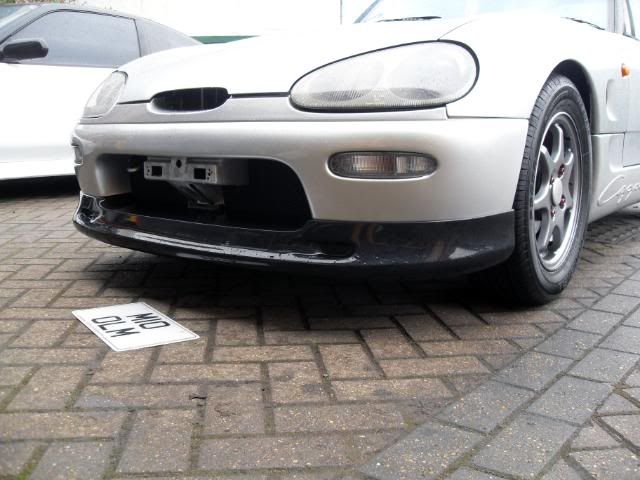
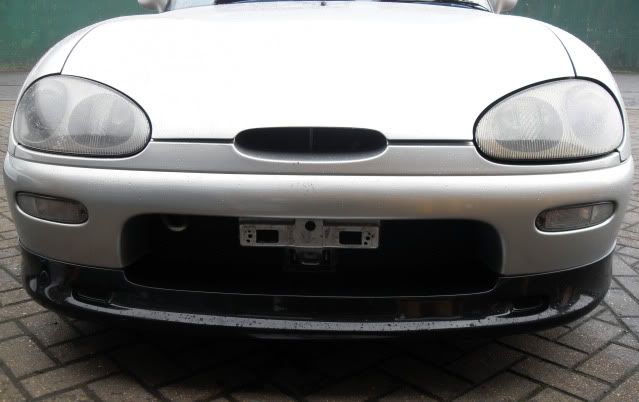
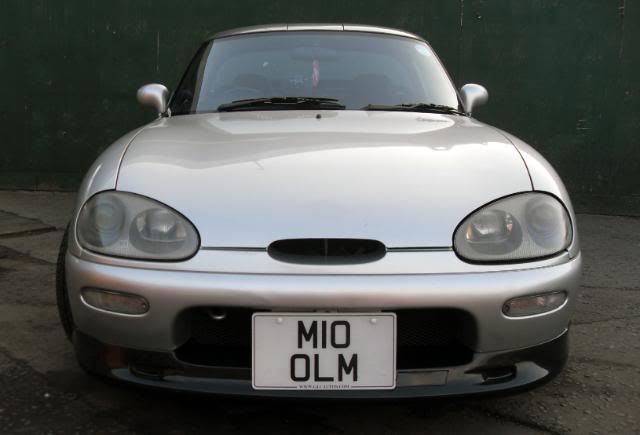
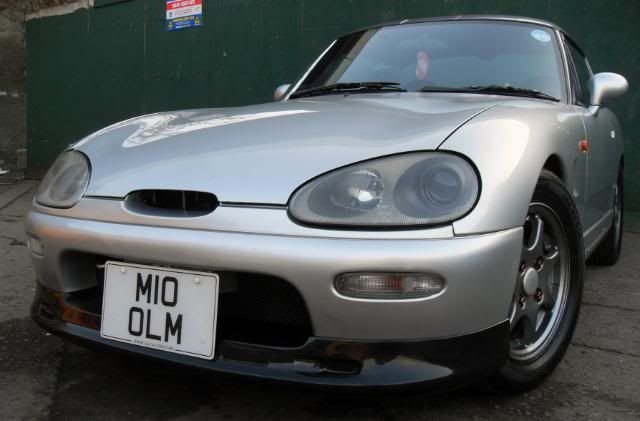
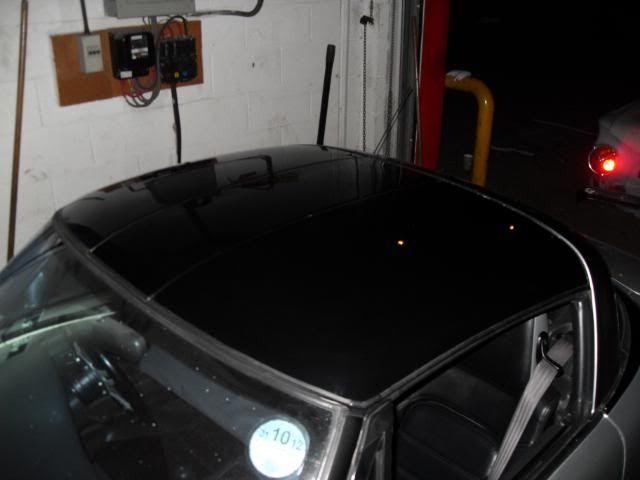
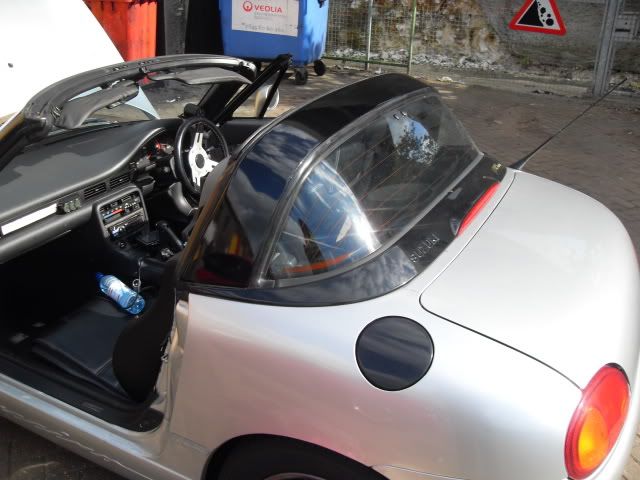
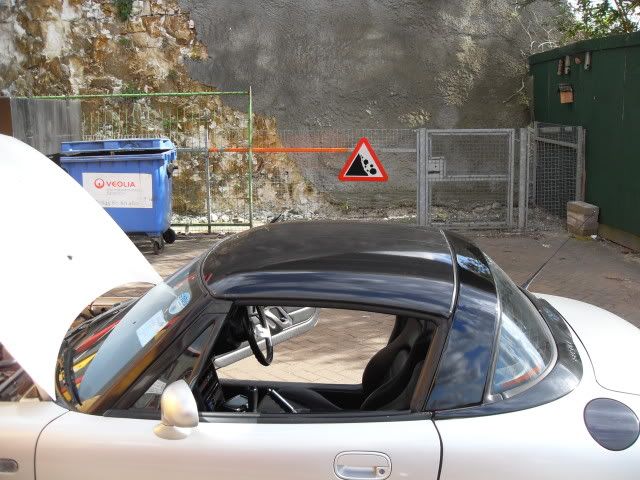
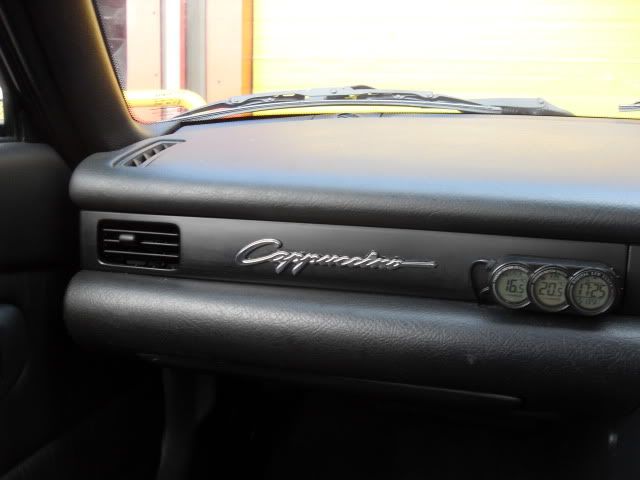
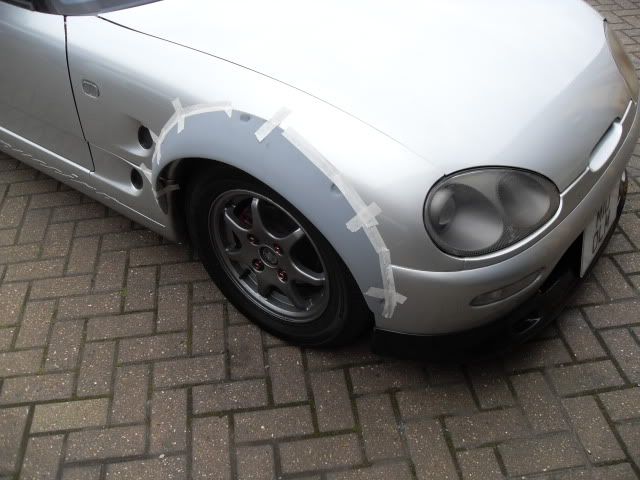
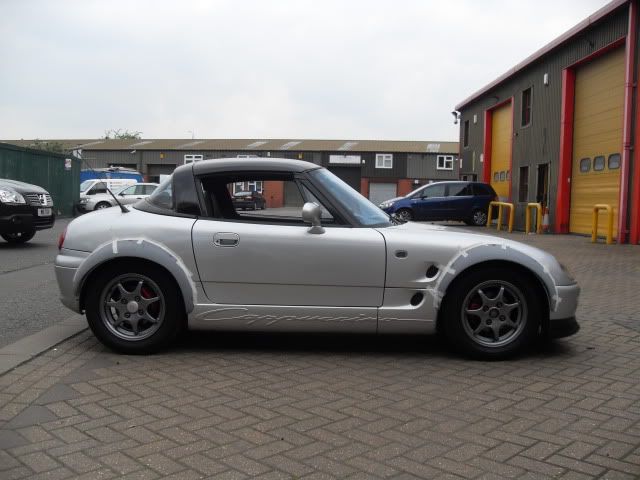
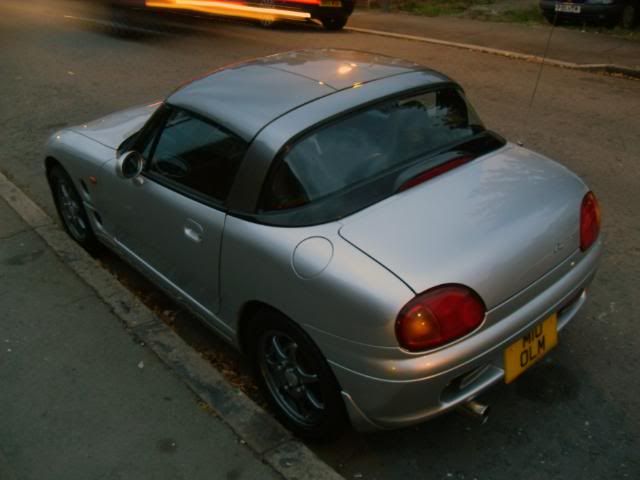
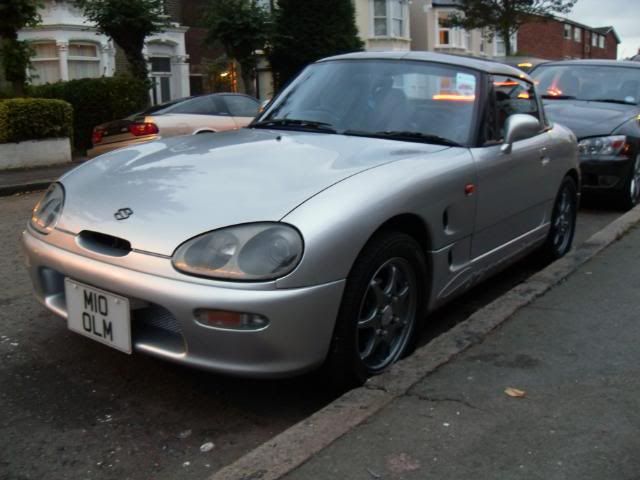
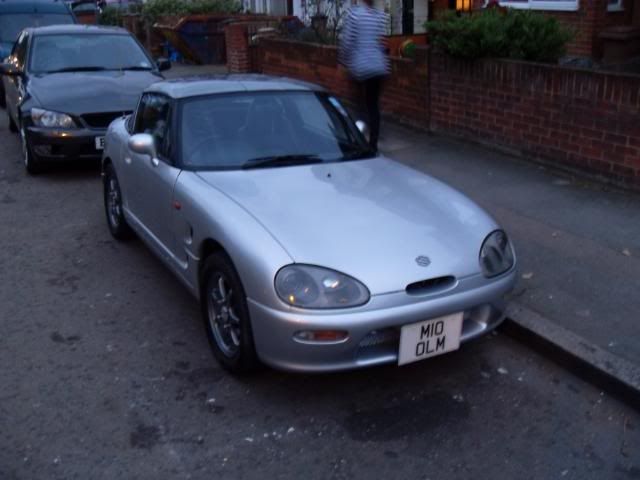
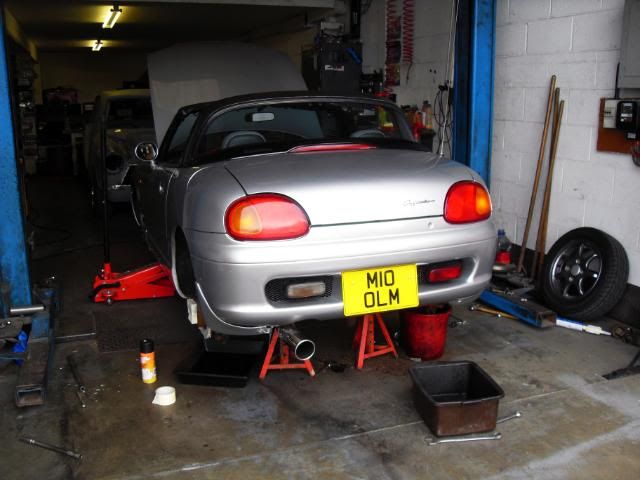
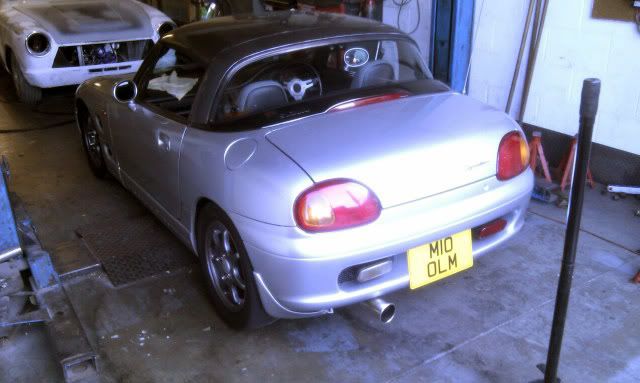
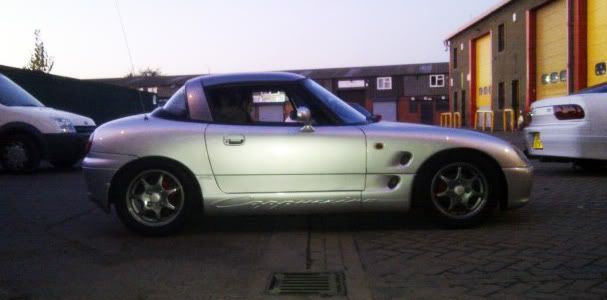
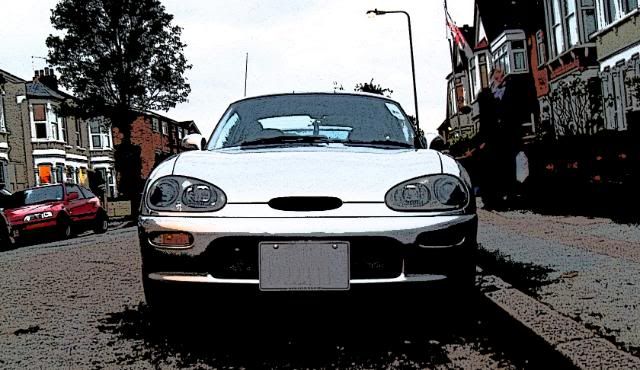
Welcome to my little diary/project thread. Here are a few pictures of my cappuccino which I picked up about a year ago. These were taken after an extensive clean which she desperately needed, and the awful rusty mudflaps were taken off. The car was cleaned inside and out, claybared, polished, and then waxed. Still a few imperfections here and there but much better than when I first clapped eyes on her.

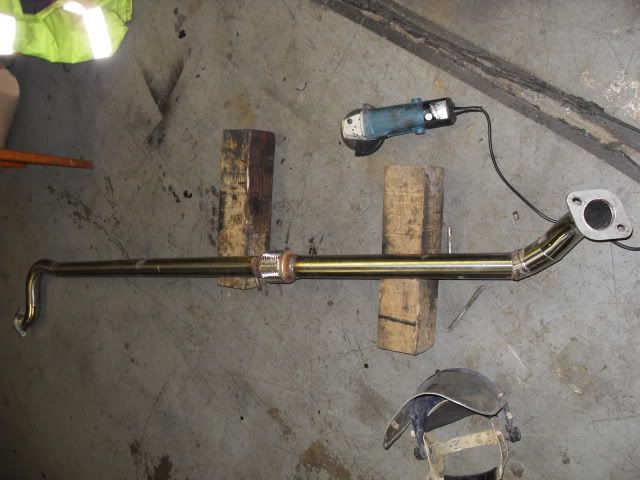
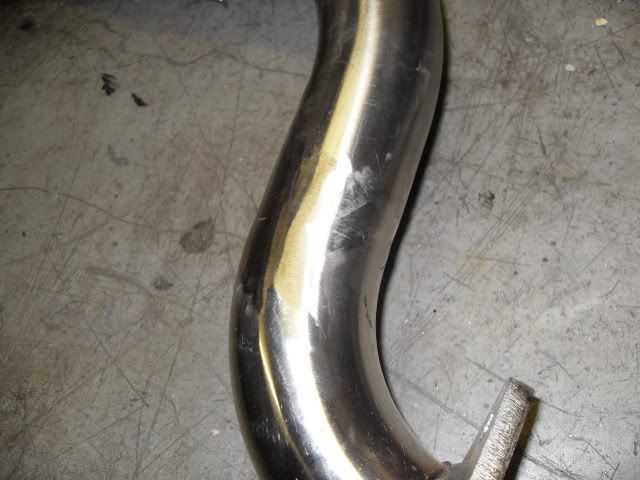
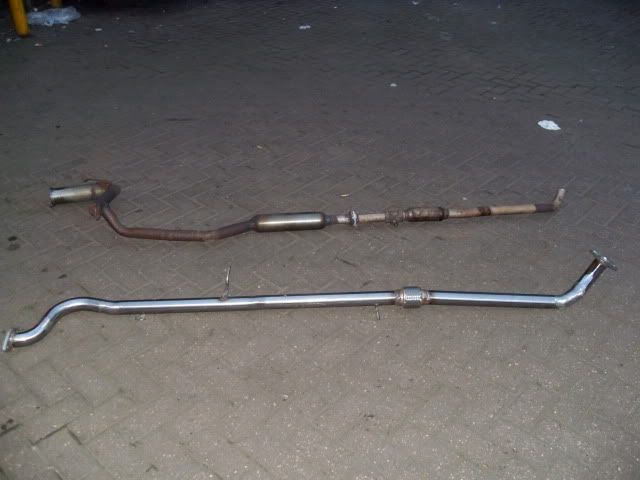
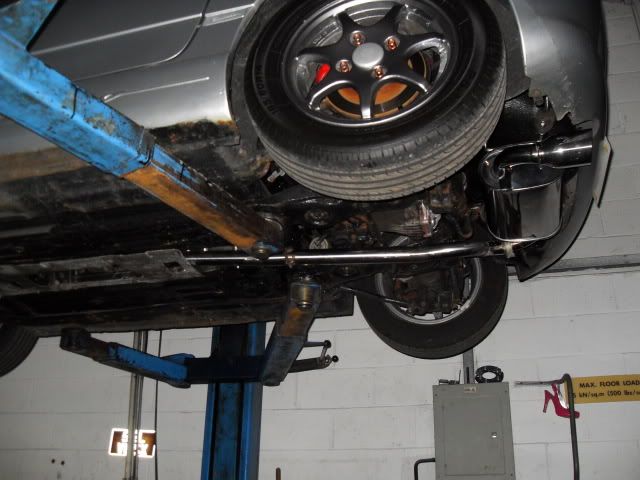
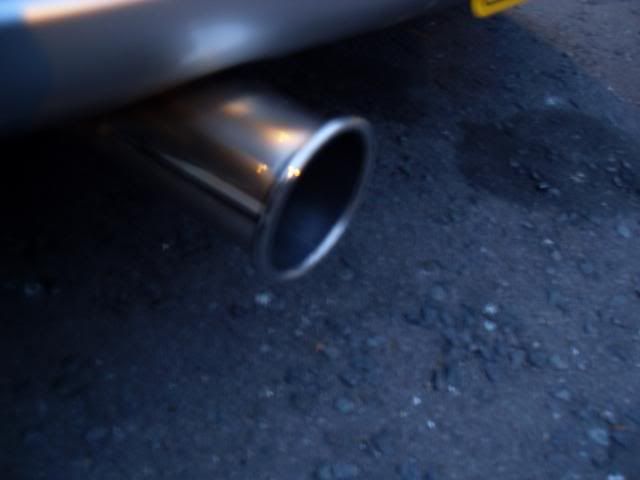
Some sort of homebrew exhaust
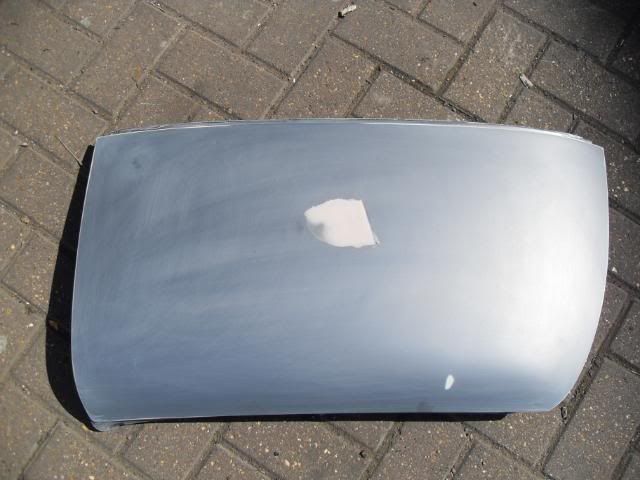
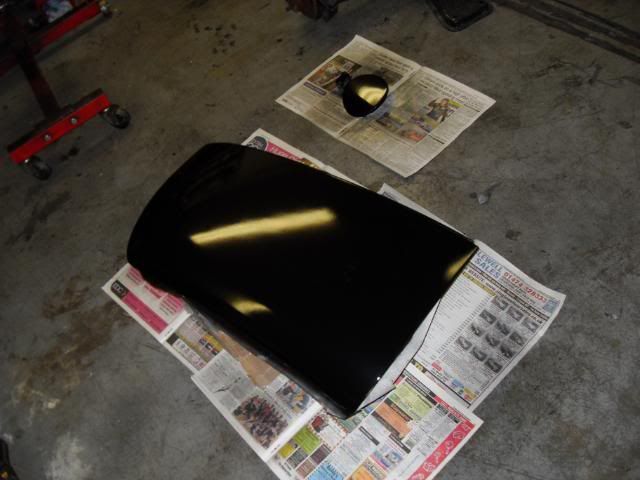
Since these were taken I have debadged the bonnet, and painted the mesh black again as it was silver.
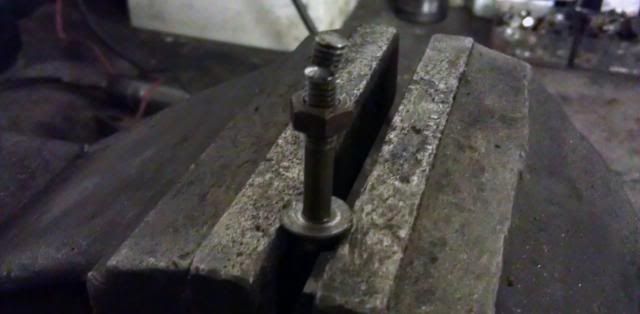
She has also been treated to an oil change with some nice fully synthetic oil and a genuine filter, a set of NGK spark plugs, a K&N panel filter, fitted new fuel filter which was a bit fiddly and rusted but we got there in the end. Also flushed the coolant system refilled. she seems a lot more peppy now and you can actually hear the tubby spooling, which you couldn't before. Dont think she has had much love recently as the fuel filter looked as old as the car and the spark plugs were rusty.
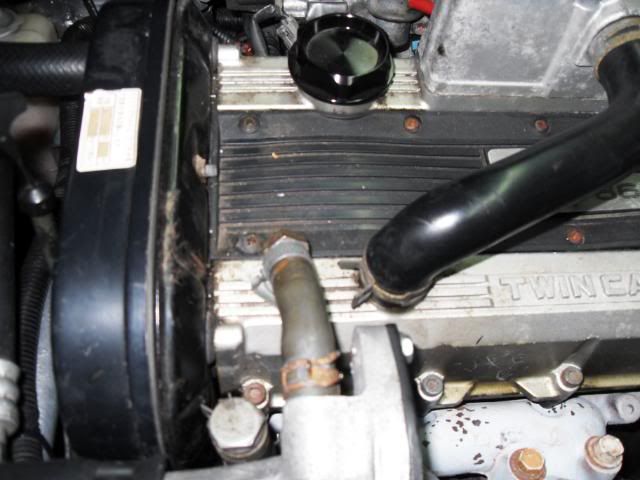
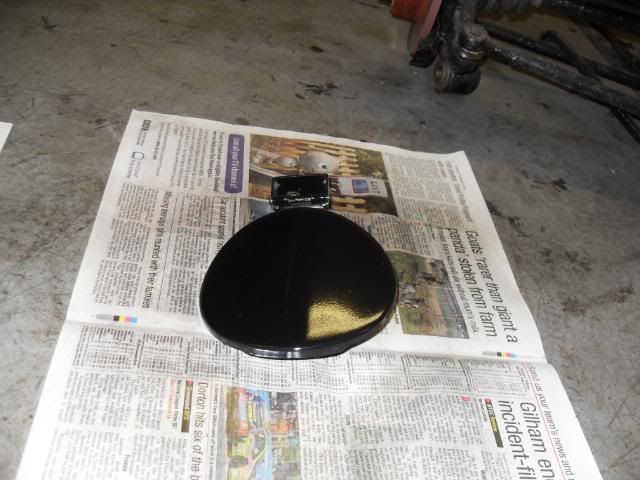
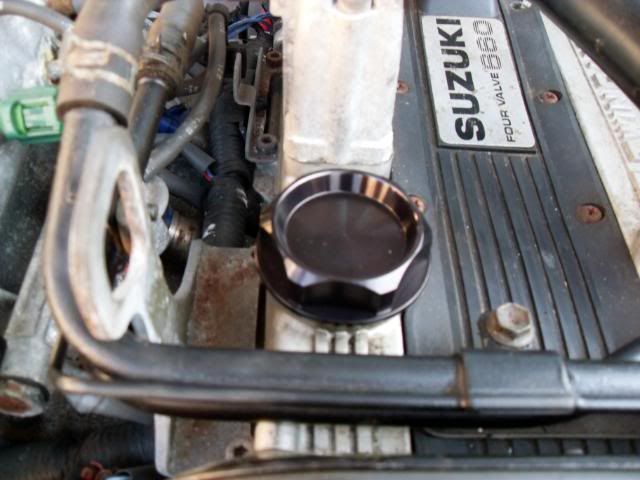
The oil cap seemed to be weeping out the top so I changed the oil cap for a nice simple anodised black tegiwa one. no fitted pics yet, but looks like this:
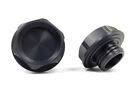
I was tempted by a Suzuki sport one, but not tempted enough for the price I could find one for 
Coming from an Evo as my last car (yes quite a change, but a good one ) the brakes have not instilled much confidence. I gave the car a brake bleed while changing fluid to dot 4 on the weekend, but I'm still not happy so some more upgrades for the brake system will be in the pipline.
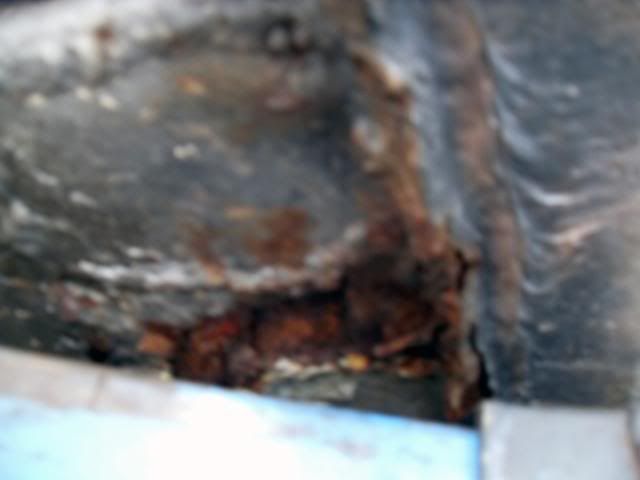
Ah, oh yes, rust What drew me to this car was the advert saying that it had all been done, but when we got there and looked properly we found a few holes in the floor that need to be redone. Needless to say I haggled some more money off the asking price to cover it. Aparently it was only "done" a year or so ago, but will have to be done propperly this time round 
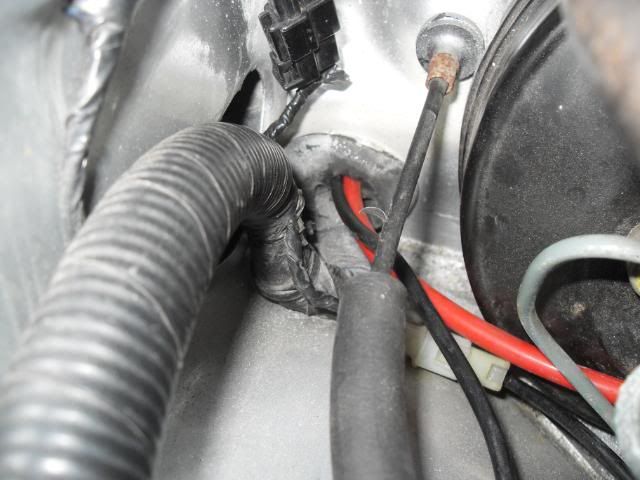
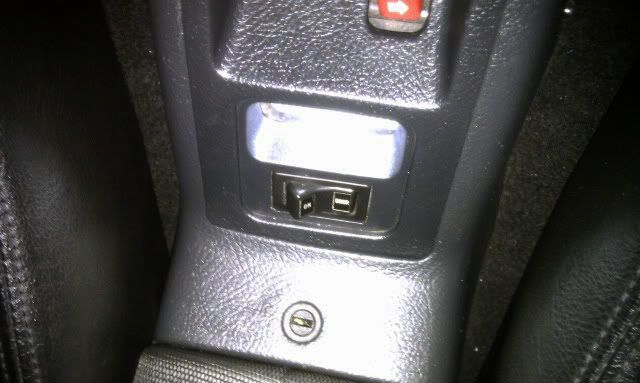
Anything else? Yes actually : While I was servicing the car I noticed a broken front spring and leaky dampers. Replacements ordered today. It also wouldn't be a Cap if the speedo didn't work intermittently would it? Which, with the aid of a passenger has been traced to the connector behind the seat, so I'll need to get round to that too.
Also in the pipeline are a gearbox and diff fluid change, I have the oil, but was struggling to find the fill hole for the diff so gave up until next time  Also have a kmh to mph converter to fit to make motorway fast lane overtaking a bit safer as standard the car is limited to 87.
Once I'm happy with all the mechanicals of the car I will most likely look to giving the old girl a hint of aggression to her styling. Stay tuned 
Last edited by Pablo13; 28-08-2012 at 17:47.
-
Flamethrower
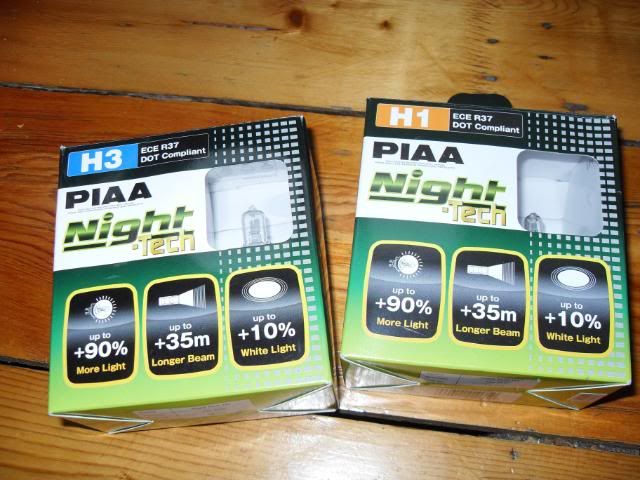
Few more goodies turned up
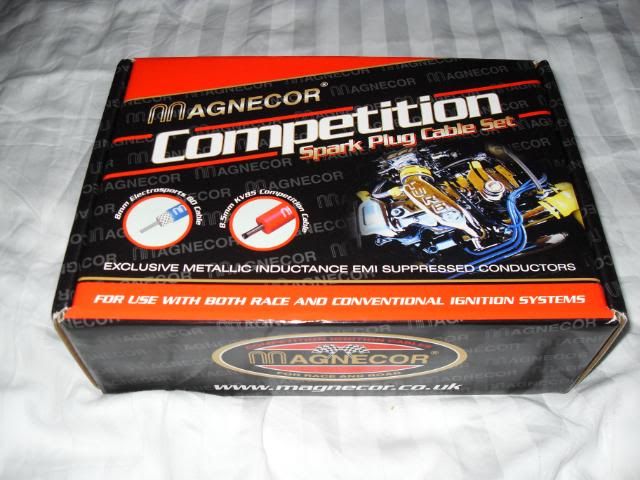
Magnecor KV85's which I just got fitted this evenng after work. little bit of a squeeze getting the spark plug cover back on after due to the extra lead thickness. It was a bit dark by the time they were in, so no fitted pics yet.
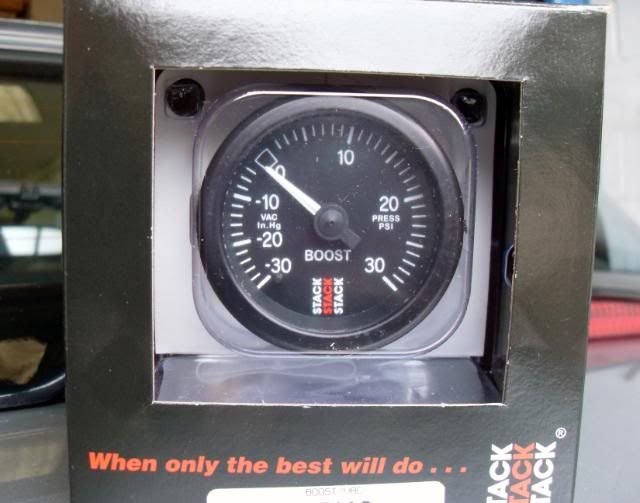
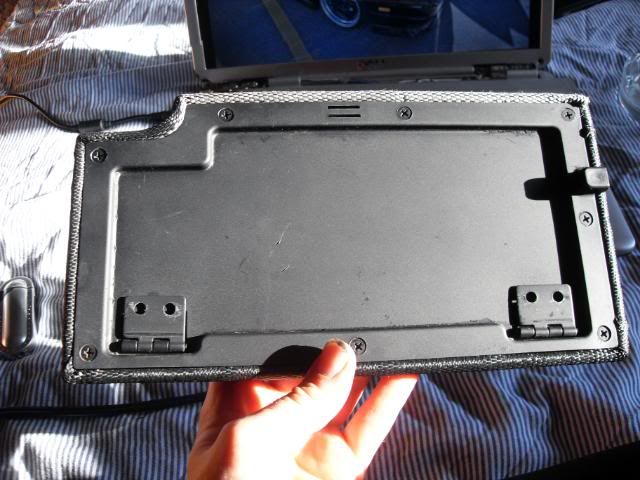
And this
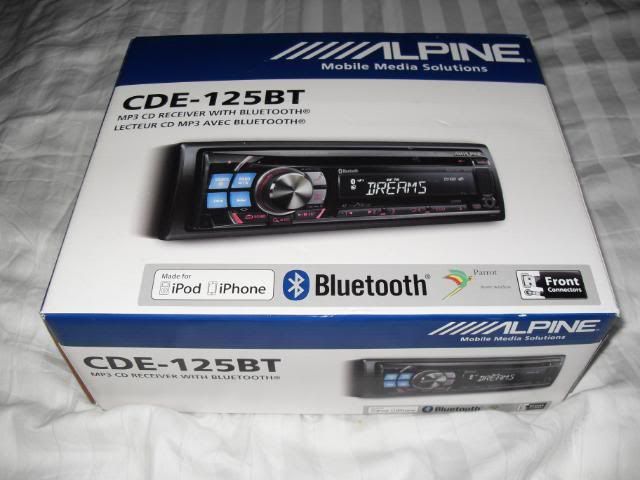
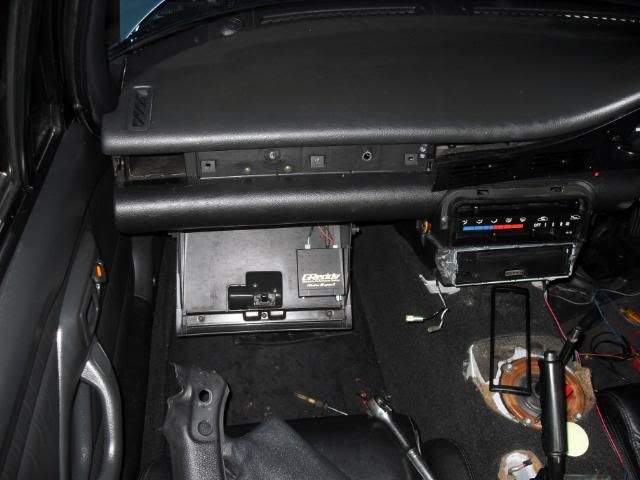
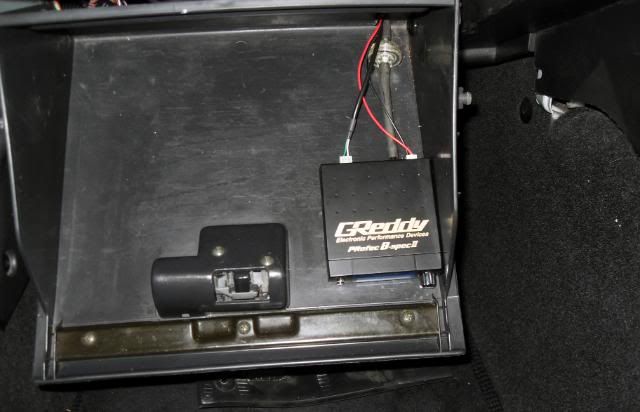
I had an Alpine 103BT in my last car, loved it and its built in bluetooth handsfree, handy USB slot, mp3 fan-dangle-ness, etc. I'm not getting on with the JVC in there at the mo, so decided to order another 103BT. Anyway a few weeks passed, still no stereo. So I contacted them to see what was going on and was told it was dispatched quite a while back. I told them that I had not recieved it yet. Thankfully they said that they would get a replacement out to me. Although, after they checked their stock and realised they had no 103's left they sent out a 125 instead, Bonus ;D. To be fair though I have no idea what the difference is yet :X Looks almost exactly the same and has the all important features I wanted. I'll let you all know when I find out what the difference actually is Sadly it isn't fitted yet as I need to order one of those apline aerial adaptor doo dahs for it
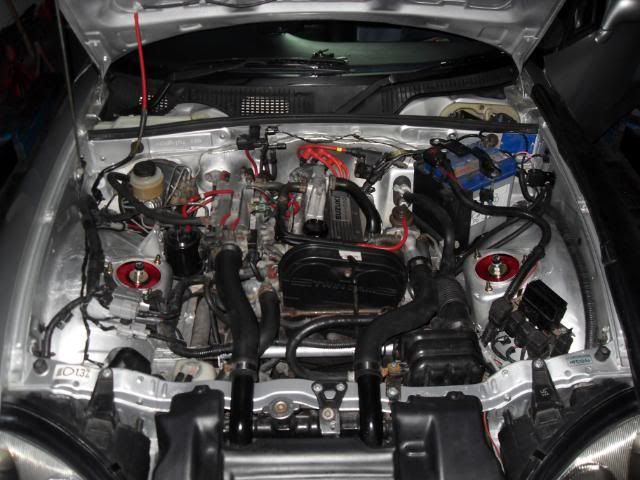
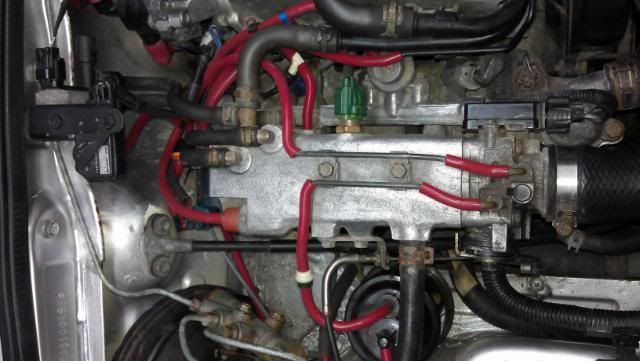
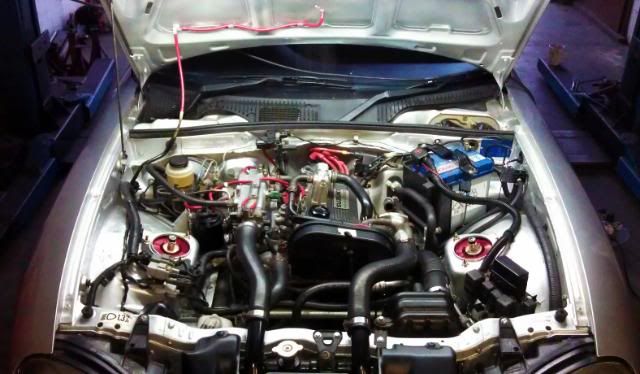
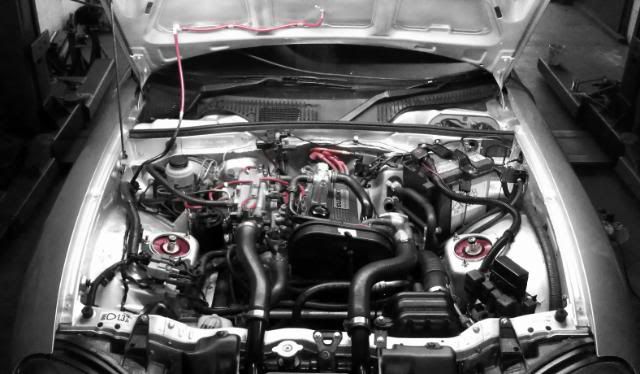
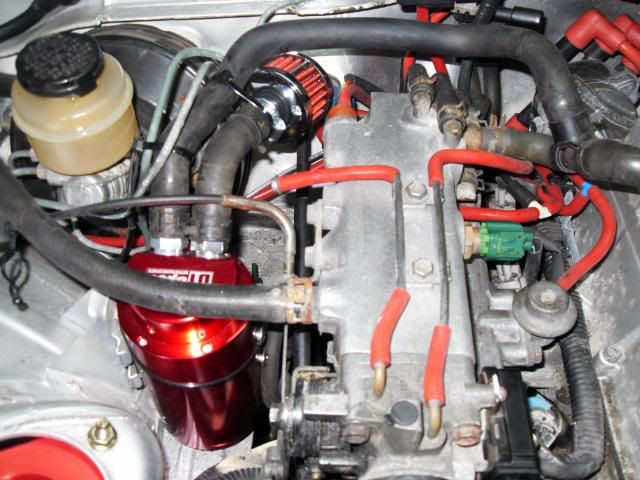
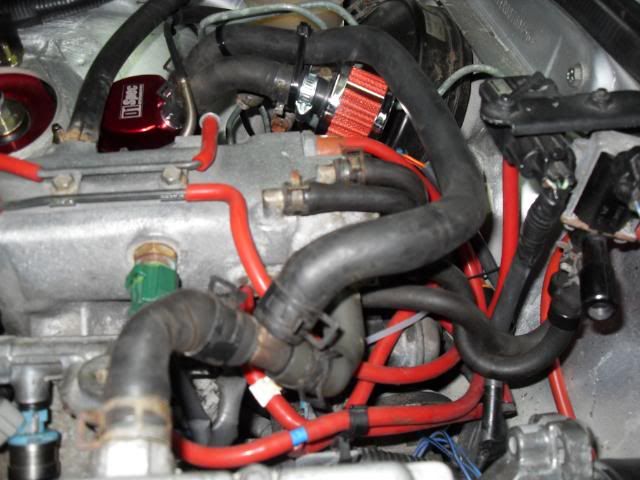
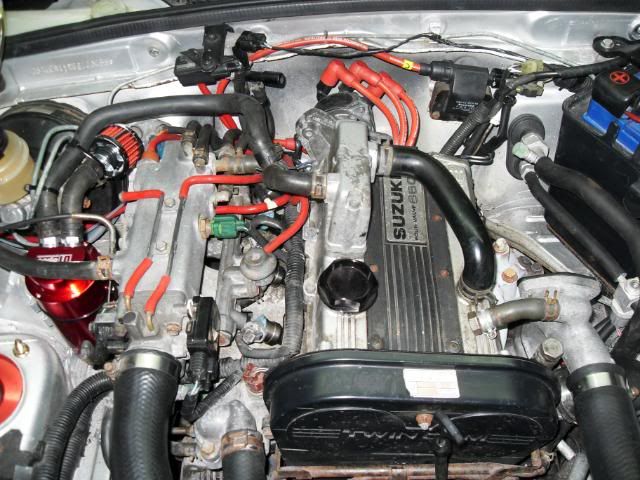
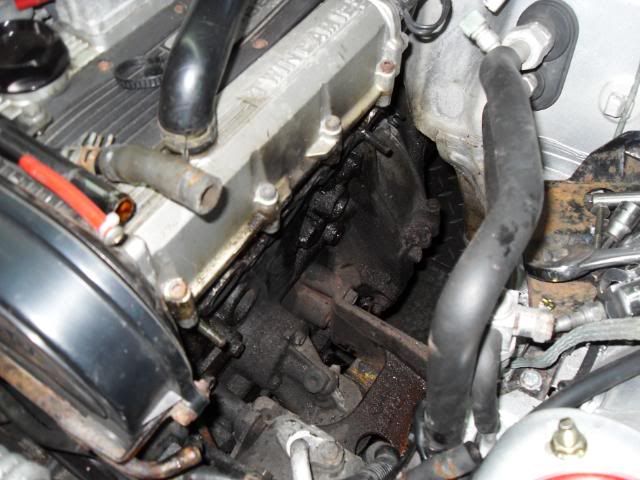
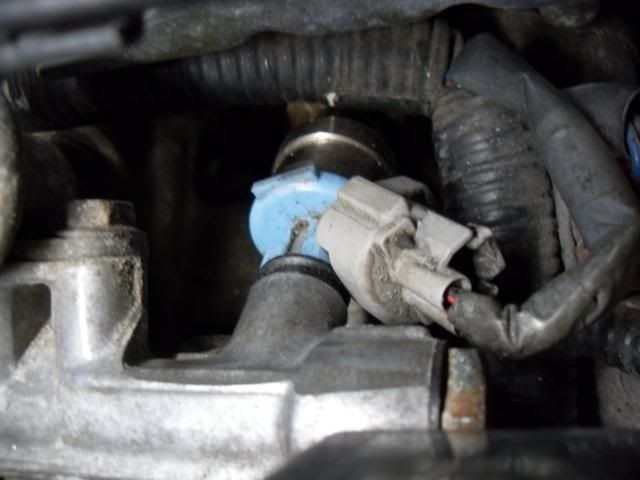
I did finally manage to get a shot of my engine bay however,

Showing off the new leads
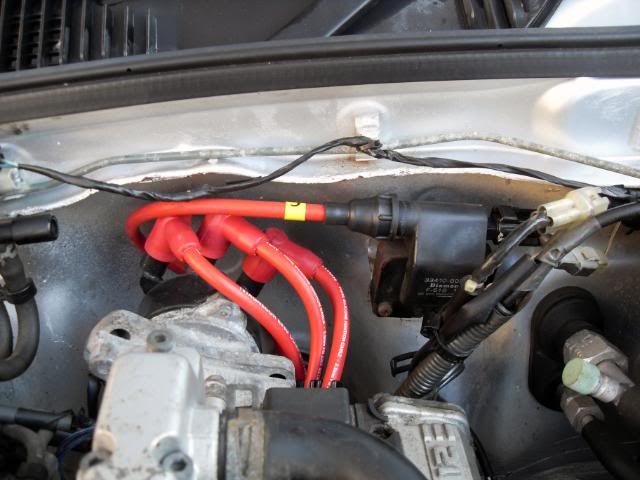
and cap
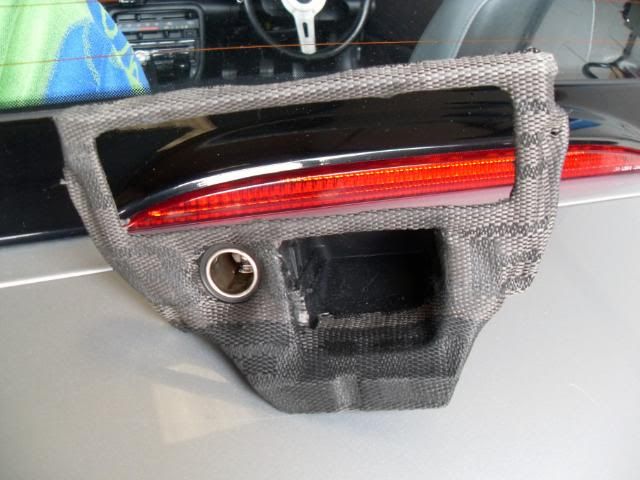
Then I happened upon so offcuts of bride material I had laying about, The majority of the graduation sections had already been used and the main bits left were all black, which I think I prefer as its a bit more subtle. So, what could I try first? Console cover! Ran outside with my screwdrivers, a bit if spray adhesive and a few choice staples later and....
Its not 100% perfect, but It'll do me and it makes a nice addition to the interior

Hmm, now your giving me ideas. What about a wedding dress made of bride material? 
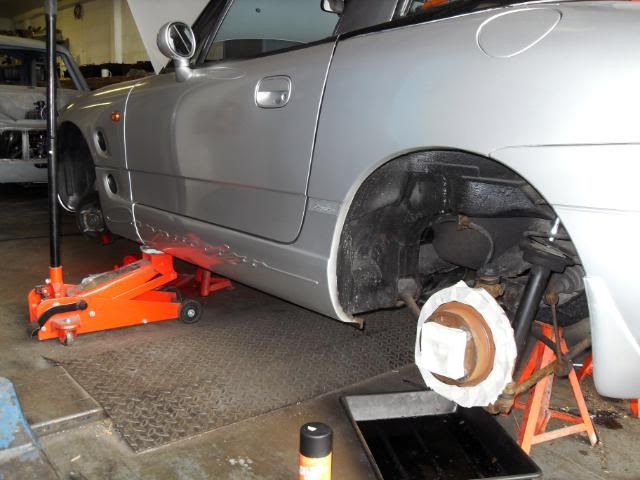
Got down the garage to get a few things done.
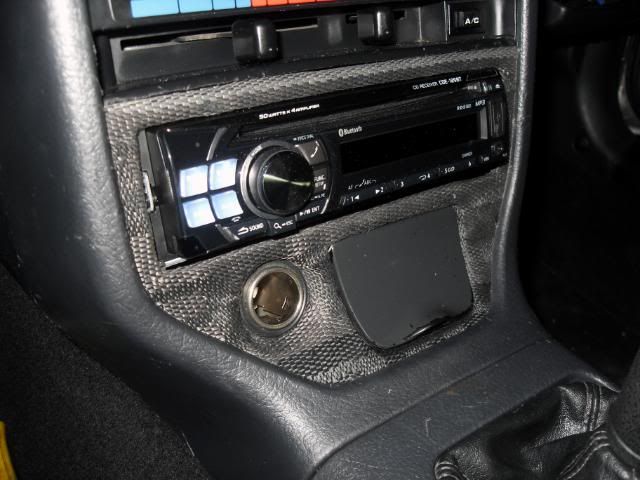
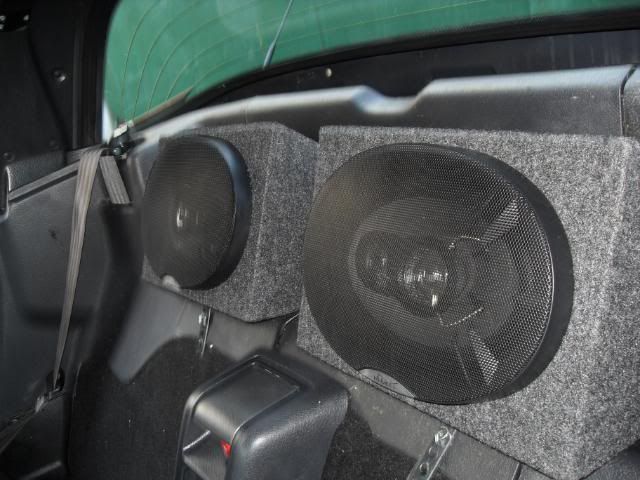
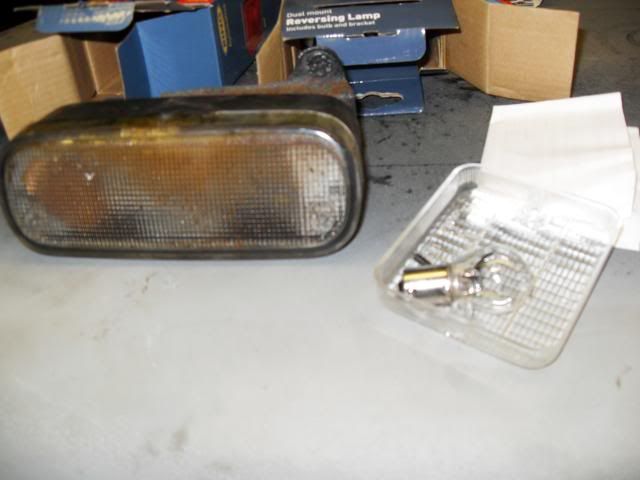
Stereo is now fitted, not greatly as the little retaining bolts were missing from the sides, but its in and working and making the crappy speakers sound better than they ever did with the old one. I also had an led interior light bulb meant for another car, but with a bit of spreading out of the terminals I got it to fit

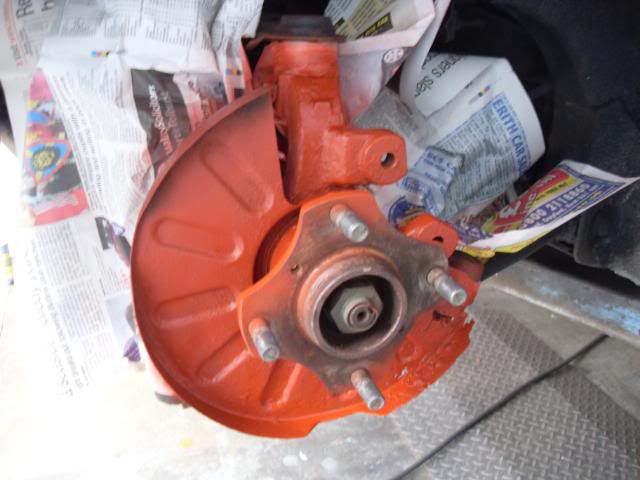
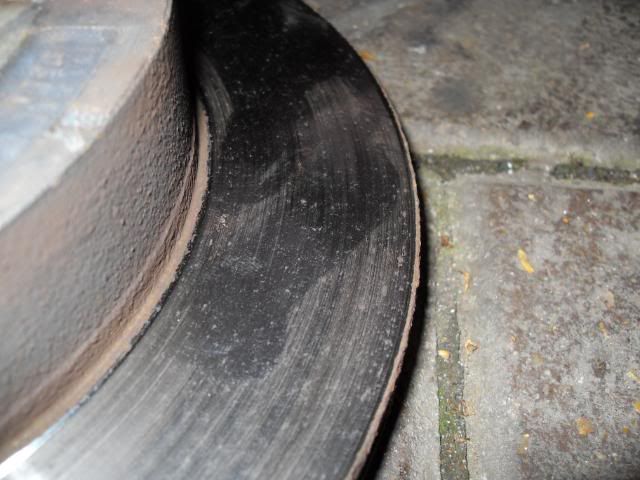
I also stripped down the brakes and gave everything a good wire brushing as well as a few other rusty components, swept quite a load of crap up afterwards. Masked the discs up for painting
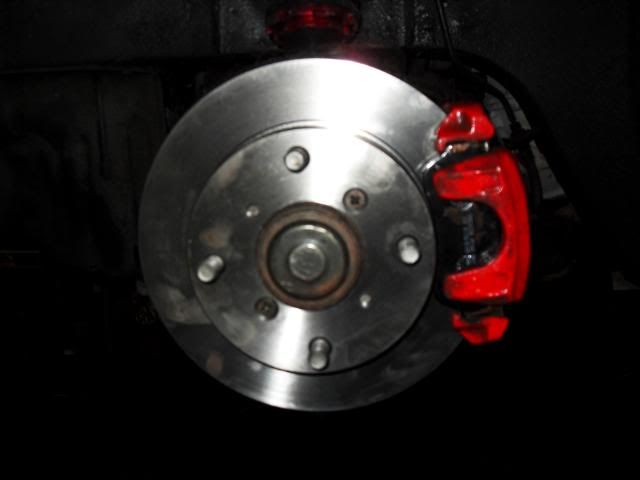
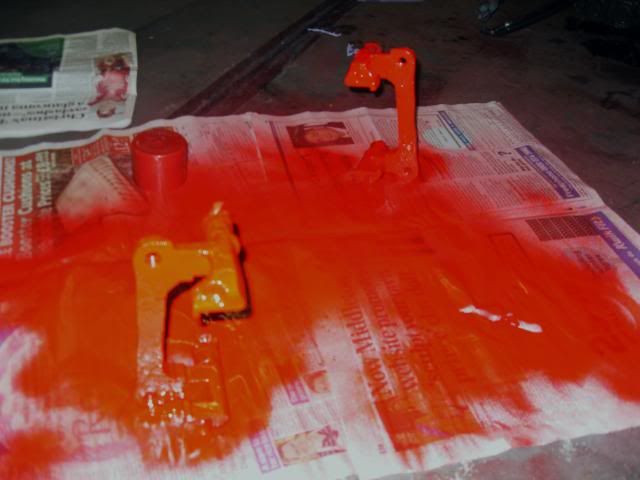
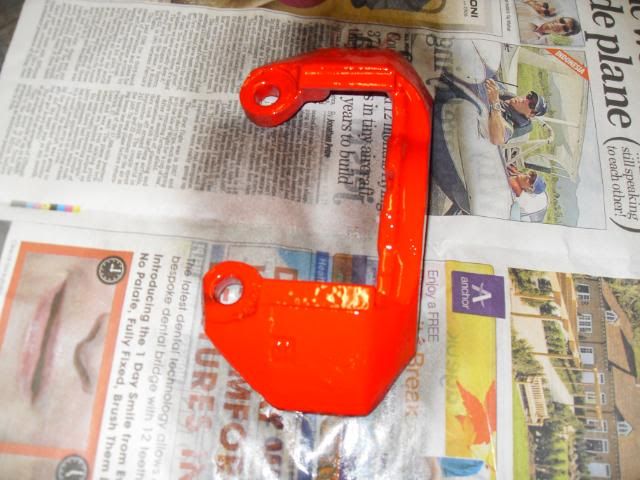
and decided to liven the colour of the calipers up a tad
rusty bits of the discs went black

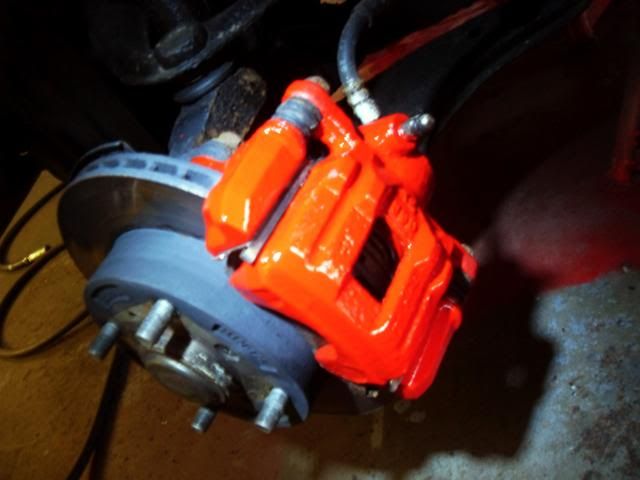
One of the front calipers back together
As well as all that I also got the handbrake cables changed as they were maxed out on the adjuster and I still could not park on hills without leaving it in gear and the steering turned. Much tighter now.
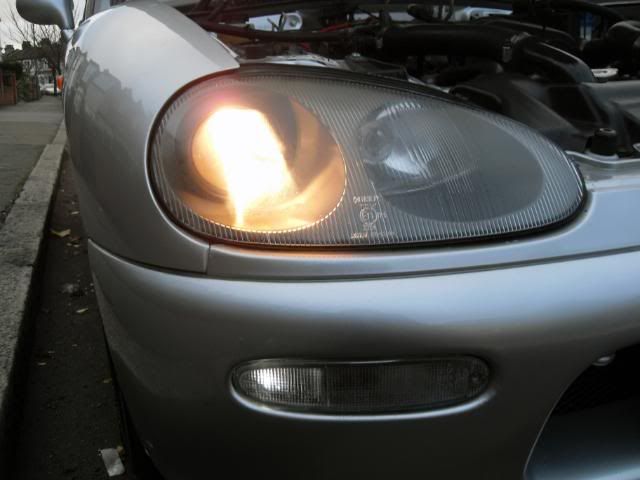
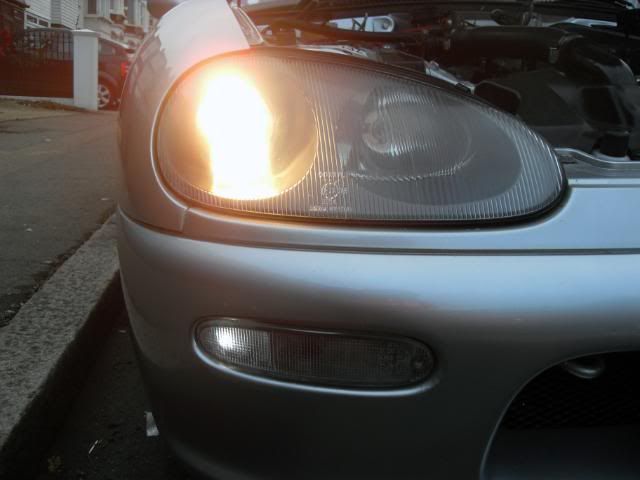
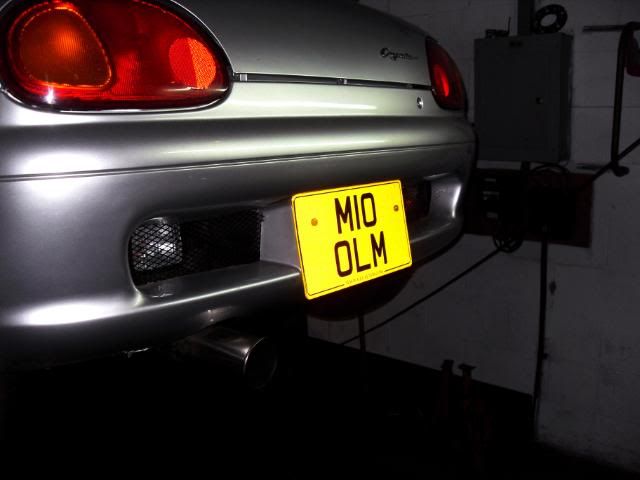
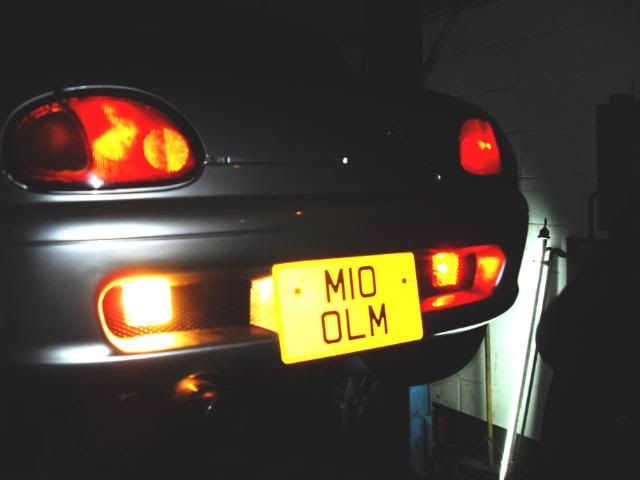
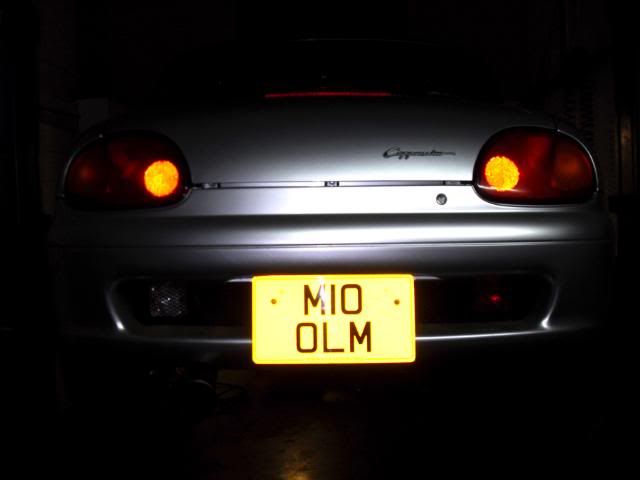
Then I had a play with the dodgy speedo connector which had bady corroded terminal inside. Cleaned them up and plugged back in. I also took advantage of the door beeping thread as it was driving me mad. Cut the wire for it while retaining the headlight warning. Speaking of which, my headlights were not looking too great. One was brighter than the other, and when you flicked to high beam the one that was bright would go dim. Started by cleaning the earths nearest the lights, but no change. In the end it turned out to be a dodgy fuse.
-
Flamethrower
-
Flamethrower
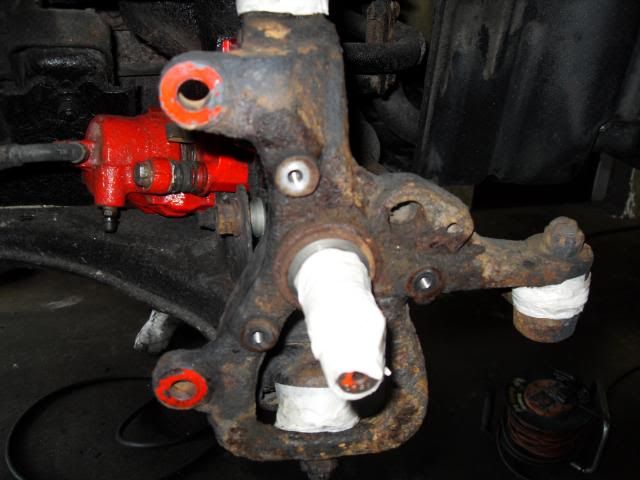
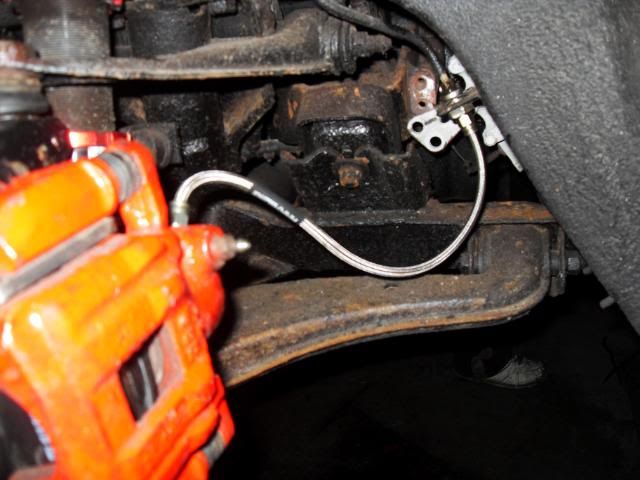
Replacement caliper got fitted. Then once that one done and bled up, I could remove these
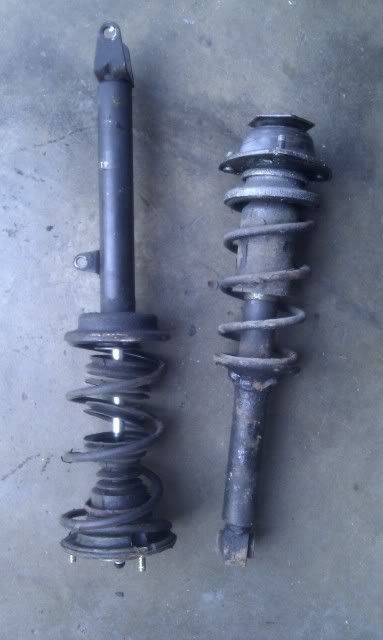
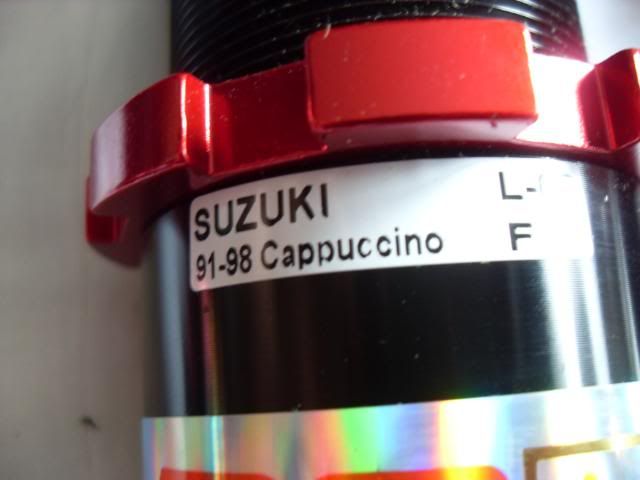
Lovely condition, mmm :

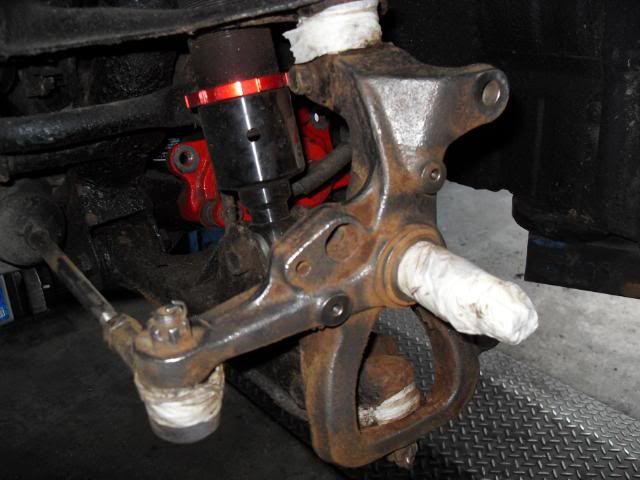
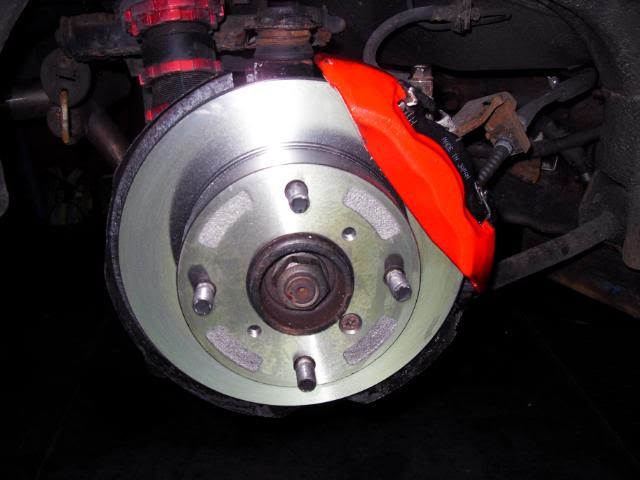
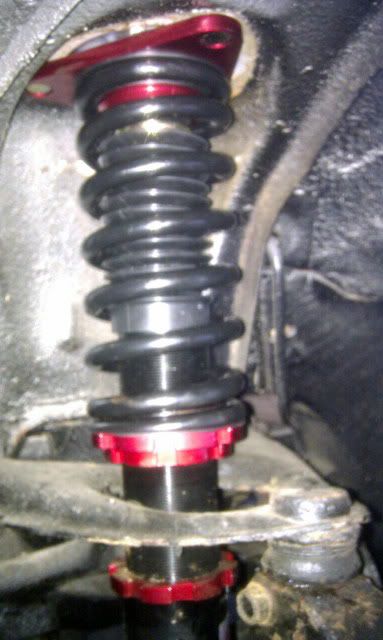
Then the good stuff could go in
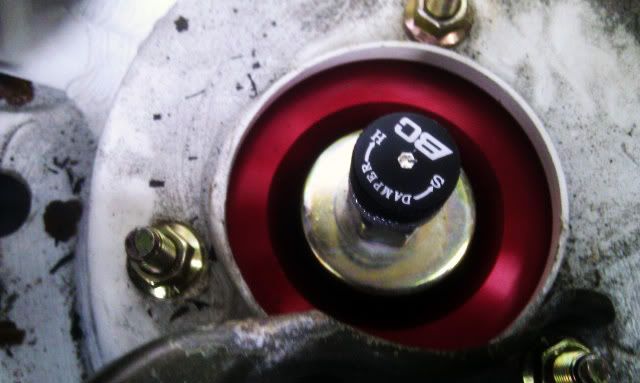
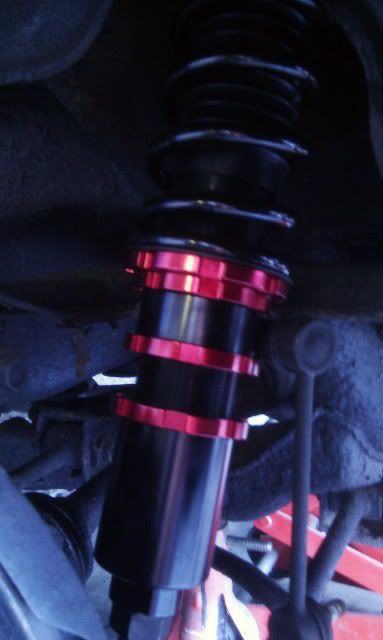
A front fitted
Rear
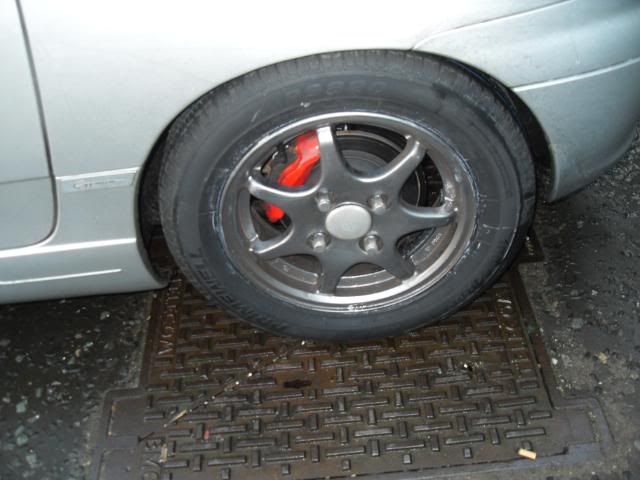
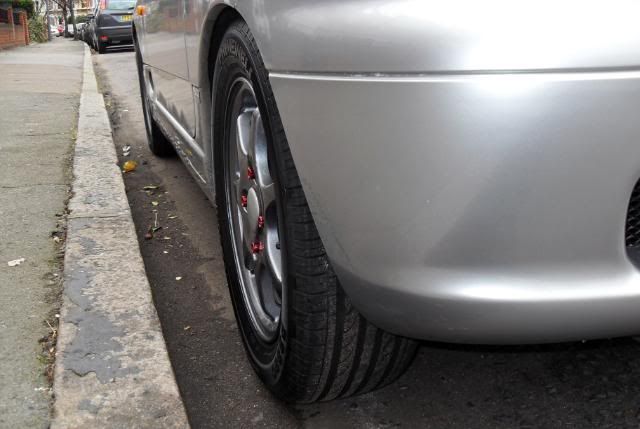
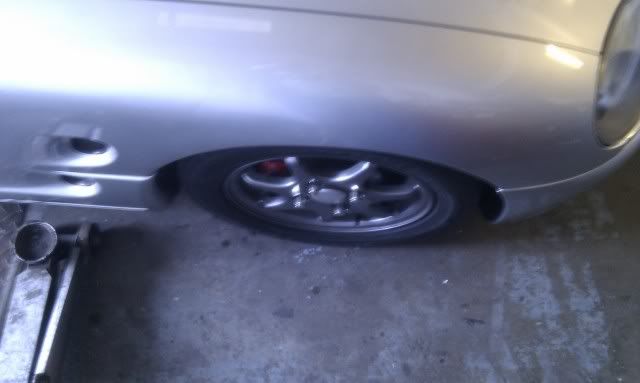
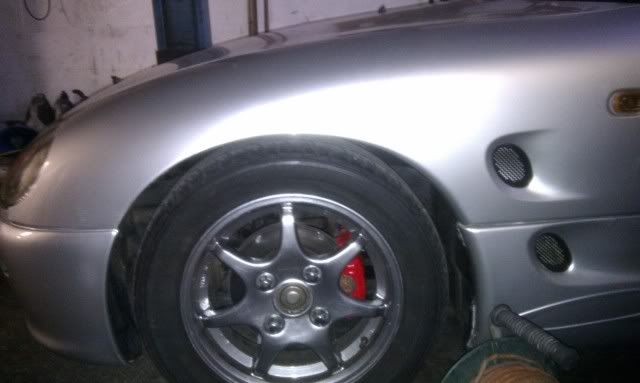
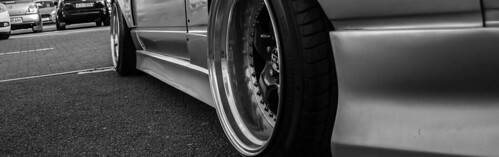
Got the wheels back on then checked the ride height out.
Front was looking a bit too low for my liking, still need to be able to mount the evil that is known as "the speed bump"
We jacked it back up and raised the front 10mm and rechecked

And the rear height
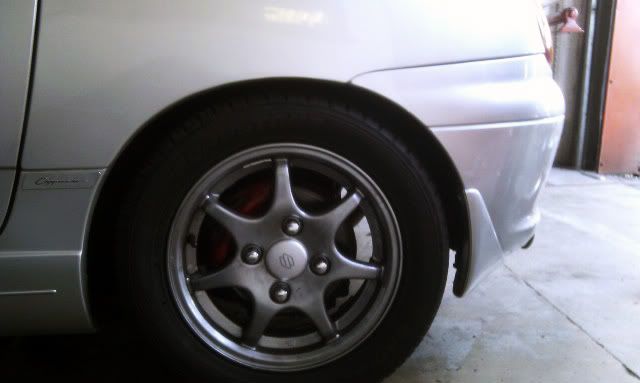
Arch gap is literally milimeters with the current 185's on there
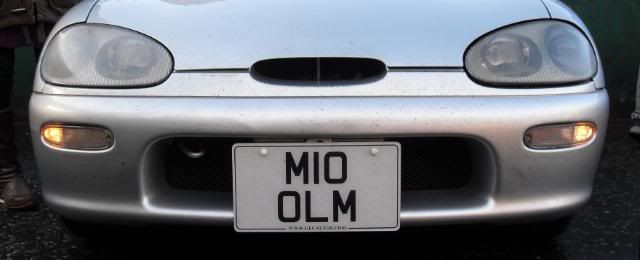
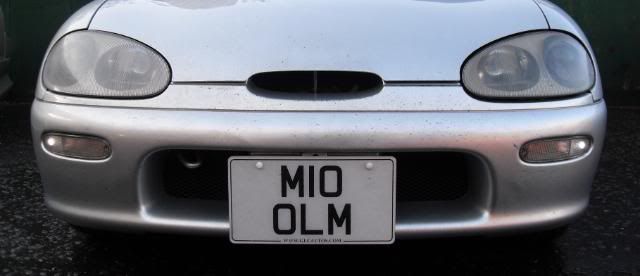
It was getting a bit dark, but I managed to get a few pics to see how she sits

I set the dampers to max and went for a spin, too hard. Backed it off ten clicks and went for another spin better but still a tiny bit firm so I went for another 5 softer and left it there.
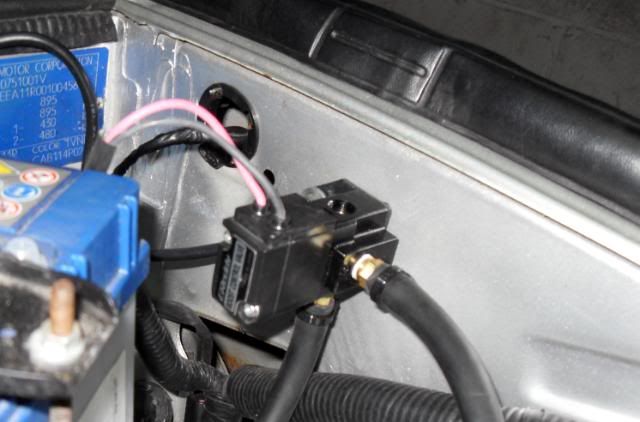
I got the idle control soleoid thingy striped down and rebuilt with a rubber ring too. So no more tappy tappy on idle
The drive home lovely, no boaty pitching or un-needed bouncy-ness. I could feel all the bumps in the road, but it is smooth with it. I also managed to get over the speed bumps I encountered on my travels, few larger ones to tackle yet, but so far, so good
-
Flamethrower
-
Flamethrower
-
Flamethrower
-
Flamethrower
-
Flamethrower
Amassed some parts for another stint at the garage
Namely N2 ECU, 295cc injectors and gaskets to do the tubby.

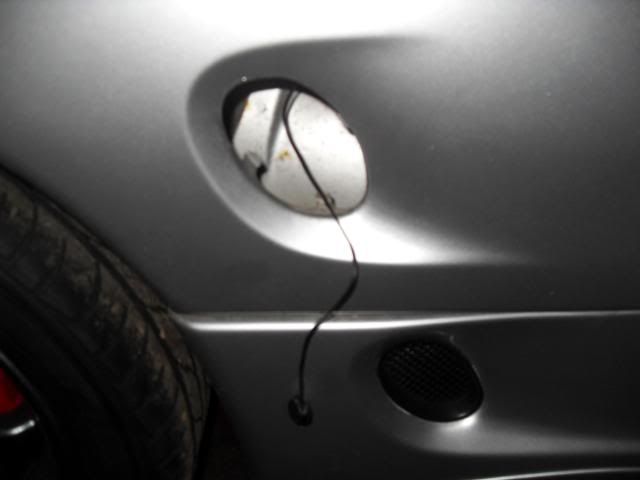
Another little niggle I have had recently is the inability to fill my tank fully for some reason. Some kind of air lock in the tank would stop you getting more than two thirds of a tank in there at a time. I had read on here that the filler can get a bit rusty and block up, but when we checked it it was all ok.

I think the poblem lies with the breather pipe, which I believe runs back to the carbon canister, so it could be that at fault, or the metal lines have rusted away. Had more important things to do, so left that for another day and moved on.
Removed the all the gubbins.
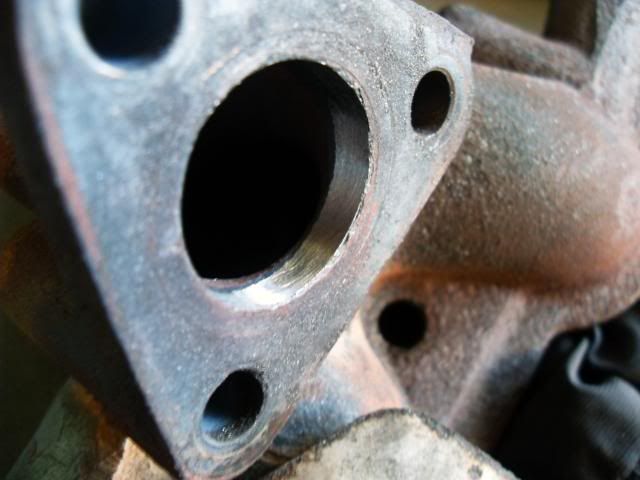
While the manifold was off I noticed that there where alot of steps and lips in the castings around the ports, so I decided to gently port match the manifold so the gaskets lined up better.
Also did the head ports.

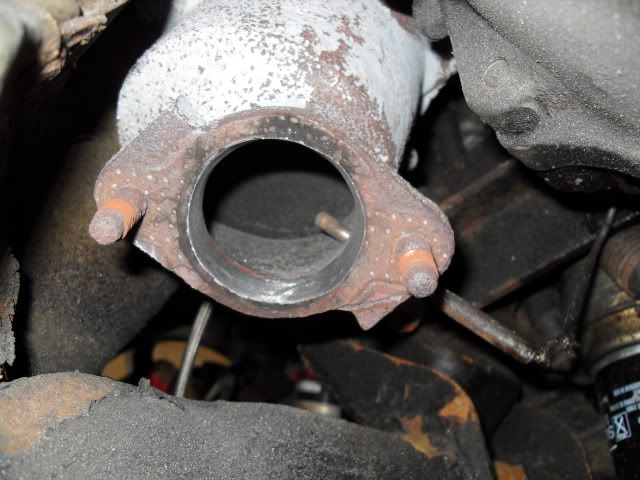
While the cat was off.....it would be rude not to
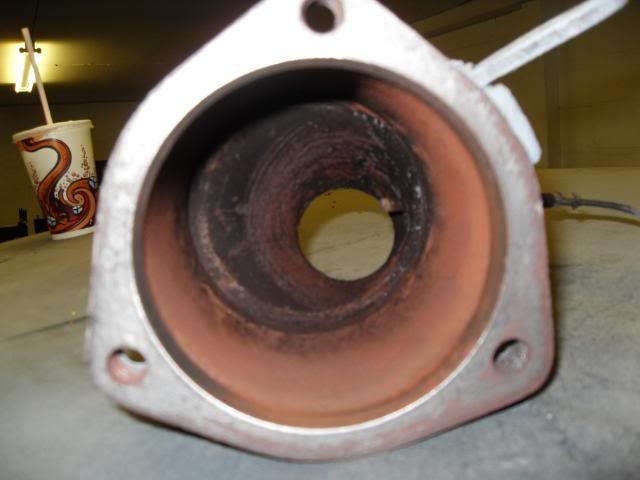
I also found another lip at the bottom flange of the cat too.

Ground it down.

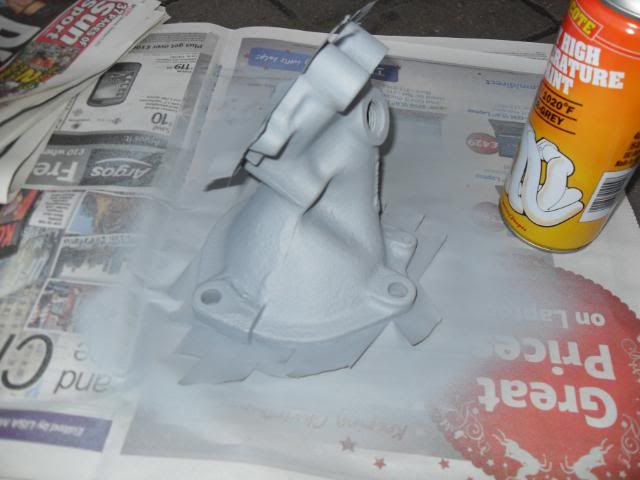
I fancied tiding up the rusty iron look to the exhaust components. I would have gone red but used it all on the brakes, although I had some VHT "silver" paint to hand so used that up
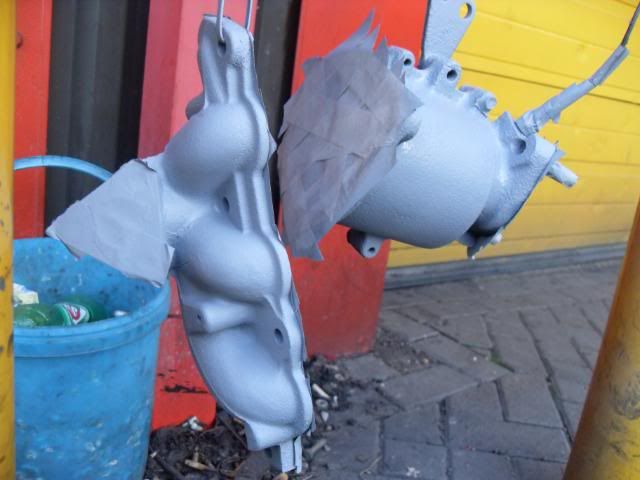
Actually looks more grey than silver IMO but its tidier than rust at least
While the tubby was off I think we discovered the real reason my boost isn't as stable as I like and why I only get 9psi when run purley off the actuator 

4 cracks in total, you can just make the fourth one out following the outter circle of the wastegate seal. Most likely down to previous owners not letting things cool off propperly before turning the enigne off So a matching tubby for the N2 will be coming sooner than thought.
Got it all bolted back together ready to refit.
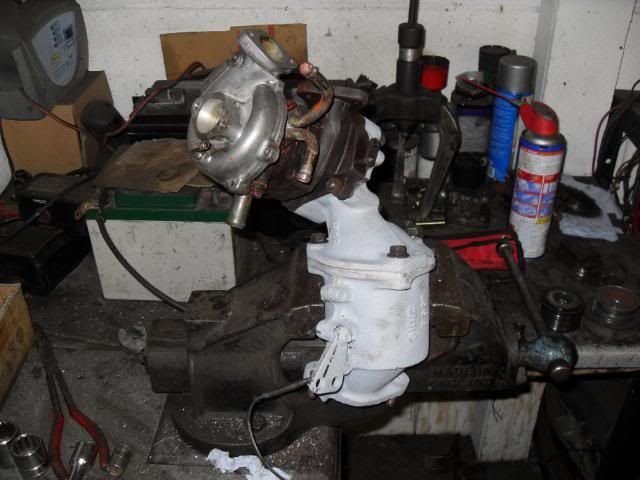
Manifold back on minus heat shield due to snapped bolts
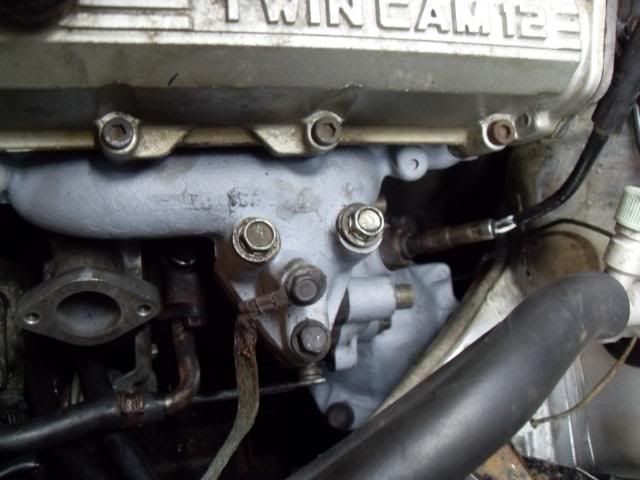
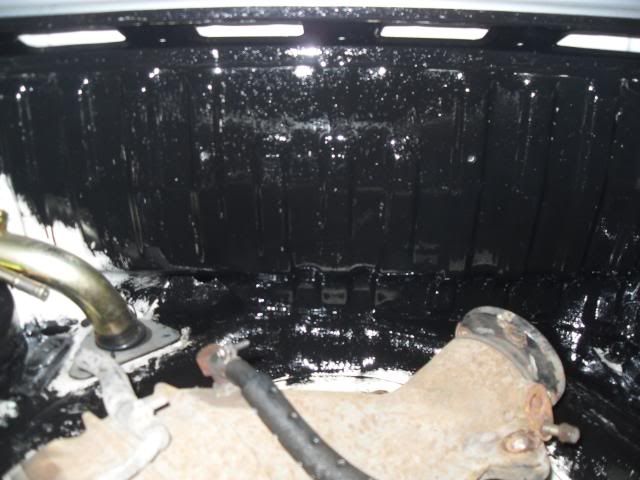
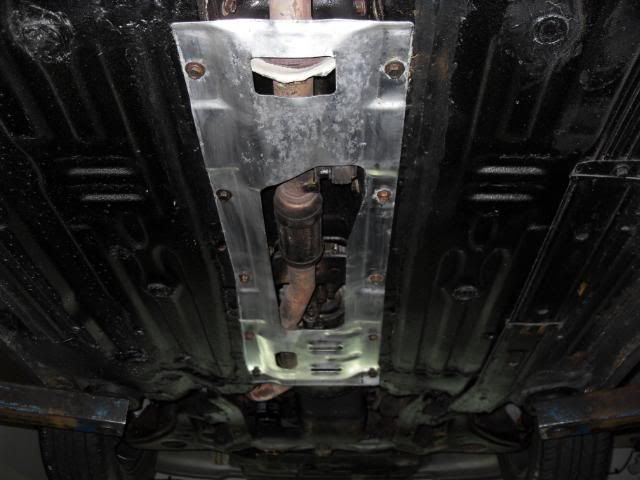
The whole underside of my car, including any and all components apart from things I have touched, is coved in a thick layer of tar like underseal.......or rust Even things like the aluminium exhaust heat shield got it.
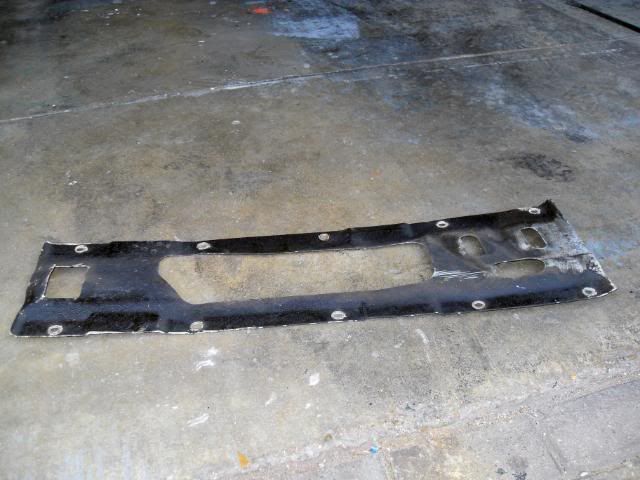
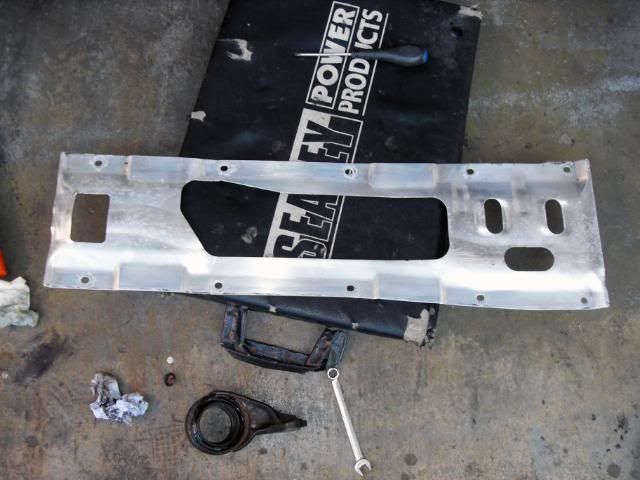
So while it was off I gave it a dam good scrubbing and it came up like this.
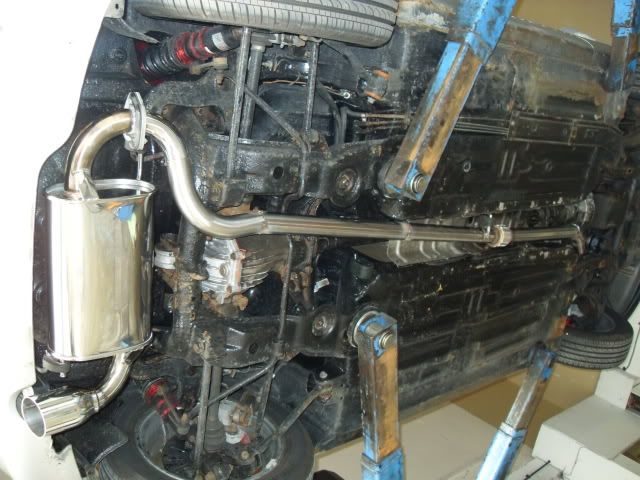
The rest of the exhaust system had a few blows on the welds and missing gaskets, so we did what we could for now
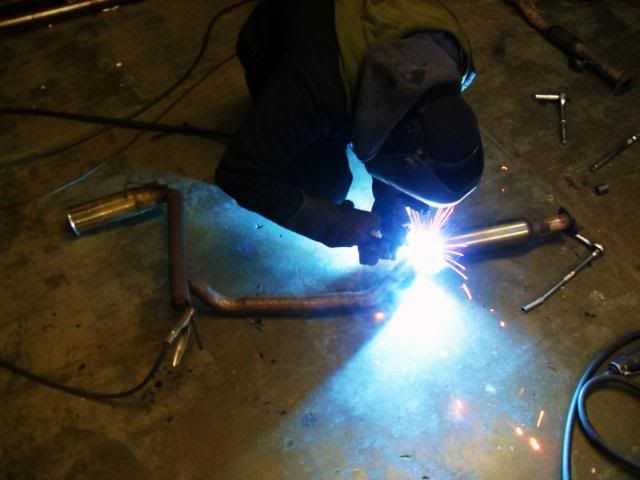
Refitted all of it.
Then on to the injectors and ECU. Old and new next to each other.
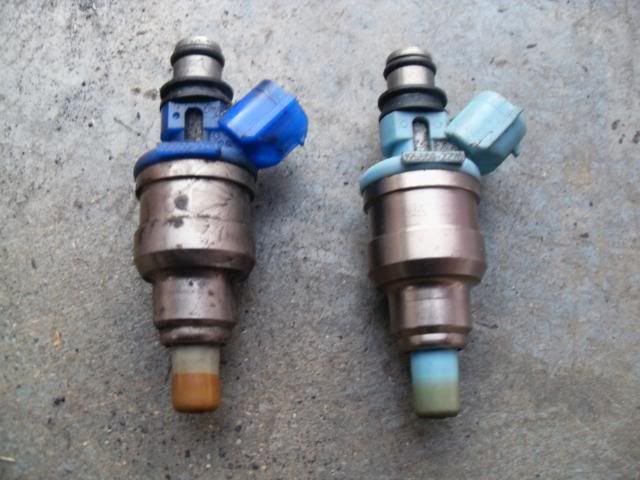
Popped in
And the results? She sounds an octave meaner now, and idles camly. strangely sounds a bit more content with herself ;D All the engine noise now actually exits through the tail pipe, which is nice I have yet to take advantage of adjusting the boost up to its full potential, which I will most likely do later today, but she easily went off the clock on the way home :P All in all, I'm pleased with the days work.
-
Flamethrower
-
Flamethrower
-
Flamethrower
-
Flamethrower
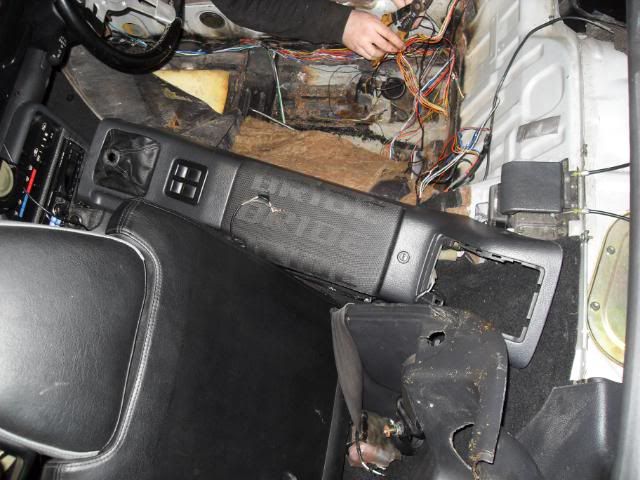
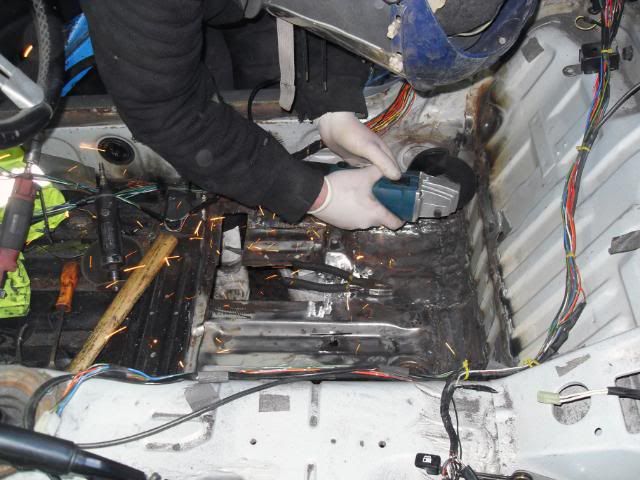
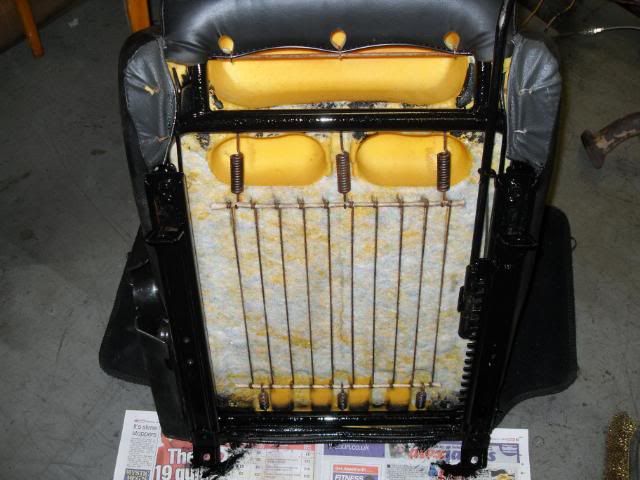
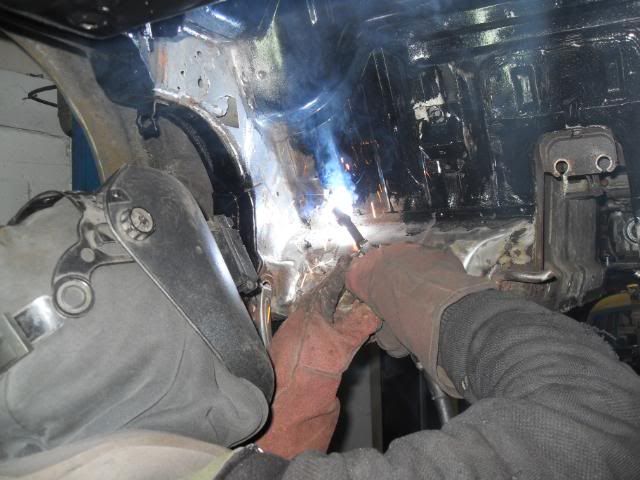
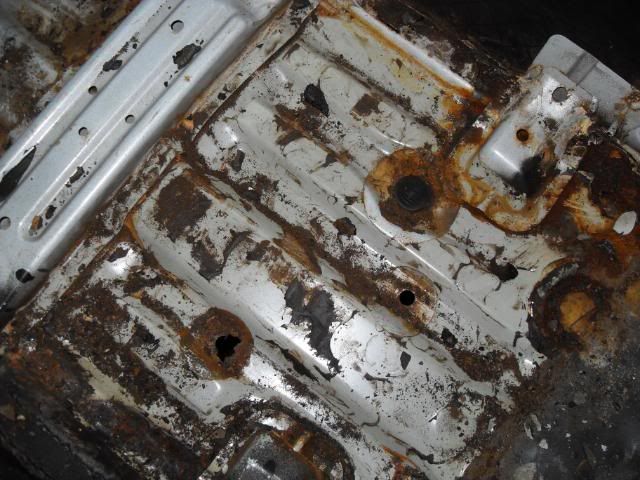
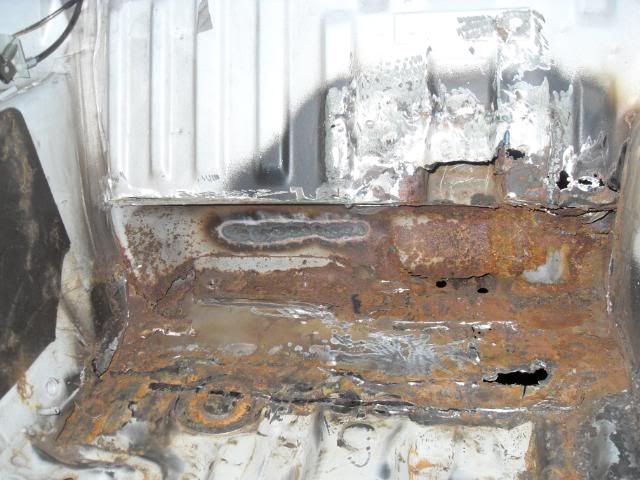
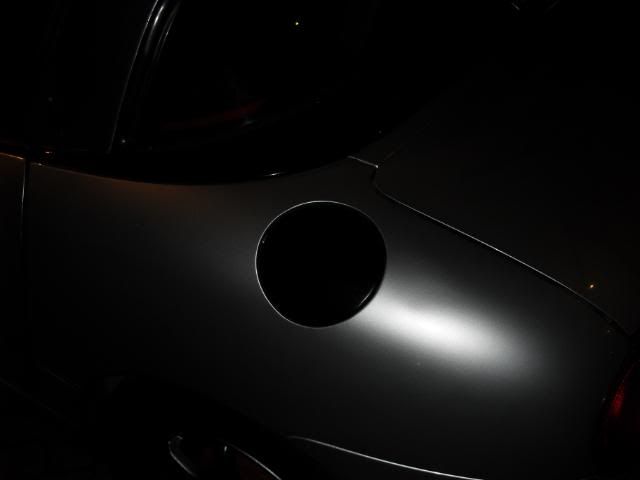
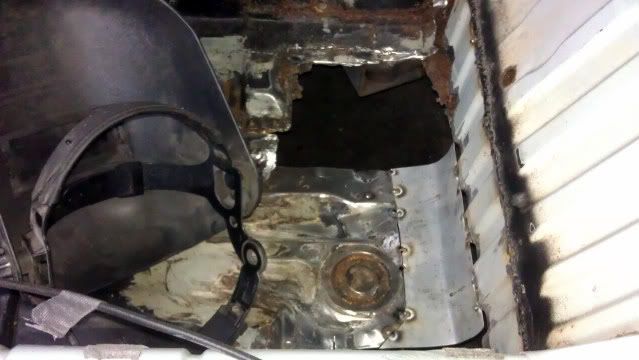
Went down the garage to start of my rust repairs, which started by removing this
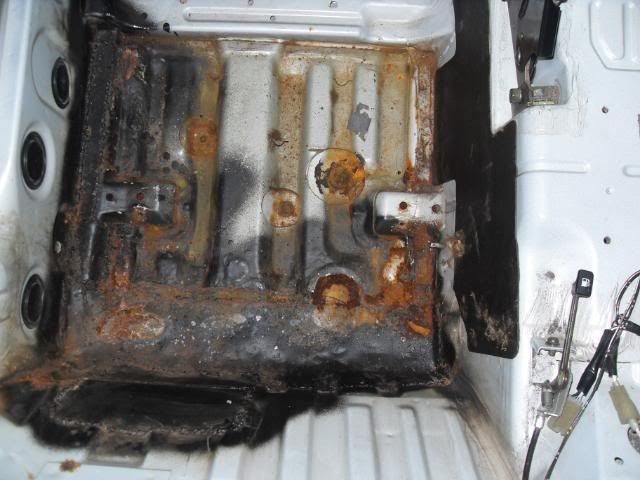
And my fuel tank and the carpet so we could takle the worst, but by no means the only bit to do
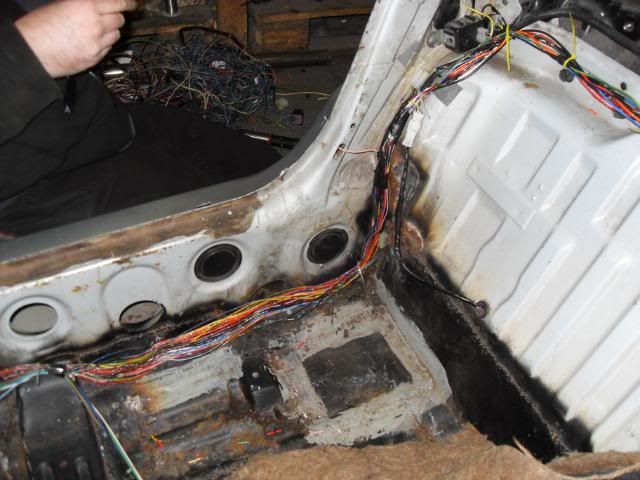
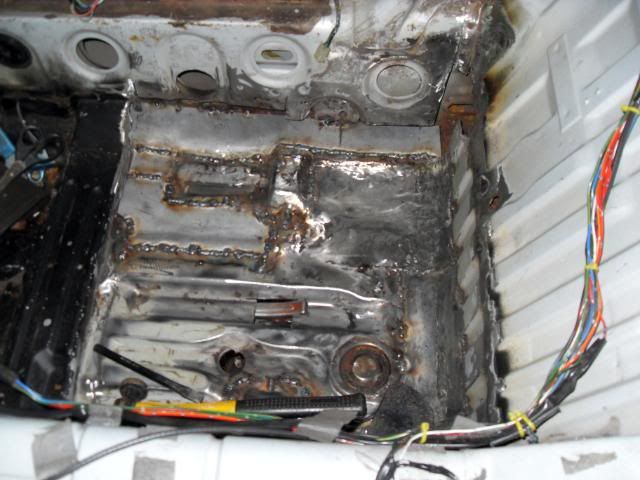
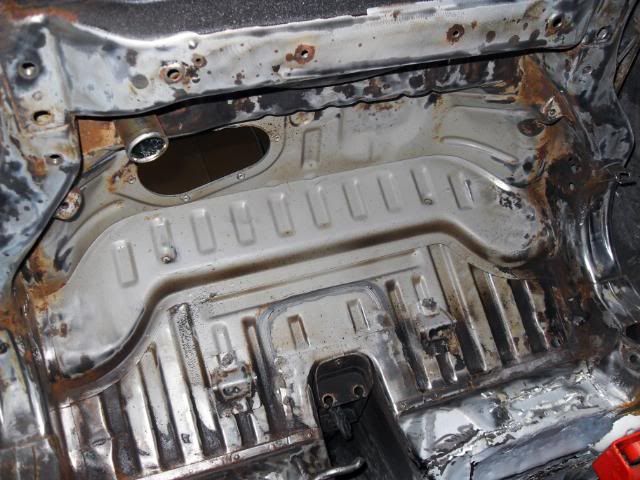
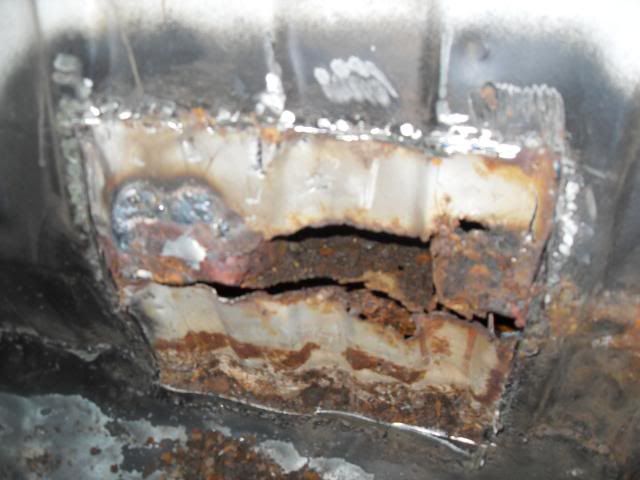
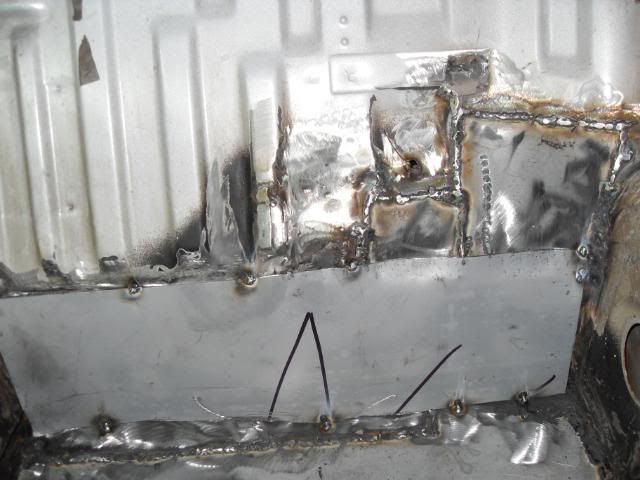
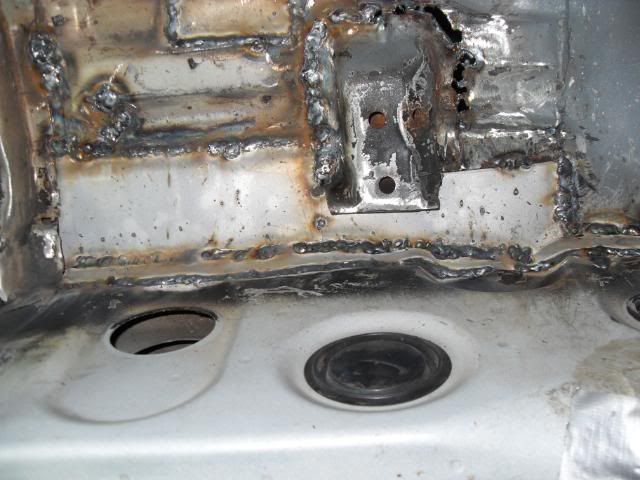
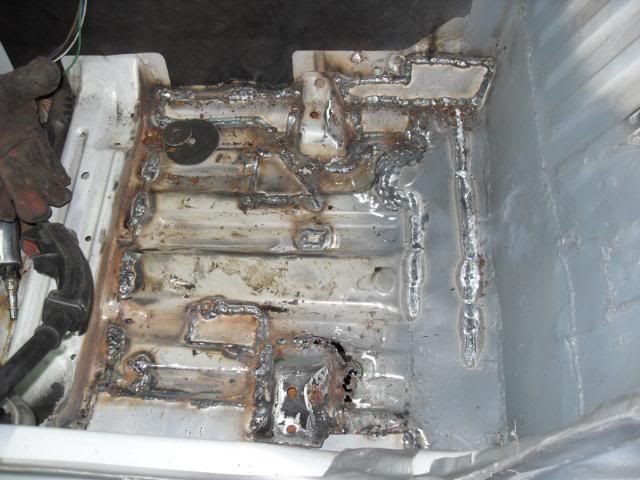
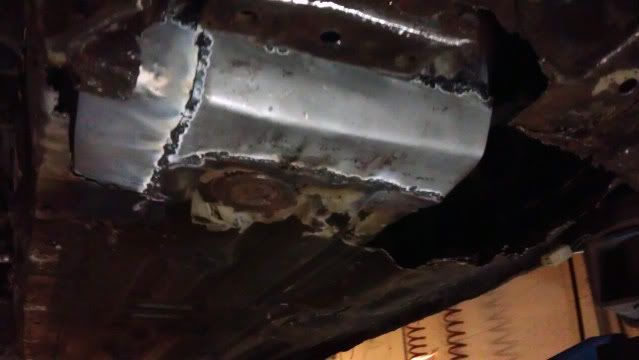
The old repair inside was removed, and it was cut out in sections and new metal tacked in to keep some strength
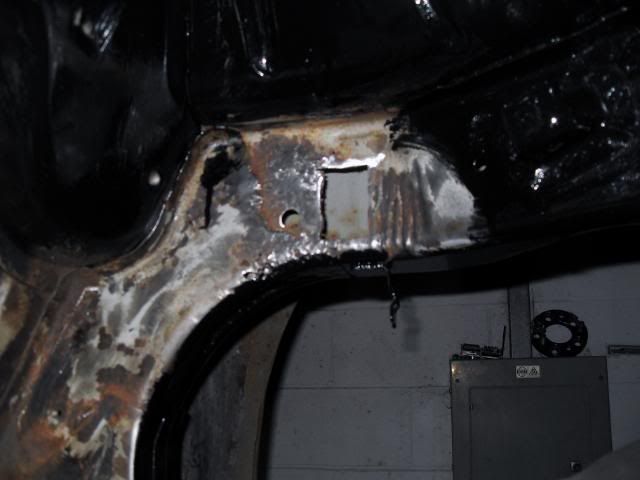
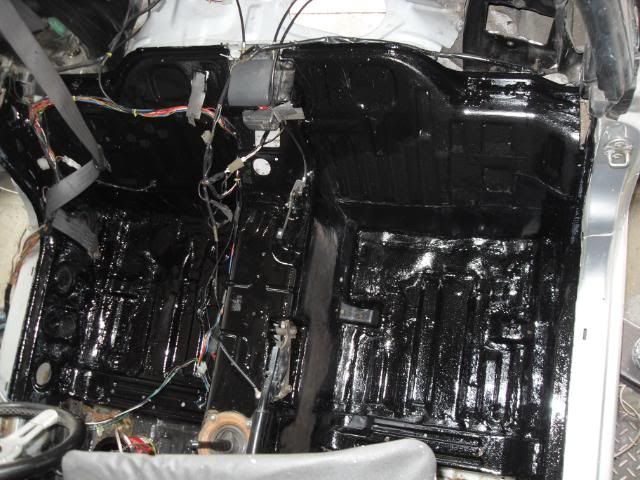
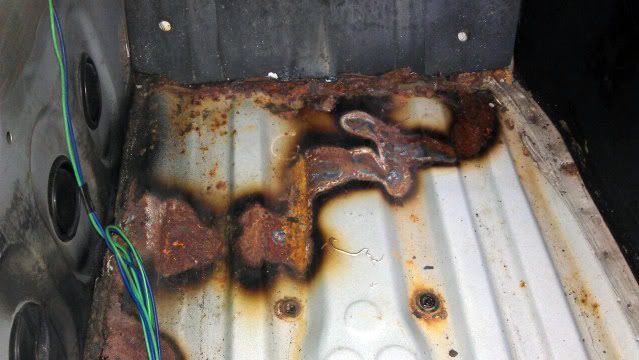
Unfortunately while the carpet was out we noticed some holes at the front of the footwell too and more dodgy repairs that will need attention

Same on the passenger side too
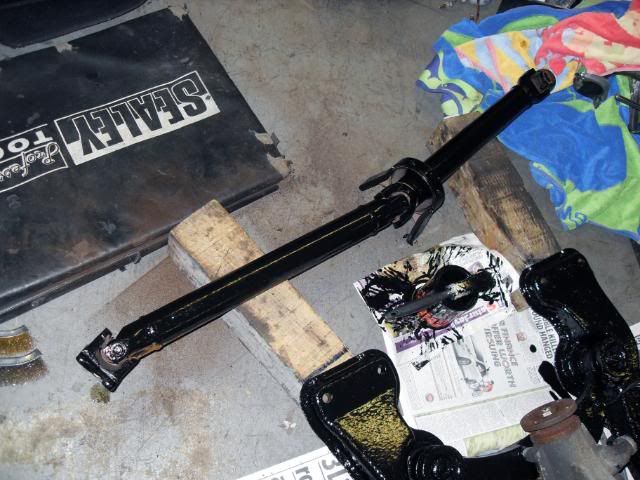
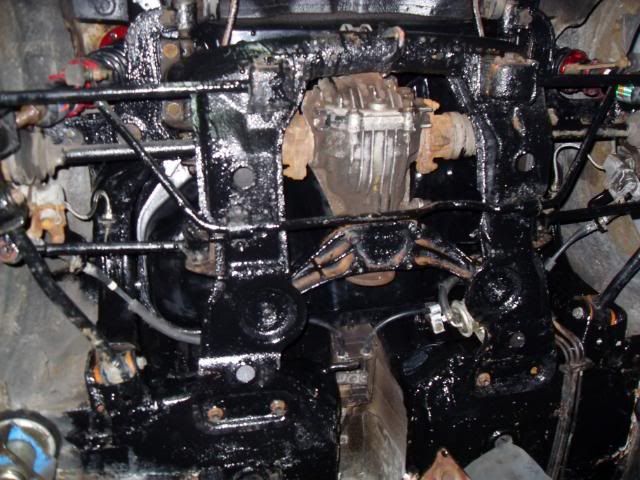
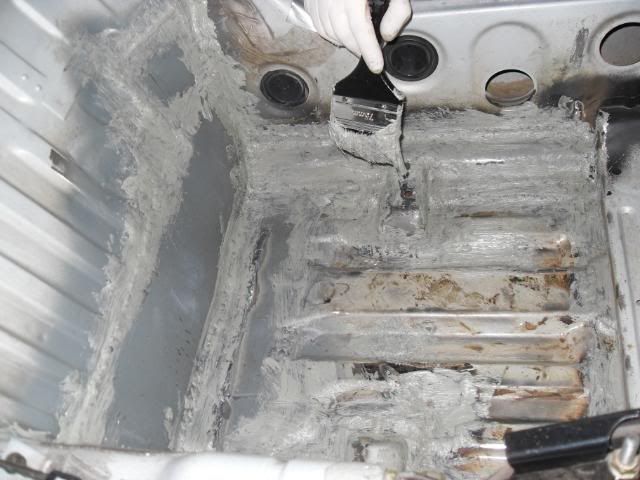
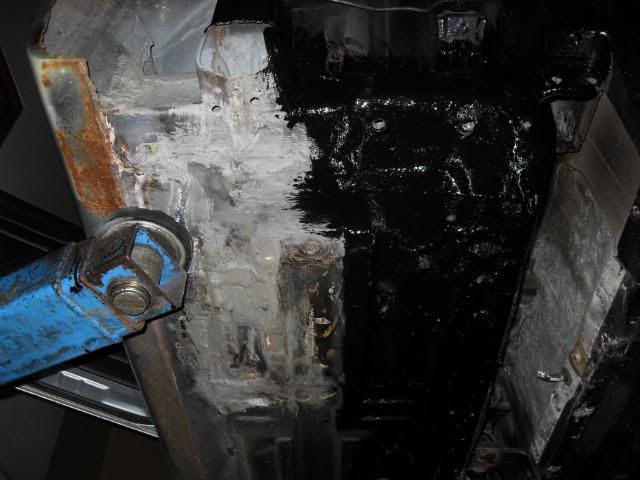
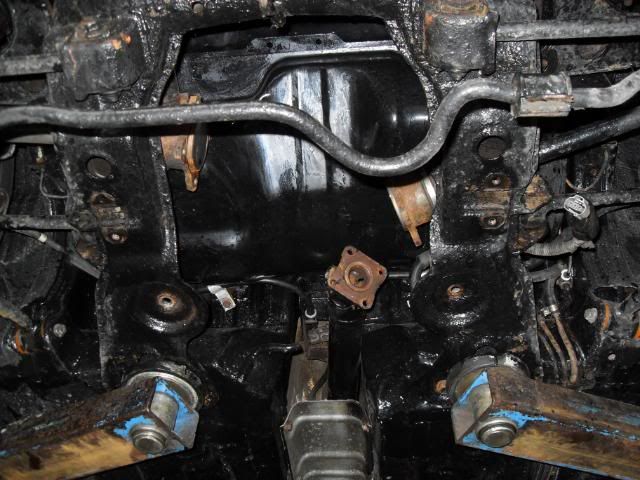
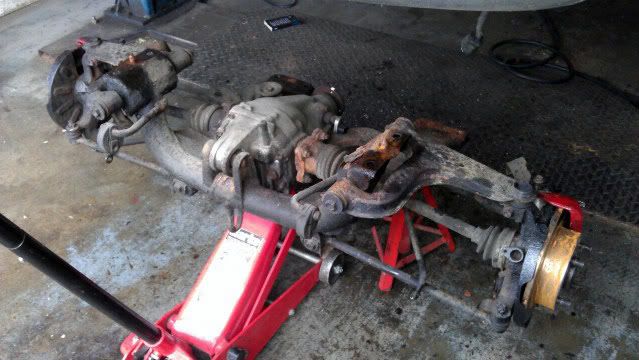
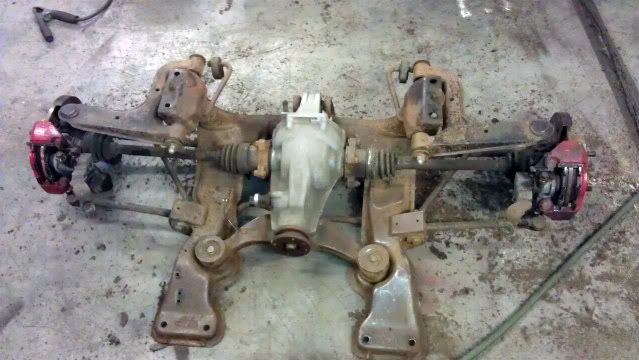
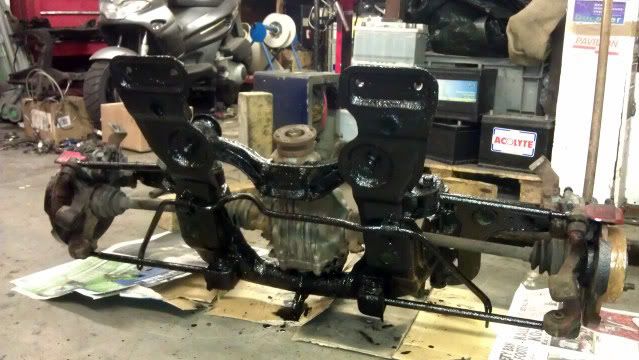
but no time for that today. While the subrafme assembly was out I gave it a quick wire bush to remove the loose rust
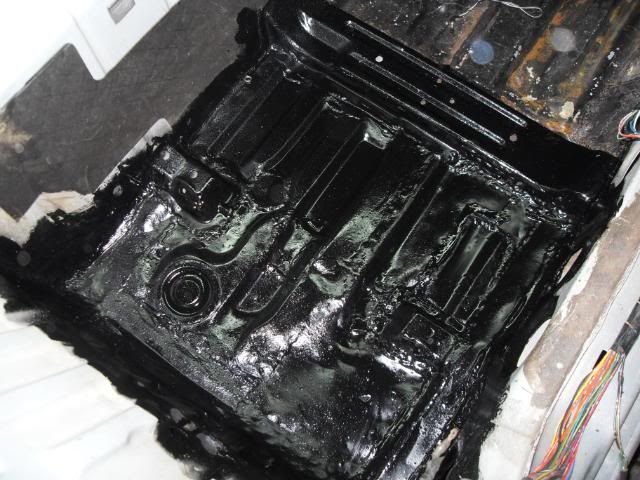
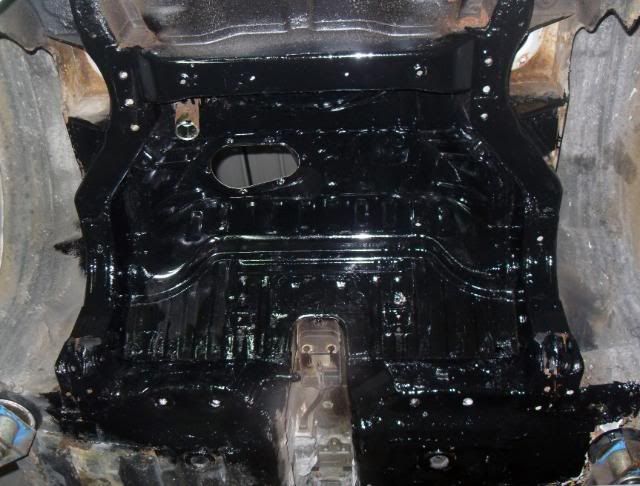
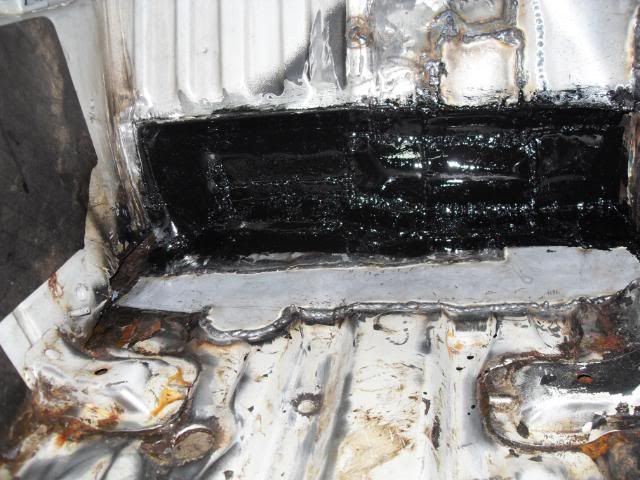
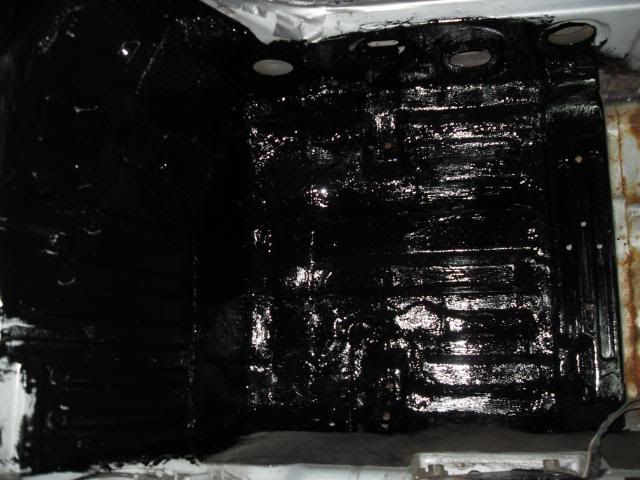
Then a quick coat of Por 15

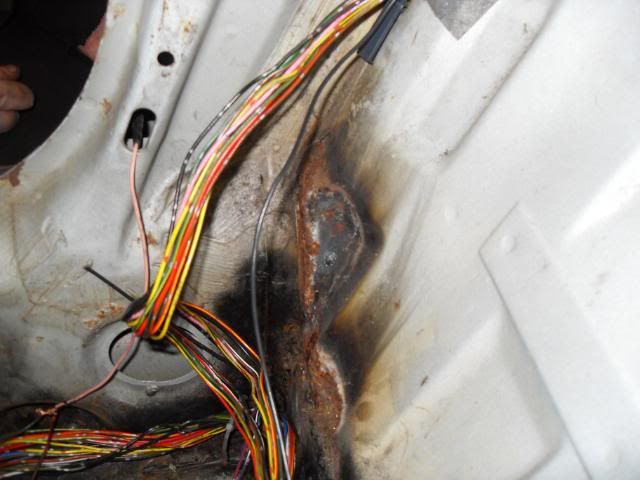
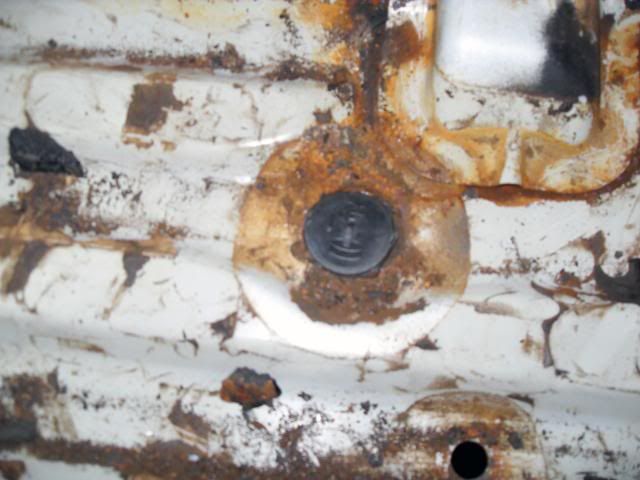
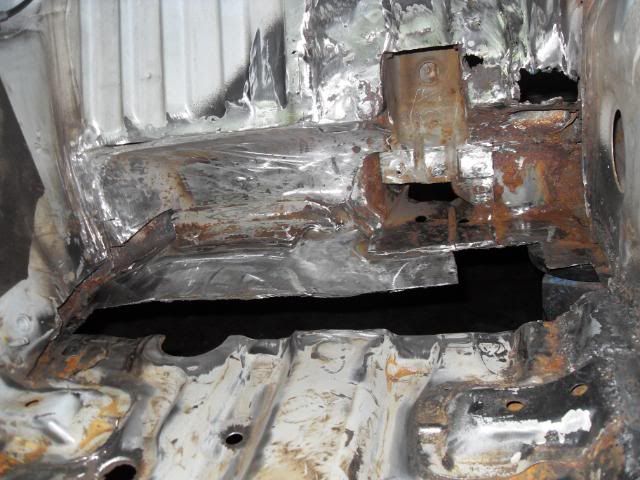
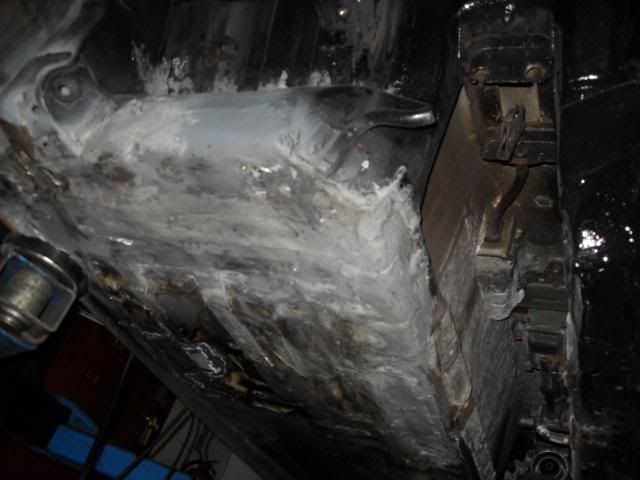
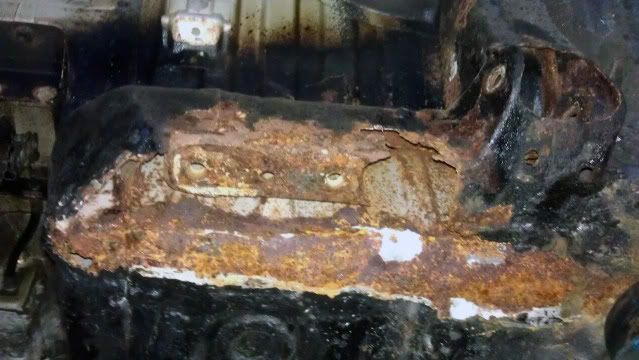
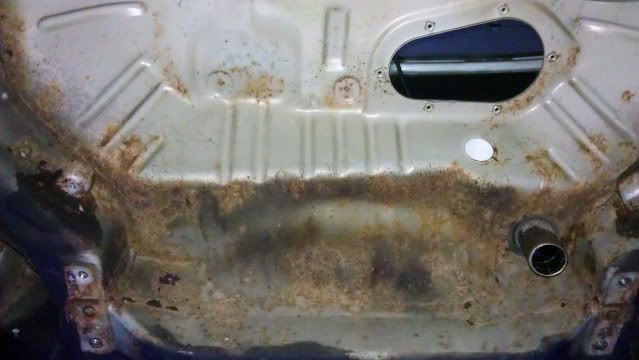
As welding would be occuring we removed the tank to reveal yet more surface rust and a few small patches (50p in size) that need to be addressed.
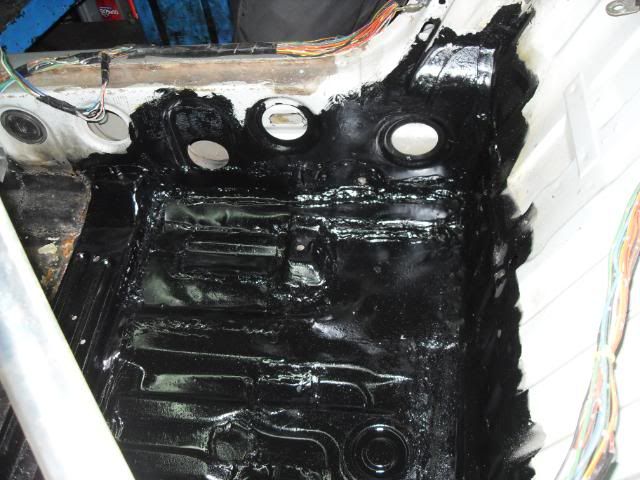
Slowly started to build up the inner and outer floor pans
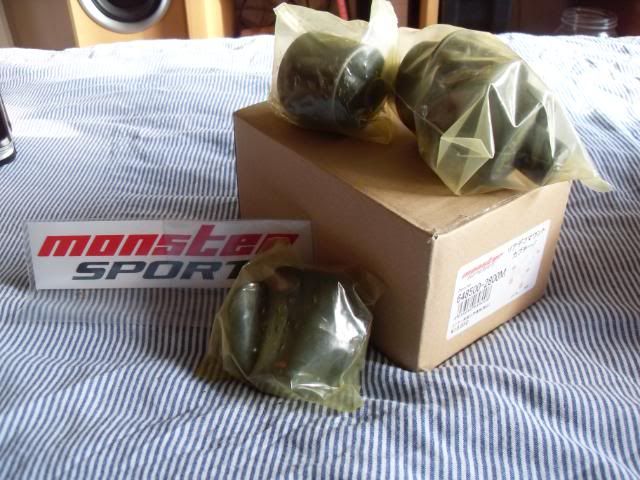
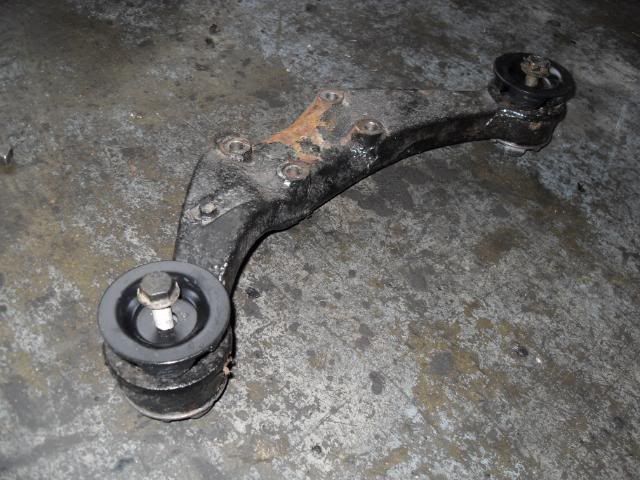
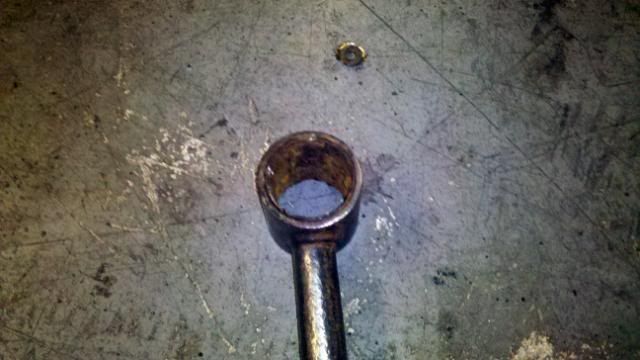
Unsure of the correct discription of the arms, but the bushes where shot, the bolts holding them on snapped when we tried to remove them and the Remanence of the bolts had rusted itself to the bushes on both sides. We removed the bush and tidied the arms up.

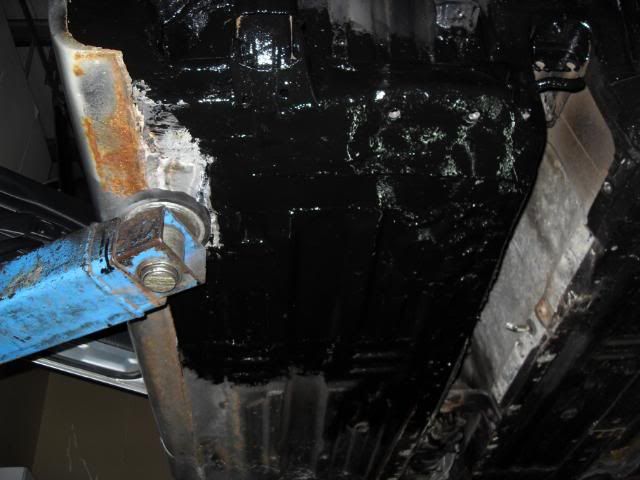
More Por 15

Now it was getting quite late in the evening now and we had brought nothing with us to replace the knacked bushes. Ingenuity and a bit of luck prevailed. Handily a mk1 Cortina is undergoing a long term restoration at the garage and had a selection of yet unfitted poly bushes, one set of which fitted lovely and snuggly into the arms without removing the outter metal sheath of the old bush

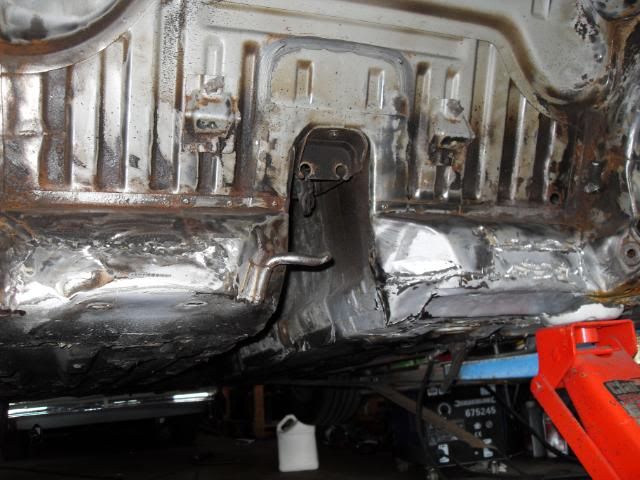
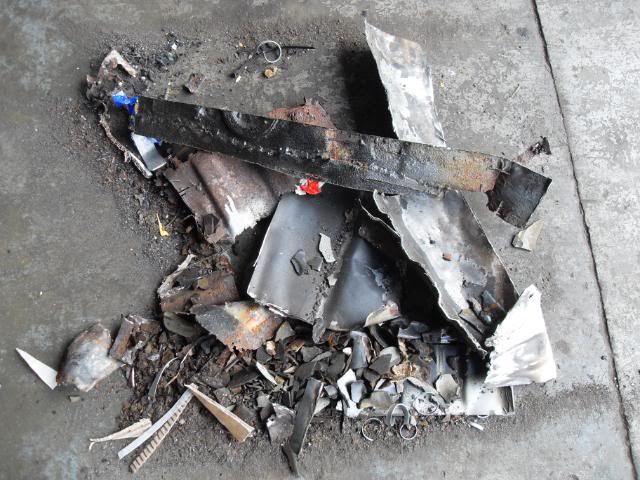
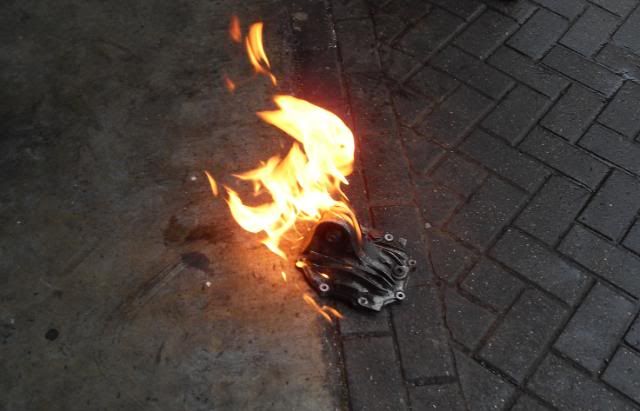
Now we ended up spending a long saturday night getting this sorted and inveitably this happened.....
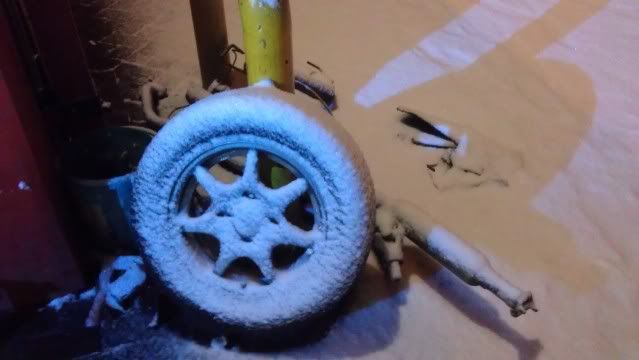
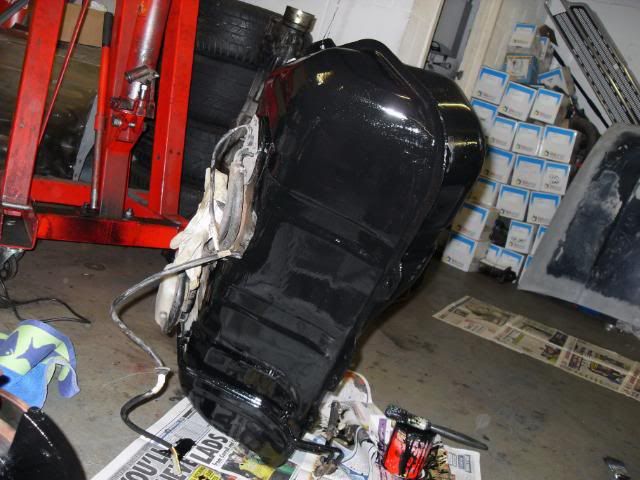
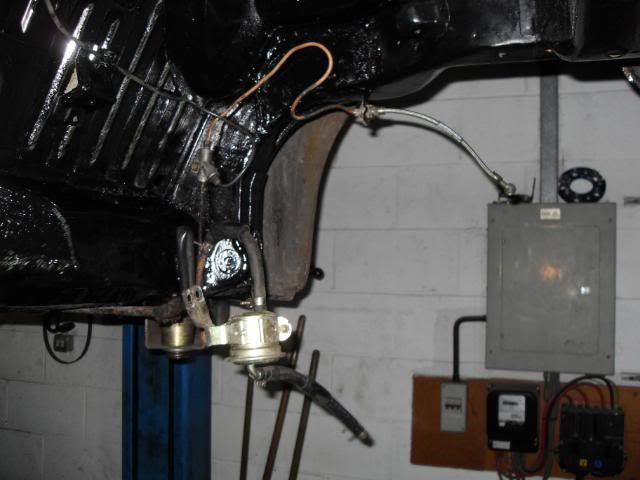
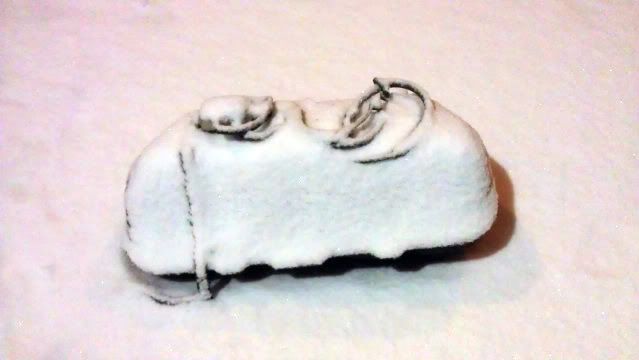
This is the fuel tank outside as we was welding
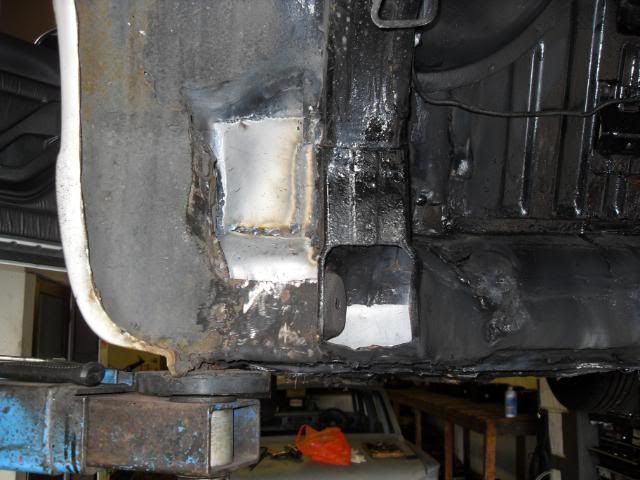
For some reason, possibly cos it was so cold we ended spending all night doing this and ended up driving home in the snow well past 5am. As you can imagine we were very tired and very cold. We ended up not getting any more pictures, but I can tell you we finished off the rear of the floor, but didn't dress the welds and propperly finish up. The car was refitted with just a drivers seat, no carpet and the bare essentials to get me home and to work next week and we will be continuting the saga next weekend. Hopefully things should come apart a bit easier second time round.
-
Flamethrower
-
Flamethrower
-
Flamethrower
-
Flamethrower
-
Flamethrower
-
Flamethrower
-
Flamethrower
 Posting Permissions
- You may not post new threads
- You may not post replies
- You may not post attachments
- You may not edit your posts
-
Forum Rules


 Reply With Quote