-
Guest


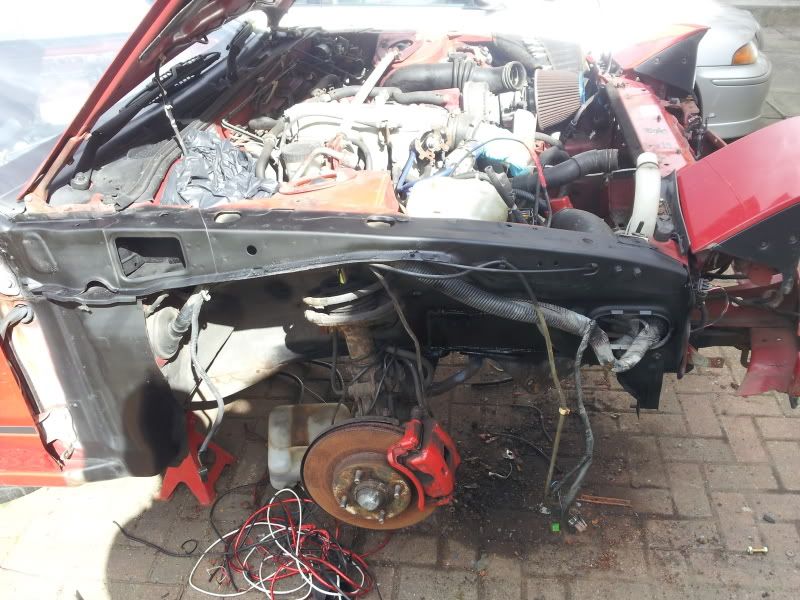
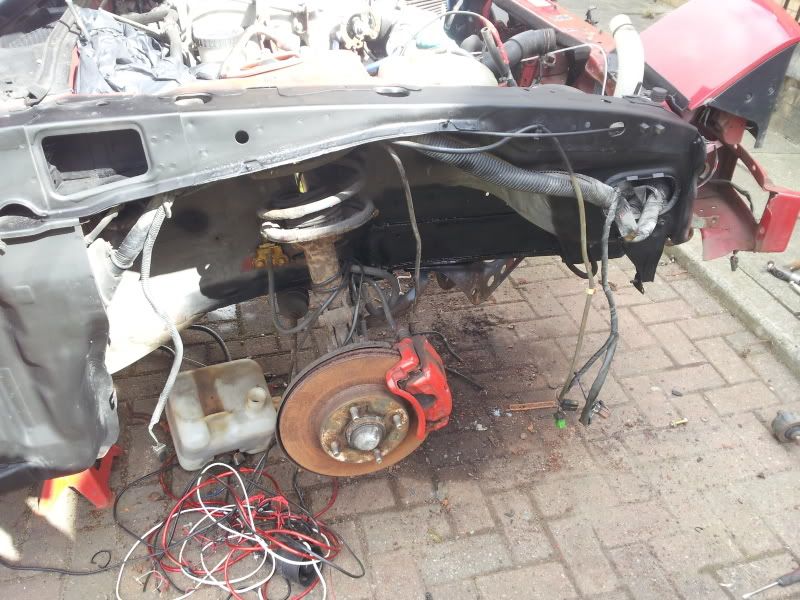
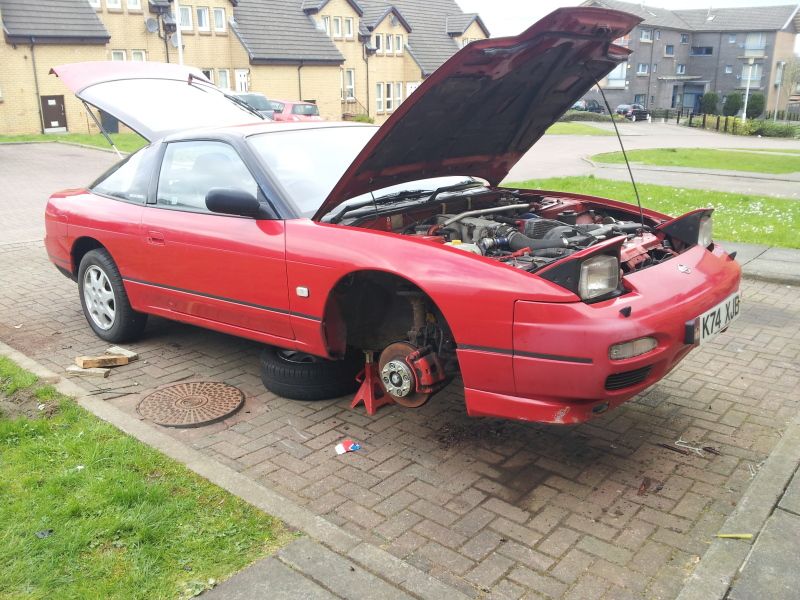
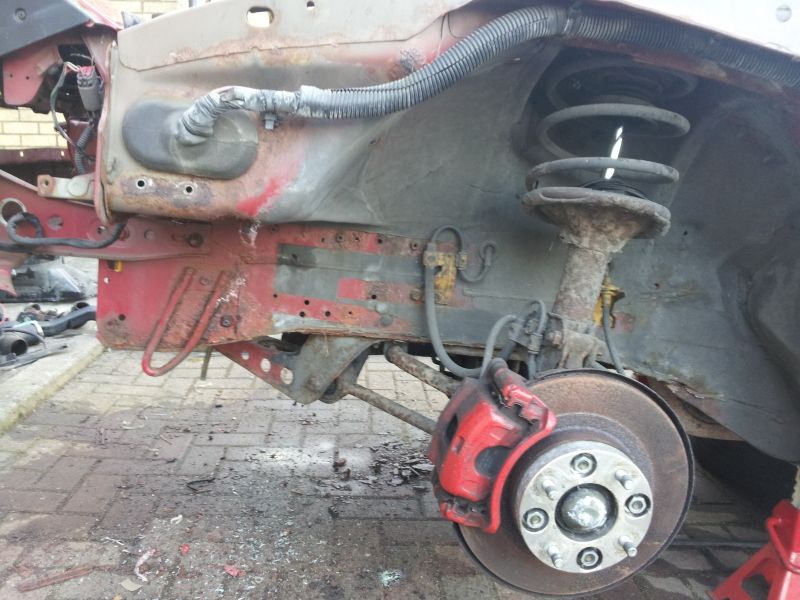
Well since my last update iv not done much, i fitted the subframe back on and refitted the wheels, got the front end jacked up and wheels off then didnt do anything for a few weeks, until today !
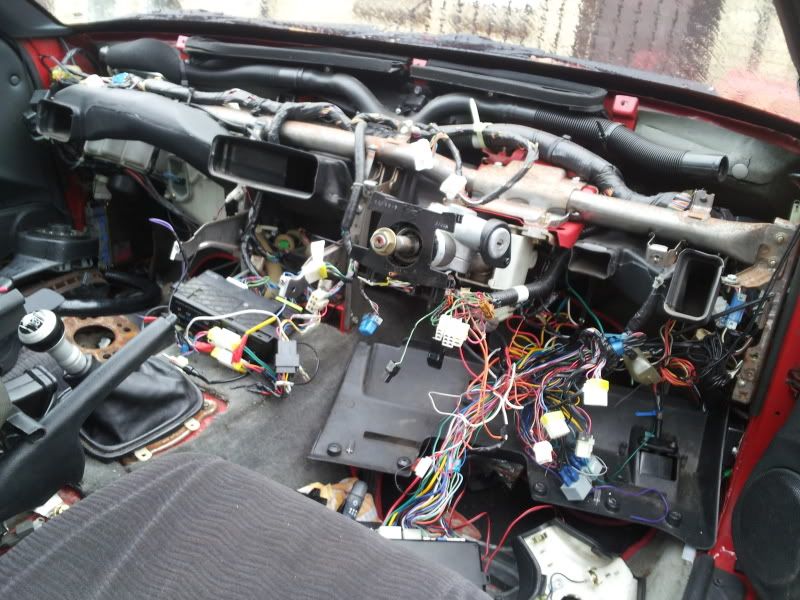
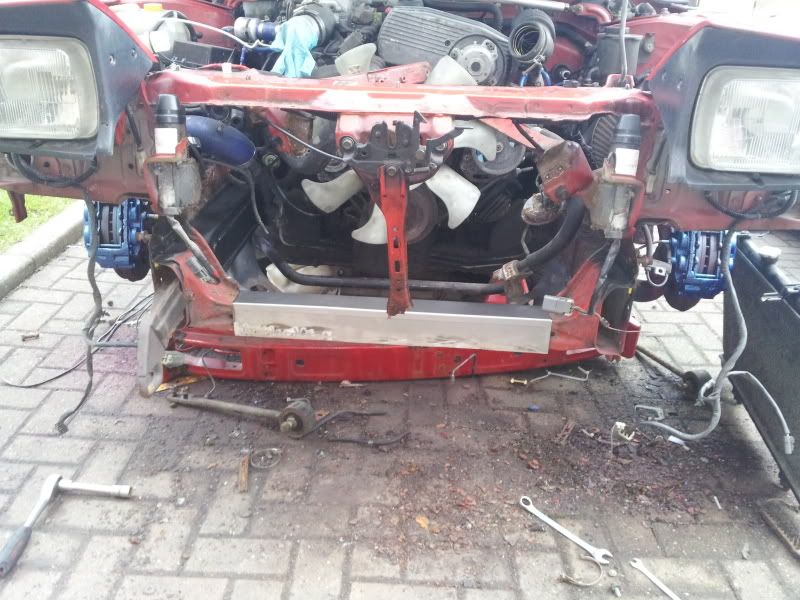
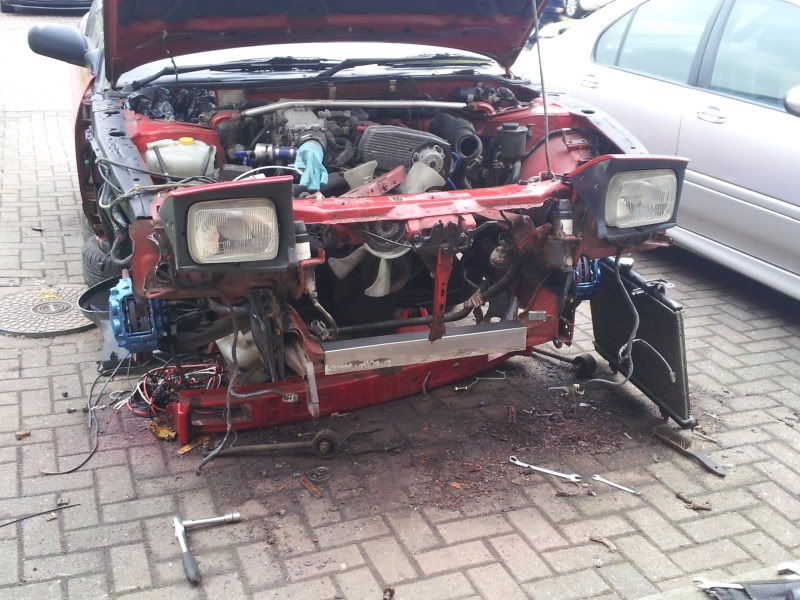
had a couple of hours free so decided to start stripping out the useless crap like air con, un-needed lights and switches that were everywhere ! i started by removing the front bumper and front wings, the front bumper had to be cut off as the previous owner had fitted fog lights to the bumper but attatched them to the bumper support bar with pretty thick bolts that the heads had been rounded . . . so out came the grinder !
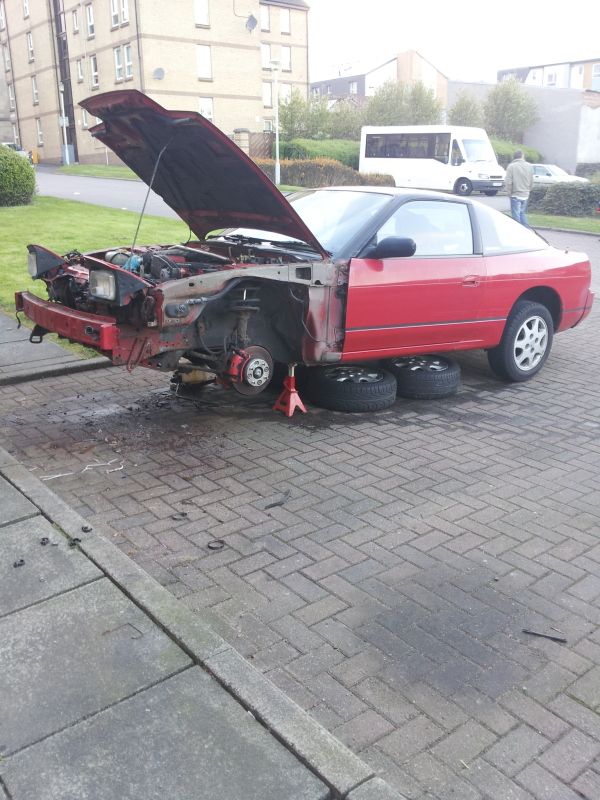
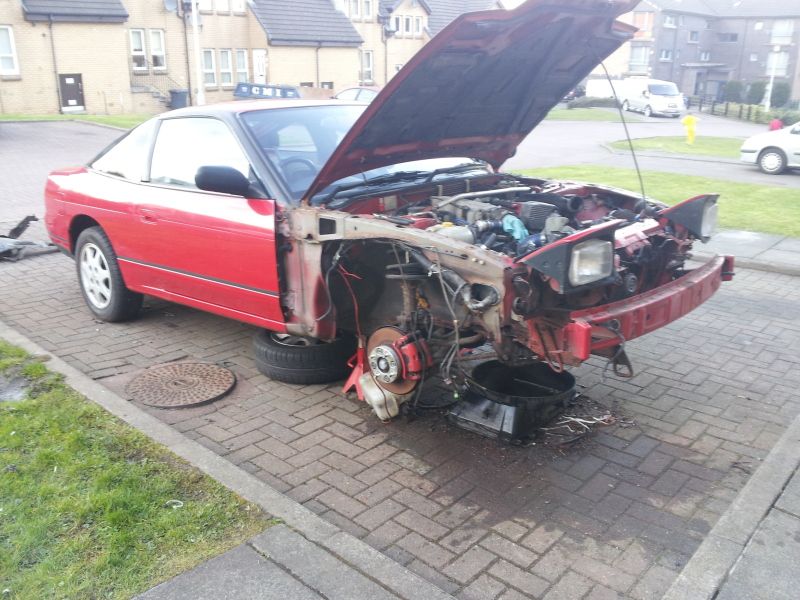
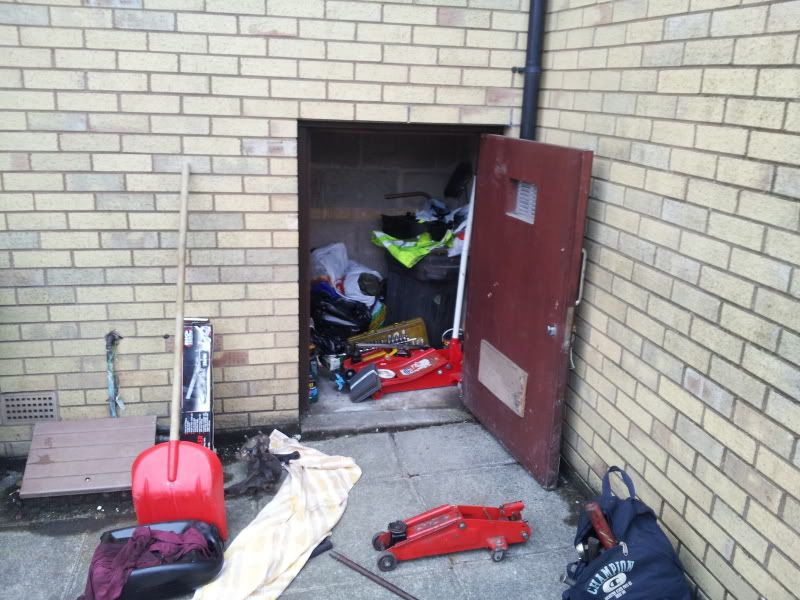
This is how my backdoor is starting to look now
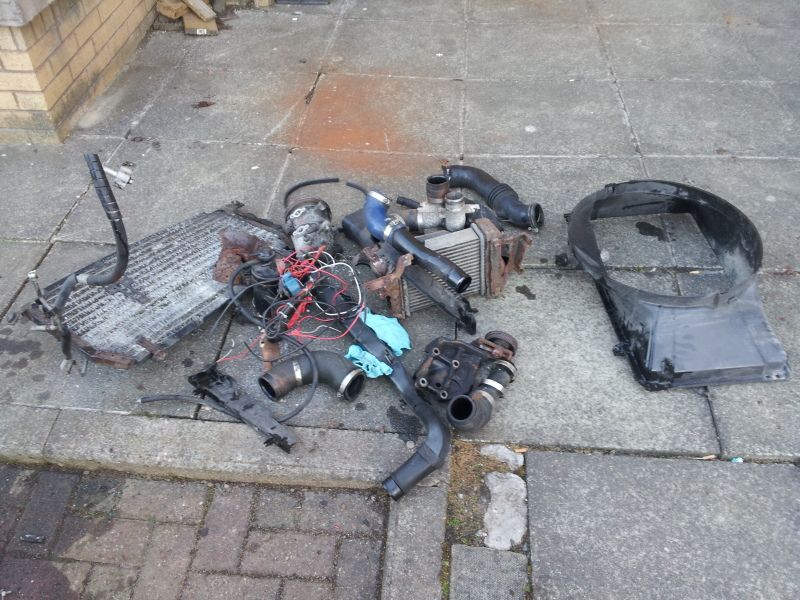
And this is some of the shit i removed today, aircon pump, bracket and rad, carbon cannister, fog lights and alot of wiring . . all for the bin
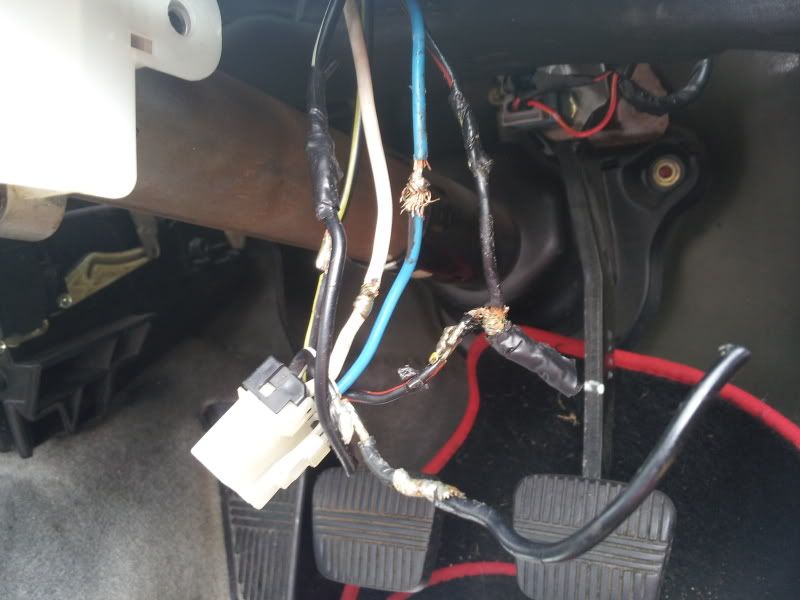
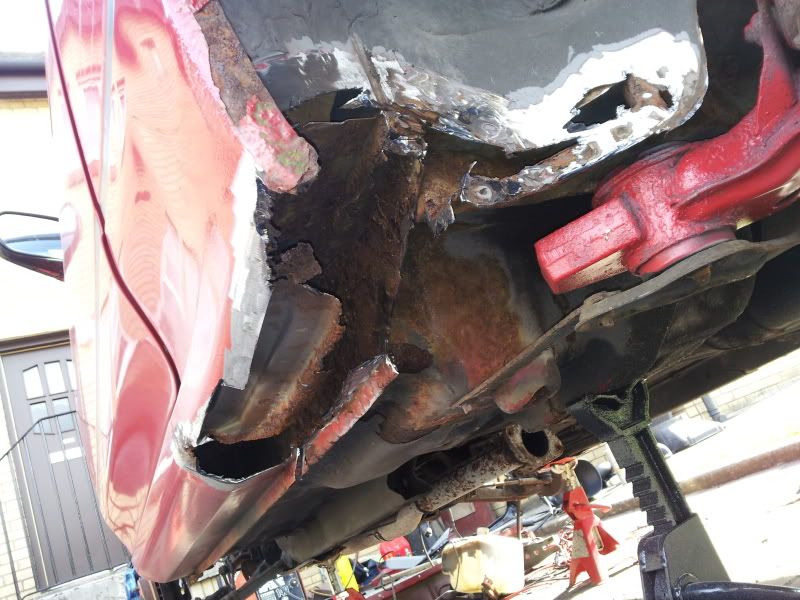
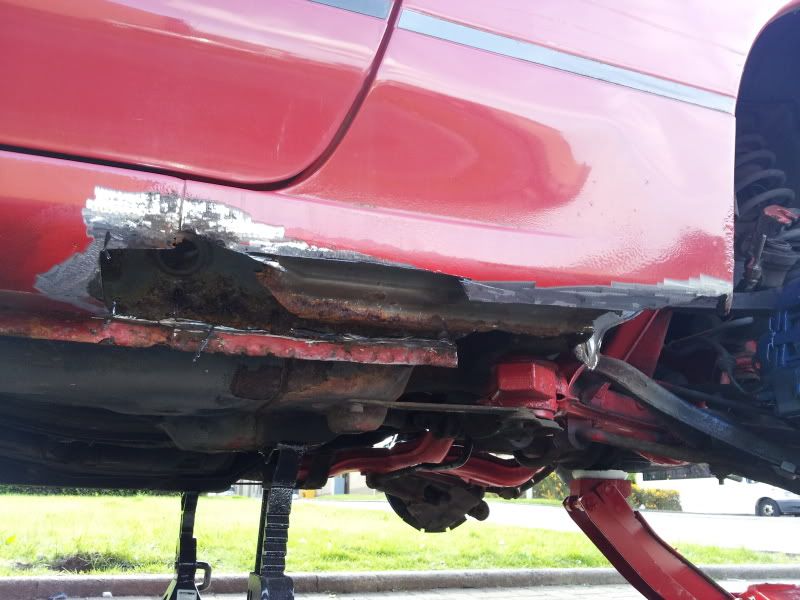
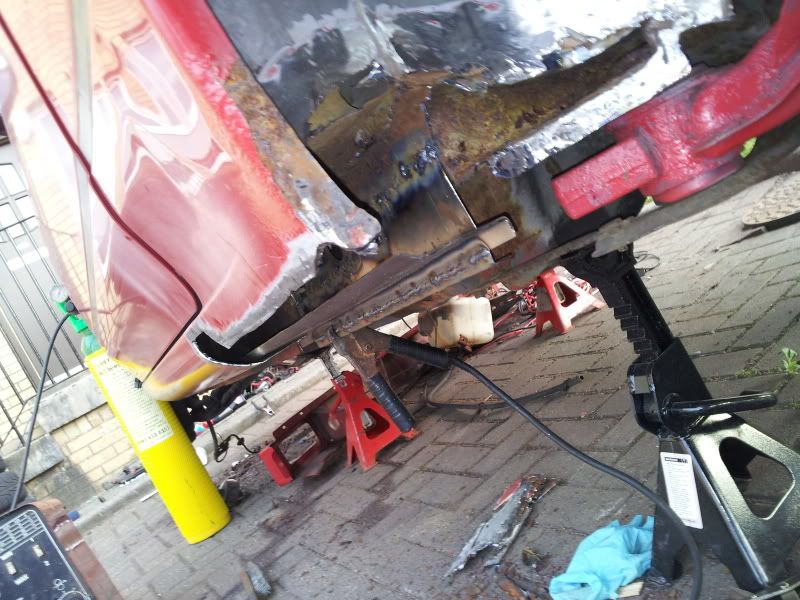
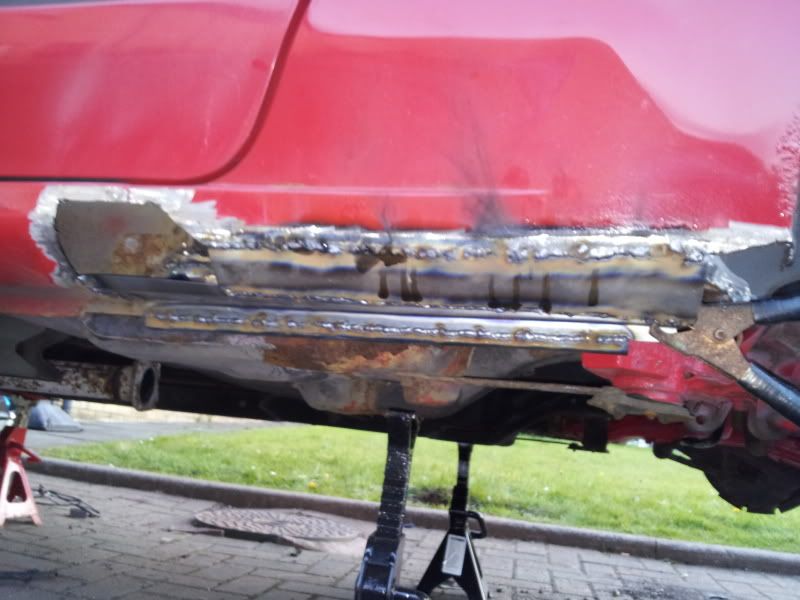
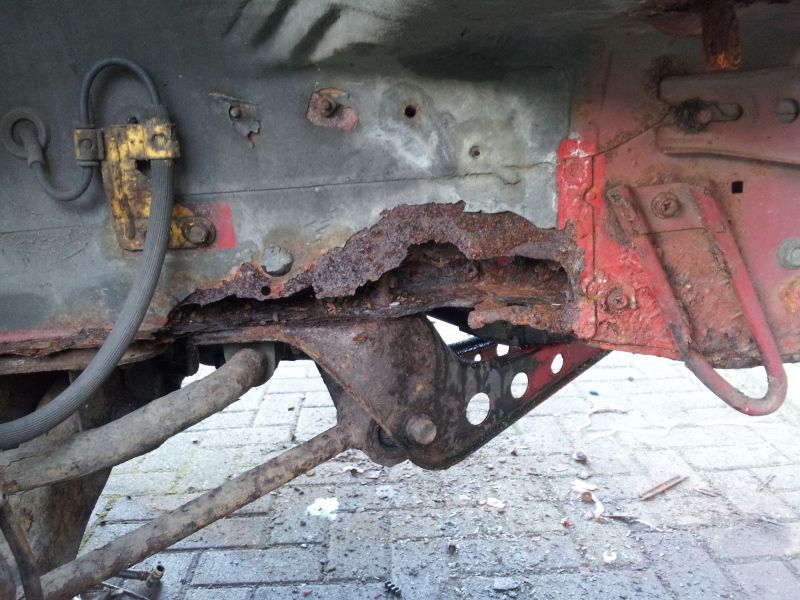
Some of the rust i need to sort out
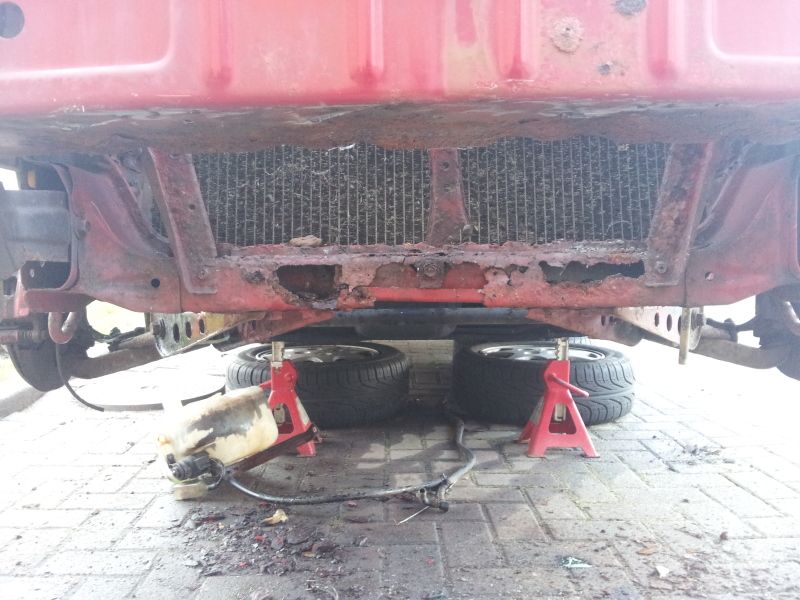
and the most worrying part of rust
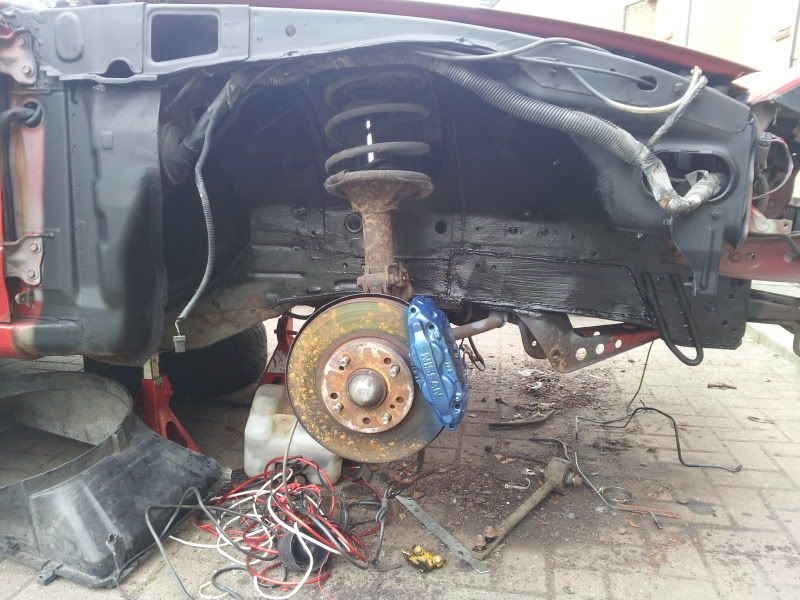
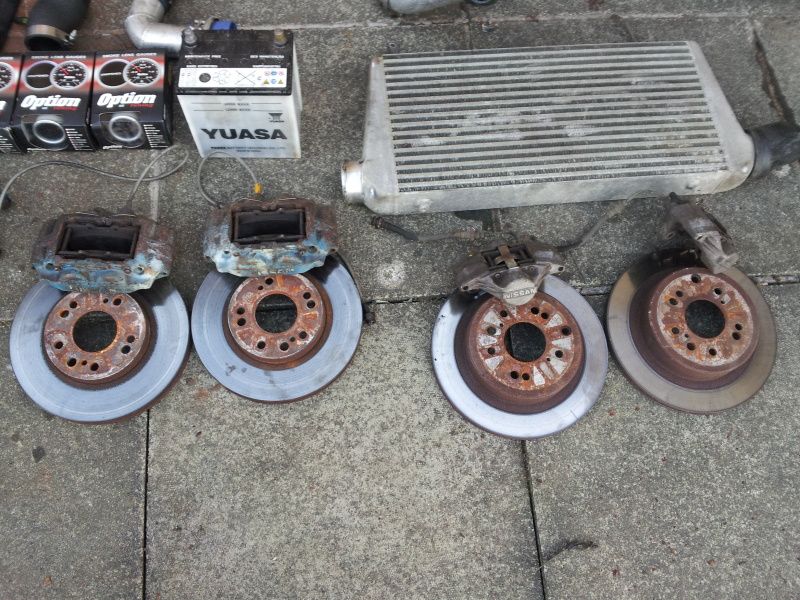
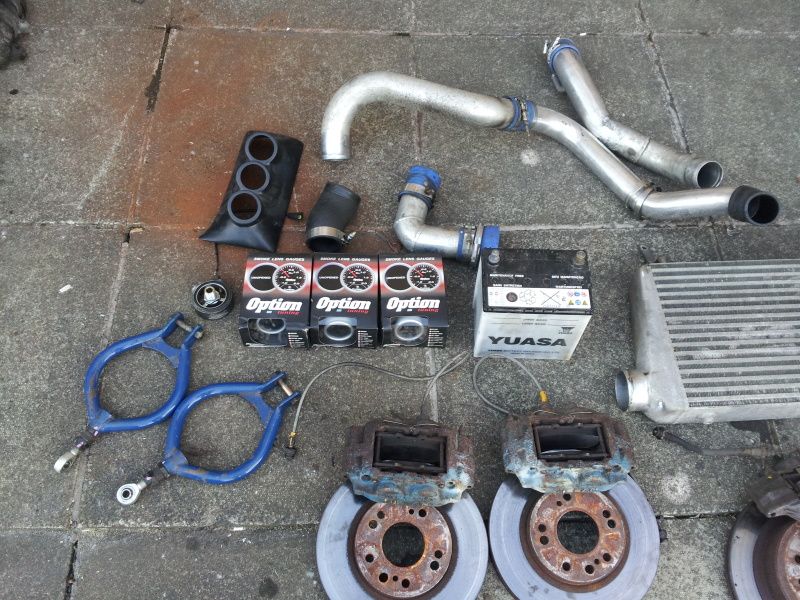
Now for some good stuff, iv collected a few parts recently, got a fmic with pipework, option gauges, sandwich plate, smaller battery all for the awesome price of £150
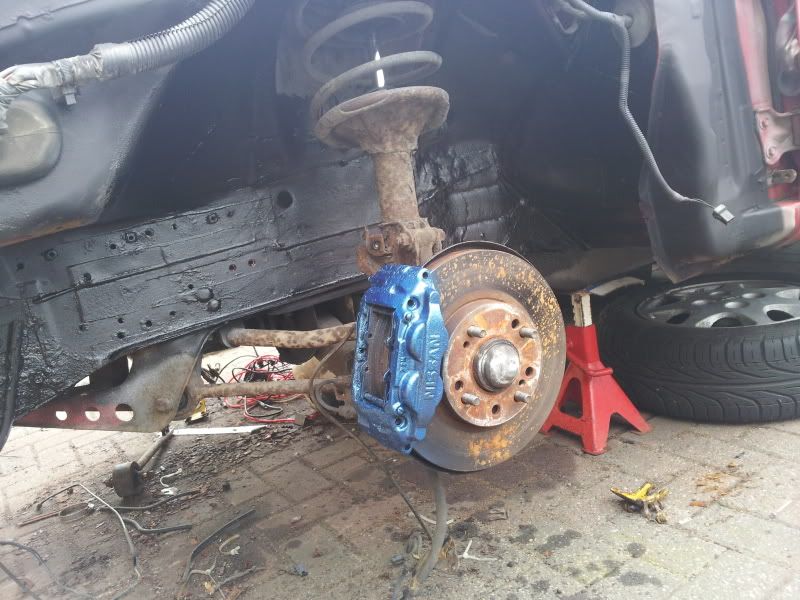
I then got a full set of z32 300zx brake callipers with braided conversion lines, pads, disks with s13 rear handbrake setup and hubs for £100, then sold the handbrake setup for £40 so i pretty much paid £60 for a full z32 setup which is my kind of bargain
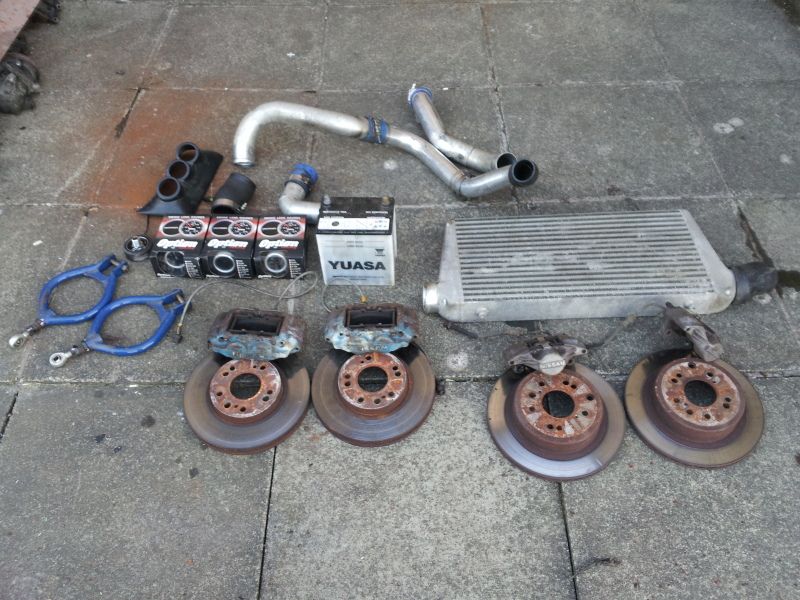
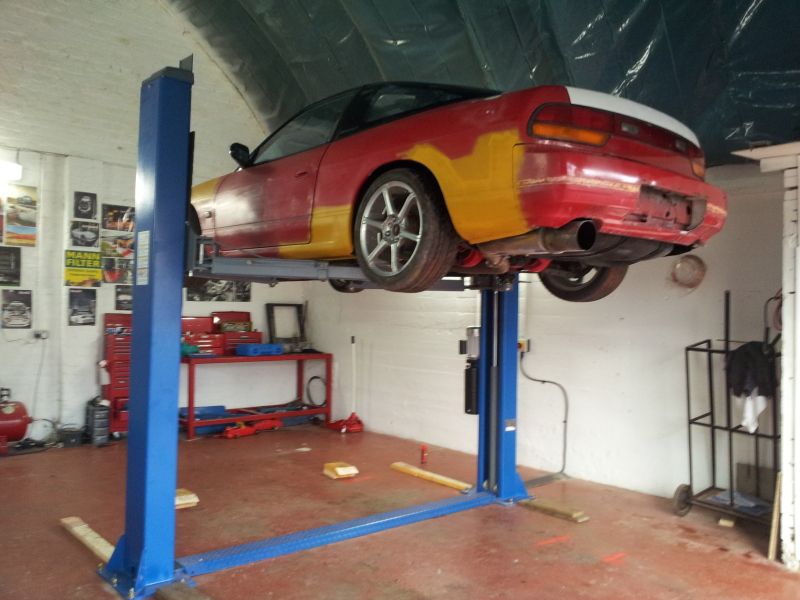
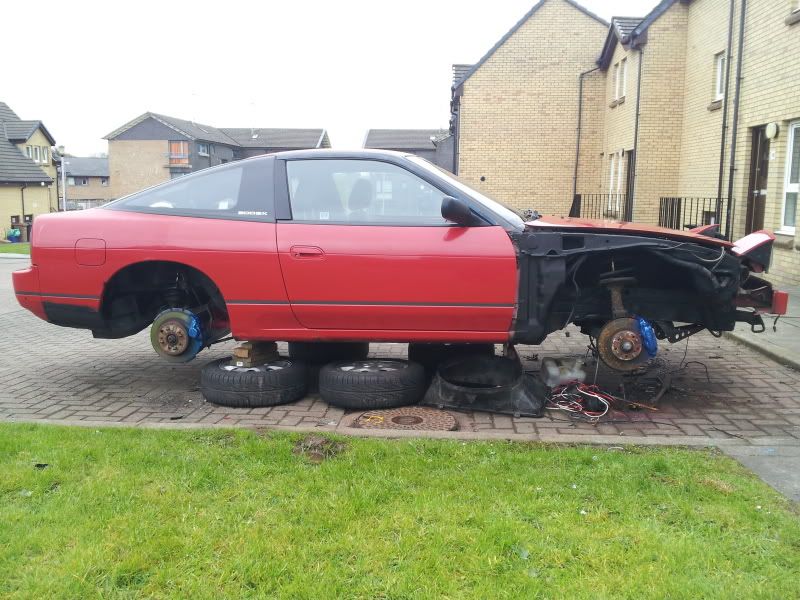
So thats how it currently sits, i have the next week off work so plan to get it done and on the road by the end of the month !
-
-
Guest
-
Guest
-
Guest
Hey man great project! It's nice to see someone else who's on a budget! I've always thought my s13 was rusty but yours makes me feel a lot better! Lol and if you don't mind me asking how hard was it to get the subframe off?? I've been meaning to ask on here for ages as loads of people have done it. I won't be doing it just yet tho as I can't even afford an mot at the mo yet alone new bushes etc! Lol
-
Guest
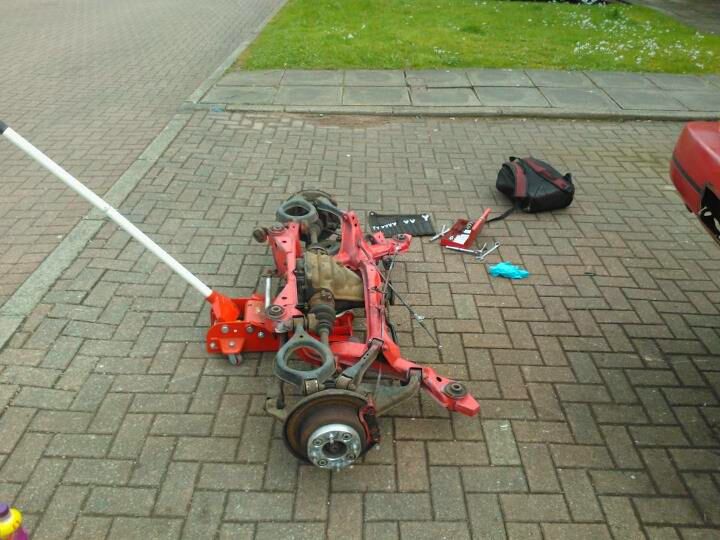
Its really easy bud, loosen the handbrake adjuster, remove the cables underneath the car where they meet the handbrake, remove the brake callipers, remove the bottom suspension bolts, or top whatever u find easier, soak the 4 subframe studs with wd4, stick a jack underneath for support, remove the 4 subframe nuts and a couple of connecting bolts and it should slide right off !
Got some more progress today
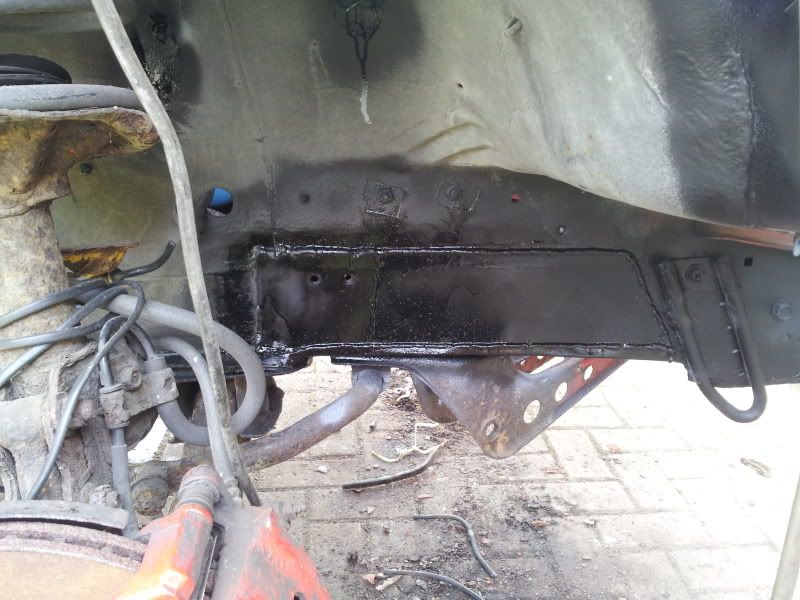
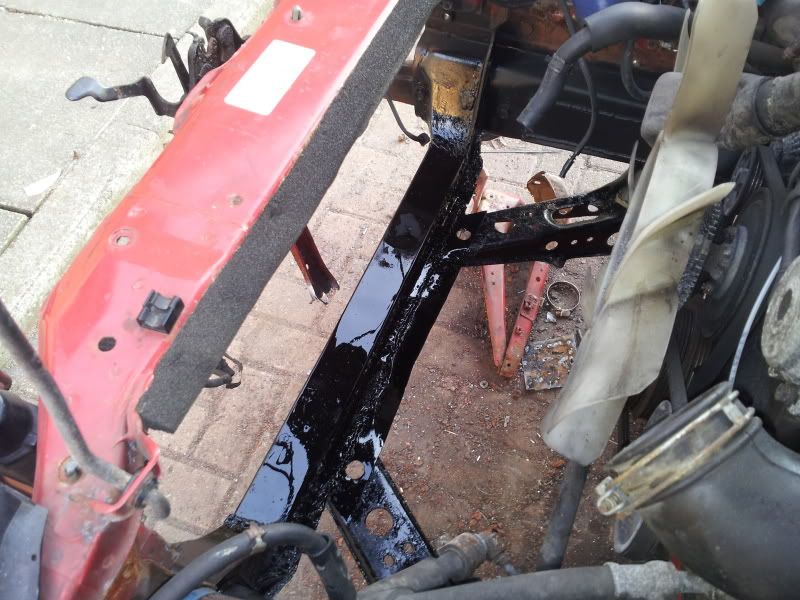
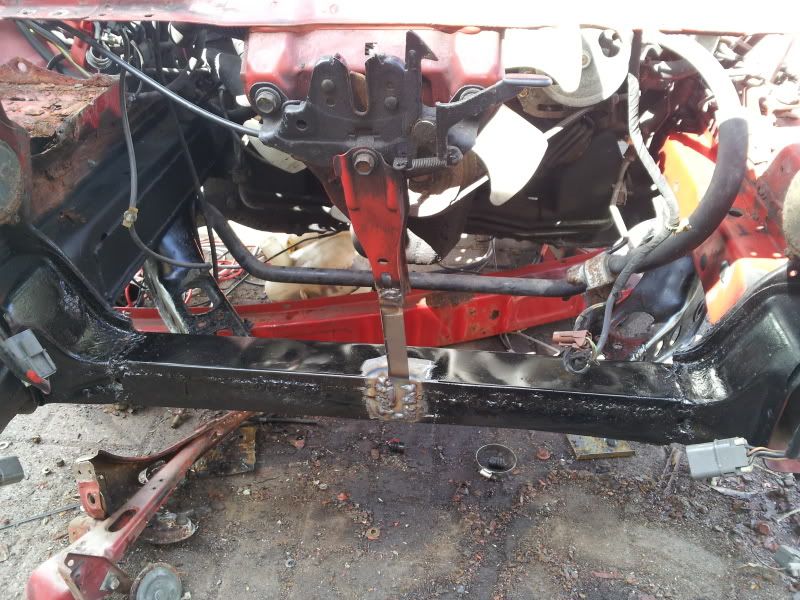
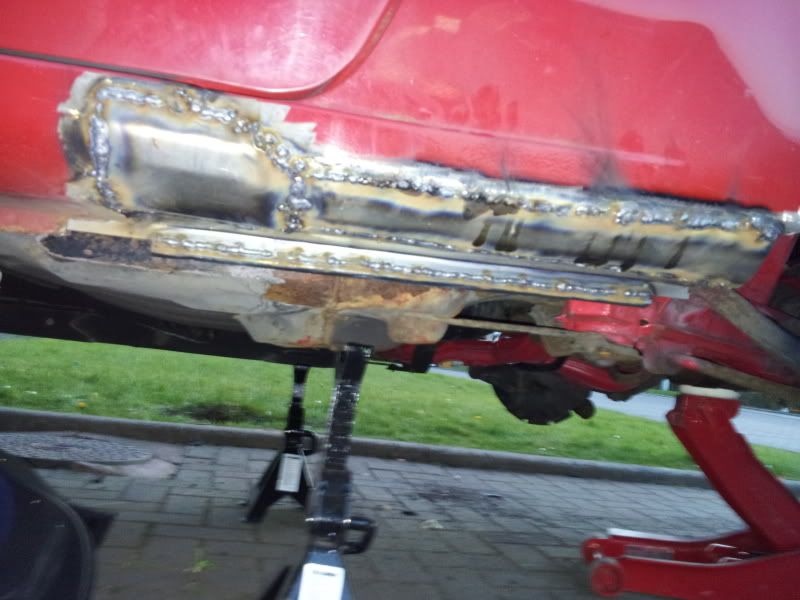
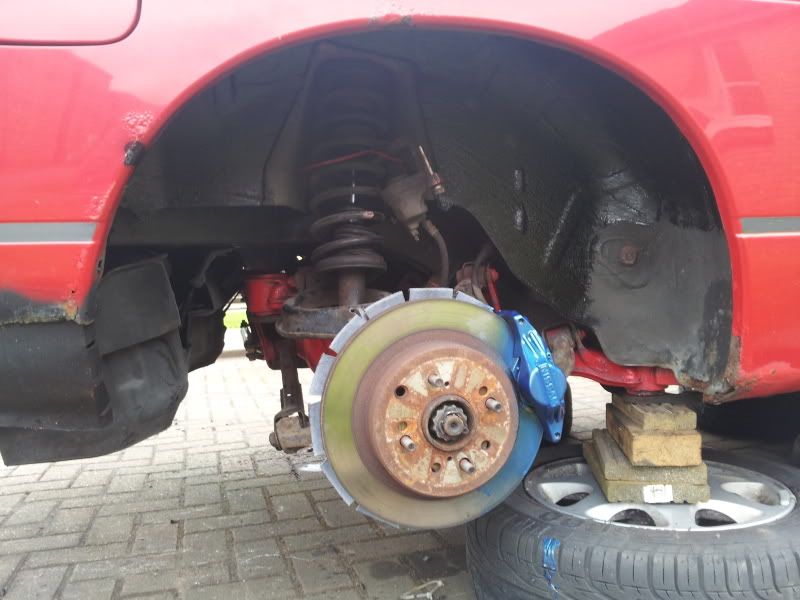
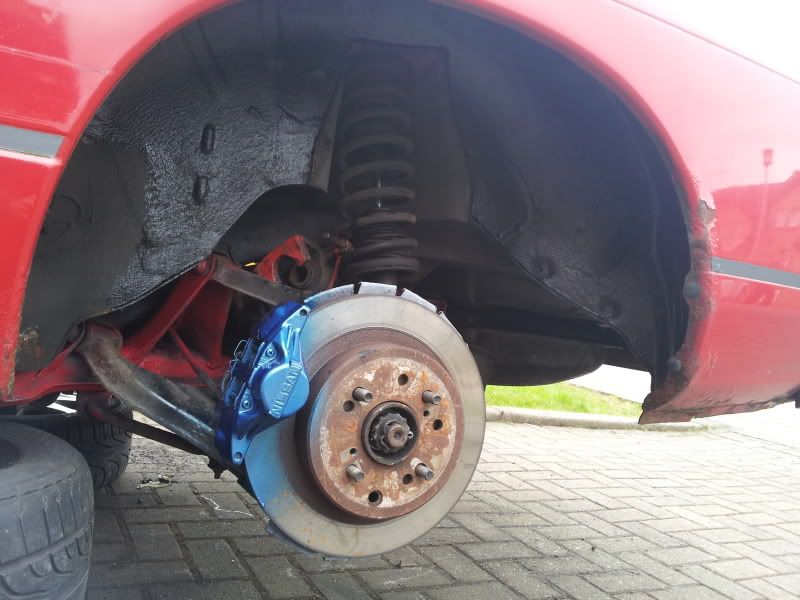
managed to get the rear brakes fitted, undersealed the rear arches, and started to fabricate a new front crossmember !
Floating s13
as you can see i was a bit lazy when it came to painting the callipers and just done it after i fitted them ! fitting the brakes was a straight forward job, hardest part was getting the old disks off due to the internal drum handbrake, then i had to cut the backplate to fit the new disks !
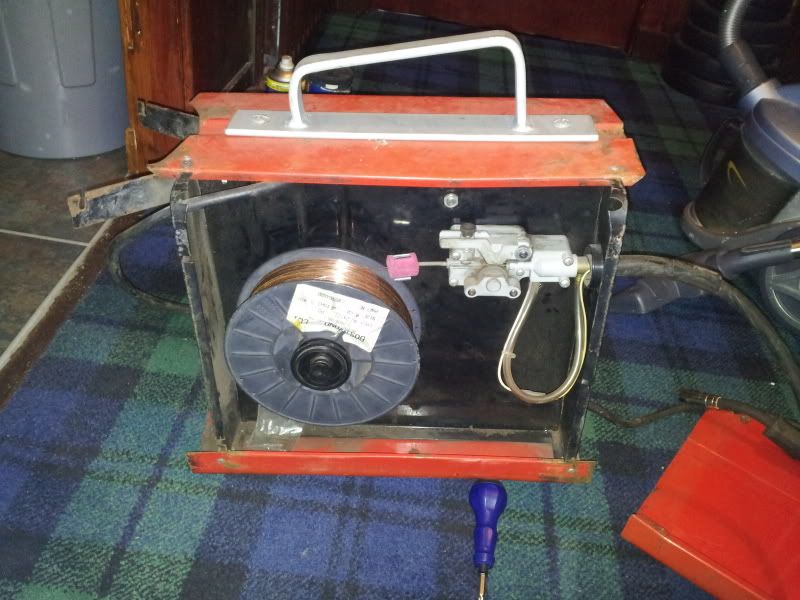
That was the easy stuff done, after that i had to pull my welder out from the shed, recently i had been using someone elses welder so mine hasnt seen any action in about a year ! so had to pick up some parts and get them fitted, also the wire feed was jammed and the torch was clogged up so serviced the full thing !
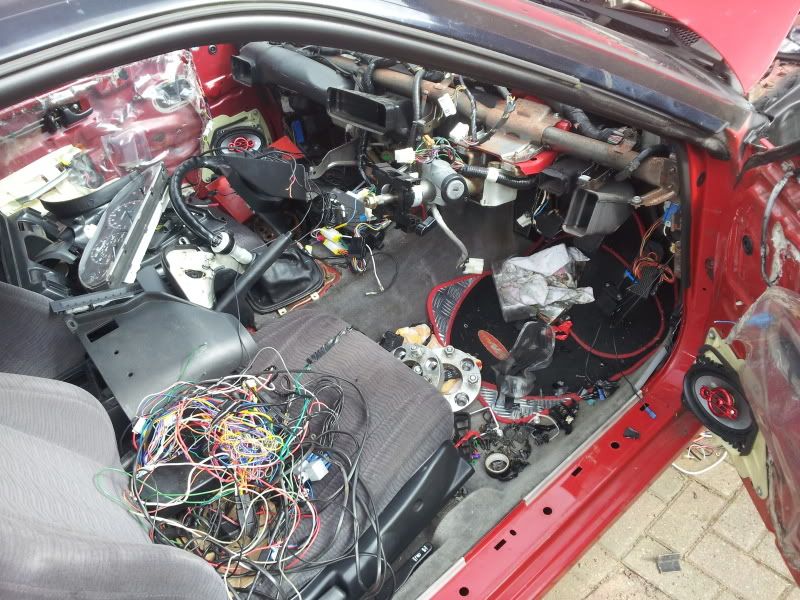
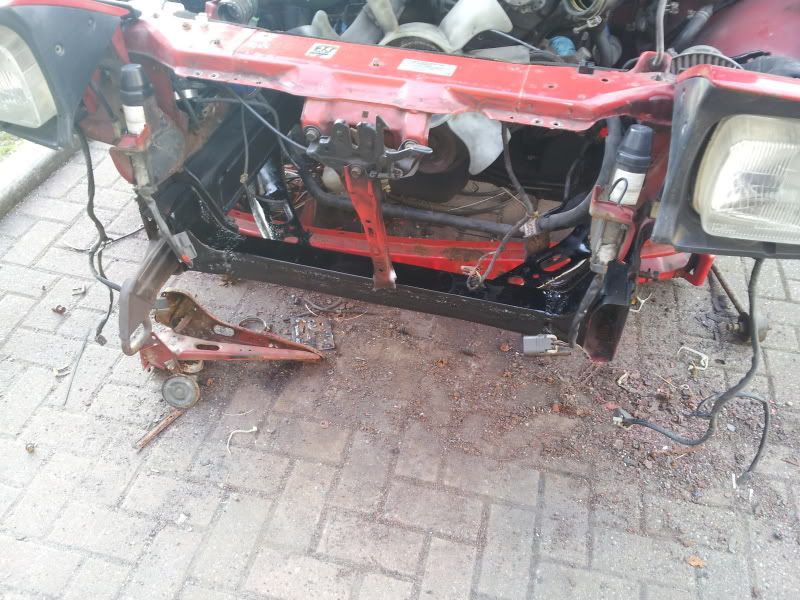
after that was done it was time to start removing/breaking shit
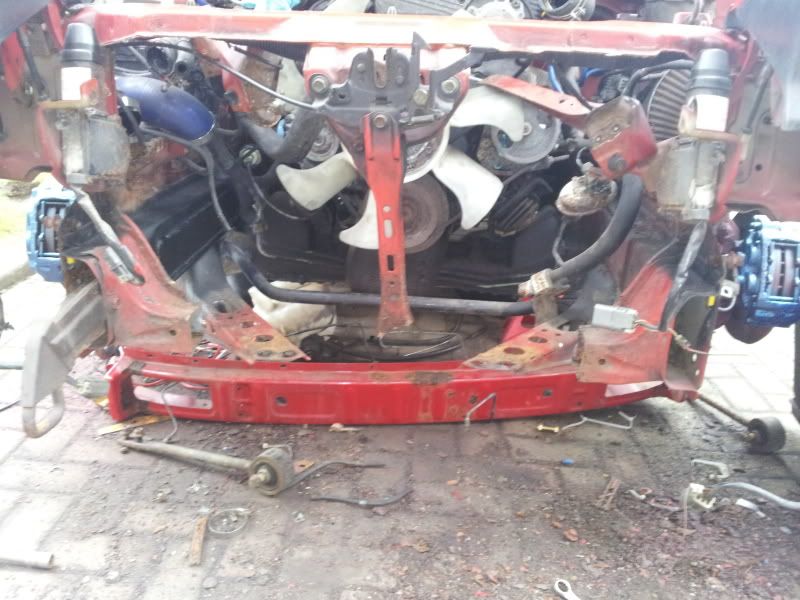

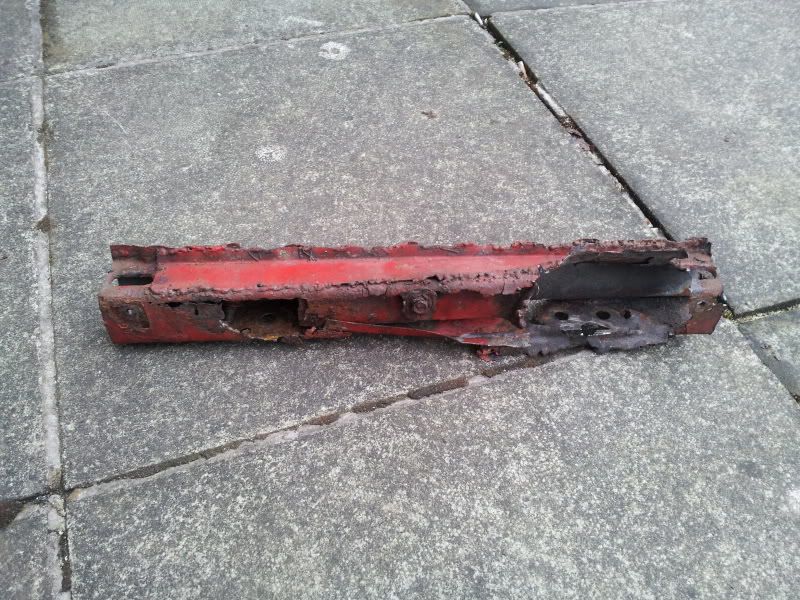
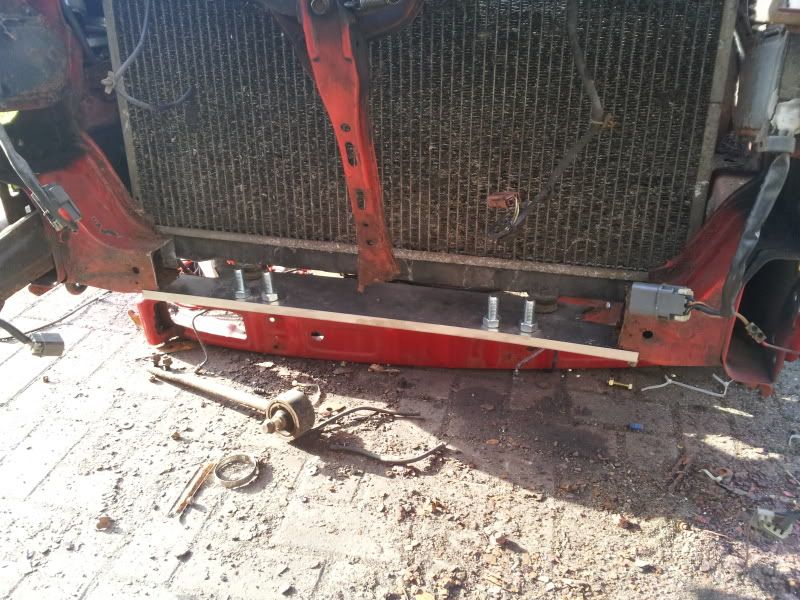
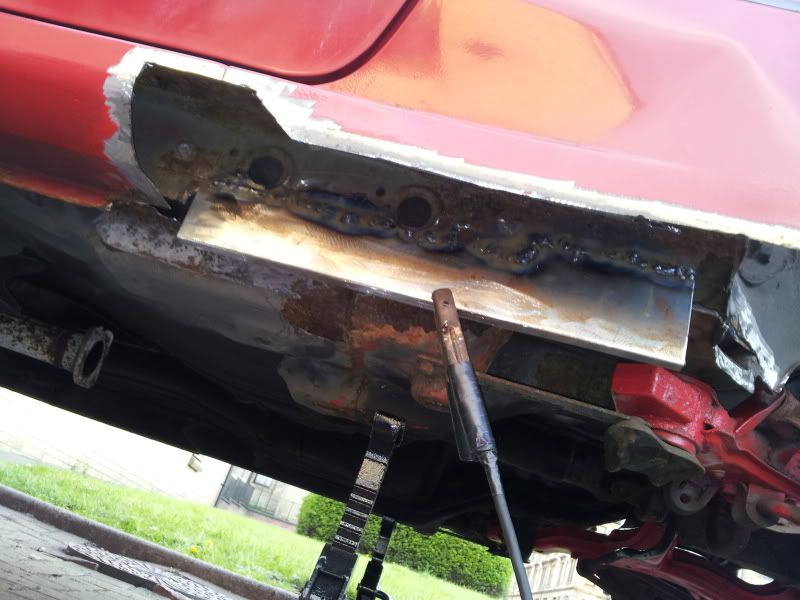
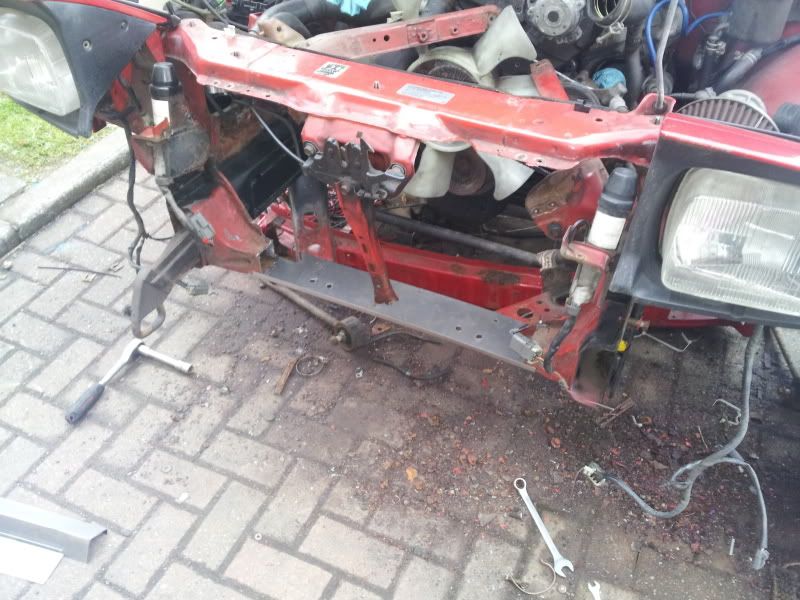
Thats how bad the old crossmember was , the bumper support bar came off pretty easily but everything else snapped when i tried to remove it, so gonna be spending a day just drilling out broken bolts i reckon !
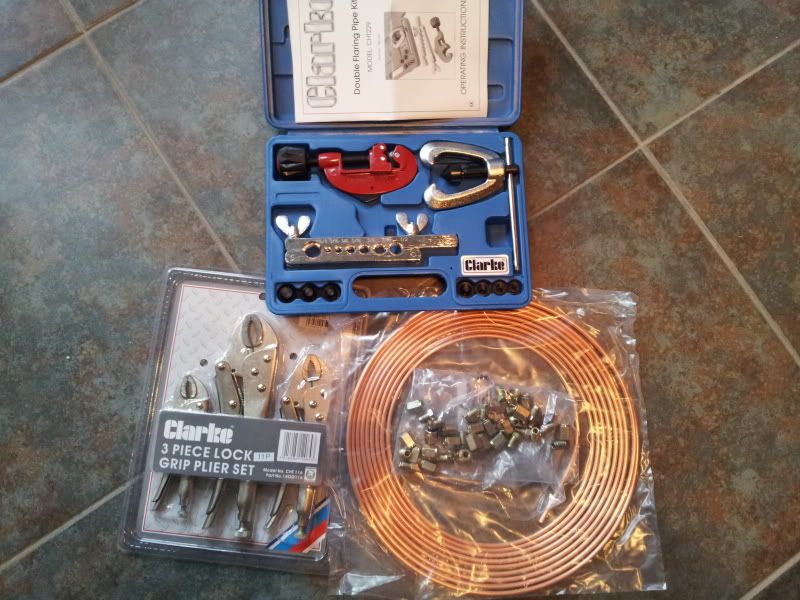
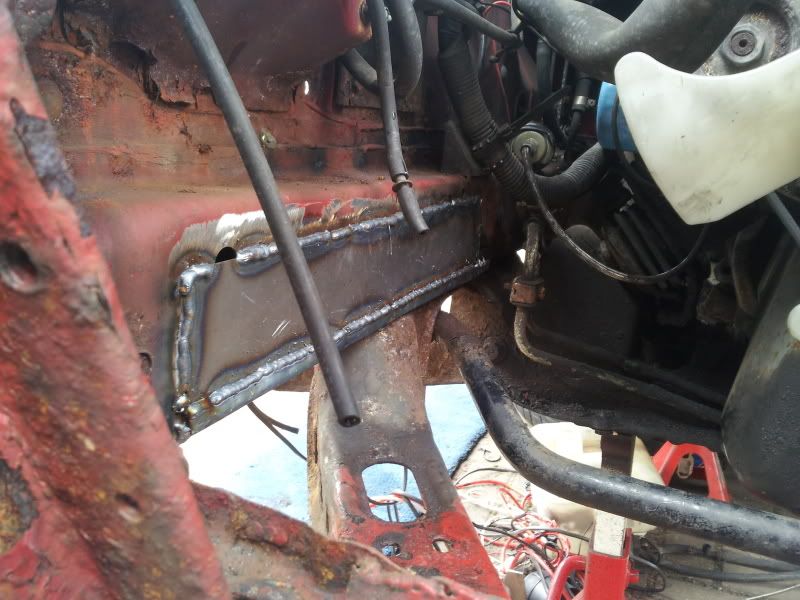
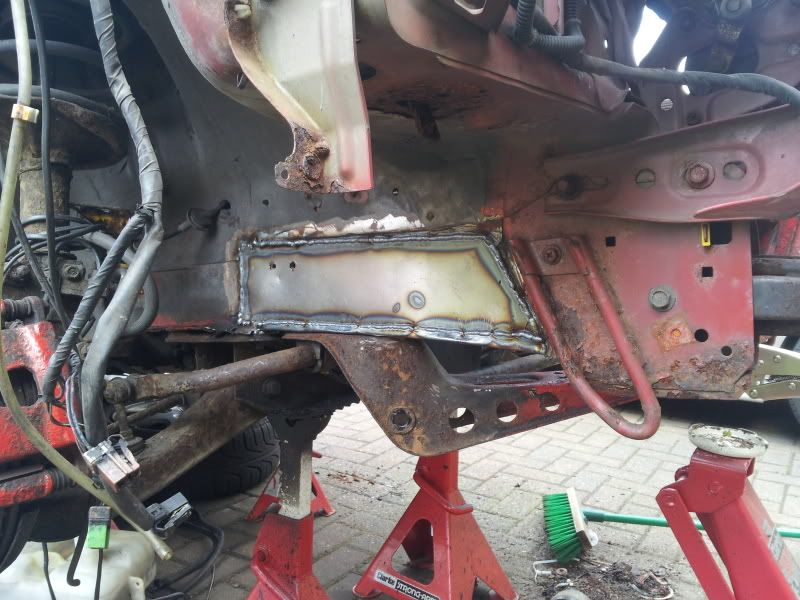
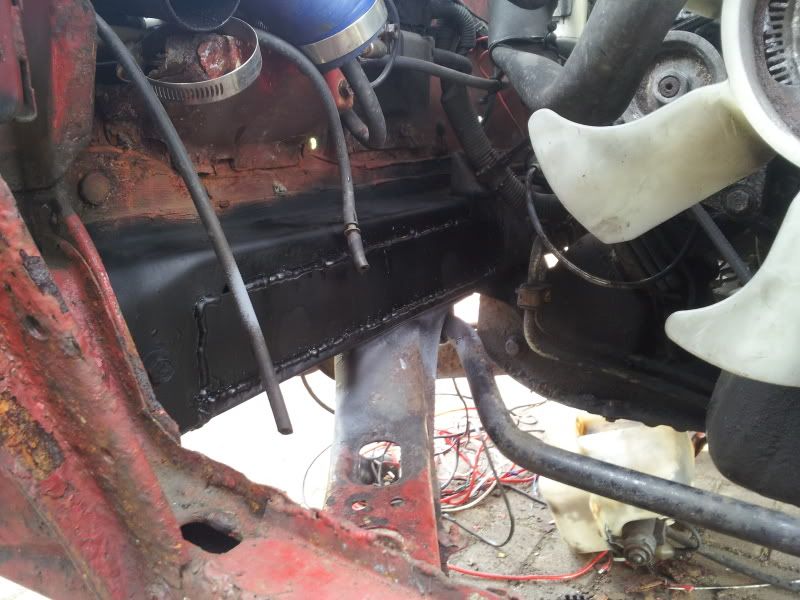
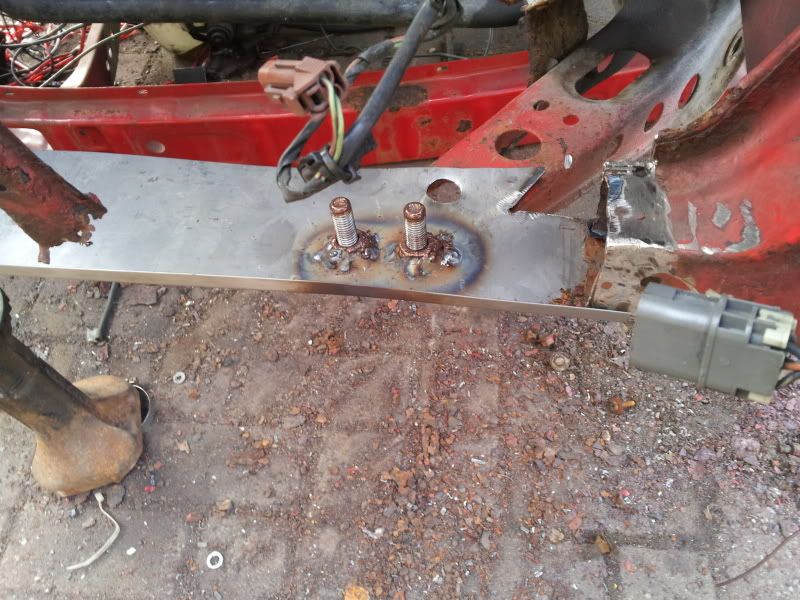
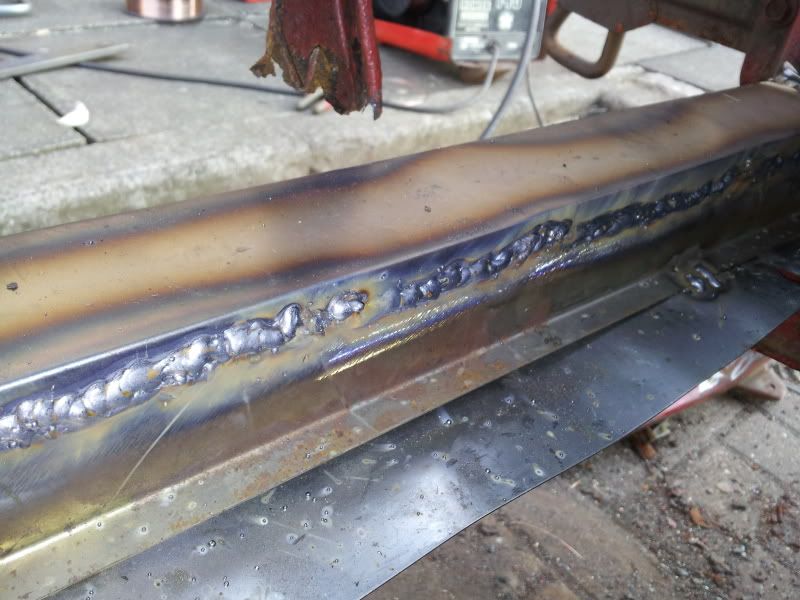
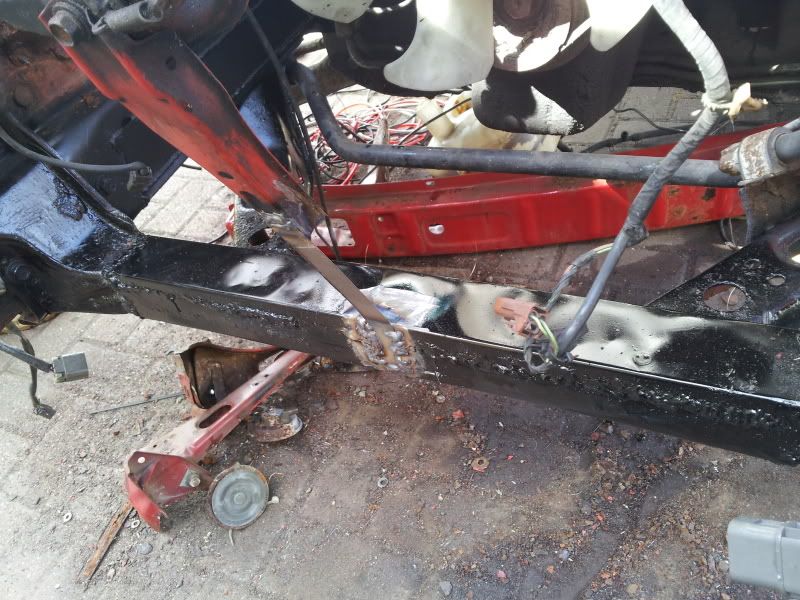
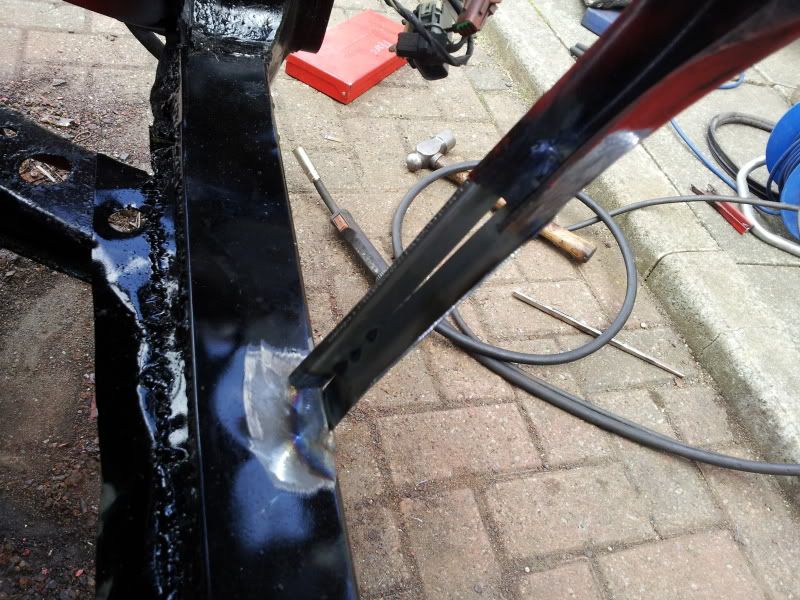
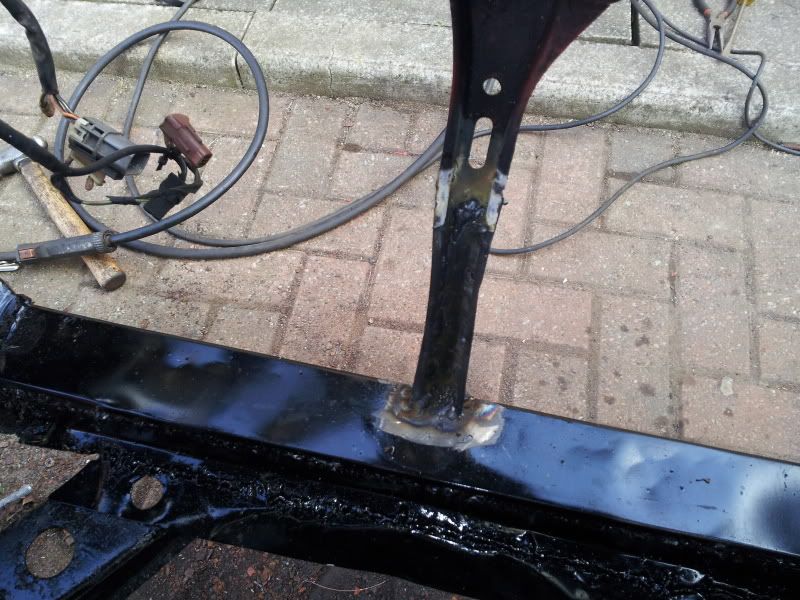
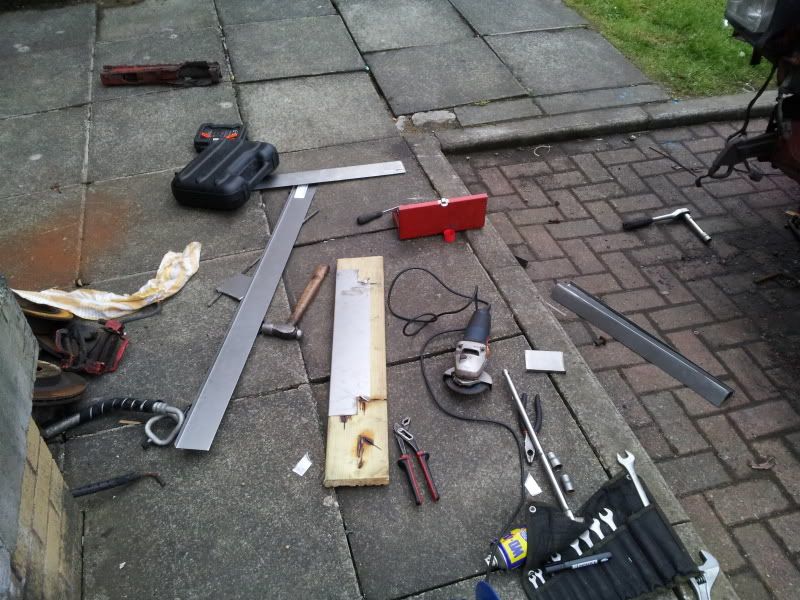
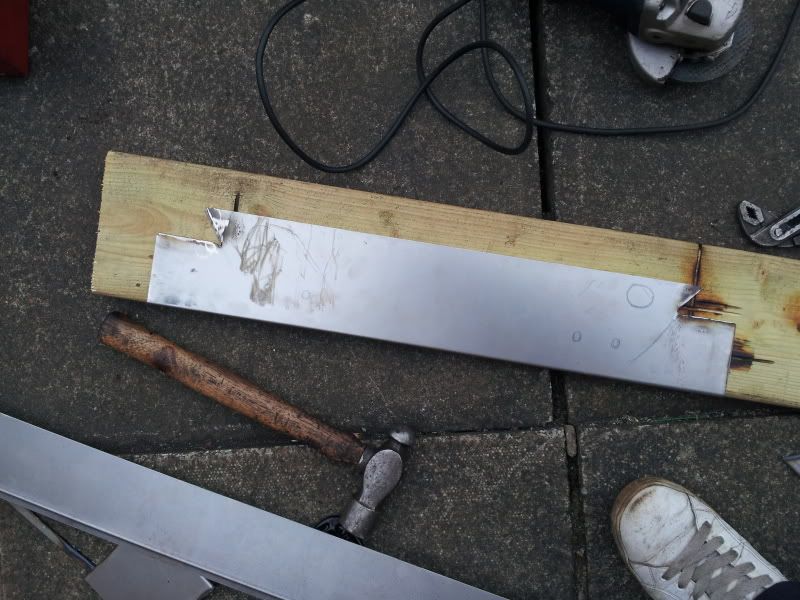
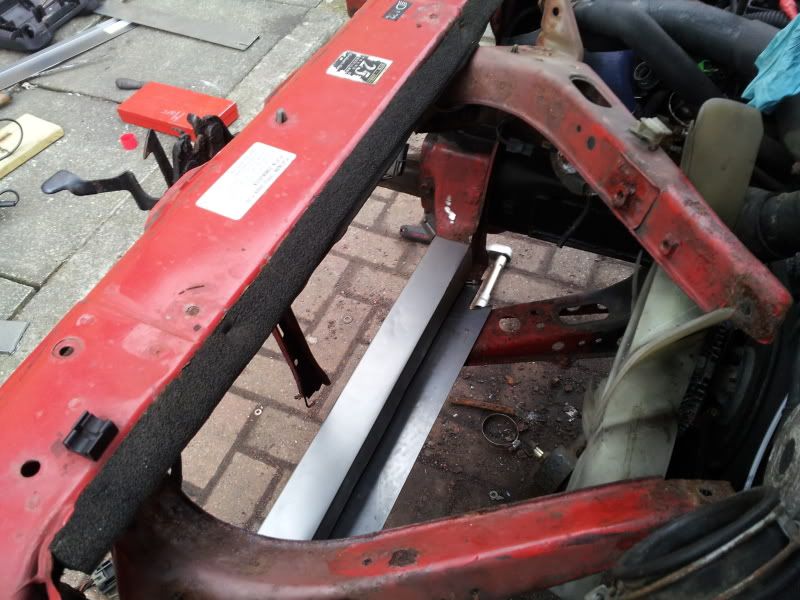
once the crossmember was off i measured up the sizes i needed then started cutting the metal to shape, i have decided to go for L-shaped steel and im making a box section by welding it together, the reason im doing it this was is it makes it easier for me to weld in the captive nuts needed for the tie bar supports etc
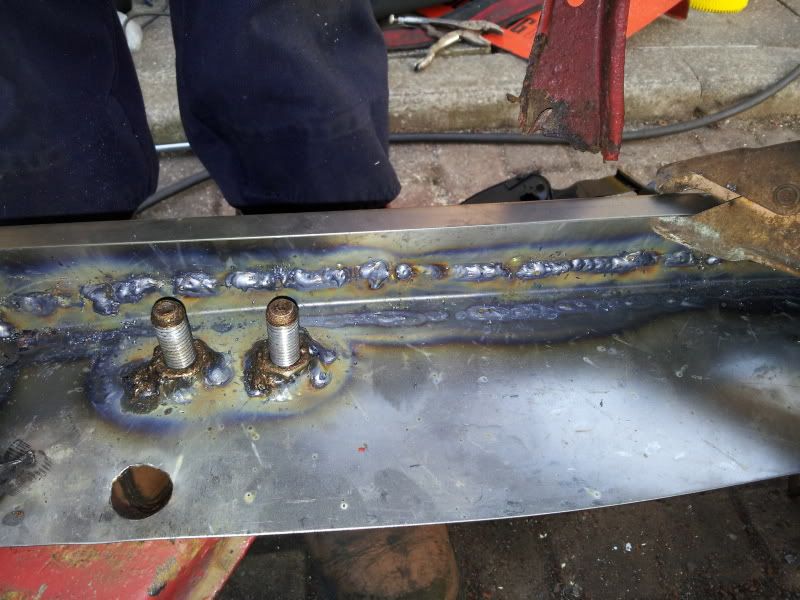
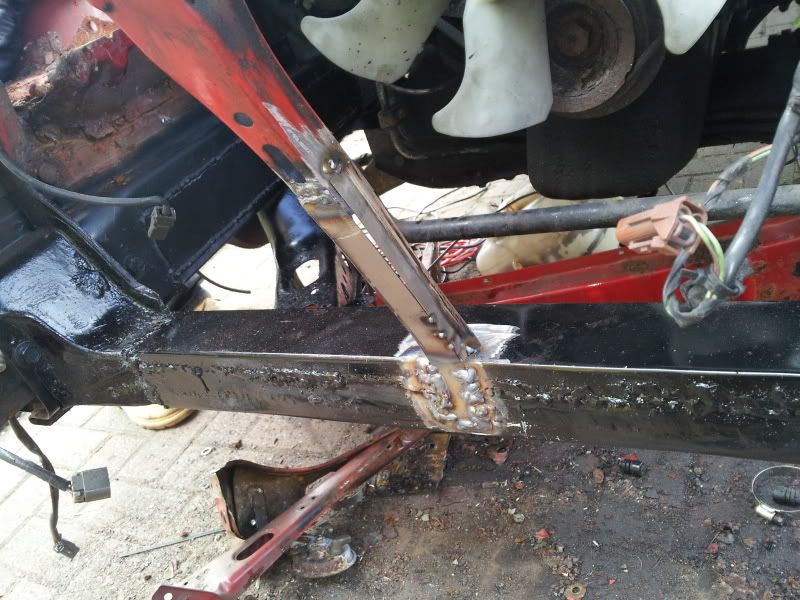
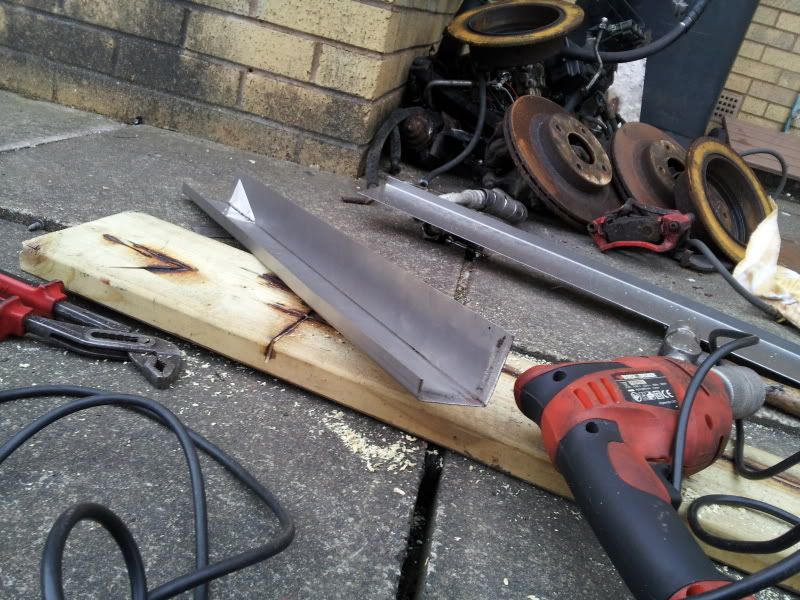
I was pretty proud of this section as i bought one longer lengthbof steel and bent this one into shape, this is the top cover and once welded in should add extra support
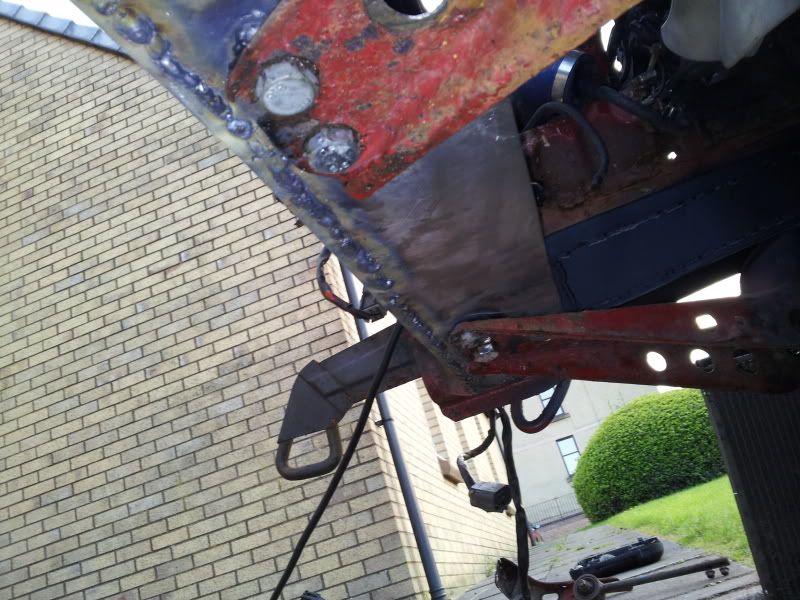
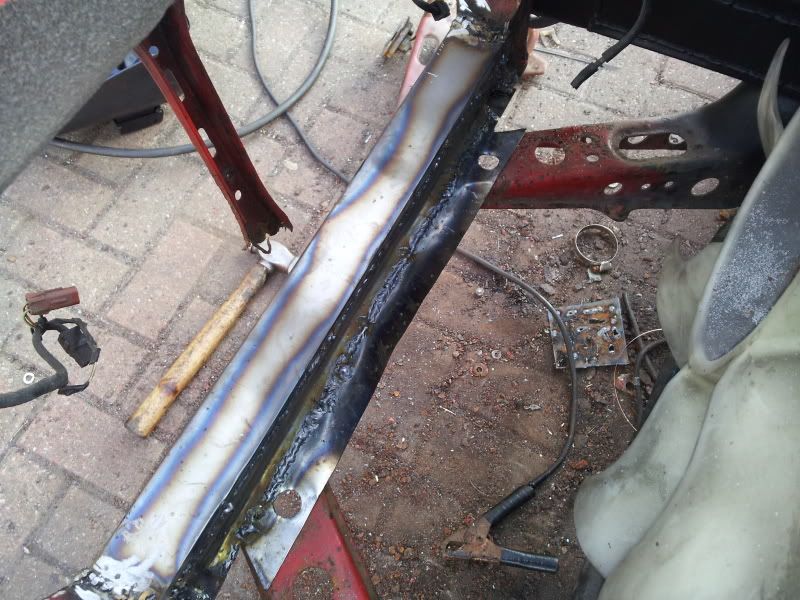
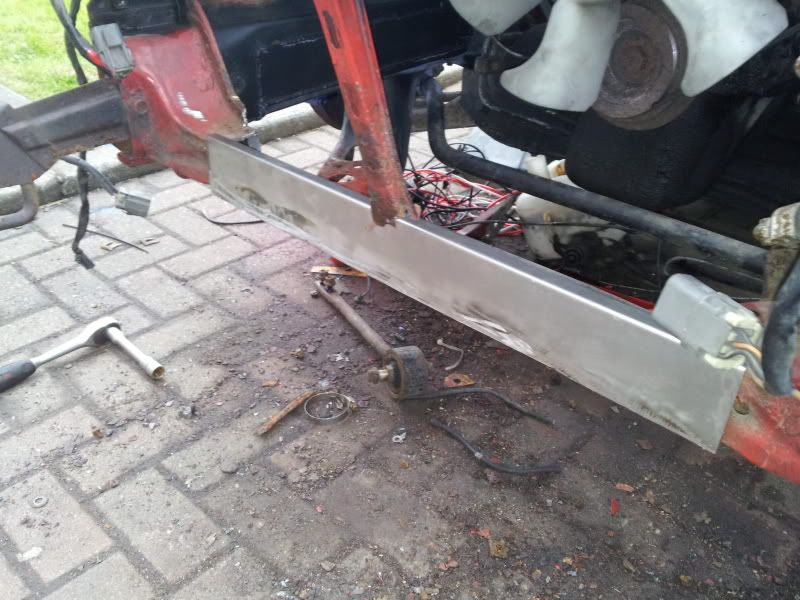
And all together
So its all ready to be welded but i had no nuts and bolts to weld in the captive nuts, but im back at work tomorrow so gonna grab a handfull and hopefully do that tomorrow night !
and heres a quick shot of my very limited storage space, so if anyone wants to give me a double garage to use id be more than happy to accept !!
-
Girly rep

jesus the amount of rust 0_0; hats off to you for bringing this s13 back from the dead!
and here i was worrying about 2 holes i have in my arches lol...
best of luck, keep the updates coming. your making very fast progress 
"If you don't fight for something, you'll fall for anything" - The Wise Man
-
Guest
-
Guest

Its good to see someone putting in so much work to save an S13, they are getting too rare these days. Look after it!
On another note; did you throw those fog lights away? If you still have them I'll give you a bit of cash for them.
-
Guest
-
Guest

lookin gd mate need to come by have a look at it  its puttin me in the mood for another 1 lol
-
Guest

See ive been faffing about with the sills on mine for ages trying to work out what to do and then i see people like you cracking on, getting straight in there and sorting them out. makes me think how much im wasting my time! Looking good tho!
-
Guest
craig if your coming over bring your welder lol !!
-
Guest
Top marks on this project mate, specially on your driveway, id have given up ageees ago!! another 13 saved from the grave!
-
Guest
believe me iv wanted to give up a few times lol !!
-
Trade Rep & Great Guy

Fair play mate. Excellent progress there. Looks like you're getting pretty close to having a useable S13 again!
-
Guest
wow you got heart for this go on will keep on on this good luck to you mate
-
Guest
haha i'll bring a mad team a welders i know lol build u a new 1 lol wat u got left to weld?
-
Guest
awsome thread wish i had your skills to fix up my rust bucket of a s13 
-
 Posting Permissions
- You may not post new threads
- You may not post replies
- You may not post attachments
- You may not edit your posts
-
Forum Rules


 Reply With Quote