I hear those turbo beanies cause nothing but trouble - i would get rid of it ASAP to prevent any future issues. I can take it off ya hands if ya like as i ripped my bulletproof vest so could use this to repair it

I hear those turbo beanies cause nothing but trouble - i would get rid of it ASAP to prevent any future issues. I can take it off ya hands if ya like as i ripped my bulletproof vest so could use this to repair it
cheers si, it is so so different to your car, that's for sure, but the smooth running is mostly down to luck and good tuning I guess, and I can't really take credit as I just did the spanner work. I definitely think if you get softer engine mounts it would completely change your car.
Zak, nice try my friend! :P
So, whilst I now have the funds to treat this car to all the good stuff, that doesnt mean i'm about to go spunking cash on unnecessary items, i'm still on the lookout for a bargain mod wherever I can find it.
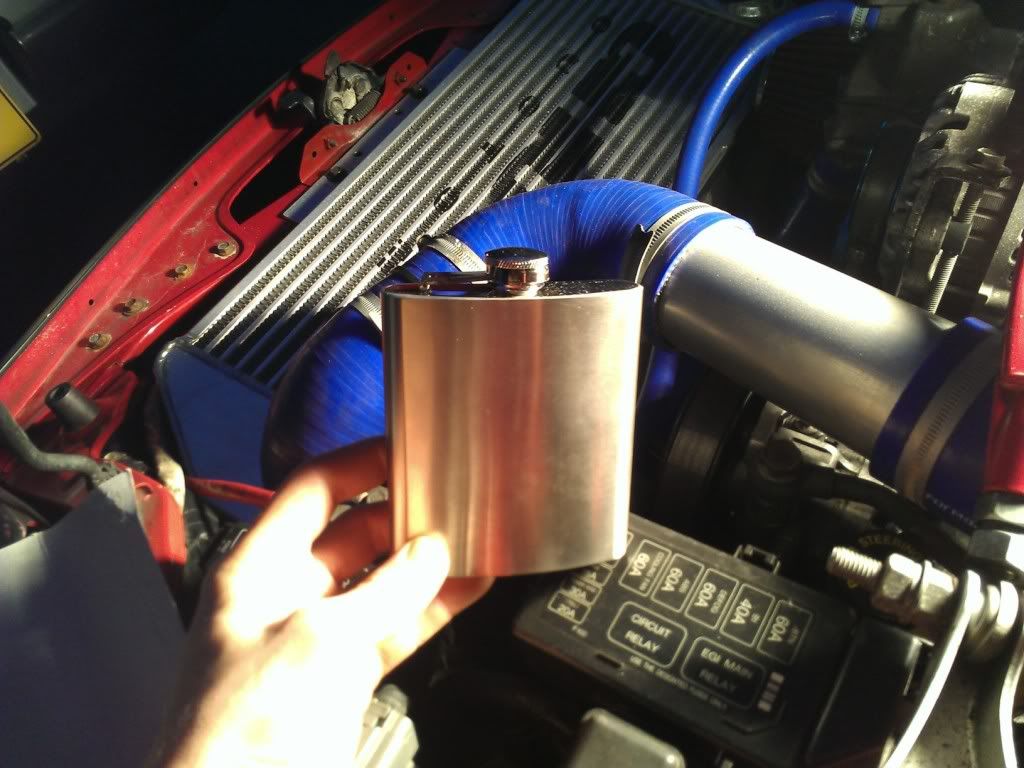
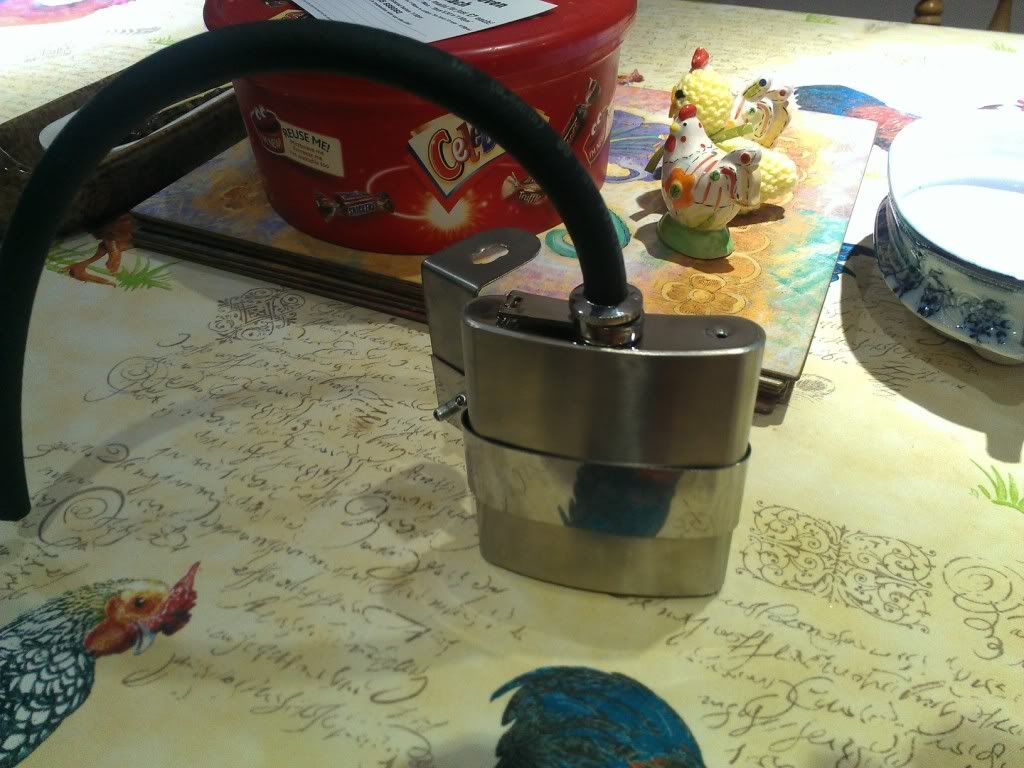
With this in mind, I made myself a catch tank for the grand sum of £2 instead of spending £60 on a piece of ali pipe with some fittings welded on and a brand name stamped on the side. All it has to do is be there to catch oil, so all it needs to be is some kind of container. I used a guinness can on my last RX which worked just fine, but I have a snazzy engine bay to create now so I needed something a little classier. Good old Asda, one small polished hip flask, £2.
I'm going to stick it about here, the curve of the hip flask follows the curve of the turret nicely. I'll attach it with one of the suspension studs on top.
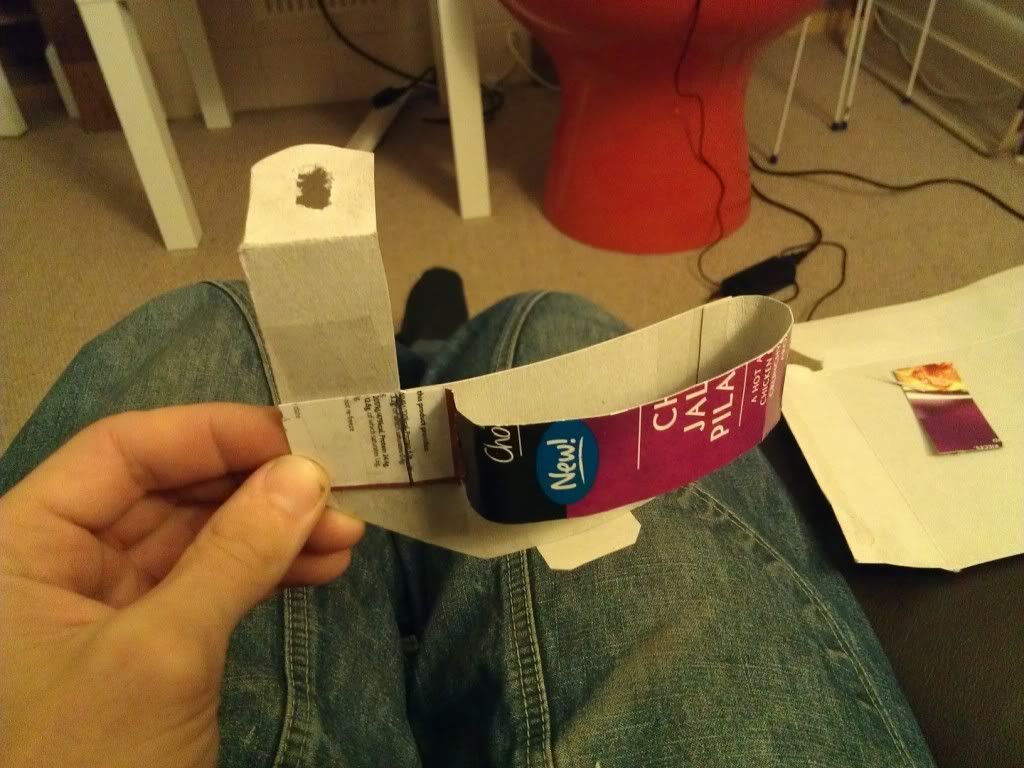
Then I turned my dinner into a bracket template:
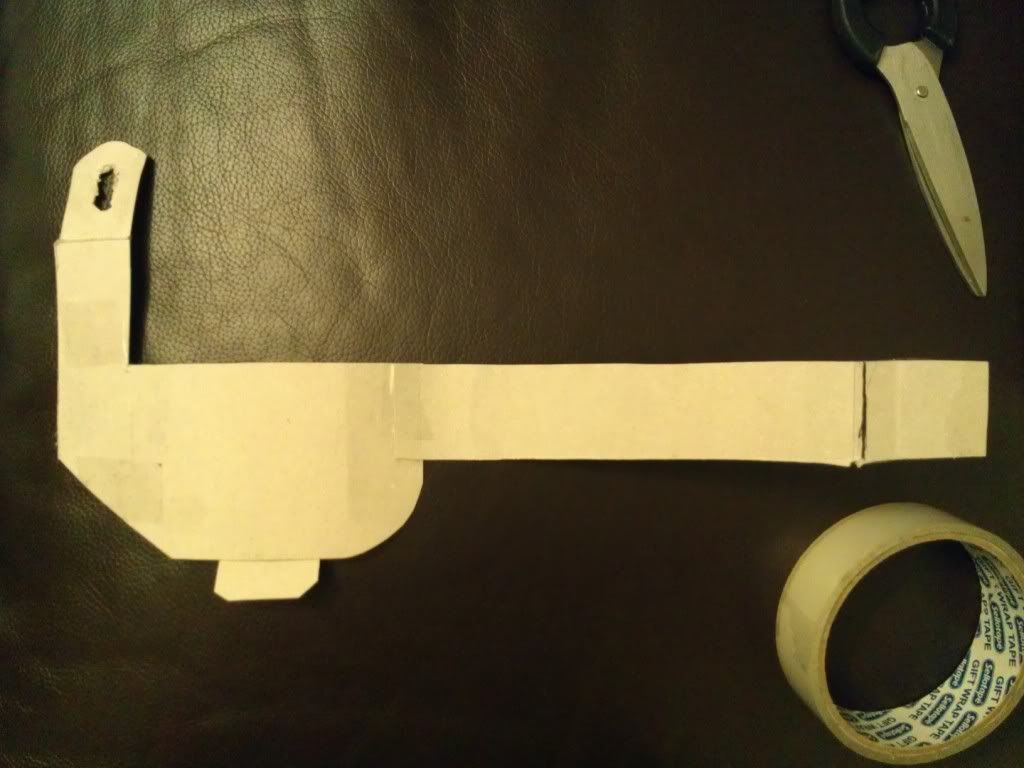
It's quite elaborate but the important thing was that it unfolded into one flat piece:
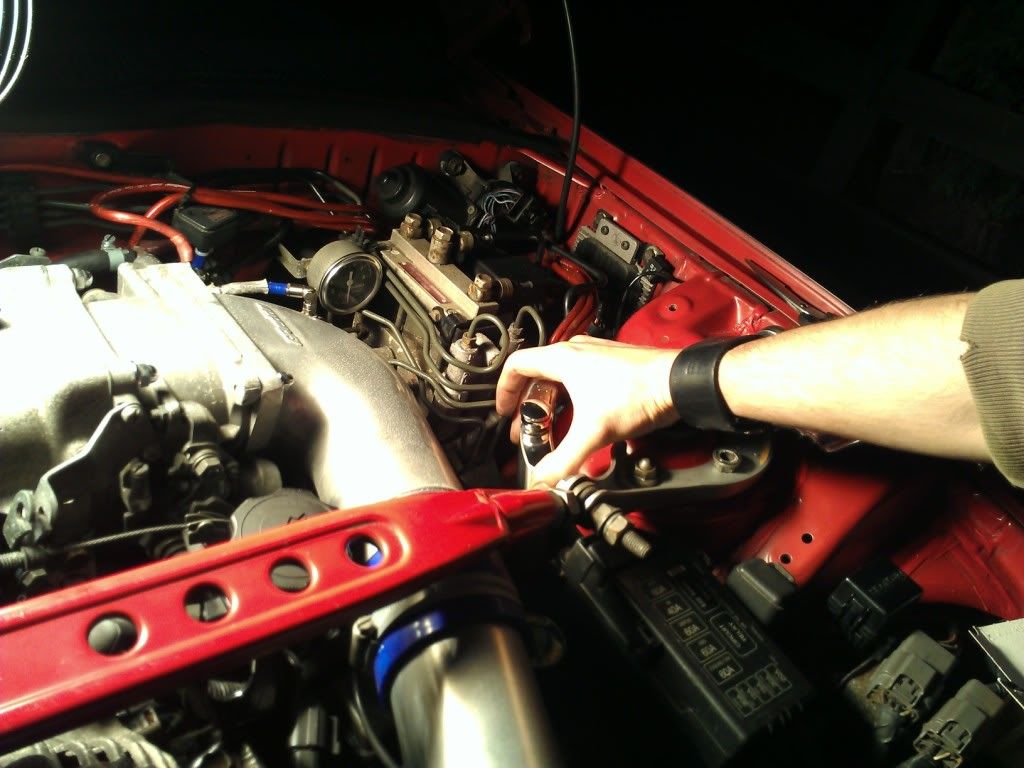
Then I nicked a bit of my parents new cooker hood (a leftover bit) used an angle grinder to make myself a snazzy stainless steel bracket. Drill a couple of holes, add a couple of unfortunately visible rivets, job done:
Not bad for hand made, it may not even last very long in the bay after the engine tidy and de-clutter, but it will do for now.
So I had a spare half afternoon on sunday, and realised that if I stick the new (stock) bumper on right away, i can try and sell the old one, meaning one less thing to lug around the country with me when I move house in March. It will be getting modified and resprayed anyway so it's not a problem if it gets stonechipped or even damaged really.
Off came the old, the car looks odd like this, what with it being red underneath, but it was nice to find a load of painted metal parts instead of the usual s13 secret stash of rust...
The old bumper in all it's hideous glory
And the new bumper fitted. It's lovely fitting OEM items, they just go on so nicely. Now that i work in the automotive industry I understand why though, so much time and effort goes into making the cars as easy to assemble as possible to save backbreaking, monotonous tasks being performed by the people on the production line. If we knew exactly how our cars were put together in the factory we would probably save hours of headscratching when it comes to working on them!
Not a lot to look at but it's all I got! I'm saving for the first round of proper bodywork, hopefully happening sooner rather than later.
Oh, and i've had to use the car as a commuter the last couple of weeks, with some sedate motorway miles I have managed an impressive:

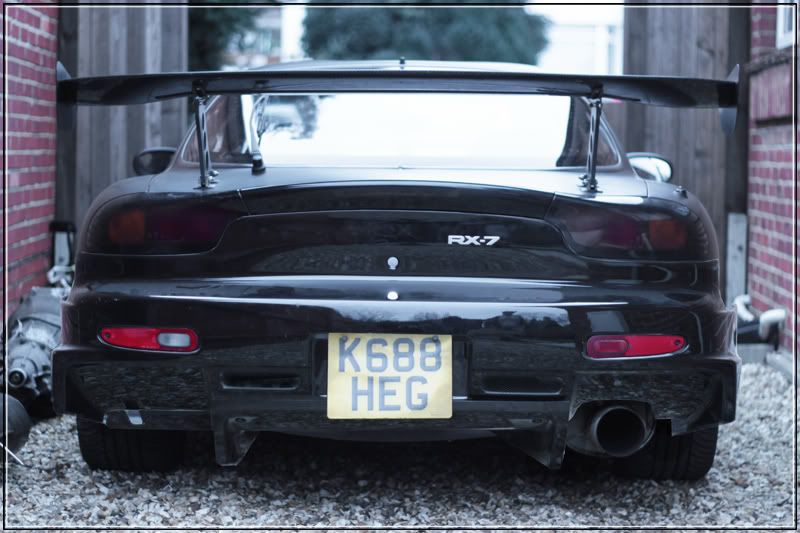
New rear bumper, uber rare Mazdaspeed r-spec, this is just a quick photochop to see how it will roughly look, it won't go on the car until the respray.
I'm thiking of adding little side canard thingies like on either side of a re-am diffuser just to add to the madness, but it depends how the line flows along the side of the car, this bumper is suprisingly almost the same depth as stock from the side! The protruding diffuser bits in the middle may have to be chopped off a little as well, this is only a photoshopped picture but it is currently sitting way higher than I plan to ultimately have it, and they look a little close to the floor to me...
Still, I think it looks good with the wing.
sexytime
Looking good. Loving that rear bumper
1998 Nissan 200sx s14a , 2000 std 5 speed with nismo supercoppermix clutch bn6 Sapphire Blue
Cheers Chris.
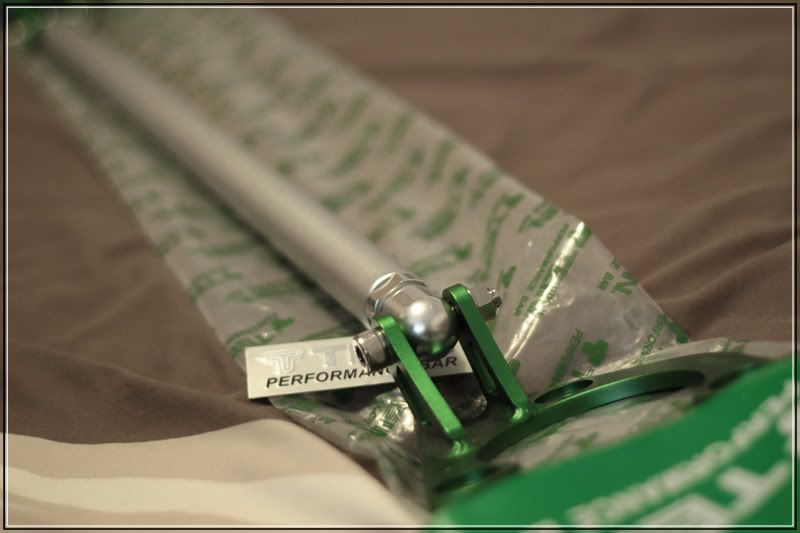
Got a shiny bit to put on my small but growing pile, I should be able to get hold of a matching front one too, although really i should repaint them to match my planned colour scheme...
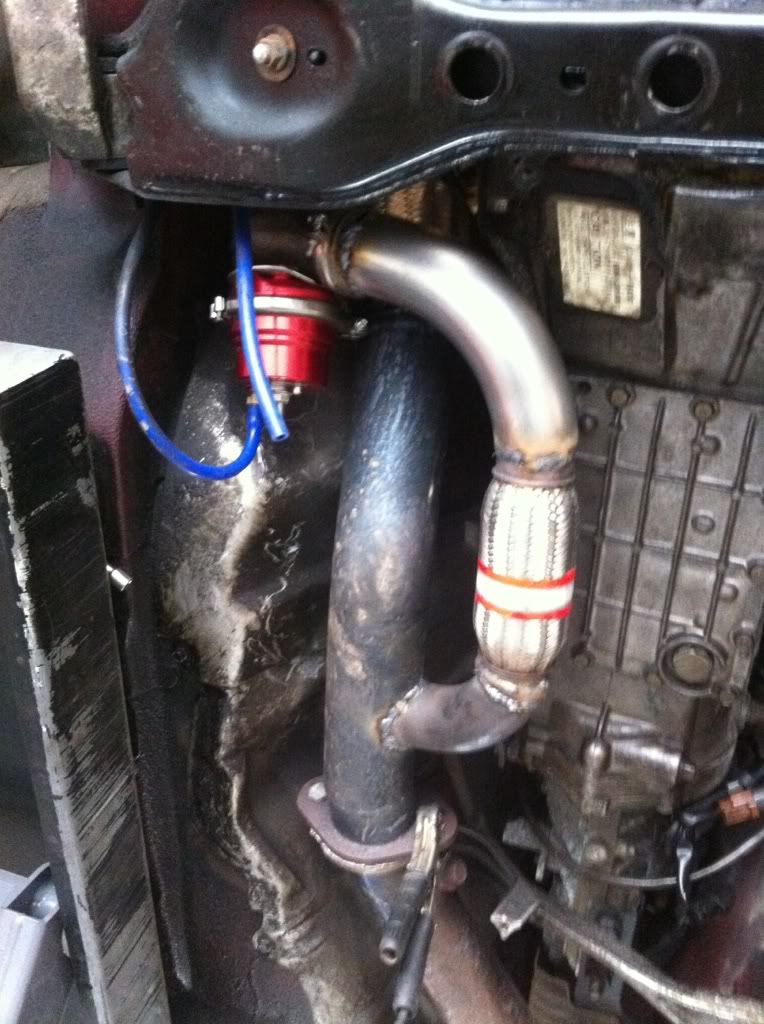
Screamer pipe is being plumbed in next week which should be great, no more embarassingly loud overtaking moments.
Also I turned the boost up to 1.0bar and finally got a chance to try it out in the dry today, it is peaking at 1.09 but then holds at only 0.89 so I mght need to get a stronger wastegate spring, I have loads of Gain available on the boost controller so I will see if that helps, only running 15% at the moment.
I turned it up to 20% but it started raining on the way home, I had one good WOT moment and it seemed to hold at 0.92 so hopefully a little more tweaking will see it boosting at a solid 1.0.
Screamer pipe plumbed in courtesy of Chris at Re:Worx
I also got some H.I.D's fitted, but Chris managed to turn my car into a clown car with winking headlights and wagging aerial after changing the headlight wiring, so he is sorting that out this week. So i've not had a chance to try them out yet, in daylight I have to say they did look a little blue, but they were a bargain and easy enough to change back (or get some different bulbs)
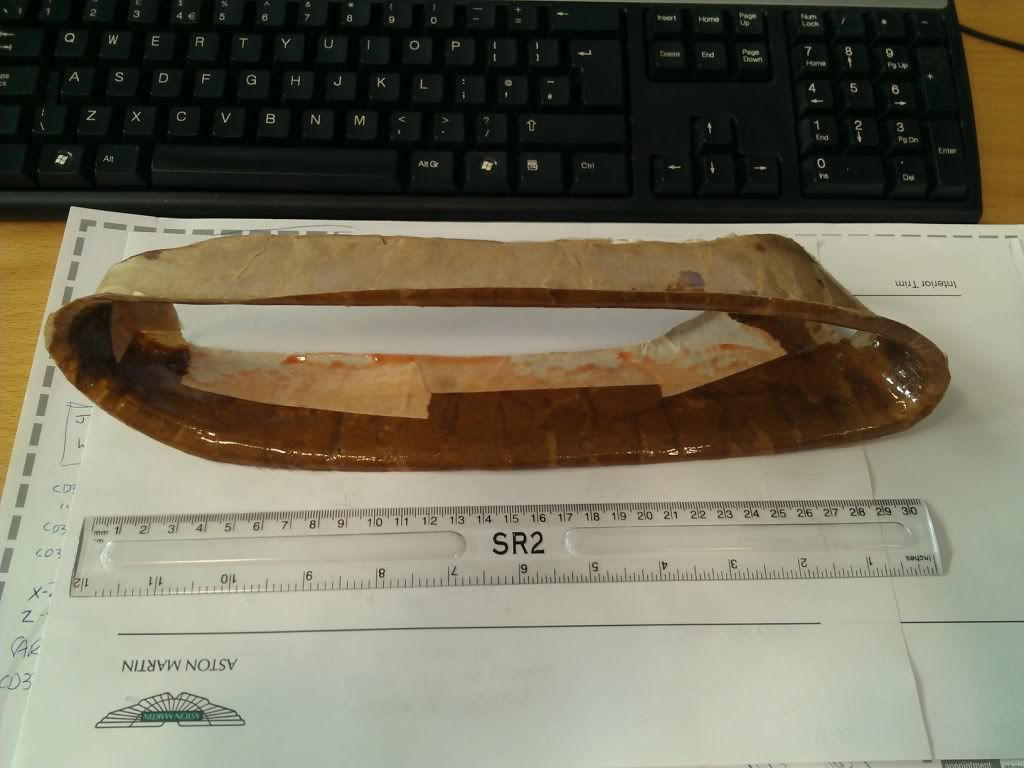
Something else I have been working on, I really like the old shape stock bumper over the 99 spec, but it is really let down by the old school glass sidelights and I though I might be able to do something about it...
Firstly, I did this completely from first principles, there may well have been better and quicker ways to do it, but this is what my slightly wonky mind came up with! I took a cast, mould, whatever you call it of the light opening in the bumper:
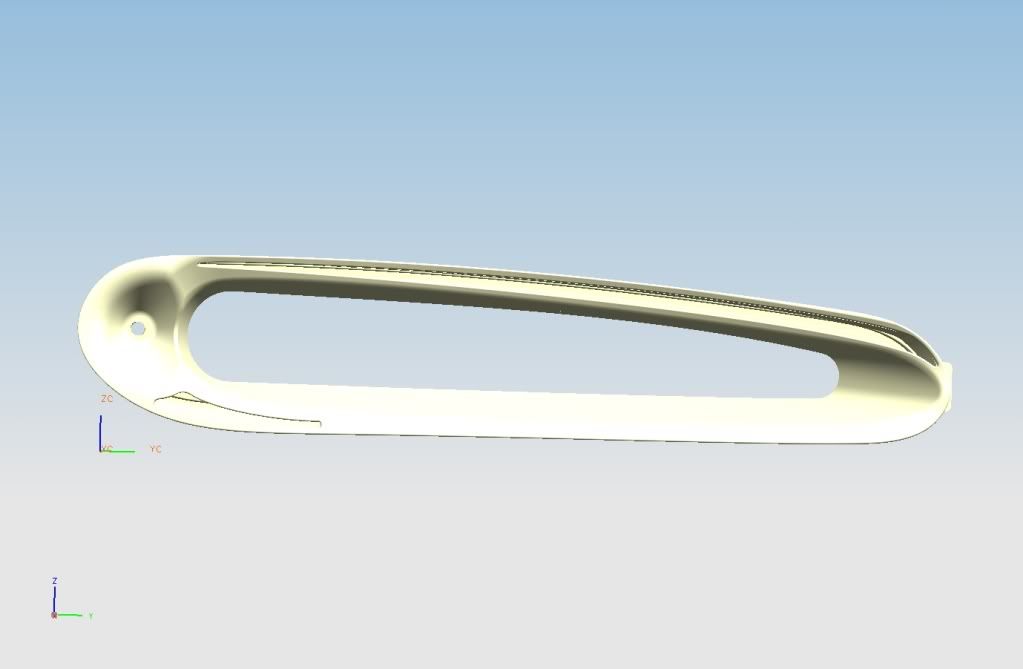
Then after discovering that getting it digitally scanned was going to cost me somewhere in excess of £300, I got busy with two rulers and a bit of graph paper, and took 150 measurements of key points on the surface. Using my new skillz on CAD from my uber new job, I turned it into this:
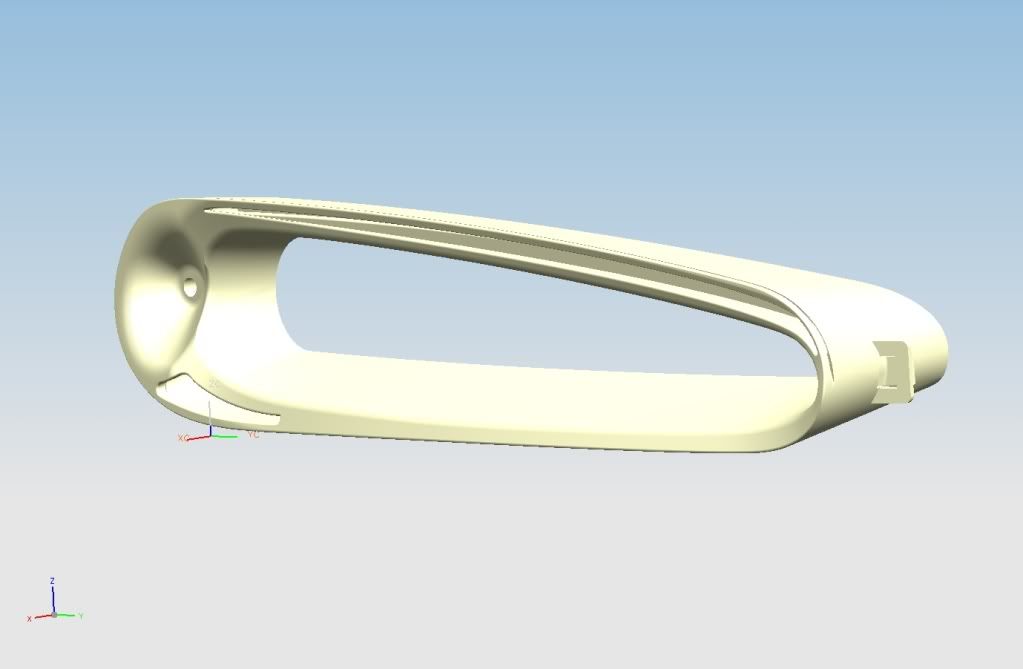
Which, wth a bit of fettling, and several late nights at the office, I turned into this:
They are 2 piece, front and back, and they fit together with a floorboard-esque tongue and groove. they will be 3d printed in ABS which is fully paintable, white and orange LED's inserted inside with clear acrylic lenses (slots have been cut to insert these), and fitted using the original fixing method, hey presto!
All I have to do now is save up the £360 ive been quoted to produce them...
Winning
Also, the first picture in this post makes me VERY happy
Are you having to buy a batch of those? I reckon they'd sell well.
Lovely car, always loved these, just been a bit scared of buying one!
Skinz, I'm only getting one set made as 3d printing has no setup costs meaning 10 copies cost 10 times the price of one copy. Plus I get to keep the exclusivity this way.
Drd, if you can afford it, do it! I don't know of anyone who regrets their Fd ownership.
Damn! The only reason I really want a 99 front is the gash sidelights we have.
Well perhaps if i total up the cost I could always get more made but it looks like the costs to me alone will be around the £400 mark, thats a lot of dollar for some lamps!
The other option is to get proper moulds made and make loads that way but they haven't been designed with moulding in mind so may not pull out of a mould tool, plus he inital cost would mean i'd need to sell loads of copies to make a profit, and then everyone would have my lamps!
I'm loving this thread
Cheers Jem, but I'm just warming up, there is much, much more to comeOriginally Posted by Jem

Good man
So i've been hooning about all weekend with the newly plumbed in screamer pipe, it completely changes the car on boost, it's an entirely more civilised affair. I'm not sure if it is due to how loud it was before, but it now seems exceptionally quiet for a modified car on full chat, and i've had a few to compare it to. There is no real exhaust-type roar in the cabin, it is all whines and smooth whooshing noises, weirdly the closest thing I can relate it to is the sound of an rx8 going through the revs, a really tight, spaceship kind of sound, until you lift off and the turbo chatters of course!
This is good news for track days hopefully, it would be great if i can run without a bung and still get under the noise limits.
I put the Tein front and rear braces on, they are lovely bits of kit but essentially just replacing stock so no noticeable change in the car from a driving point of view, although i could swear the rear one is rattling already...
Oh and have had it confirmed that I am spitting flames of the most awesome kind from the exhaust, blue ones! I will definitely try to get a video of that ASAP.
Want to try my volume cannon for shits and giggles?
 Posting Permissions

 Reply With Quote