-
Guest


-
Guest
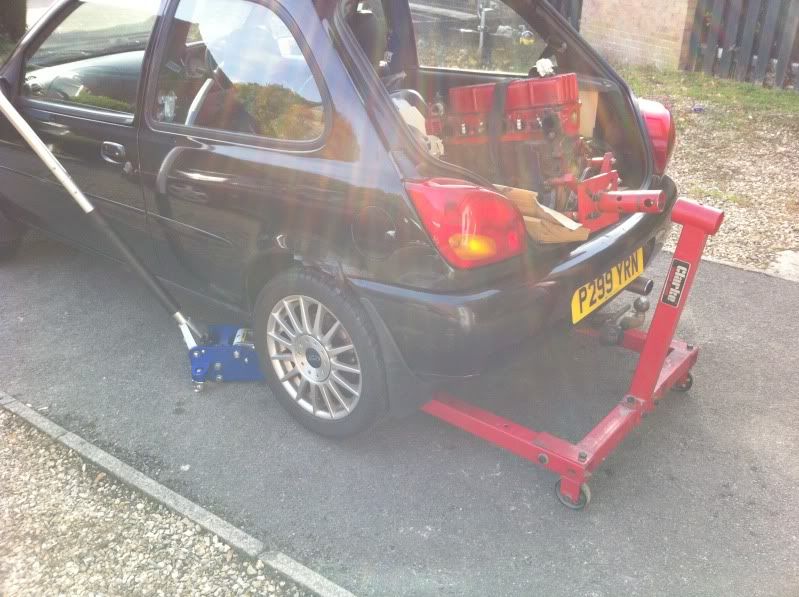
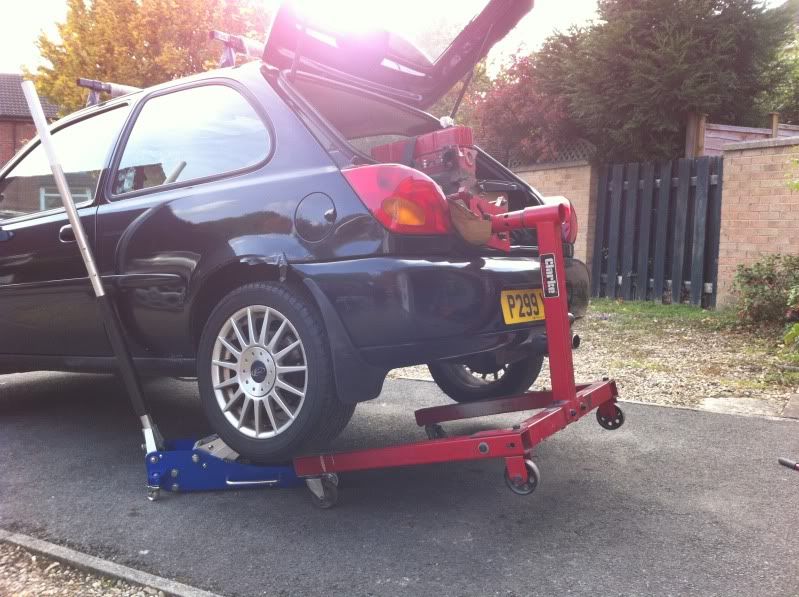
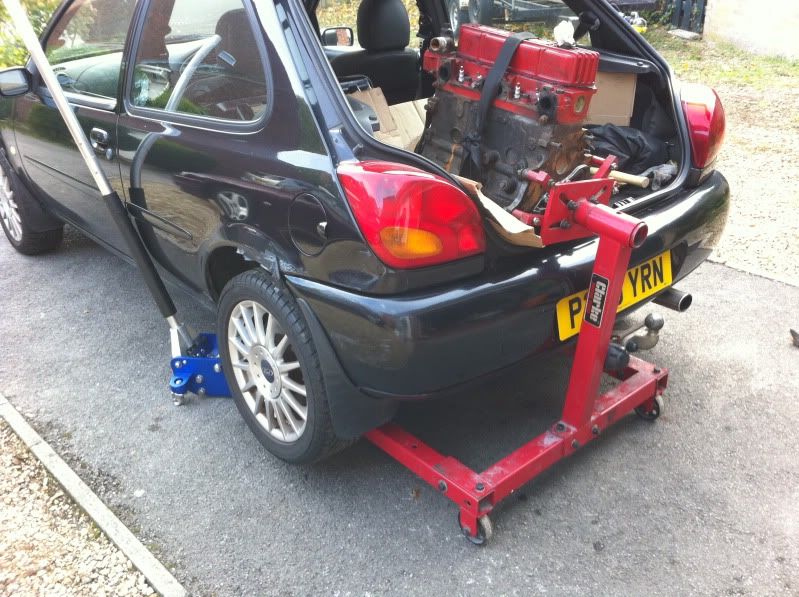
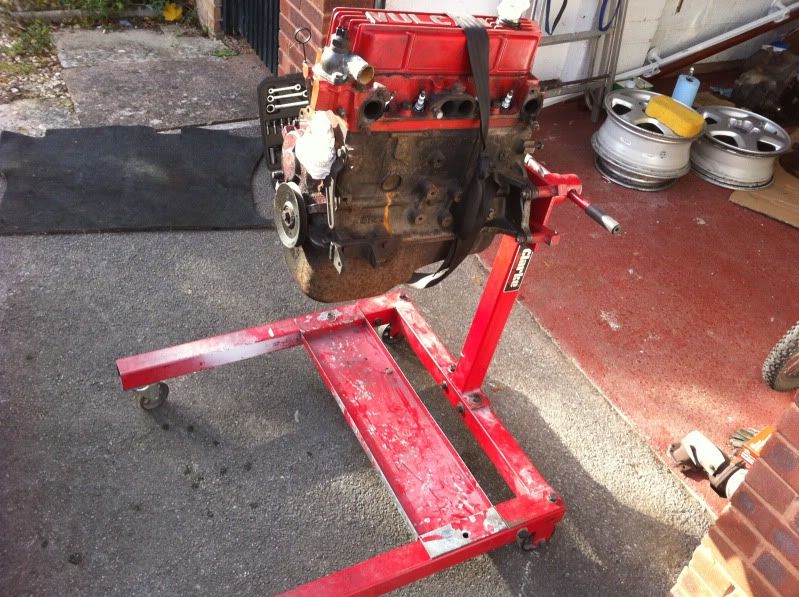
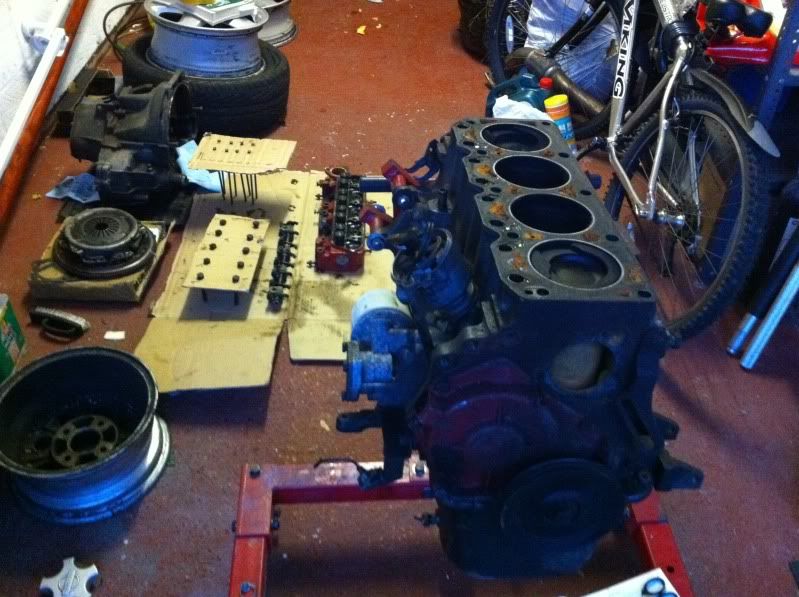
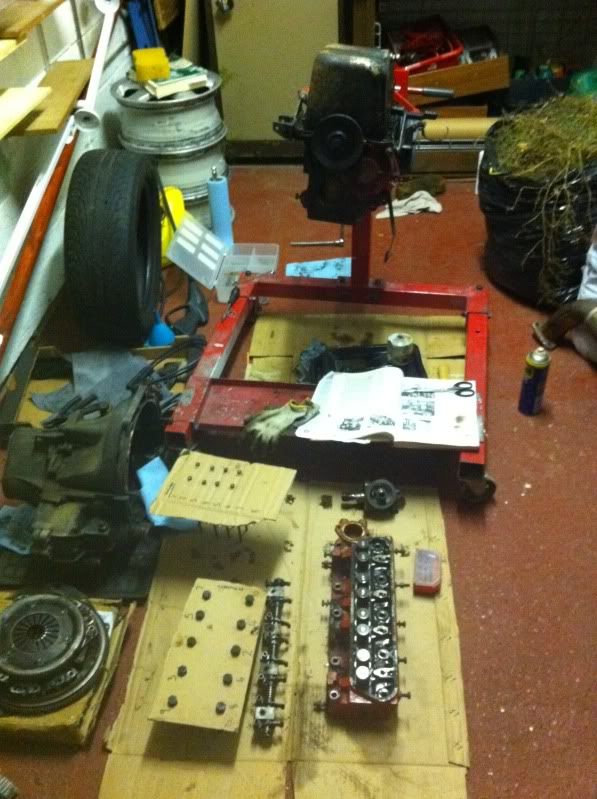
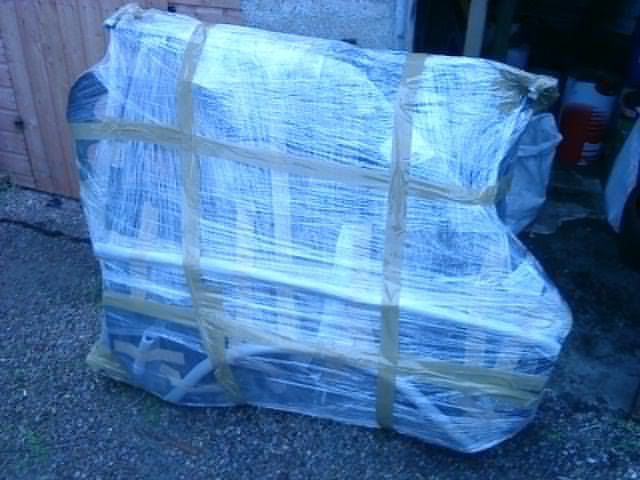
Apologies for lack of an update - my only internet connection since moving house is my mobile or work so cant upload any pics. Will add more details on engine removal and begin the engine strip down and to confirm engine spec. (That should be interesting! :S ). Block has been sat in the boot of the Mk4 fiesta since we moved. I was waiting for my mates engine stand to turn up so I can bolt it up from an already rasied height rather than the floor (no engine crane here). Gearbox is out and in the garage ready to be looked at (Not sure what I am looking at though!)
Due to return to the shell next month to remove the wiring loom and that will coincide with the S14a being detailed.
Last edited by Con2K; 12-10-2010 at 11:46.
-
Guest
-
Guest
-
Guest
-
Guest
-
Guest
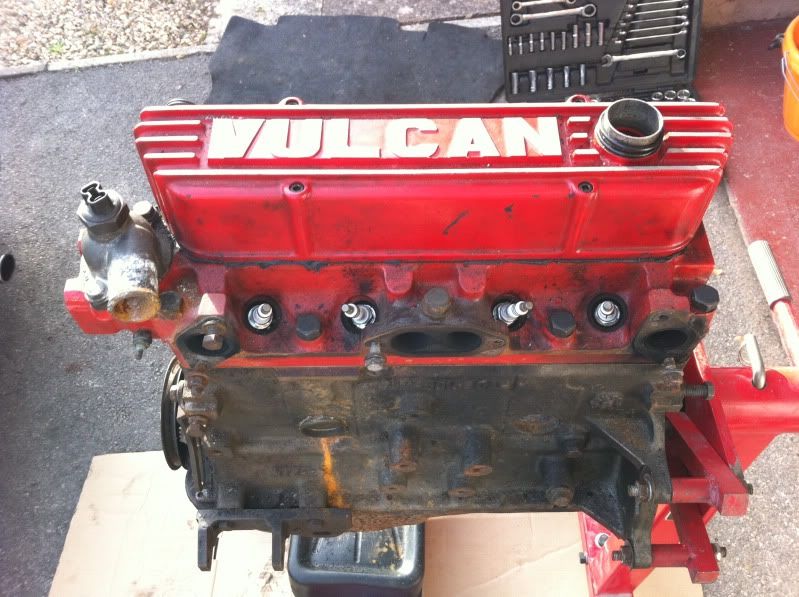
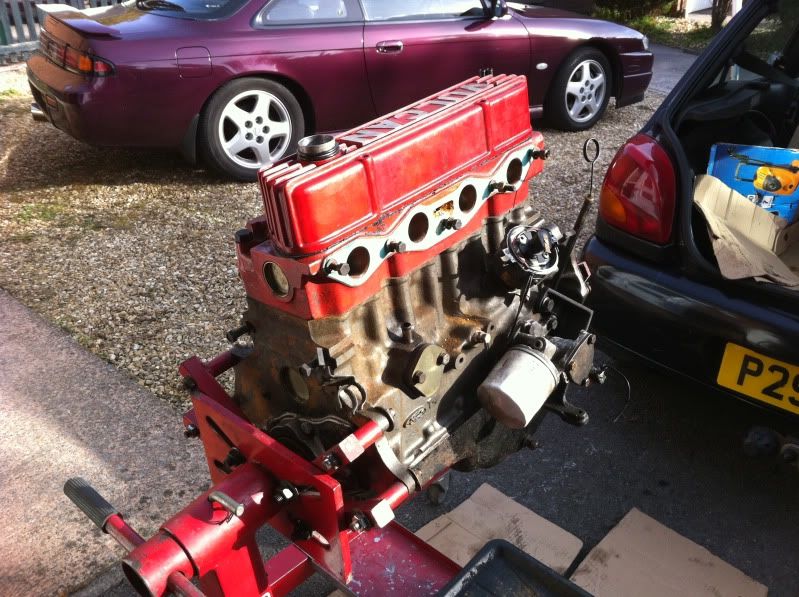
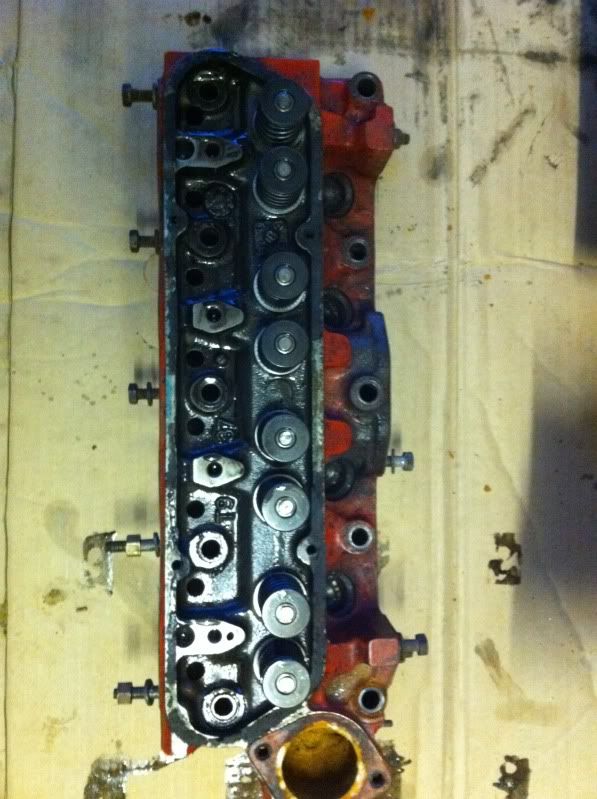
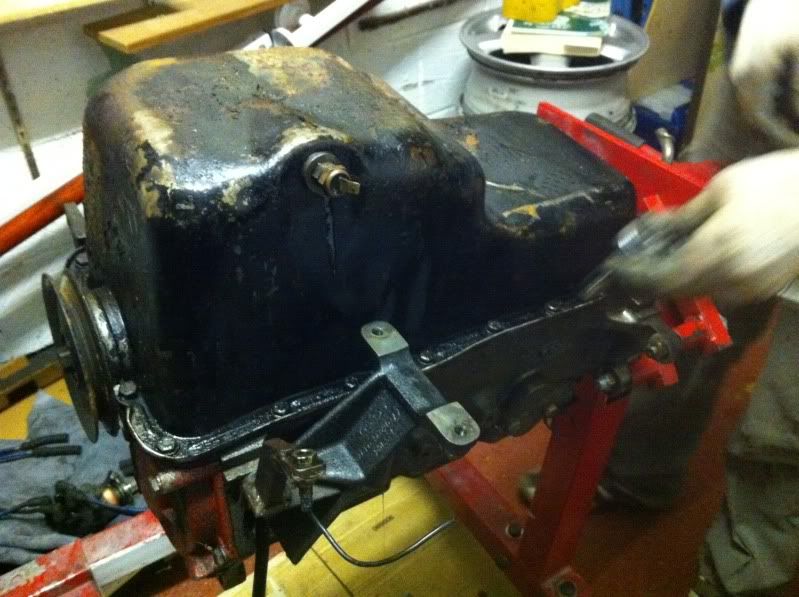
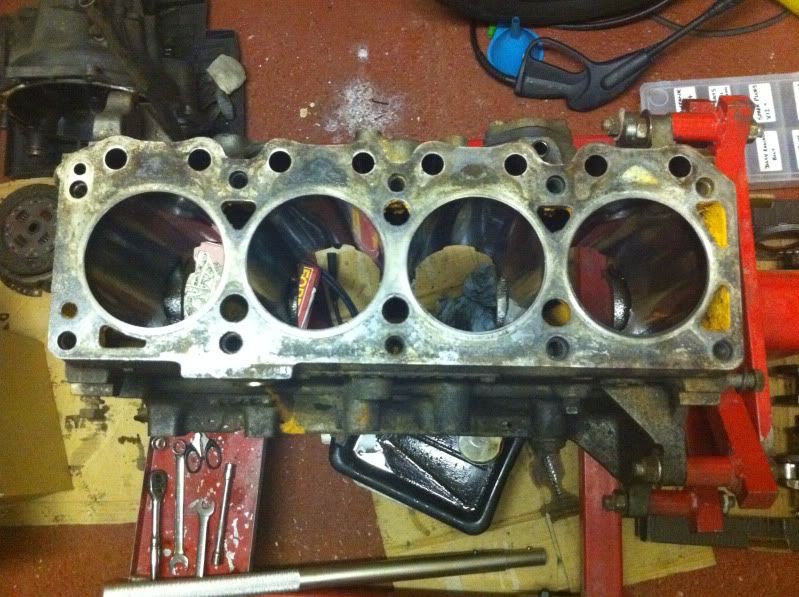
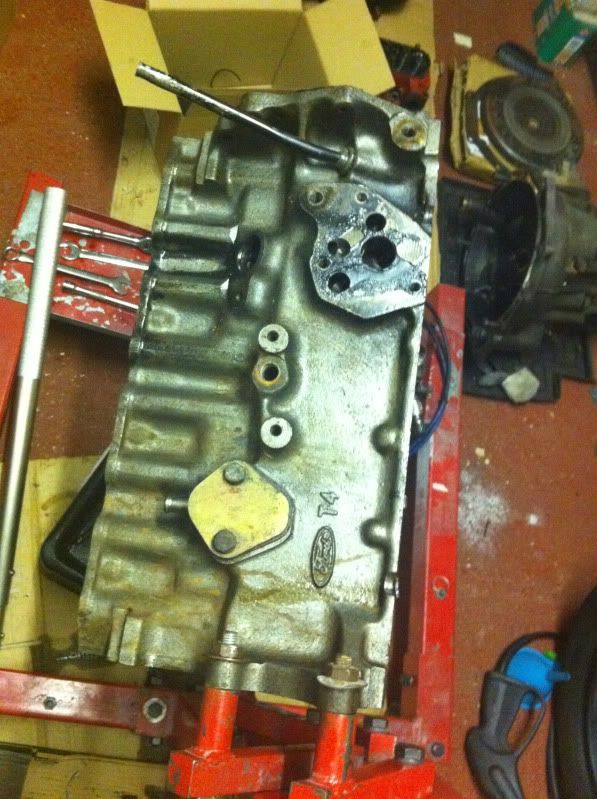
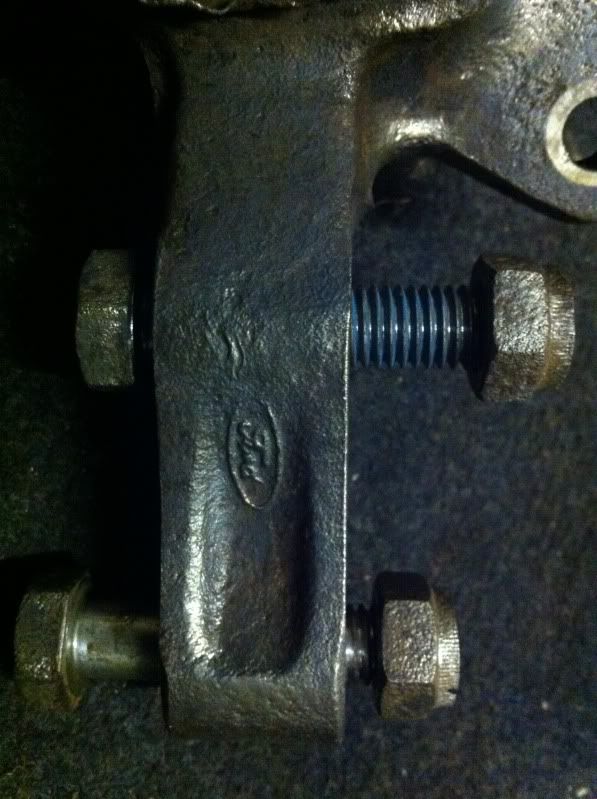
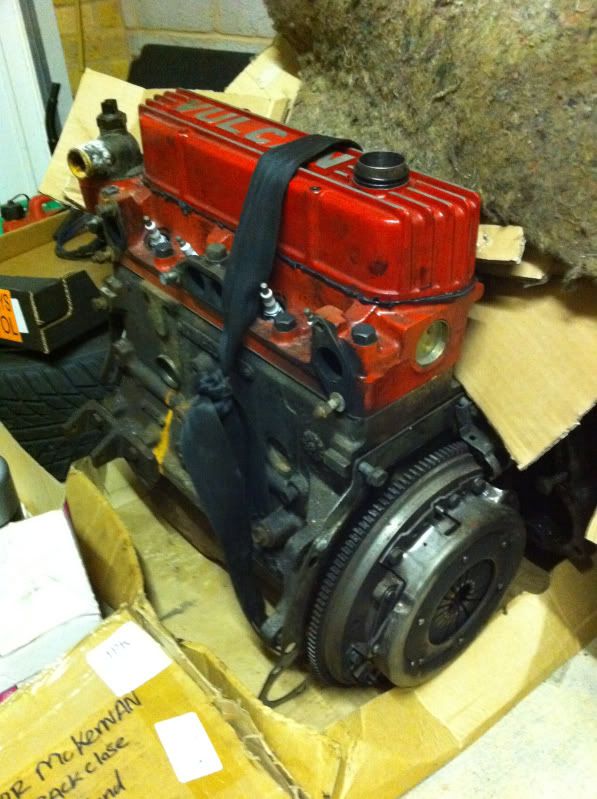
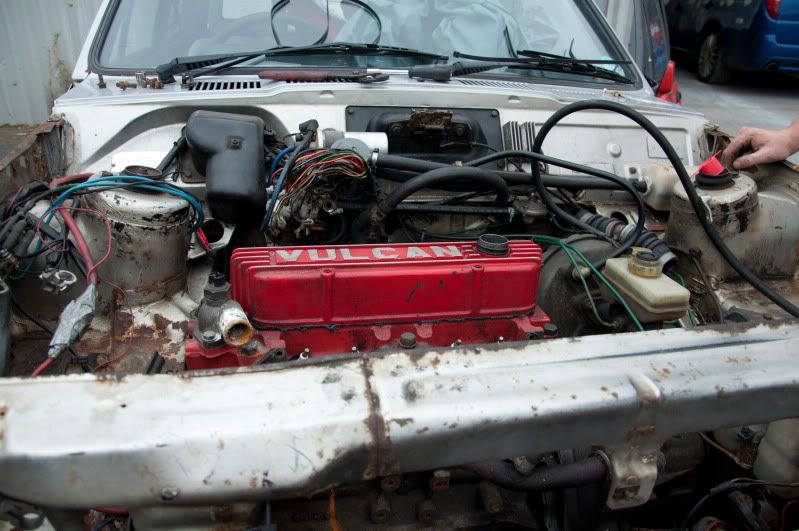
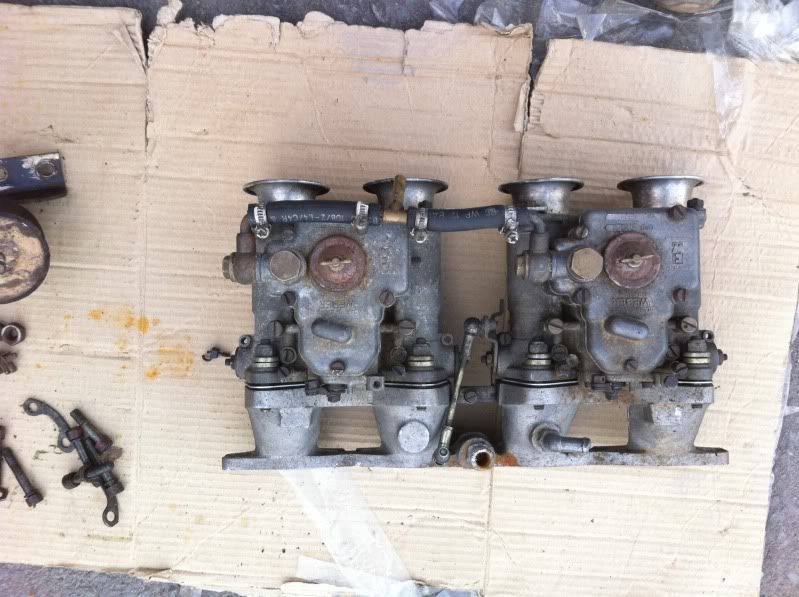
Engine: Stripping
So far we can confirm 99% of the engine spec:
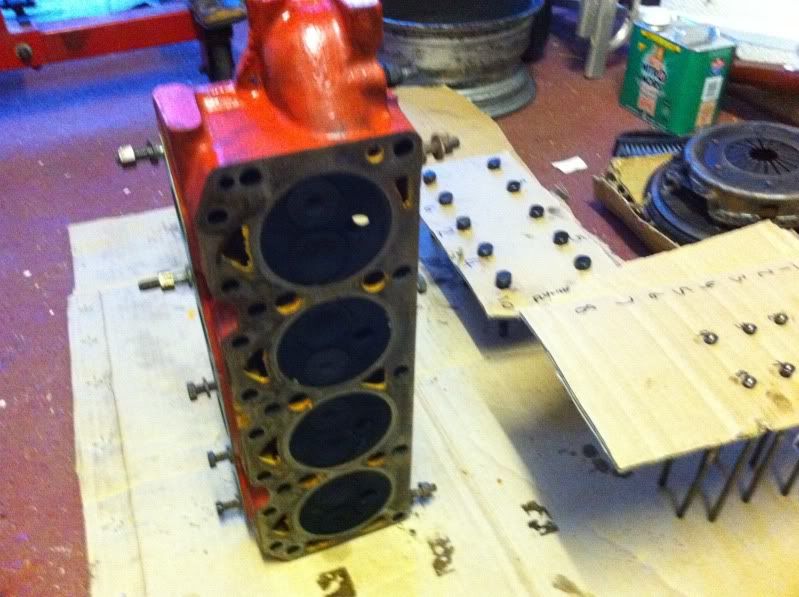
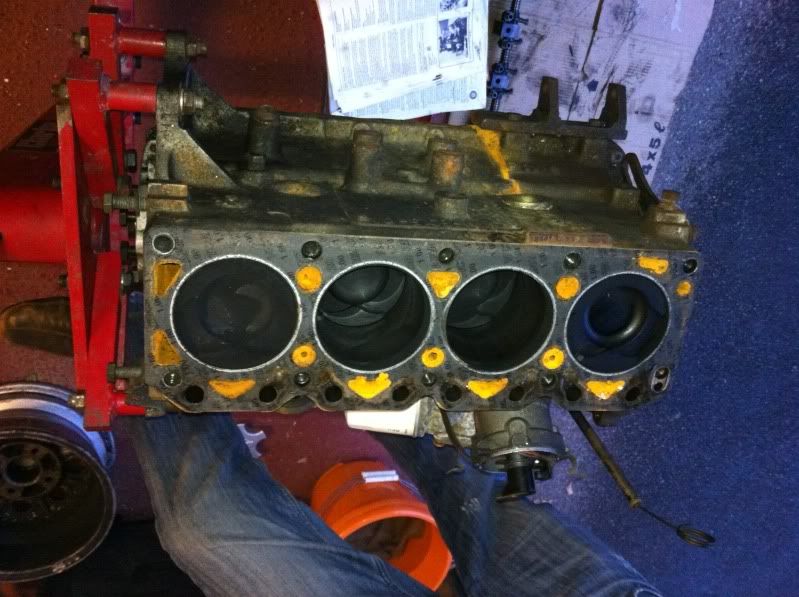
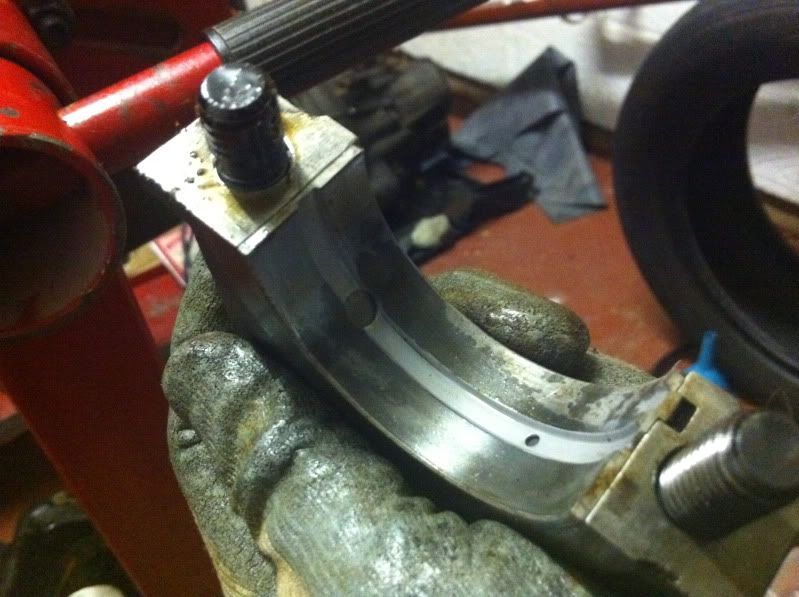
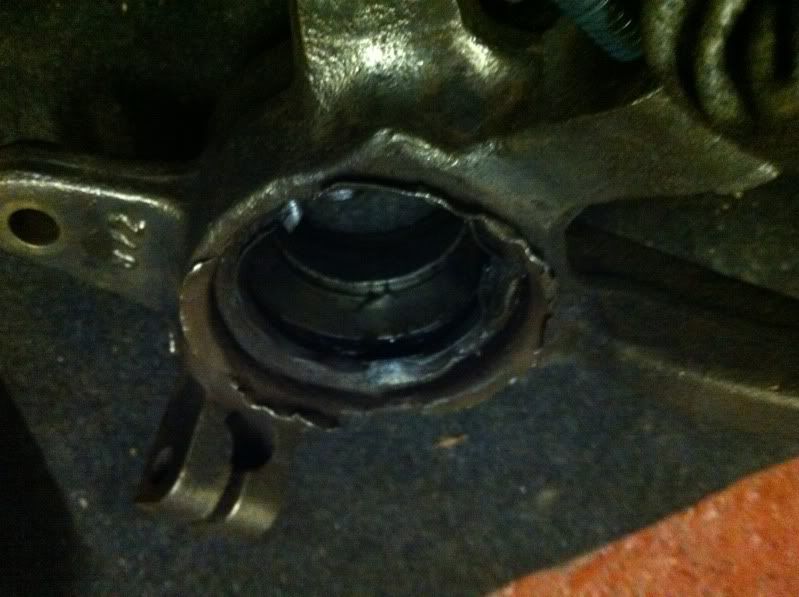
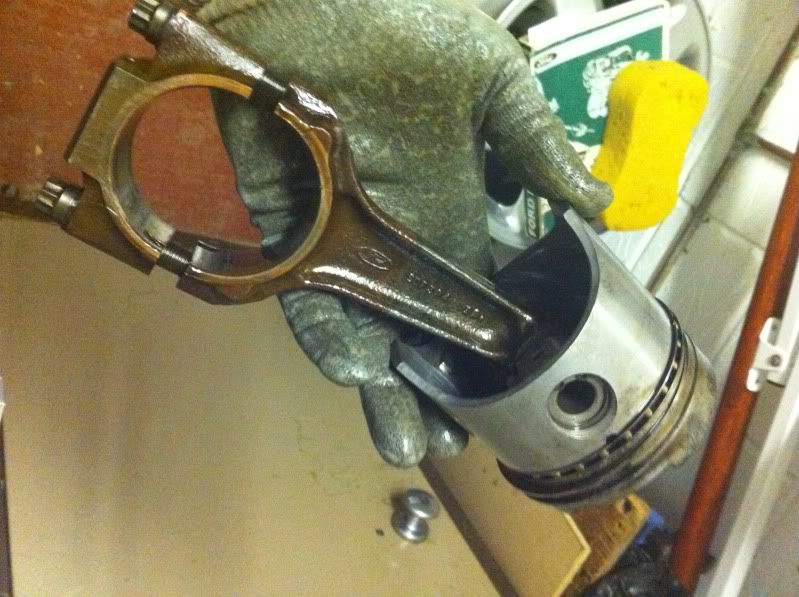
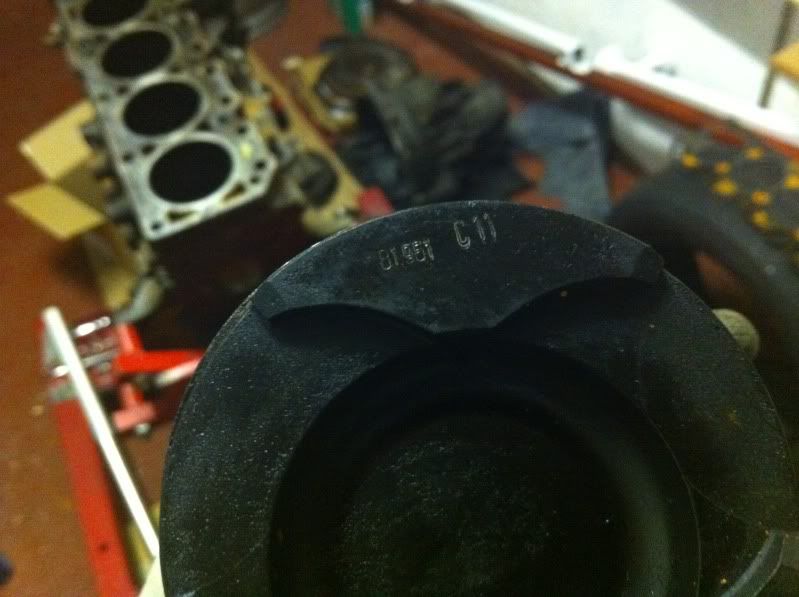
Oversized pistons. Unsure if these are Cast or Forged as I am unaware how to visually spot the difference but quite a large 'skirt clearance' to them and the size was stamped on the top. If not Forged is it really a huge difference in reliability/bhp to swap them over? I suppose now is the time.
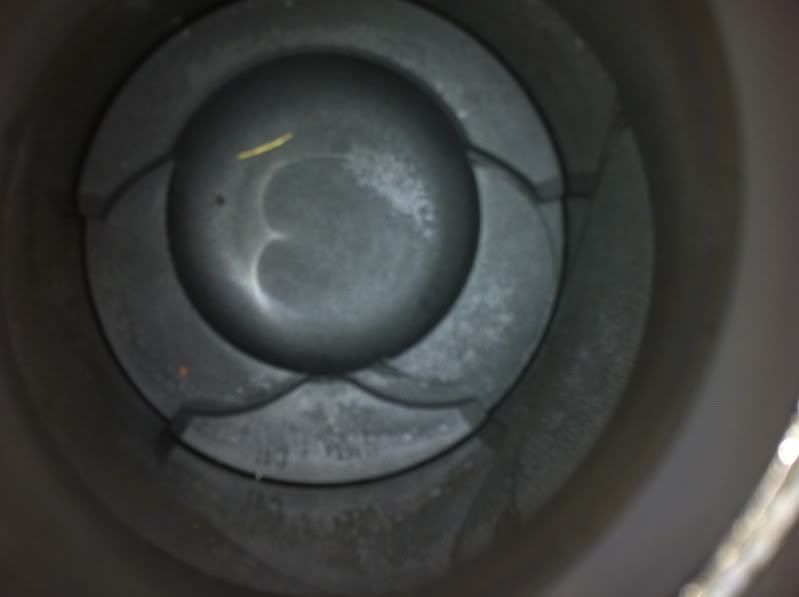
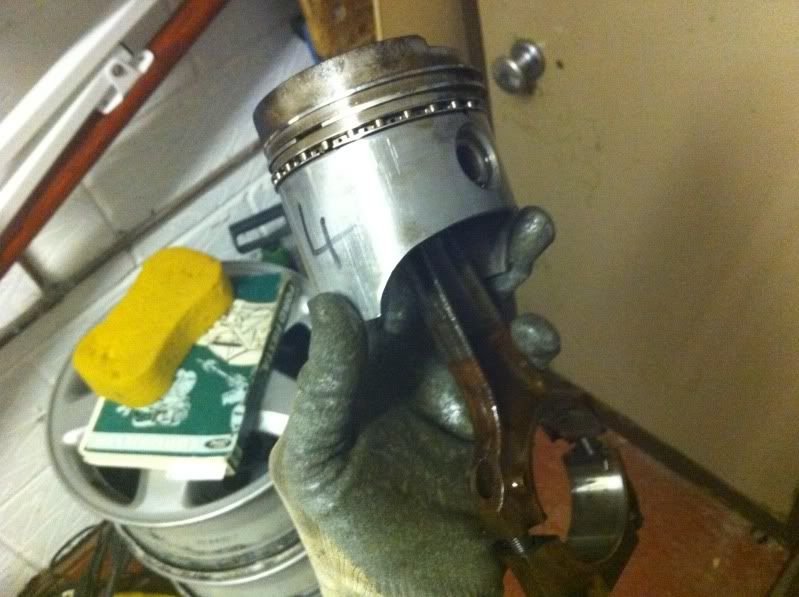

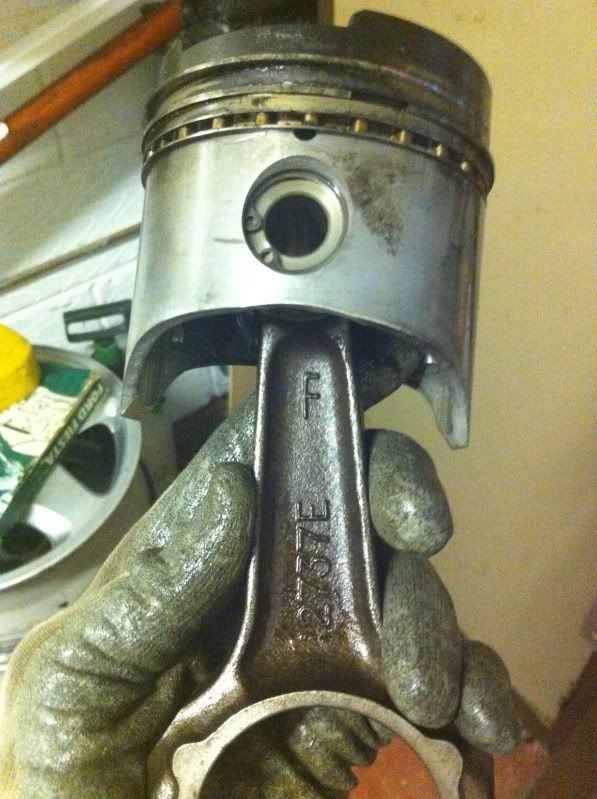
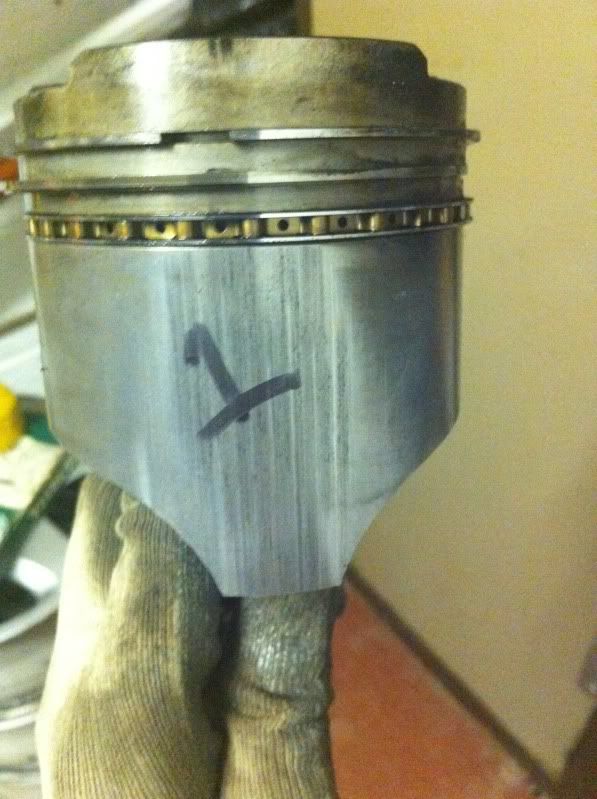
Oversize confirmation:
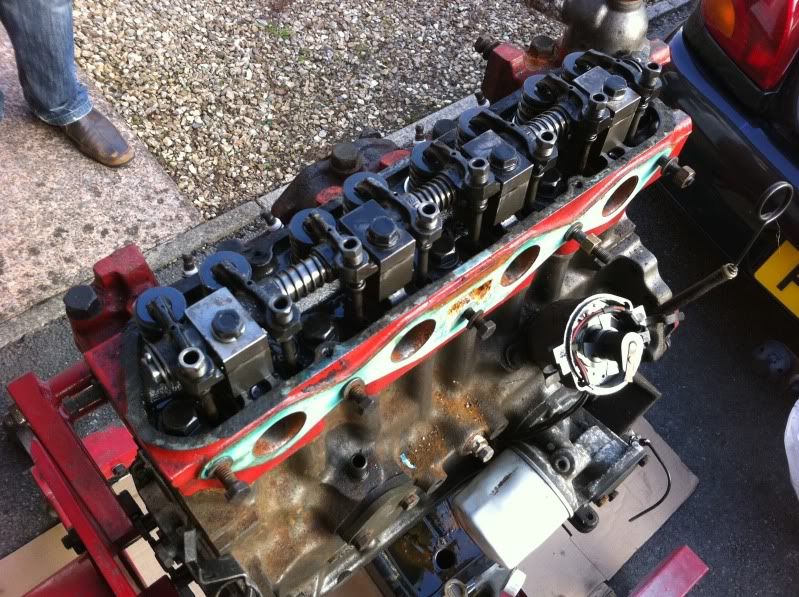
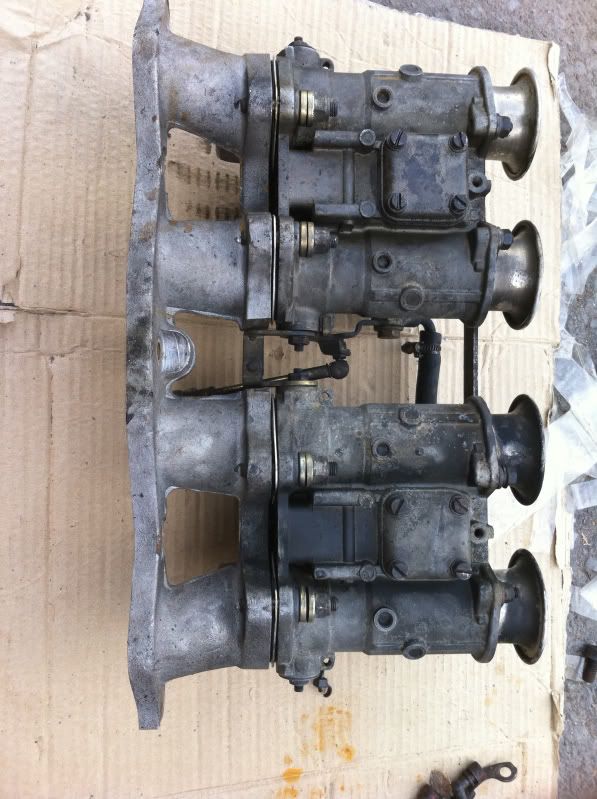
Receipts for a Kent KC224 Cam, but another one (undated) for a 244 cam fitted. Was it a typo on this undated paperwork?
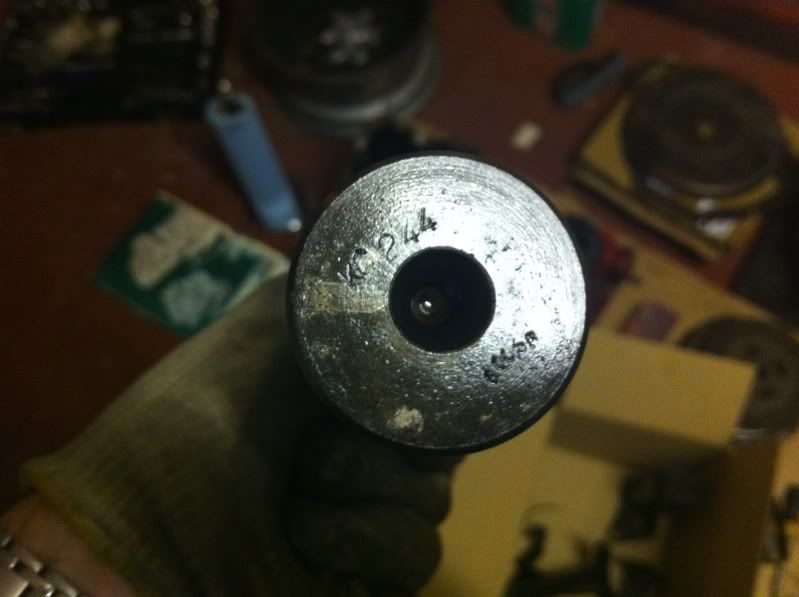

Thankfully not! Here we have a KC 244 fitted. (this will explain the extra 'lairyness' at +4000rpm).
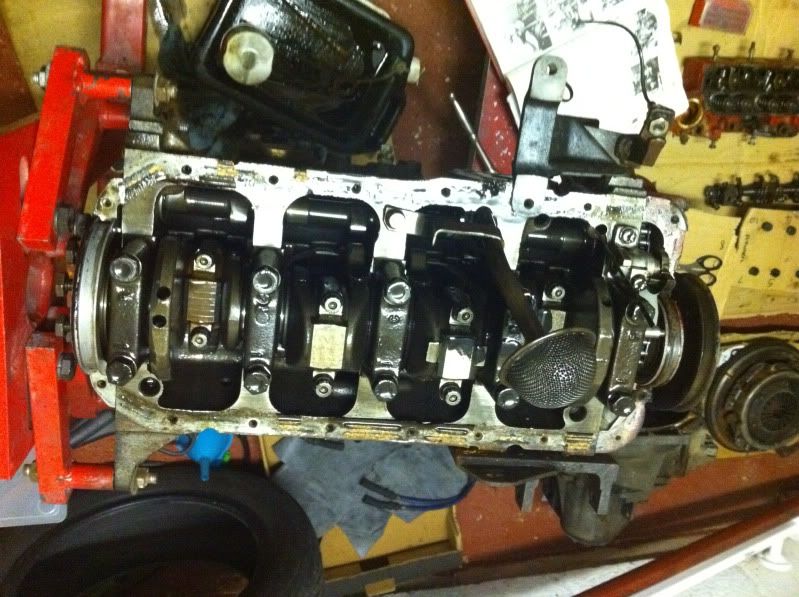
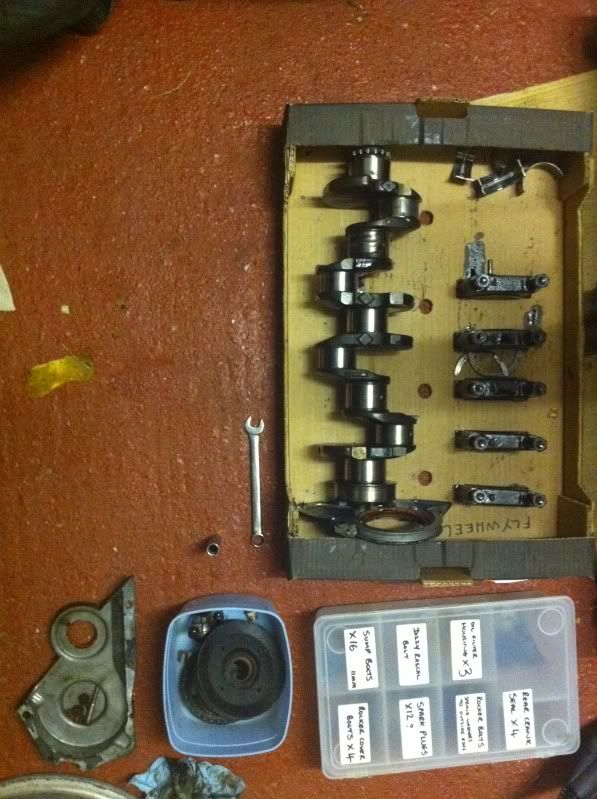
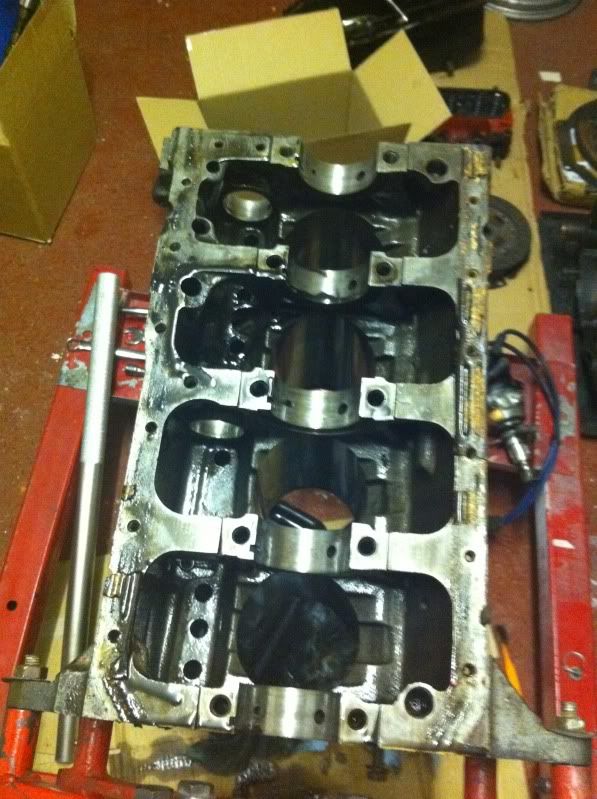
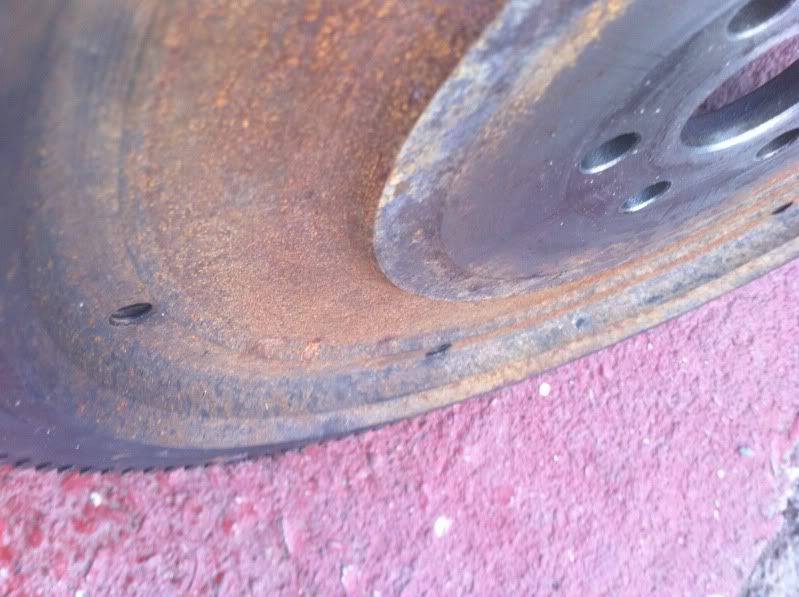
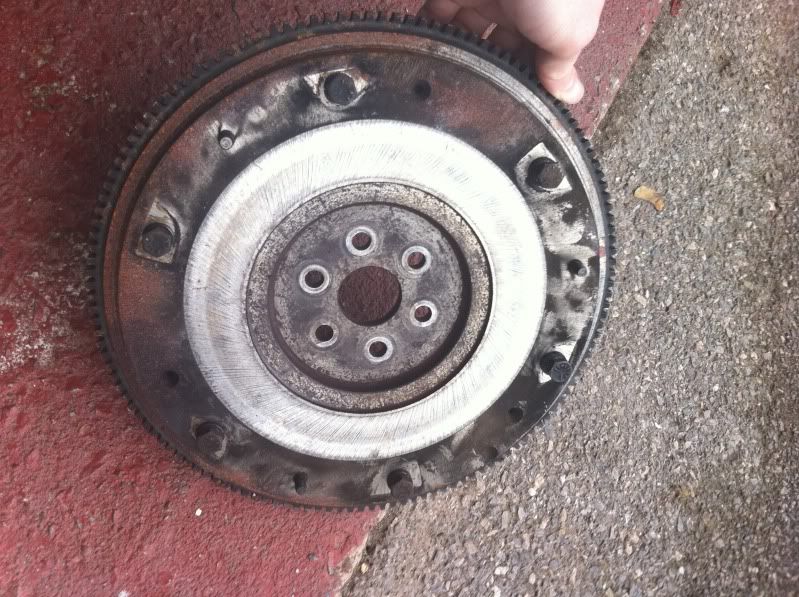
Evidence of lightened and balanced Flywheel
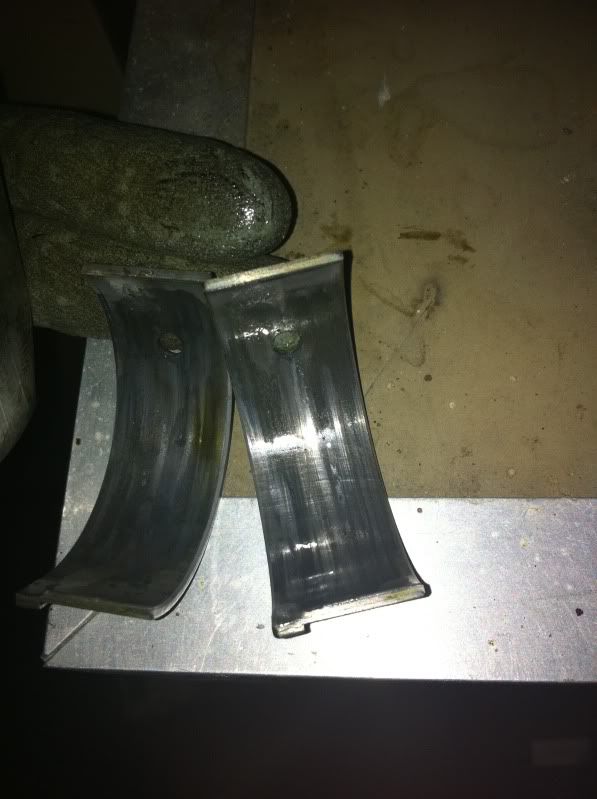
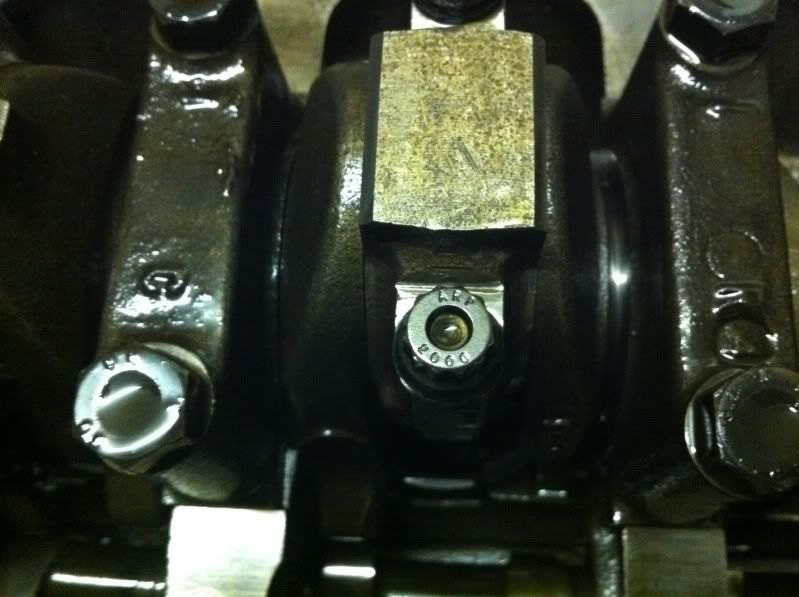
Balanced Crank (Doesnt look too technical but I'm sure it is!)
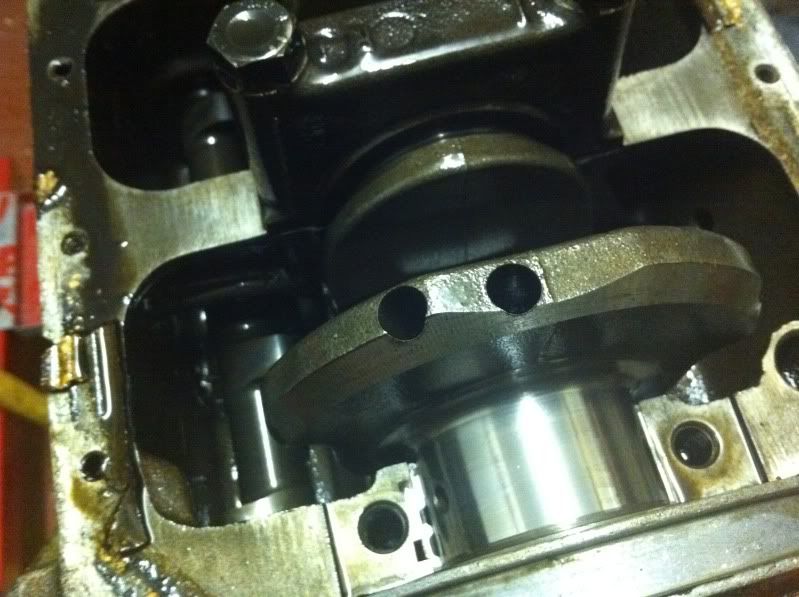
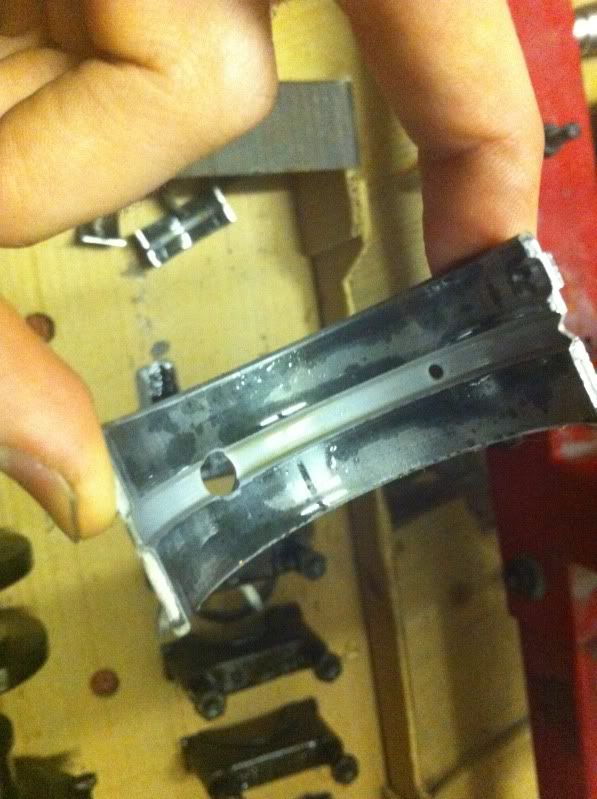
ARP Bottom End Bolts
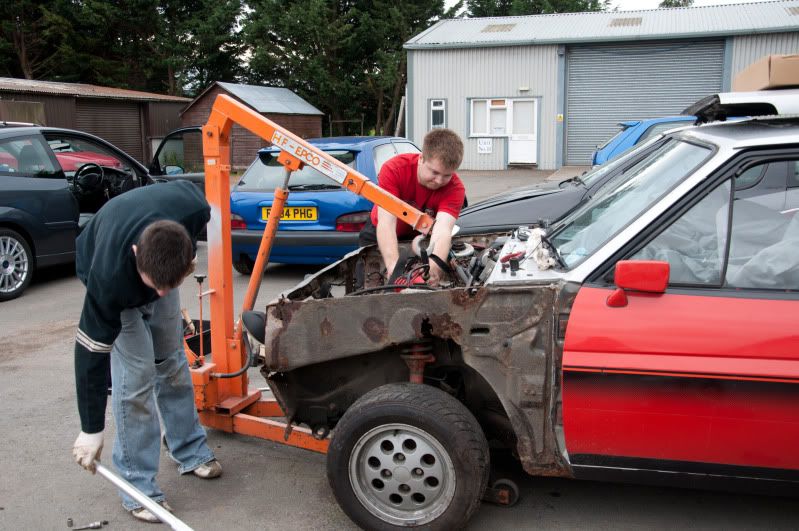
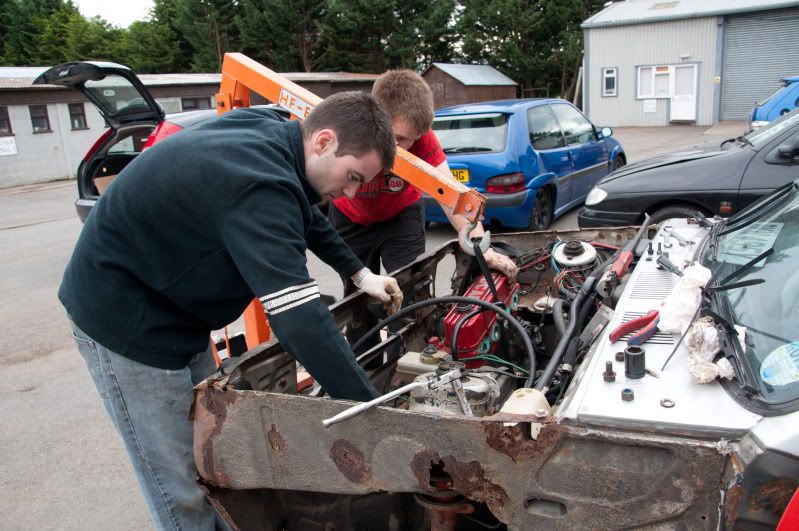
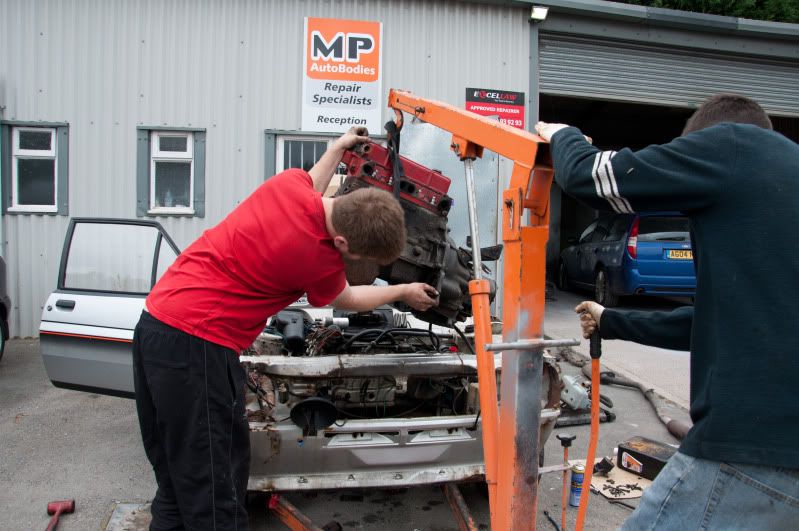
Andy my Ford mate (and one in red shirt removing engine with me) said it shouldnt be a problem to have the head and the block checked over and dipped for cleaning by an engine specialist he knows. Will await to hear back about this but would be good to have it looking as good as new again before going back in.
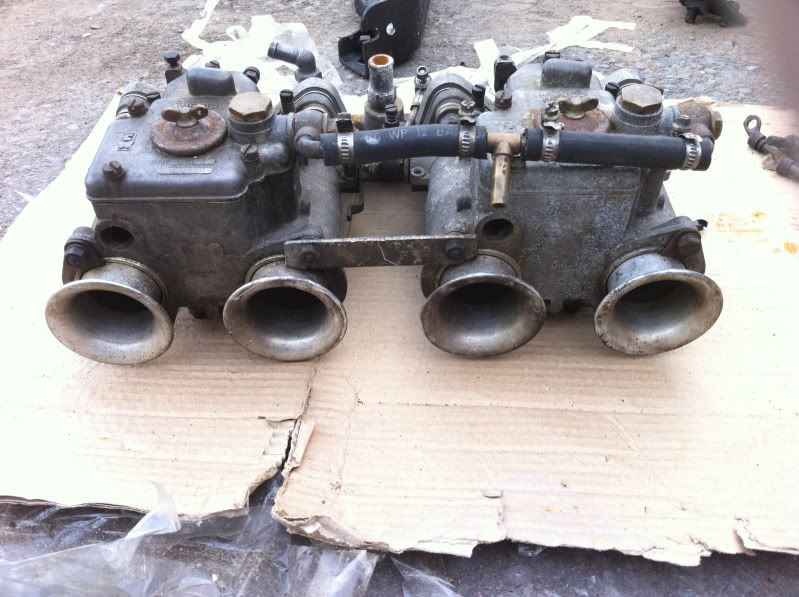
The Water pump was seized, the uprated Valve Springs have a rubber seal that on more than half of the springs has seperated that will also need replacing as it will allow oil into the chamber (and supposedly would have caused smoke, but I didnt see any). The head has been previously ported and polished with larger inlet and exhaust valves, the above mentioned Valve Springs, Unleaded seals etc. I am reluctant to have it skimmed if it has already been done and if I end up with too much taken off and as a result cause any issues with the valves clearing the pistons.
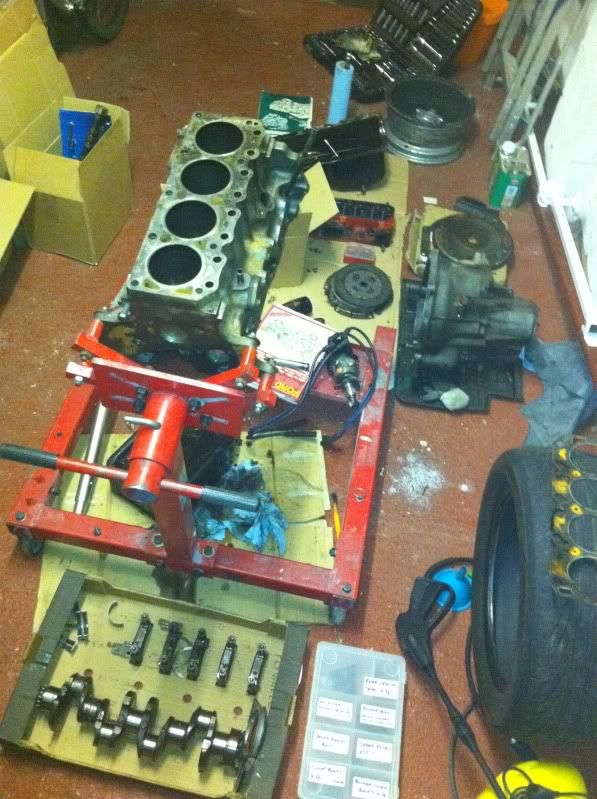
The strip down of the head will be the next engine step.
I really enjoyed this actually. Partly as a releif but also as its something I've been wanting to get stuck into for awhile now. Only one sheared bolt on the outside of the block which should be fairly easy to rectify.
The difficult part is going to be getting all the right replacement parts ordered and again I'll have friends who can help me put it all back together again. Burton Power and Vulcan stock most of what I need. I wont be replacing the already Uprated Electronic Ignition, Uprated Oil Pump and Aldon Dizzy.
I think I may rebuild the engine before looking at the gearbox to be honest. One thing at a time. There is no rush.
This never would have been attempted without the help of a lot of good friends and the girlfriend putting up with it. So onwards in this, my first real MAJOR project. Thankyou hugely for the direct input, Liam, Andy, Harry, Dan & Vicky for all your help guys!
Last edited by Con2K; 01-11-2010 at 09:23.
-
Guest
Another problem comes up. My earlier mention of getting the Nissan Detailed before being SORN'd for christmas was blown out the water last week by a run in with another driver. Mentioned elsewhere on the forum, someone ran into the back of my S14a at a roundabout. The other party claiming full responsibility. Apart from feeling a bit stiff and a knackered rear end (ohh err), the detail has now been replaced by a bit more work. A new rear bumper and probably using this time to have a lot of other stuff done at the same time. Thankfully the rear end repair is being paid for through insurance and I can pay for the rest myself as it will be worth doing it all at once. I hope this doesnt hold up the Mk1 Project too much but as already mentioned, there is no hurry for this so it doesnt take priority at the moment.
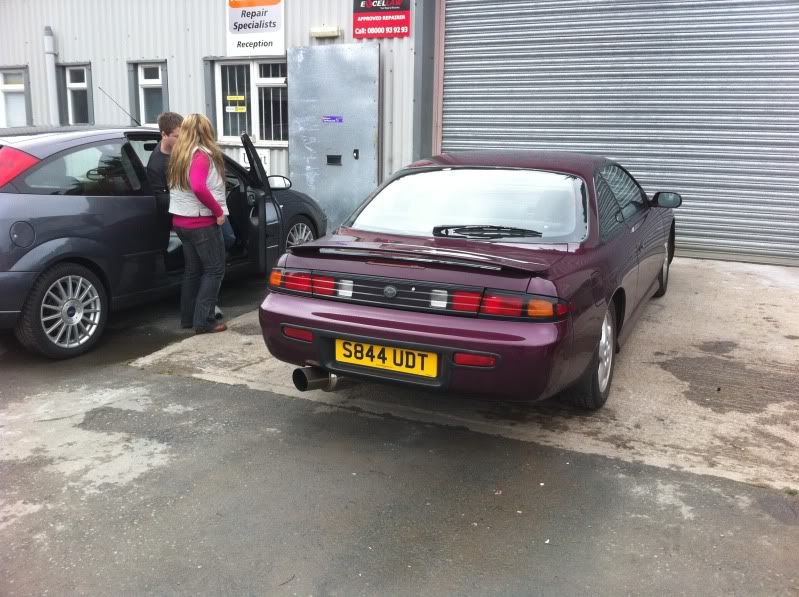
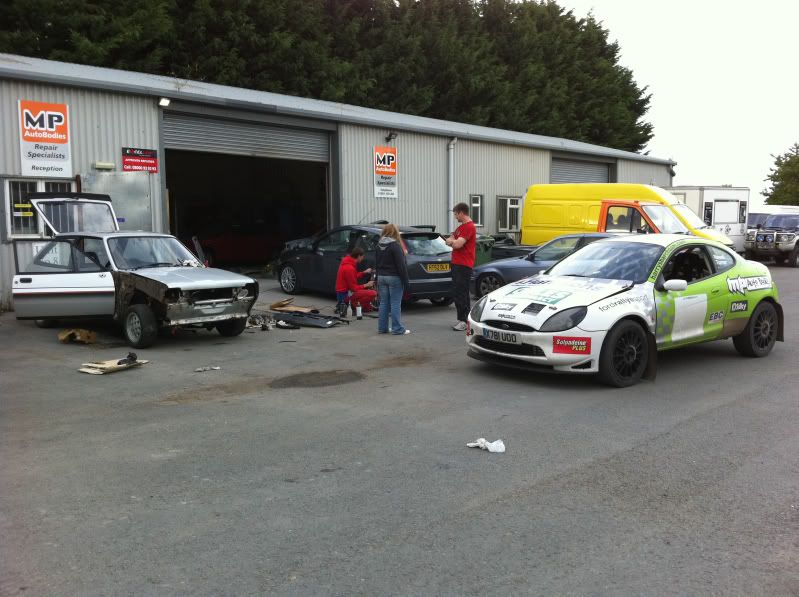
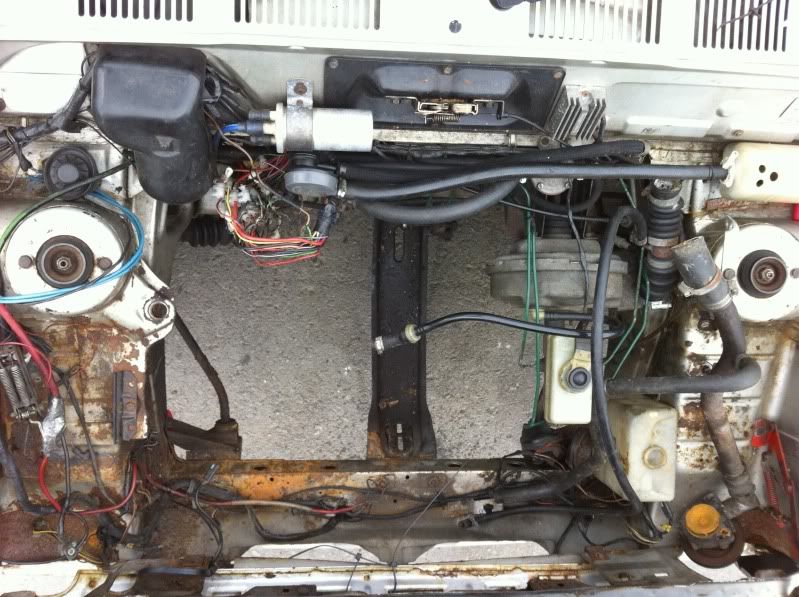
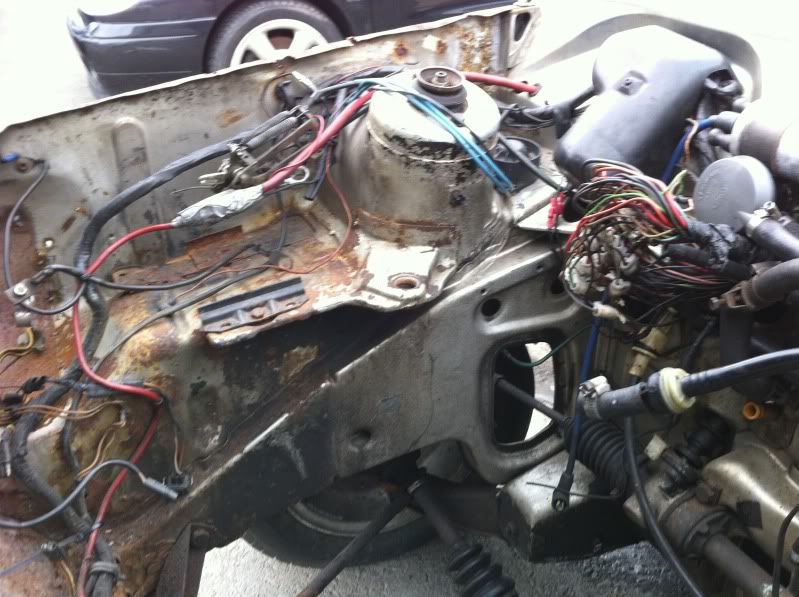
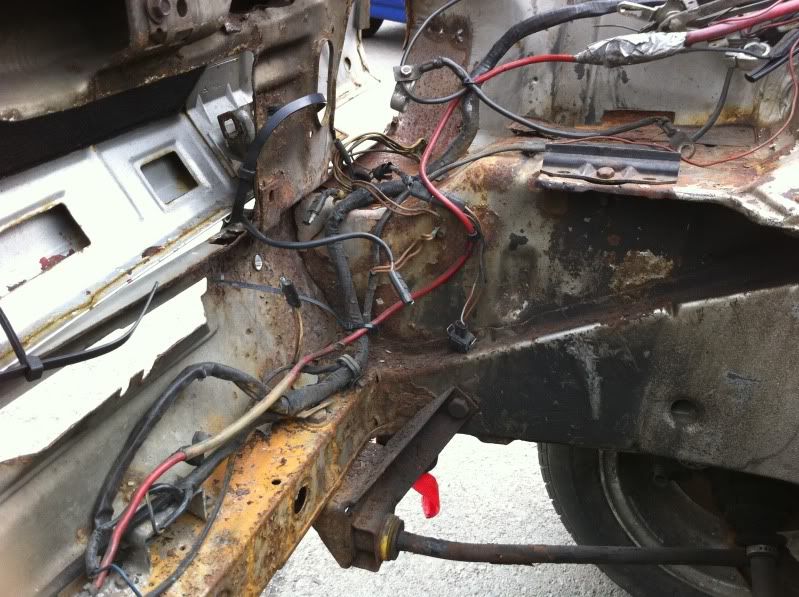
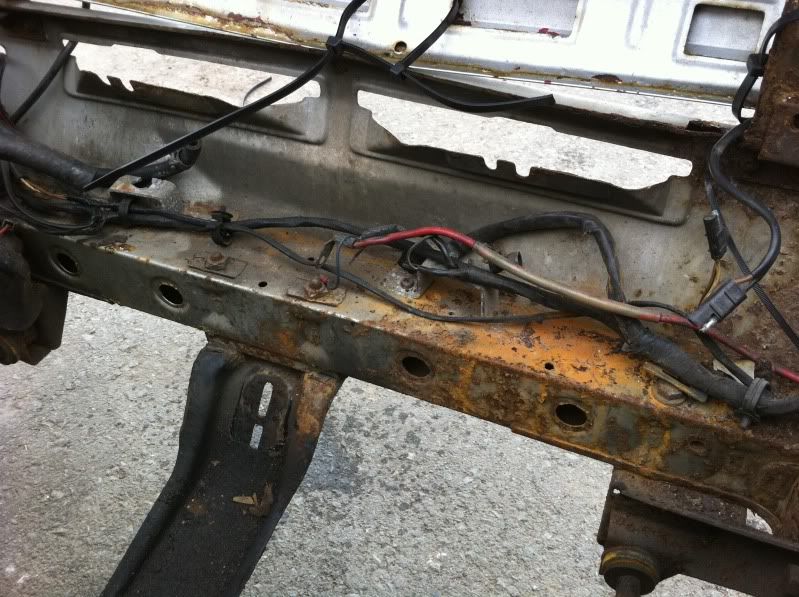
Another bonus is the work will be carried out by MP AutoBodies of Hereford. The Eagle eyed of you may notice this is the same place who are going to be doing the Mk1's bodywork so a trip this weekend to drop the 200 off and remove some of the loom so there is a lot less mess in there and I can take it away and see what I need to do to salvage the Electronic Ignition out of this cut, twisted and taped original loom and either into a fresher XR2 loom or make one from scratch with just the stuff I need, where I want it.
Ready for Paint...
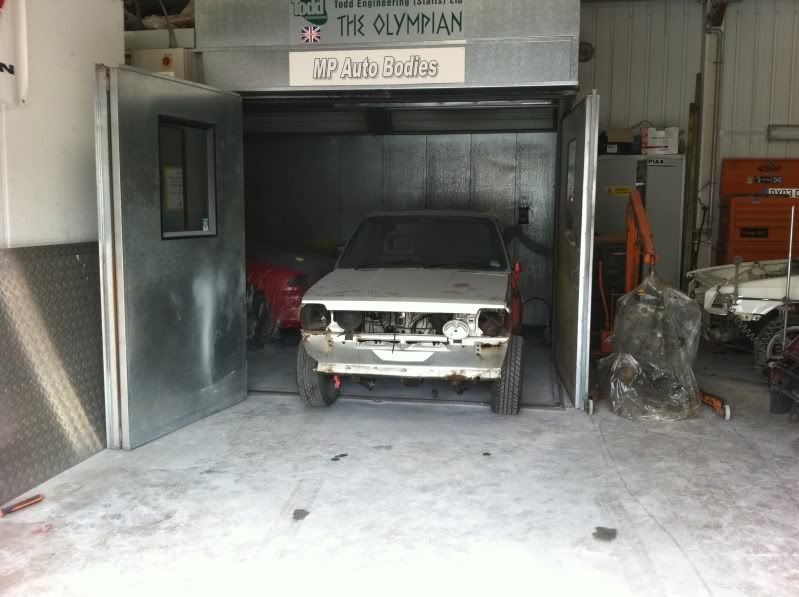
...or maybe not.
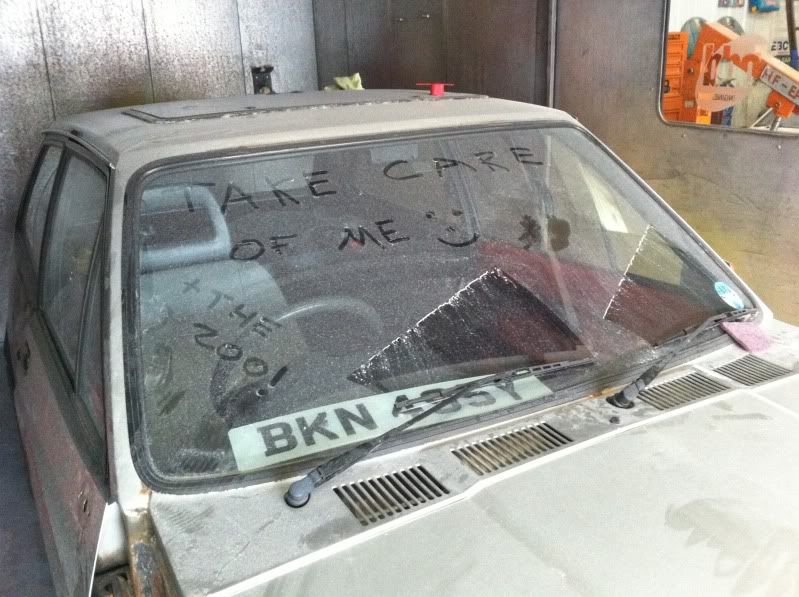
A small Halloween addition to the house from the girlfriend:
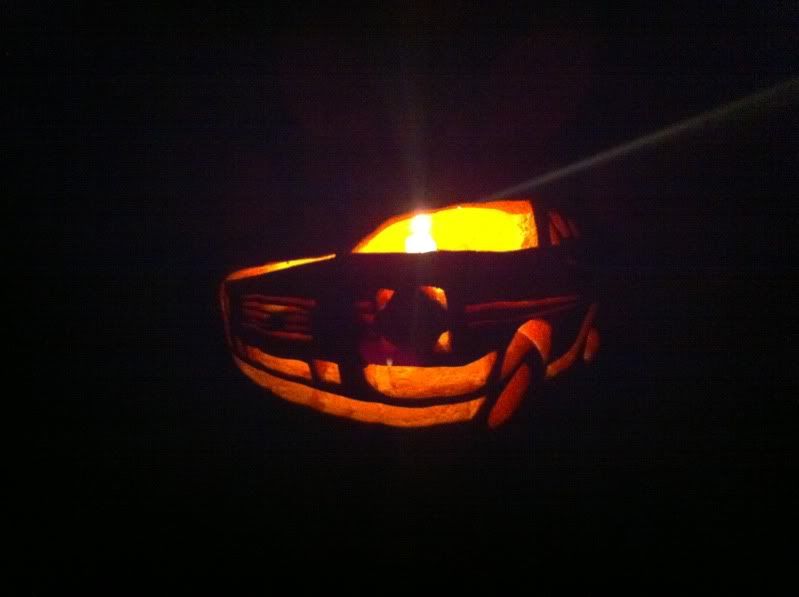
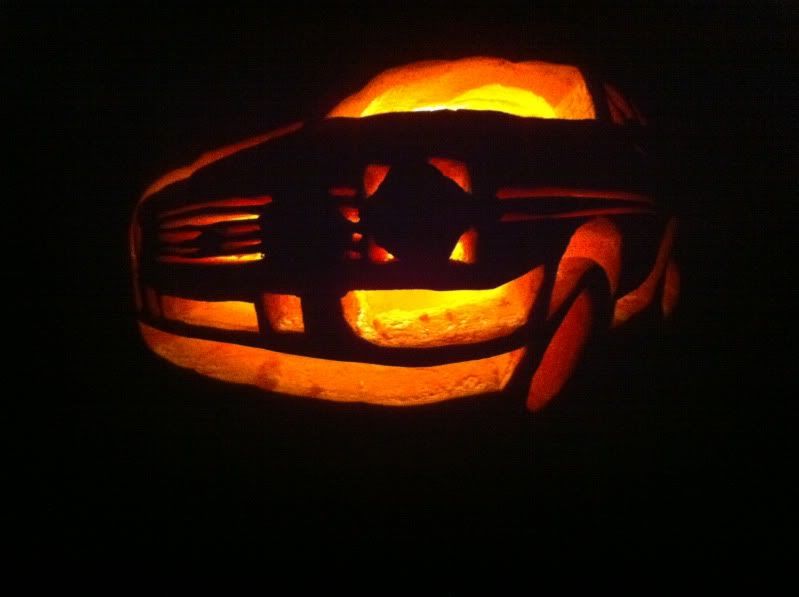
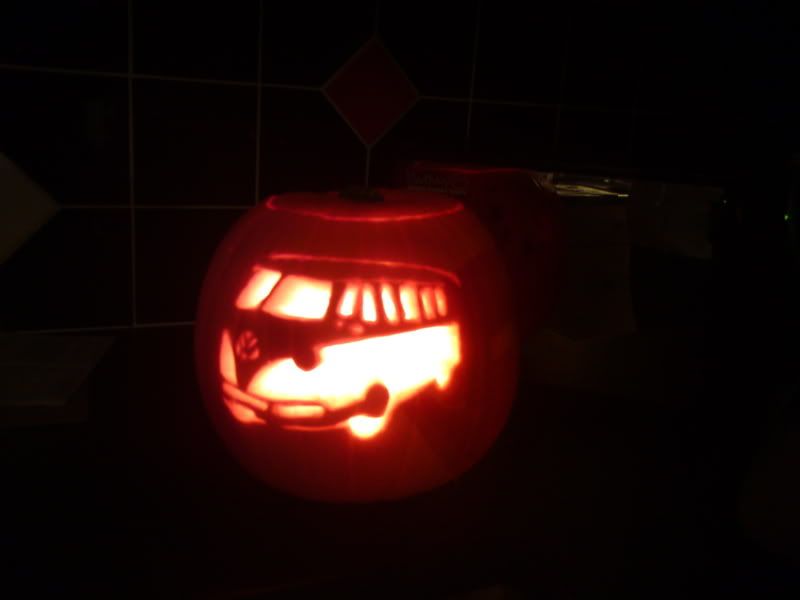
Can you tell what they are? Apart from the positive camber, I think the fiesta is pretty good (I was later told it was mine, with bodywork, but no engine, hence the front end lifted and dodgy camber - impressive excuse! 10 points!!). I'm expecting a 14a next year! 
It's 1.30 am, my neck hurts and I have work in the morning. So, for the moment, that's all I have. Hope it is an interesting read (although more picture heavy than words).
Cheers. 
Last edited by Con2K; 02-11-2010 at 11:33.
-
Guest
Correction. 81.951 is only equivelant to a 1630cc bore on a 4 cylinder engine. So not as large as I thought. Question is, do I go to +60, or +90 or leave it as is?
-
-
Guest

great little project, looking forward to more progress 
-
Guest
Welcome back! (Just uploading pics as we speak)
A little further up the page you will have spotted the condition of the fiesta. It's been quite some time since an update or any progress. I have opened up the 4 speed box and visually checked it over. recent rebuild, new gaskets inside, but its still a 4spd and an open diff. Will either add an RS Turbo LSD into this box (so cheap to get an RST vicsous diff), or maybe fit a 1.7 5 speed gearbox (nice ratio as standard I think for the moment). The shell will require a section taken out of the passenger side chassis leg, but a very common modification on these that causes no trouble to the shell if done right.
The Mk1 Fiesta 4 spd BC box fits (obviously), the 5 speed ford boxes are an IB5, which is a BC box with basically an extra housing for 5th gear on the end of the back plate (hence the cutting of the chassis leg for more length - oh err). There was the consideration of a Focus ST170 6 spd getrag box as it doesnt actually require cutting of the chassis leg but the cost of the box, cable linkage and other work means it's not something I can afford to consider at this time. My best bet is to prep the shell for an IB5 gearbox fitment and if I do go down the 6 spd route for any reason then I can make the small changes then to the bulk head for the cable linkage.
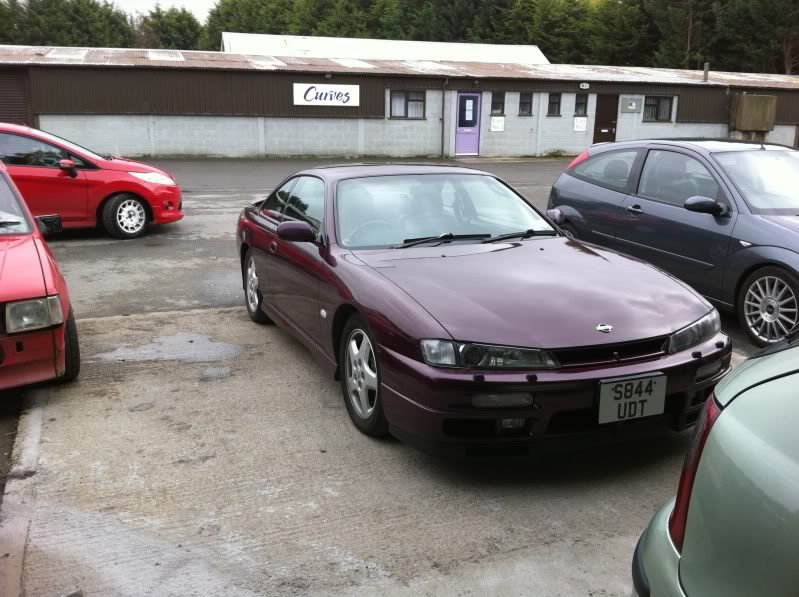
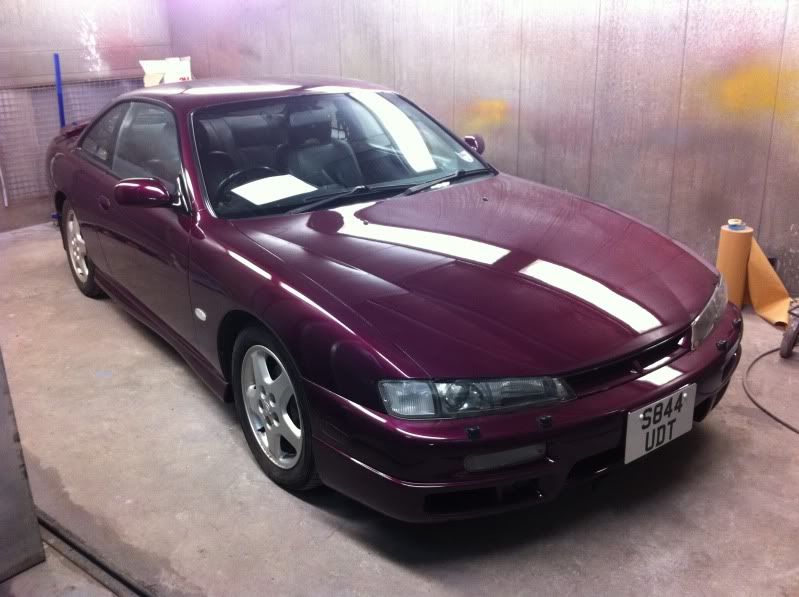
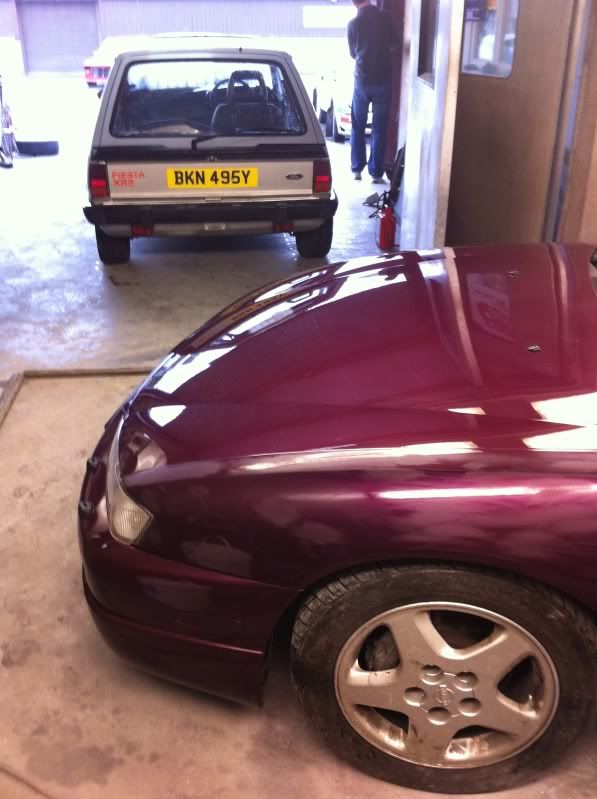
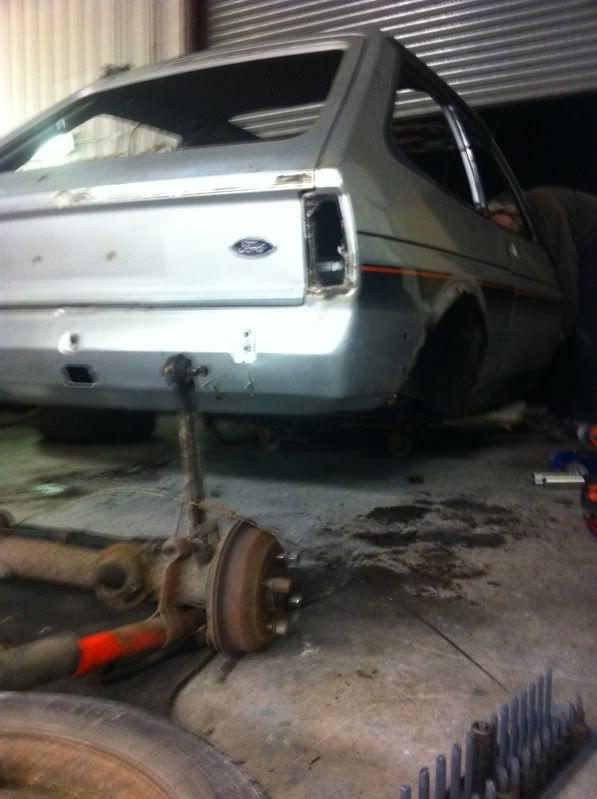
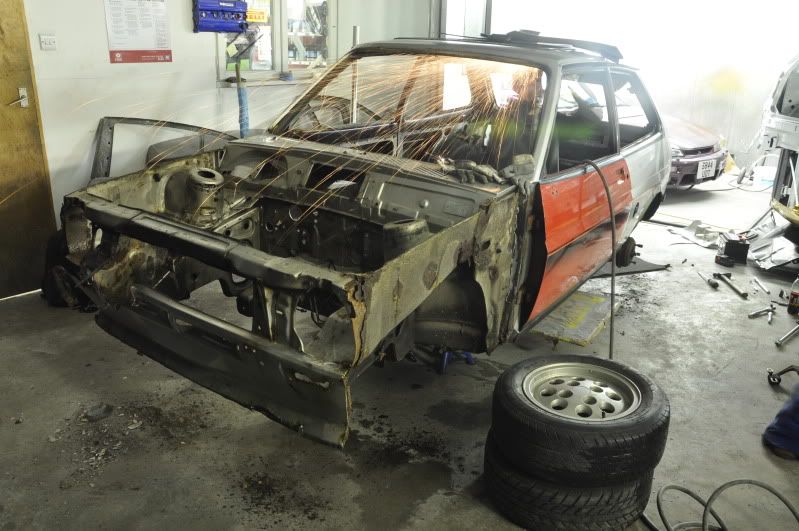
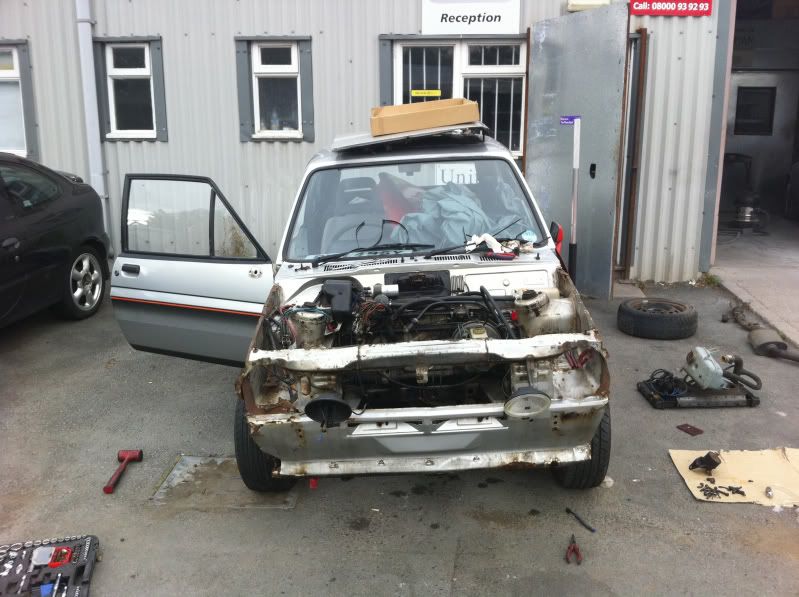
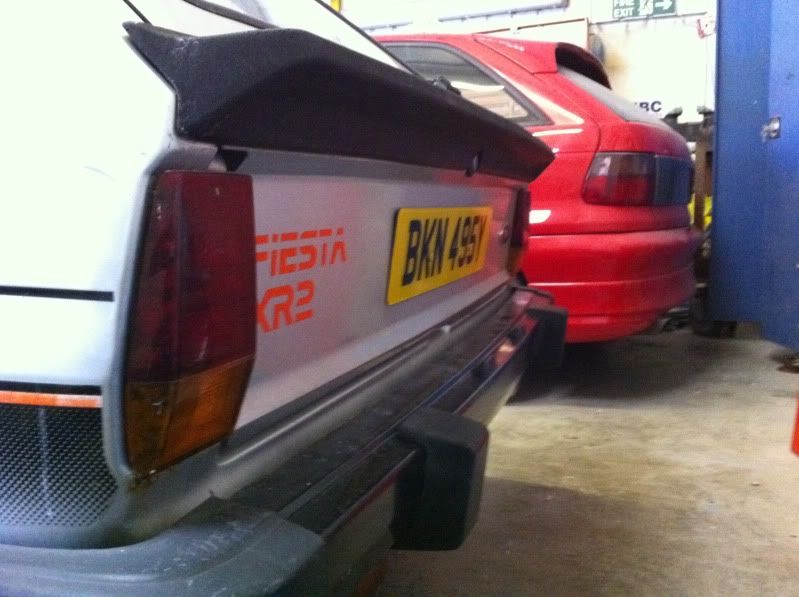
That aside, I finally collected my nissan. 8 weeks I've been without it now! Took the oppourtunity to collect that and strip the Mk1 at te same bodyshop ready for welding to begin.
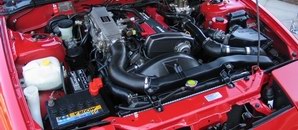
First things, the nissan, will give more details on that project thread (link on my sig) another time but for now, WOW! Love it, havent actually seen it in sunlight yet, its either been dark, or raining but the day I collected it, it looked great. Colour looks brighter, fresher, but regardless of how well it matches the original paint or other cars (quite well, but without the fading is used to have) I'm just really pleased to have a car with no scuffs, scraps, scratches, dents etc. Really pleased with it. There are admittedly a few loose ends but nothing that isnt doable. Trim refitting, replacement of broken screw, nuts, bolts, rusty or otherwise. These will be rectified when I begin to remove the bumpers etc in preperation for underseal removal and freshen up down below. No hurry, going to wait for the warmer weather. Somewhat backwards having the paint done first but thats how things have ended up.
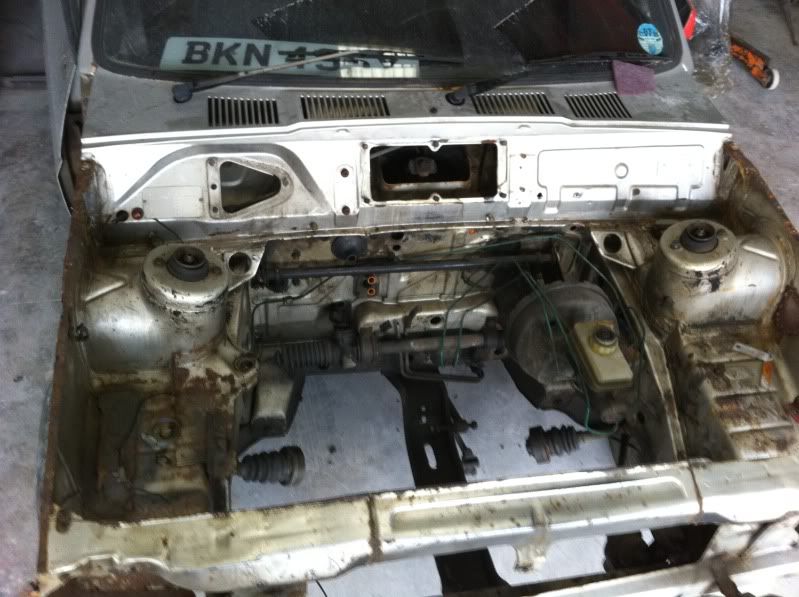
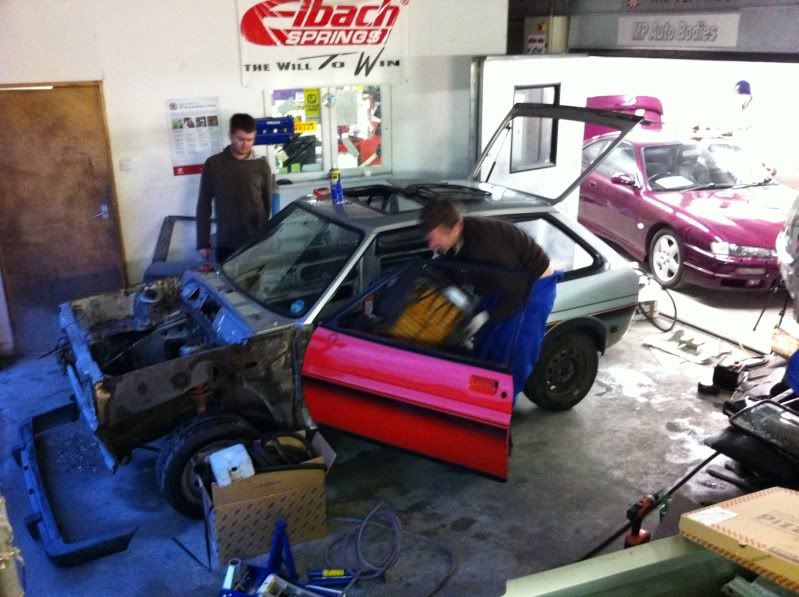
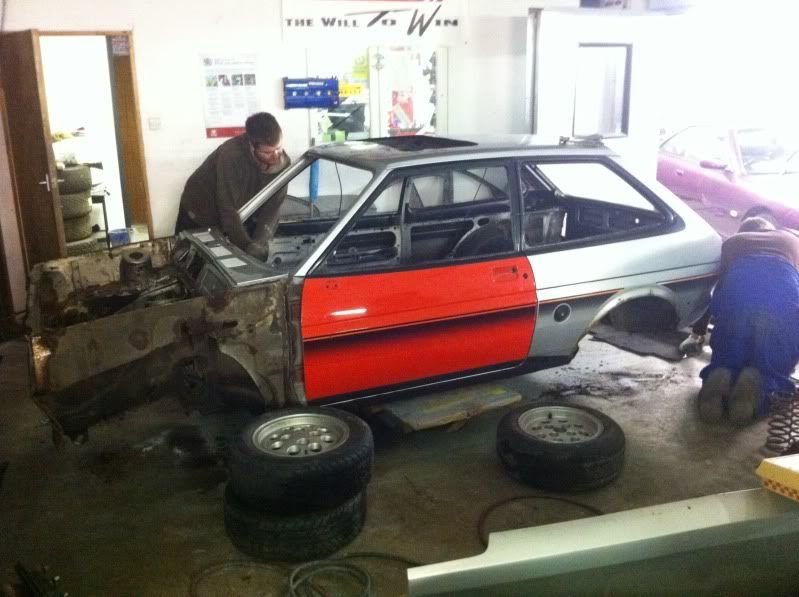
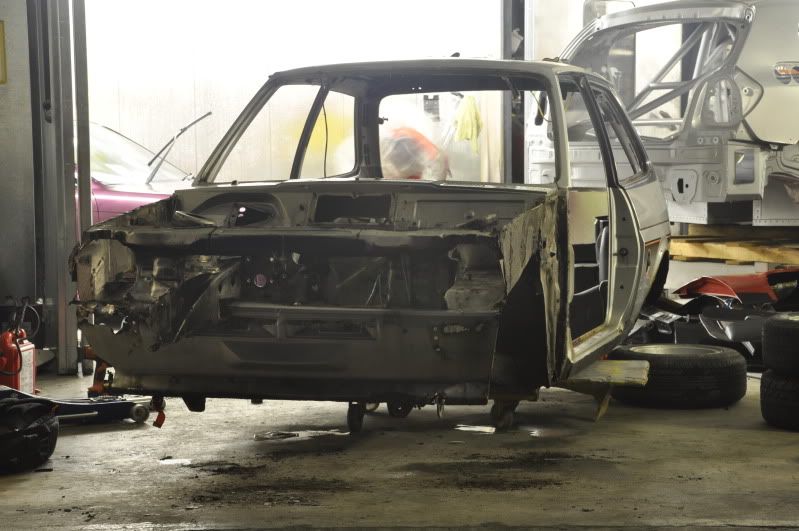
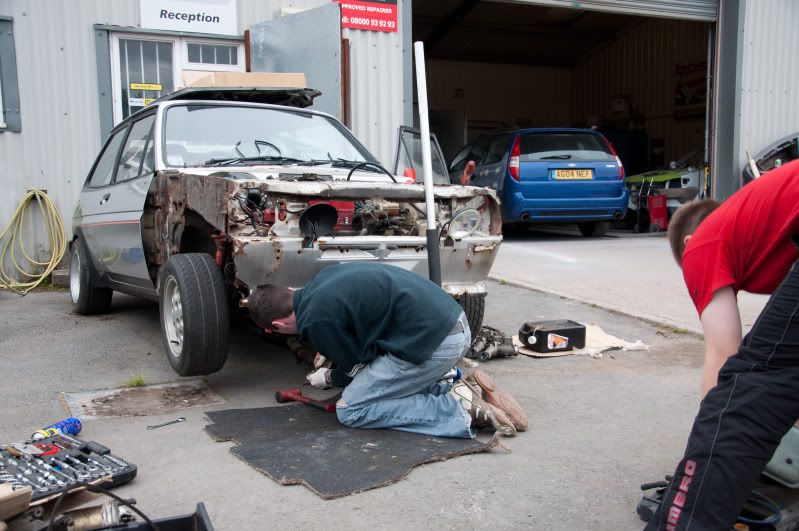
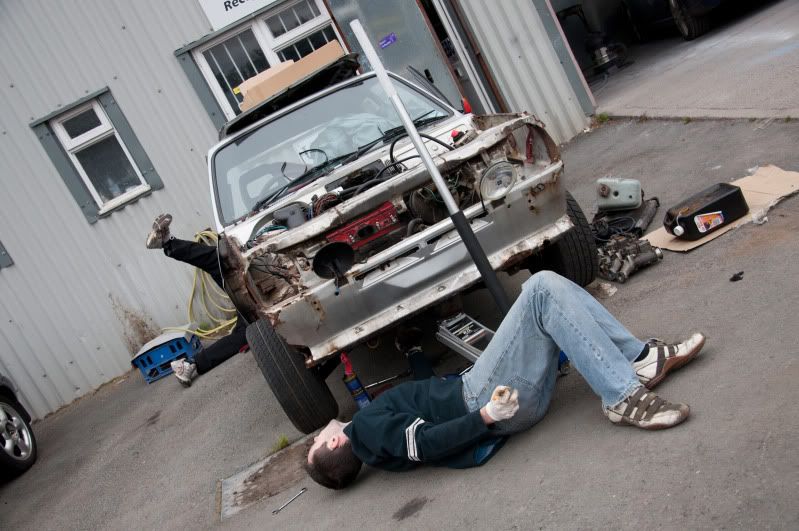
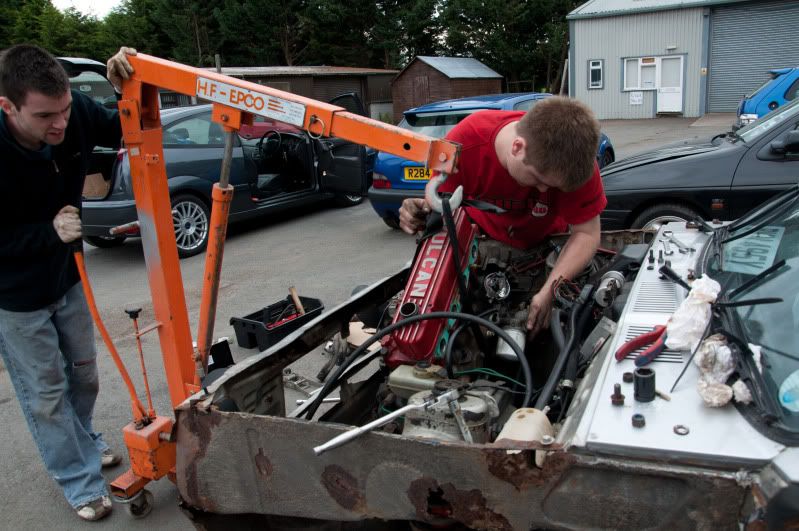
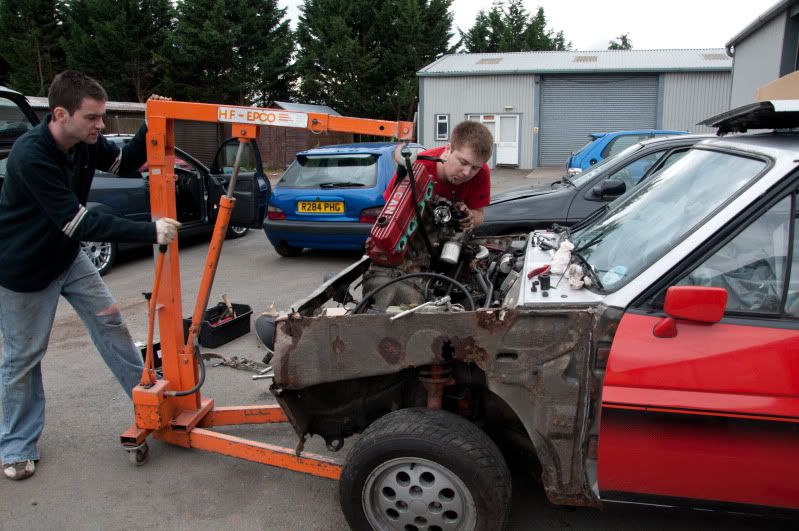
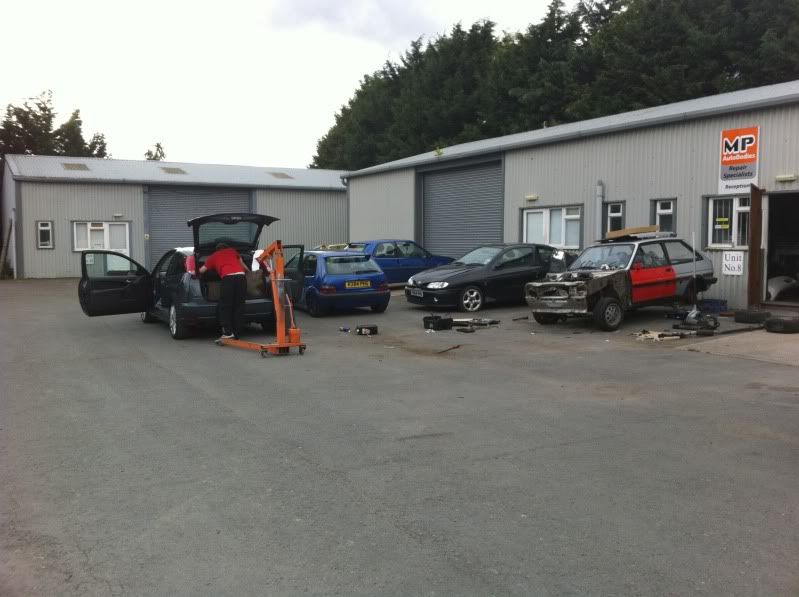
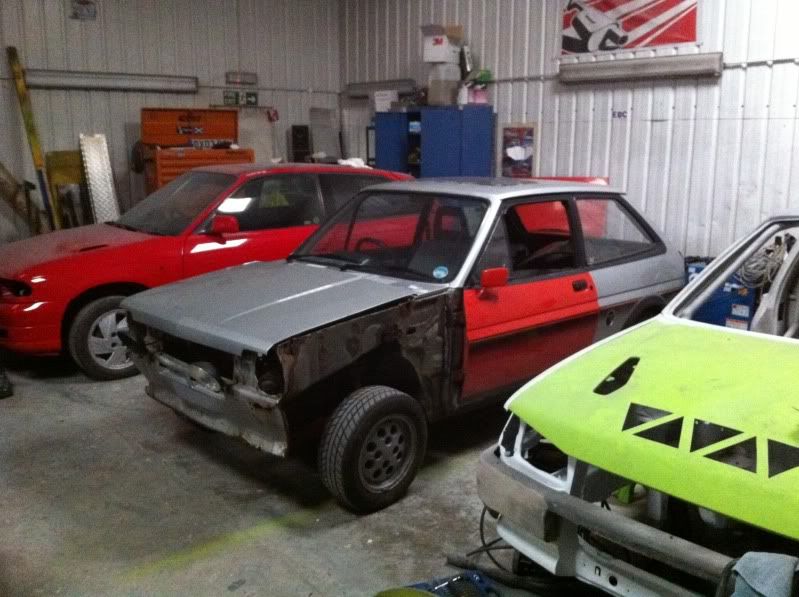
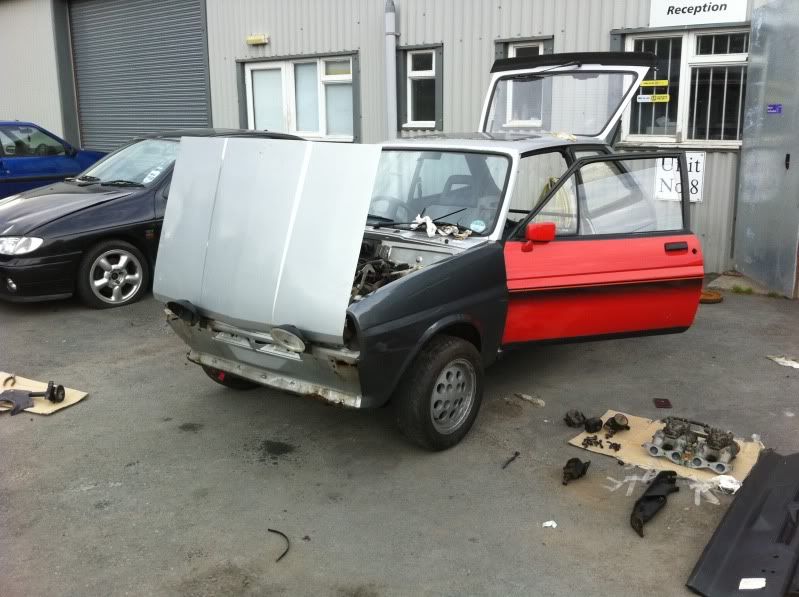
On to the fiesta. Dan and Andy my two mates helped out big time. We spent afew hours there removing everything we could and the stuff we couldn't, we cut out. Harry used this time to polish up the Nissan in the spray booth. I think he spent 5-6 hours at it.
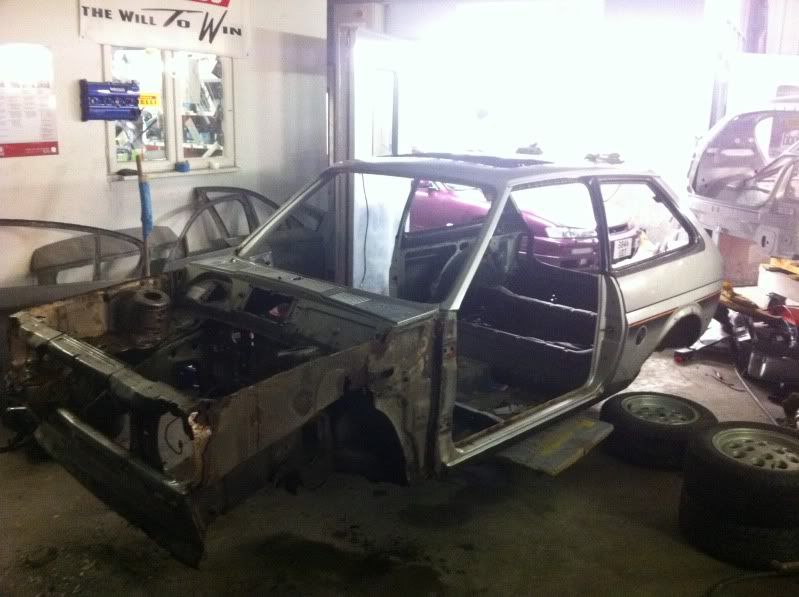
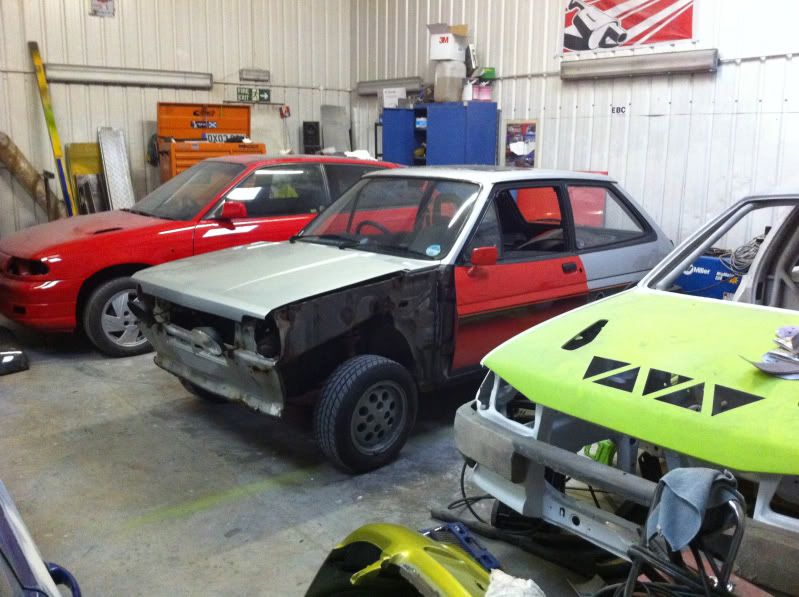
Not much to say but here is the progress:
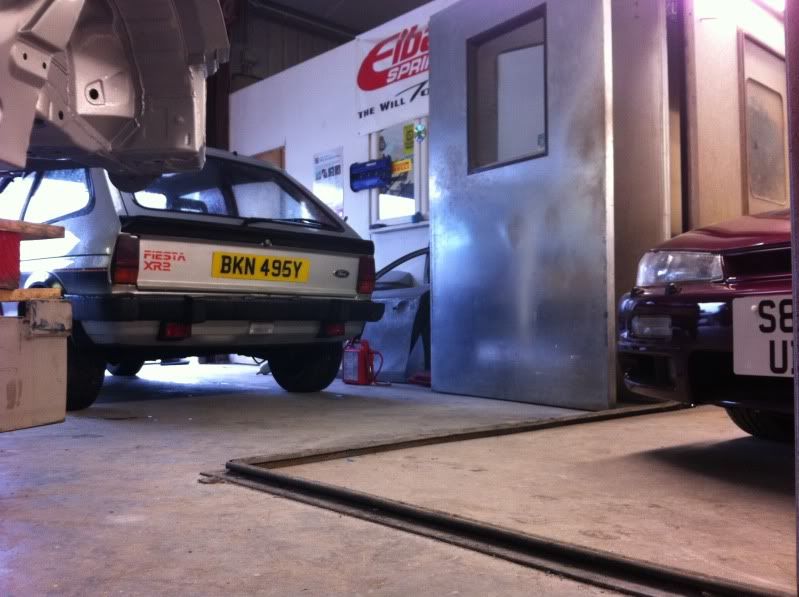
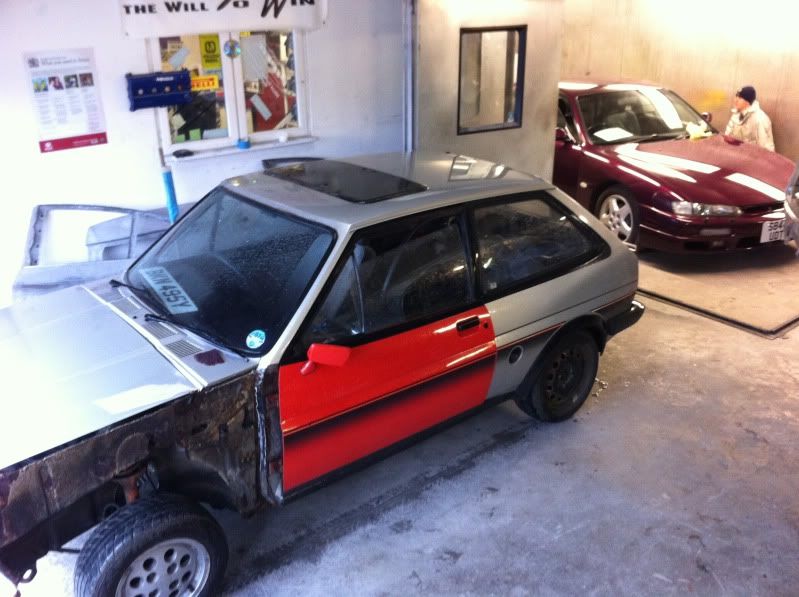
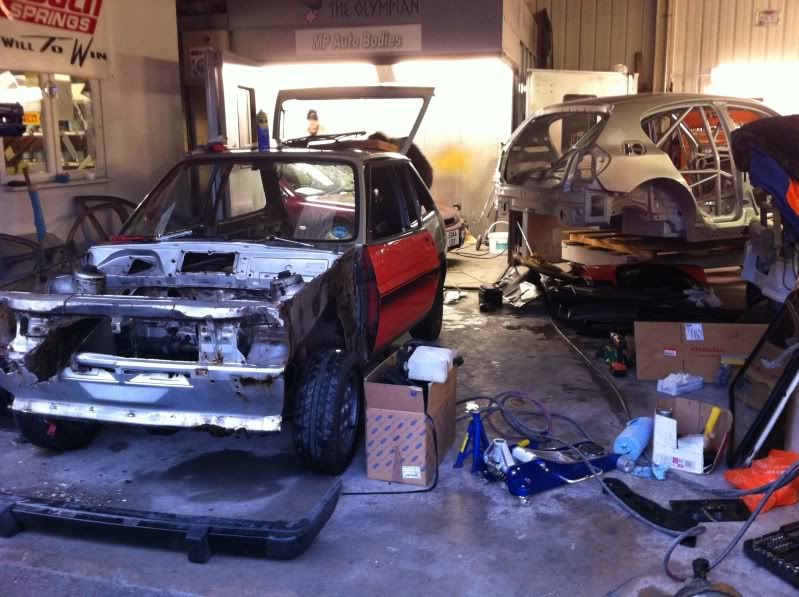

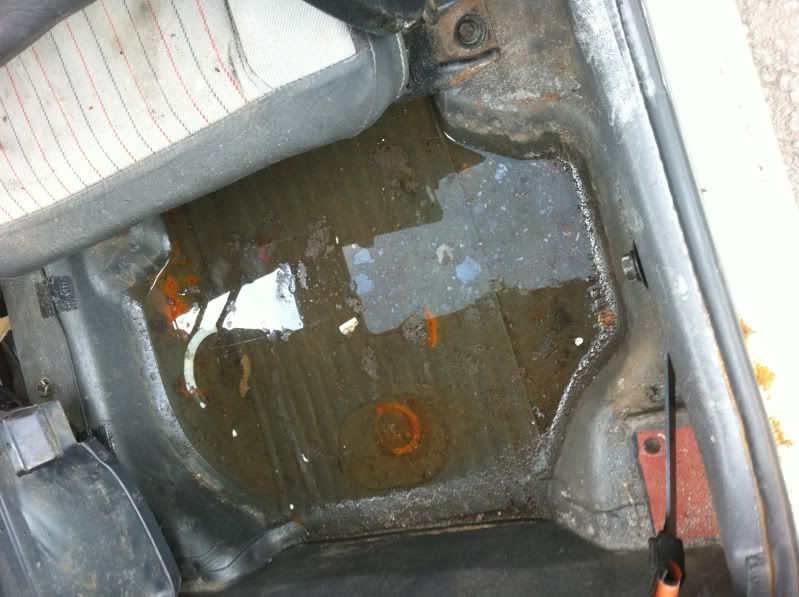
There is an awful lot of rust visible, but in saying that, it's nothing on these things! I have seen a lot worse cars repaired rather than reshelled so none of us are really concered about it. The rear end is mianly intact and the floors are solid, no patches present, or needed. We knew the front end was rough and we were prepared for this. We removed the rear plastic arch trims to see how much rust was on the arch lips...and there wasnt any...arch lips!

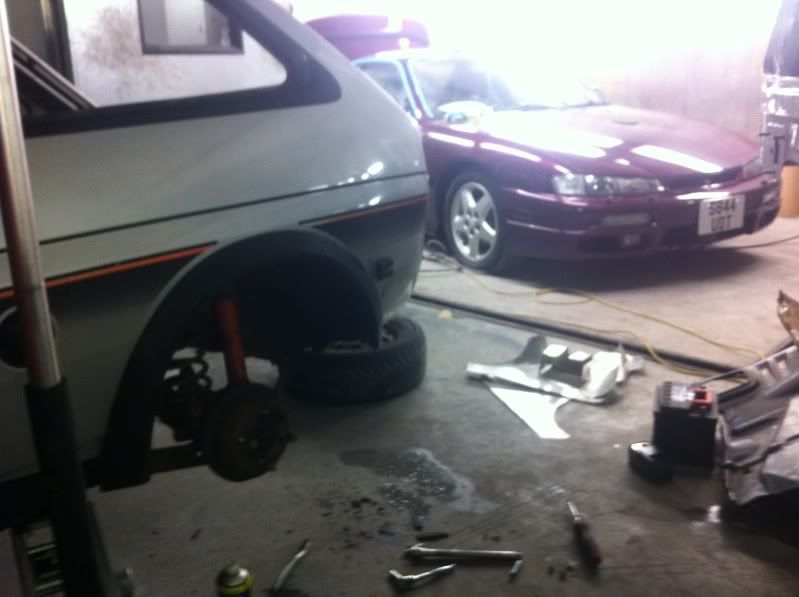
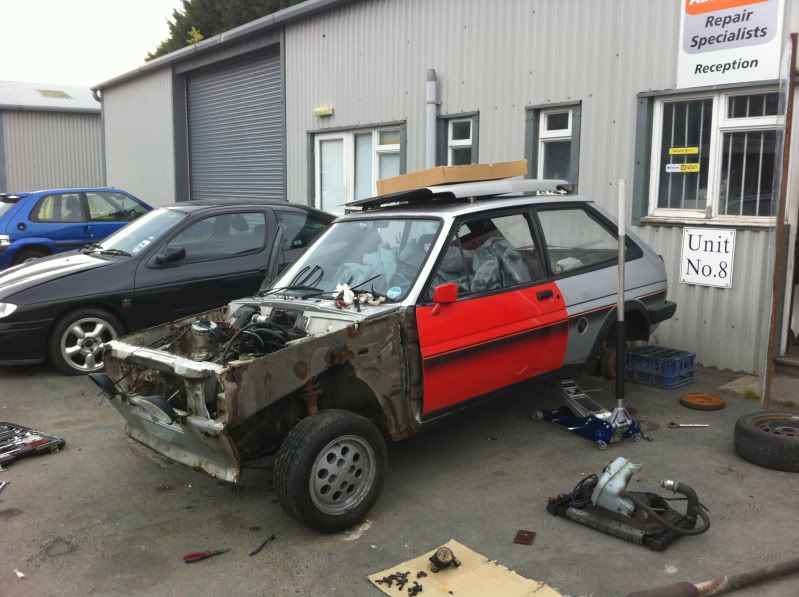
So the decision to either replace with a repair arch lip panel or full quarter. The repair arch is cheaper, and only needed, also any imperfections as a result of welding and filling to match the rear quarter would be hidden by the plastic arch trims of the XR2. This is more of a problem for cars that dont have this. There is, however, a good price on a full rear quarter, also the inner rear arches might need a bit of work, so the general feeling was stick a new quarter on each side and see what else it shows up when removed. Tail light surrounds also a bit cruddy but not a full rear panel needed.
The dealer fitted sunroof was removed. Oh dear! 29 years later it's shown its age. a pikey cut out of the roof skin and then years of abuse onto the bare metal lip left behind.
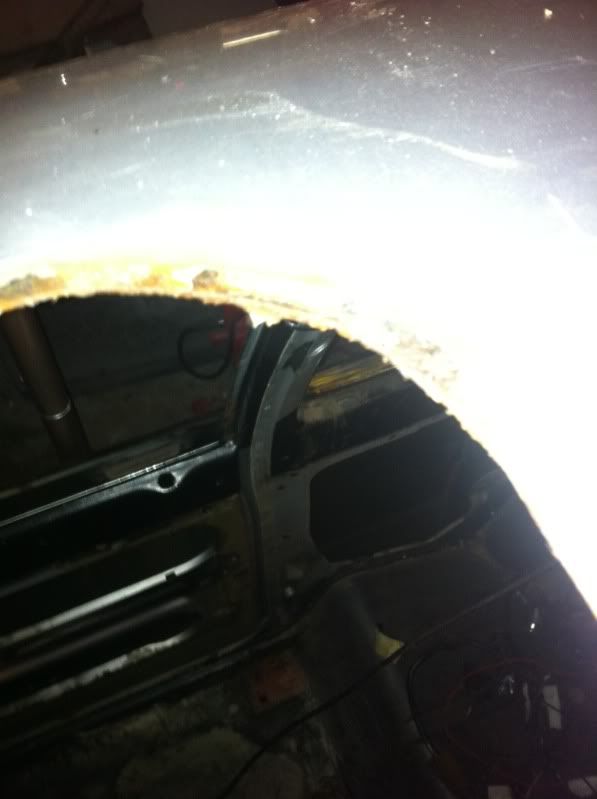
Decisions decisions. Do I:
-Source a non sunroof roof and fit that (commonly done, but cars are rarer and therefore more expensive to warrant cutting a whole roof off)
-Carbon roofskin. Yum! but detracts from the standard exterior of the car, and also costs almost as much as the rwest of the car being done!
-Metal plate over/under it. Smoothed in, or rivited obviously for effect. (not a fan of this idea)
- Repair the cut roof edge and tart up the sunroof. Glass is intact but fixings missing, replace with a sheet of carbon fibre and still have air flow through the car. It's not that its the cheapest way but it's not going to hold up the progress. SOmeone suggested turning it backwards for some more cool air on hot days! lol
From those above I'd love the new roof, but really, its a track/weekend car, it doesnt need to be mint and I think a carbon/original glass sunroof is a it more subtle compared to a big metal plate over the top.
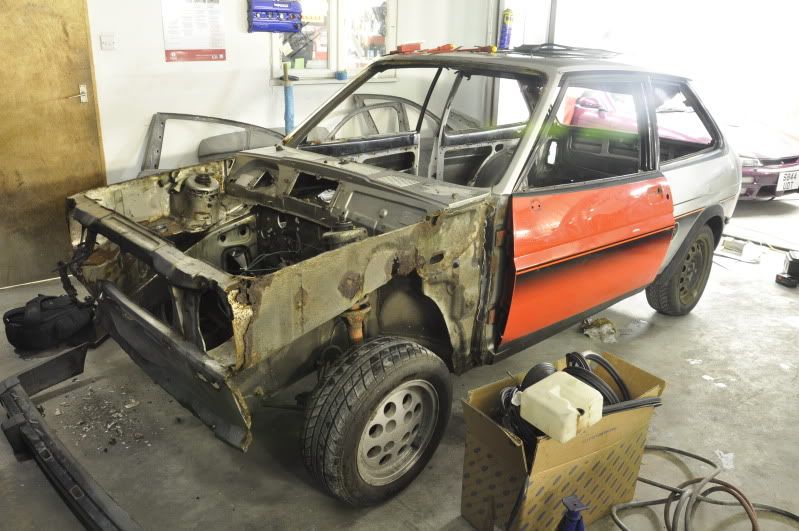
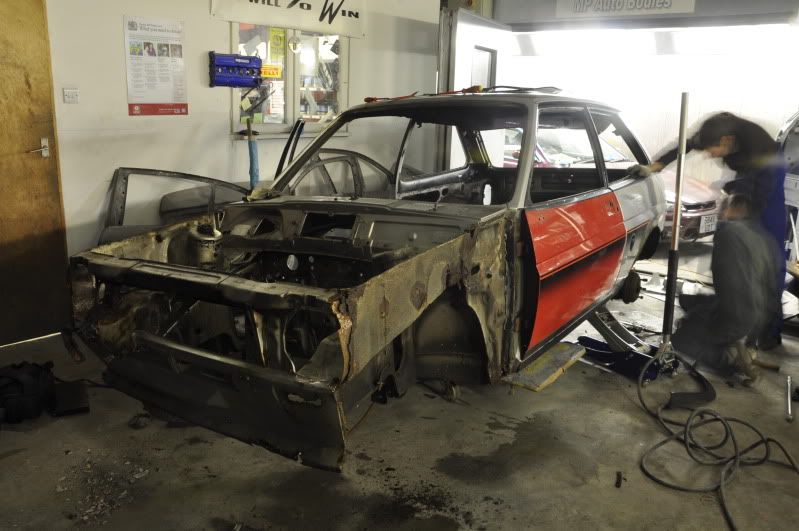
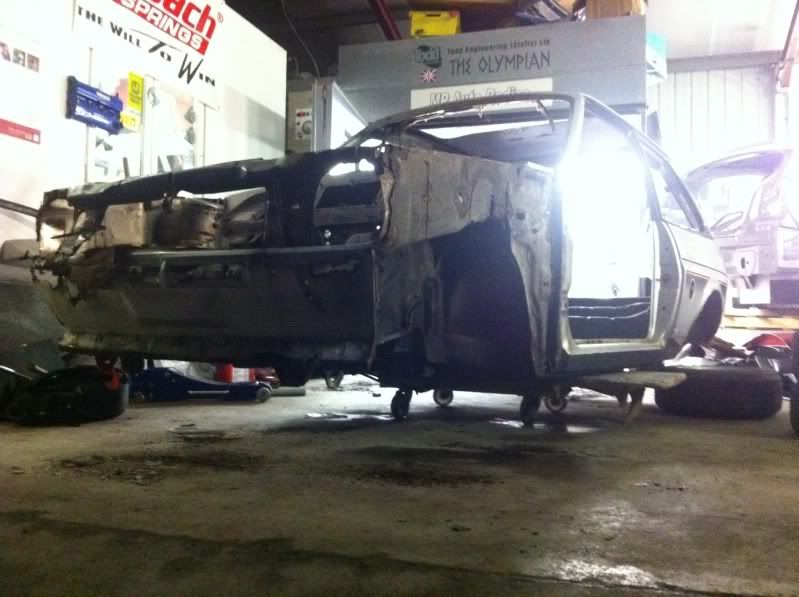

So we loaded up the focus and the nissan with everything we could and brought it back. Had to leave a few things but not to worry, I will be back up. Atleast now I have all the running gear at home to clean up, send away for powdercoating etc.
All the panels (and spare ones) have been left up there. Anything that could be painted has aswell. My lovely tidy garage is now full of car parts on the floor again and the loft is collecting interior trim, glass, window seats, NEW items purchased but thats all OK.
It is somewhat a shame to still be removing stuff from the car. But its progress. Cant wait till its home and it can start going back together. Will be a right pig remembering where everything goes lol Was surprised to find most of the bushes were Poly ones. Someone somwhere down the line cared for this car.
I'm hoping next updates will be from the bodyshop, updating welding, or from home rebuilding box, engine or cleaning parts. Will see what I get a chance to do.
I have now set a date for progress. May 15th, Fiesta In The Park 2011 Show. I've decided, regardless of condition it will be attending on a trailer. So this gives me a date to aim for, miss by a mile, but still have made a fair bit of progress. Dont expect it finished, but if I can afford to have bodywork done by then I dont see why not it cant be a rolling shell/ driven or maybe even MOT'd with just standard parts fitted.
Bought a few new items, full XR2 vinyl kit, new spotlamp, indicators, gaskets, a few other engine components and had the coilovers rebuilt.
Last edited by Con2K; 09-02-2011 at 22:08.
-
Guest

You could always paint the carbon roof skin
-
Guest
True mate, its not really the carbon looking odd, its more the cost of them. £5-600, thats a decent wedge that, right now, could be used more wisely else where on the car. Then to paint over it seems pointless. Yes, a lot lighter, would be a benefit if caged in the future but it's something I'm thinking I could come back to. Weld in cage could have roof skin removed, cage in then carbon skin fitted. Just a thought?!
-
Guest
Small update - Found a really tidy (for its age) Mk1 in a scrapyard and having great difficulty getting them to remove the roof for me. Said I could do it as they 'dont have time, or 'its too muddy', but it's a fair distance from any mains power and I dont have a genny or petrol cutter so hiring these would add to the price of the roof and almost make it cheaper to drive to kent and pick one up advertised on a Fiesta forum lol
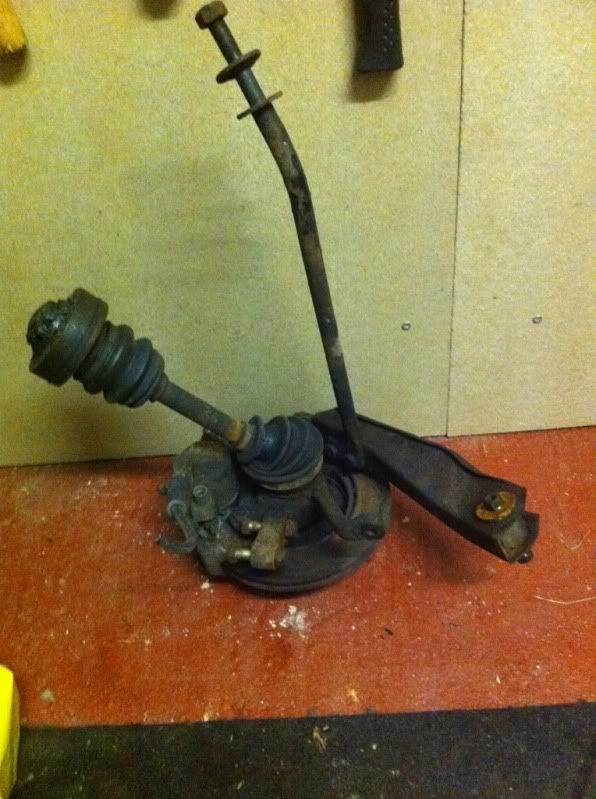
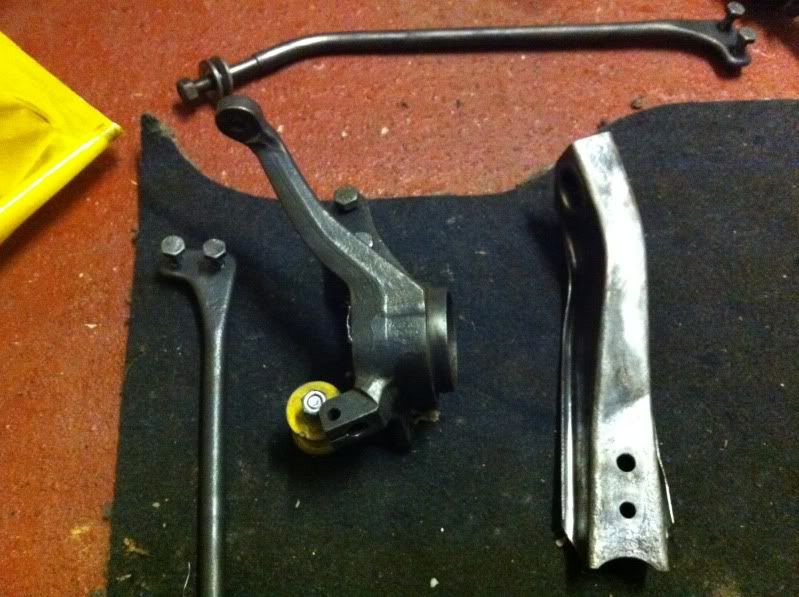
That aside, I have made a start cleaning the drivetrain etc. A kick up the arse is it's the 30th anniversary of the XR2 brand and I want to get it to some shows before the year is out. It wont be complete, but hopefully together enough to drive on/off a trailer under its own steam maybe. Timewise I should be OK. I have set myself May 15th for the first show to attend, it's more the cost of paint and some of the more expensive engine replacement parts before this date like steel headgasket, replacement ARP bolts etc. All worth paying for now instead of regretting it once the engine/car and back together.
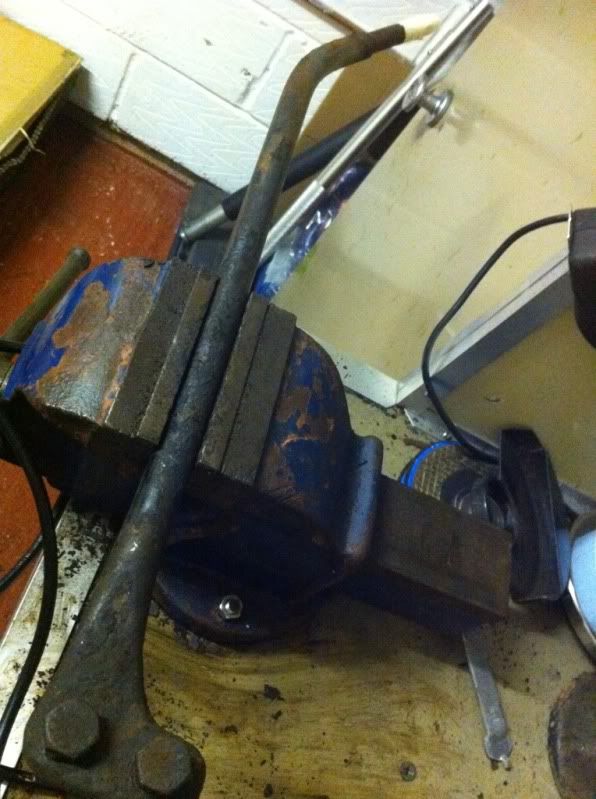
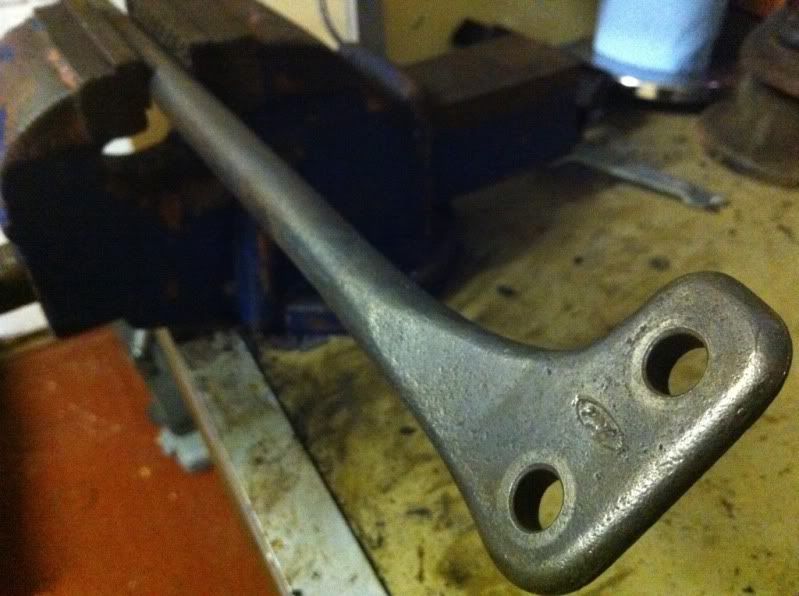
I bought some el cheapo abbrasive brush tools for the grinder, drill and bench grinder from toolstation. £23 for a variety of 9 types. eBay was a few quid cheaper but atleast this way I could see what I was buying and if it didnt look up to it, I could say no. Screwfix, B&Q and Homebase were a rip off by comparison even for their cheap stuff. Will see how I get on with these before spending out on £20 each Bosch ones or sumthing. Probably some smooth Hammerite paint to cover them in. I'm not sure how ffar to go with rust protection on these sort of things? Red oxides or primers etc. The shell is a different story as it's made from much thinner stuff...
I want to get lots of stuff powdercoated but I think, due to time/cost I will leave this for the moment. I'm not cutting corners but cleaning them off and painting will have to do for this summer if I want to meet my deadline. It means I can build it back up sooner and keeps cost down rather than waiting until EVERYTHING is stripped and then sending it away. The limited use of the car means I shouldnt have too much trouble in the future but atleast this way I have cleaner components that are easily removable say, next winter, when the car is off the road and I can send things off to be done.
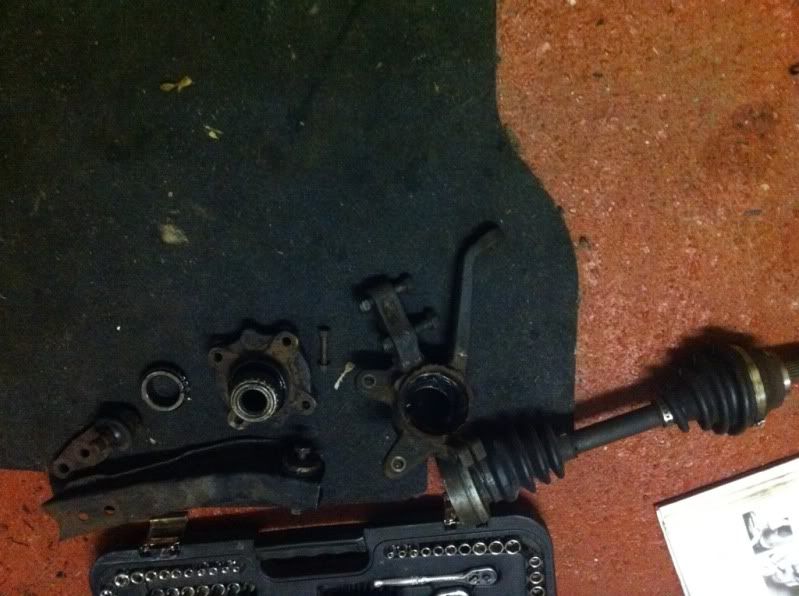
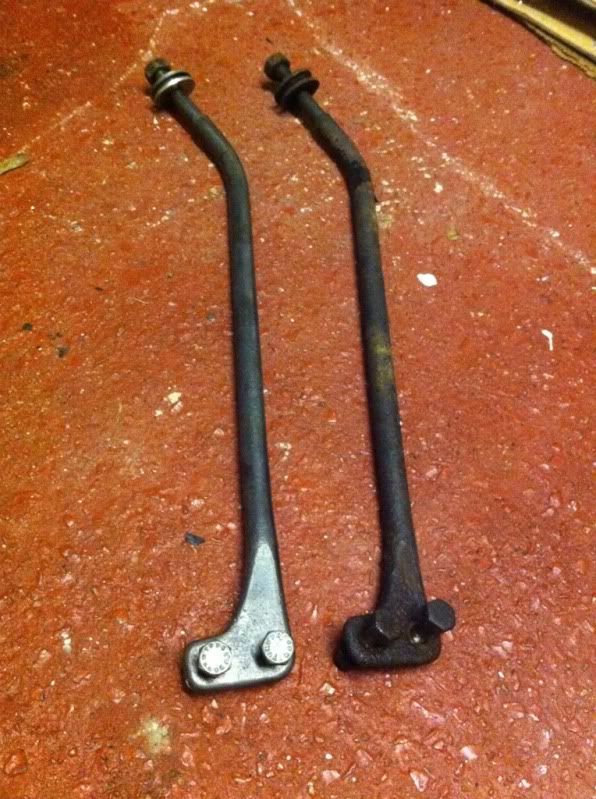
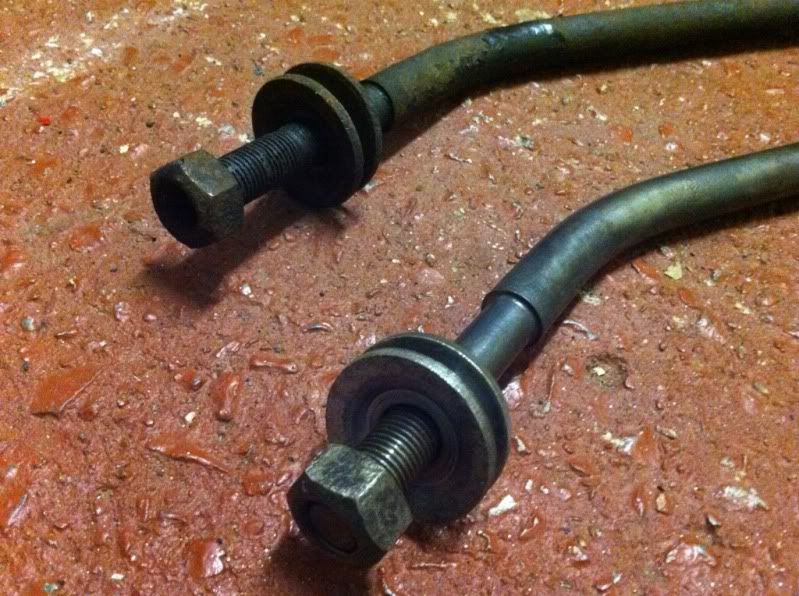
Currently the front hubs are all apart, new bearings ordered. Front driveshafts apart too. Havent done anything to the rear. Will try and save my poly bushes. They all seem in good condition but will wait until they are cleaned up. Do they show signs of fatigue like normal rubber bushes or are they made of better stuff that may disguise any problems??
The garage is full of the dirty things, the shed full of spares (not including my lockup) and the loft is slowly building up a collection of 'ready to be fitted' parts. Clean Tail lights, cleaned glass, new quick rack, headlights etc etc. Can't wait till this stash includes more of the running gear. It will finally feel like it's going back together rather than still coming apart!
Any thoughts?
Cheers.
Last edited by Con2K; 09-02-2011 at 14:12.
-
Guest
-
Guest
-
Member

-
Guest
-
Guest
Still waiting for my first sample powdercoating to return. Was getting it doen for free so gave them a sample to see what they turn out like. Didnt want to put all my eggs in one basket, especially with hard to source XR2 parts, for them to not come back, or be damaged. If all comes back well then I'll send the rest off. I cant really argue about time scale (week 3 now) as it is for free. They refused to take anything for it.
That aside, I had some more panels posted out.
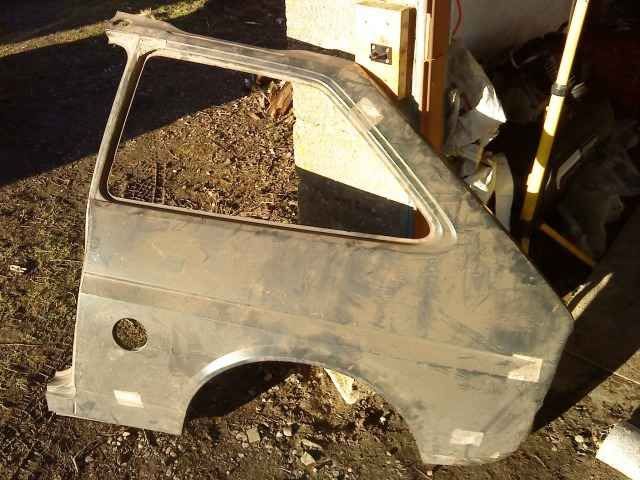
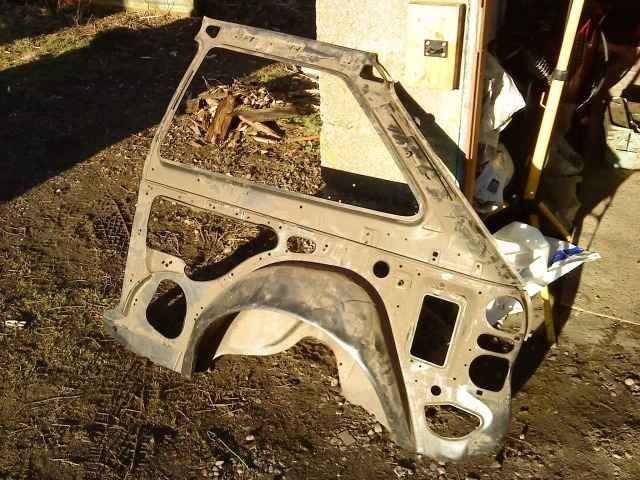
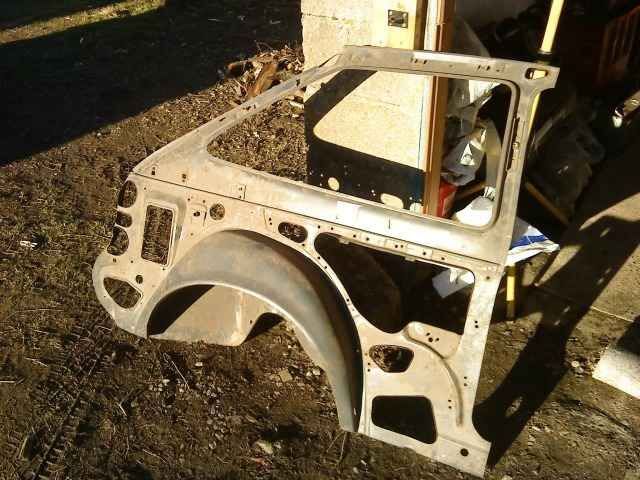
This is 2x inner rear quarters and 1 outer rear quarter. My can only needs arch repair and inner arch but you can't get genuine or copy inner arches anymore and outer arch repair sections never look as good as a full quarter. The Bonus came when I paid about £30 a panel and the seller then informed me they were genuine Ford items (neither of us knew). So thats almost £200 a panel if they were going up on ebay. Very pleased with that! Paisley frieght got them posted from Northern Scotland to Hereford last week for £19 including insurance!
Only parts I need are drivers side outer rear quarter and a roof skin. I doubt I will source a genuine drivers rear quarter but the Hadrian Panels ones are bad. Also a full quarter shouldnt be too hard to have made looking stright as it's points of contact are at the roof, sill, rear and B pillar so it's not an obvious replacement to the eye once the car is built back up.
I was messed about with 2x roofs from Mk1/Mk2 fiestas in scfrapyards locally. I passed up a couple on the Fiesta forums as these scrapyard finds were local ad a lot easier to get. Looks like I will have to travel to either manchester, kent or scotland for a rof asthese are the only people who I know are willing to sell them seperate from a shell.
**Please keep eyes peeld for anyone selling/breaking Mk1 or 2 fiestas**
I would love to get hold of a drivers side inner chassis leg (again, not available as a copy peice, only genuine). I have 2x passenger side so could potentially swap but they very very rarely come up so I think I will just have to leave this. TBH it's not needing replacing, but if I was doing the other side I wouldnt mind putting fresh metal down instead of a repair panel for the inner arch.
Once a roof is sorted I am going to collect some other running gear and components I left at the bodyshop last time I was there (Couldnt fit them in the car). These will be broguht back and stripped ready for powdercoat/renewal/refurb etc.
Engine: No physical progress with it. But totalling up costs and without any upgrades (Just renewal) I am already at £600! Still plan to have engine rebuilt and shell welded by May. Would love paint and powdercoat all complete bu June/July and the car running/rolling by August.
I sold a 106 Quiksilver I had last week in the hope that I could spend it on the fiesta and got a lot more done. After a few bills I have enough to pay for engine parts OR welding.
 Posting Permissions
- You may not post new threads
- You may not post replies
- You may not post attachments
- You may not edit your posts
-
Forum Rules


 Reply With Quote
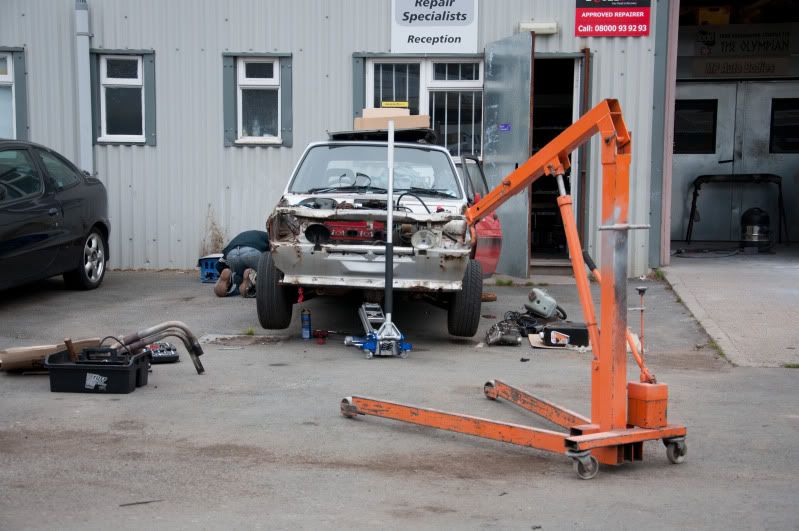
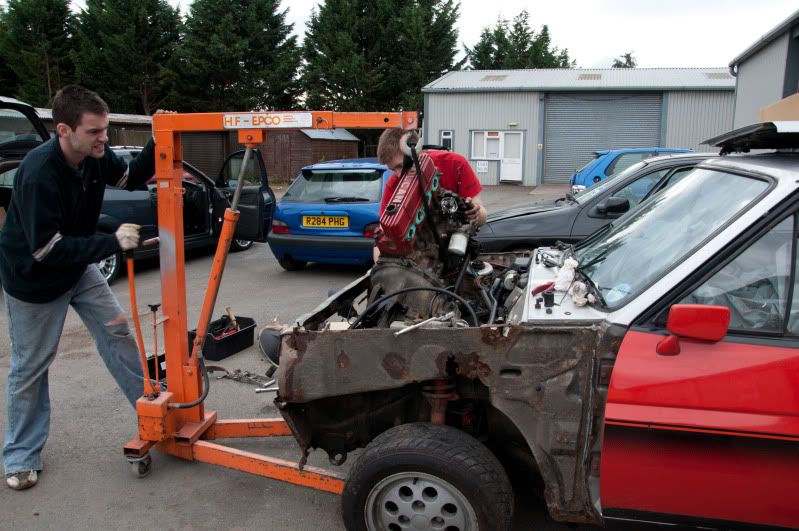
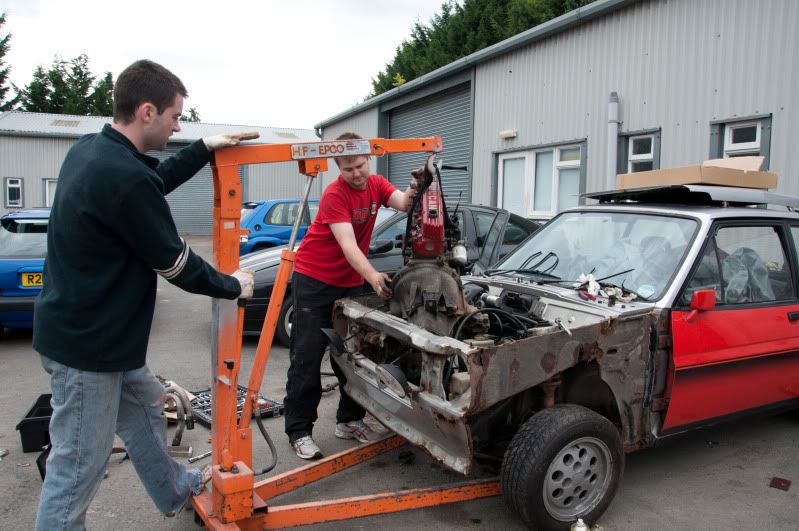


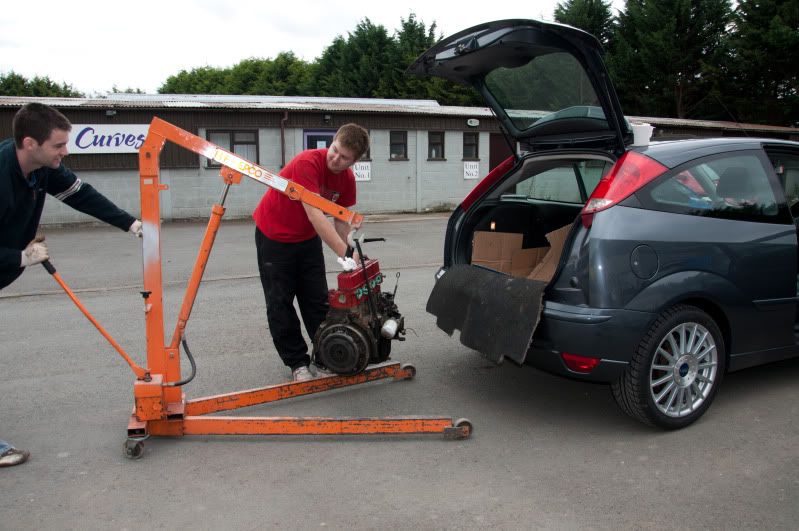
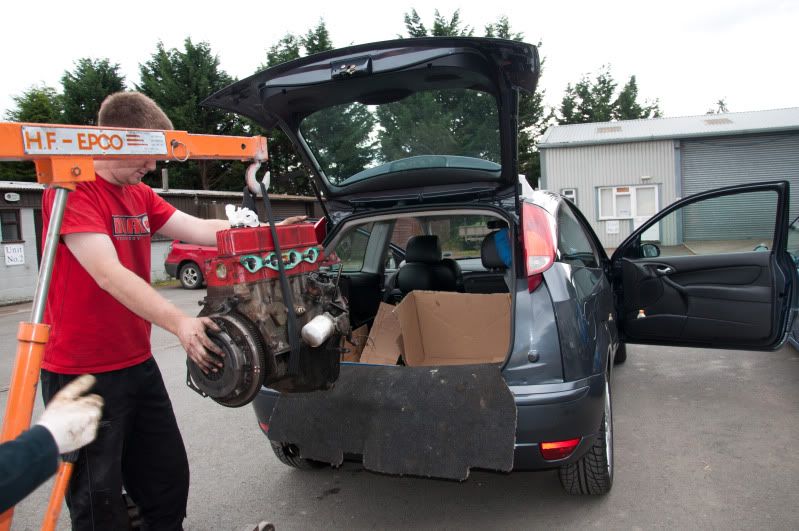


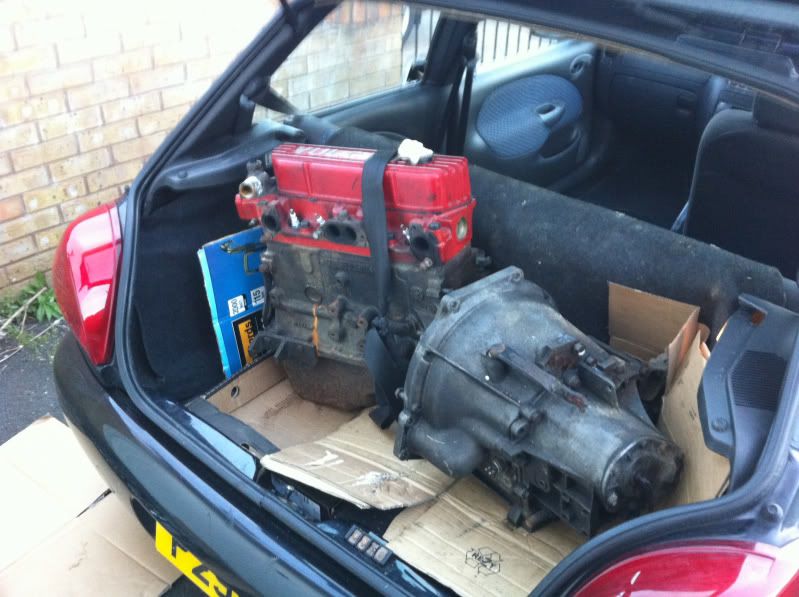
 ) and then single handedly tried to figure out how to get the low engine/car to mate up with the higher stand without an engine crane.