Just spent a bit of time stripping and rebuilding a gearbox to replace the bearings. I took a load of photos whilst I was at it, so thought I'd do a bit of a write up.
First:-
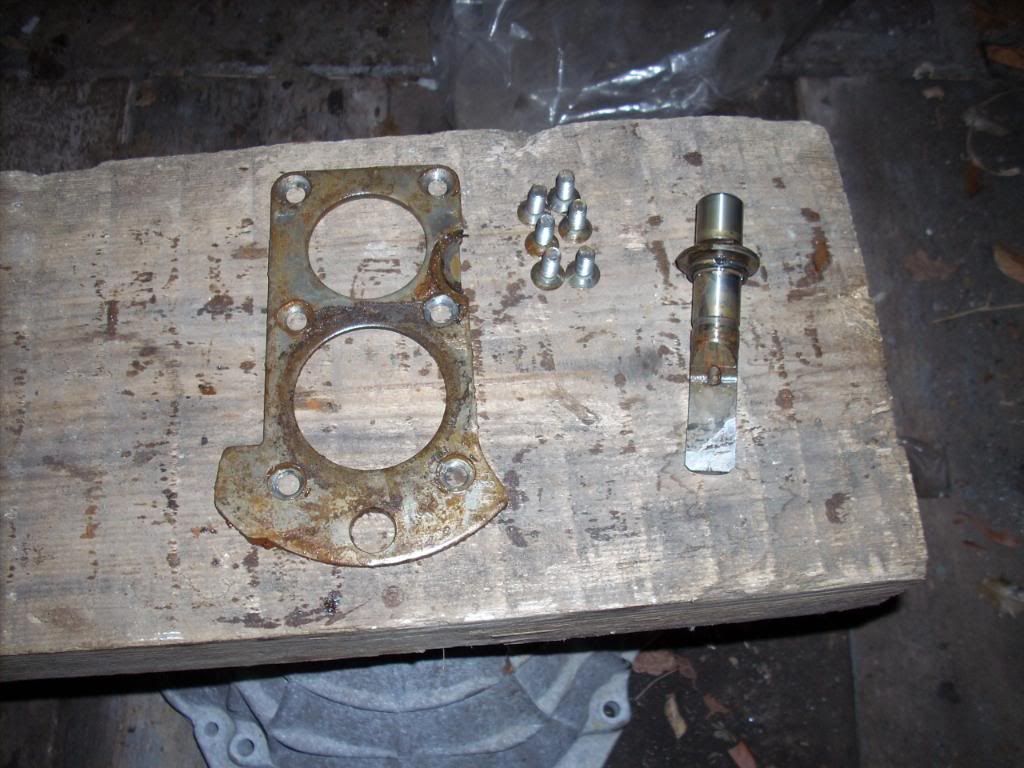
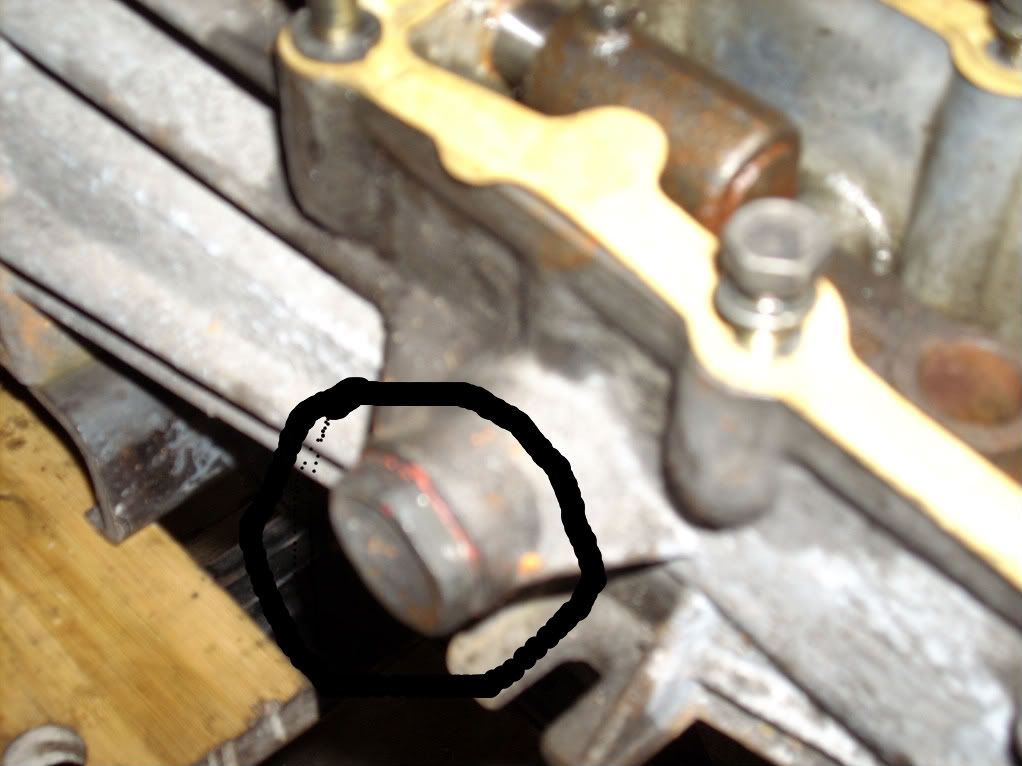
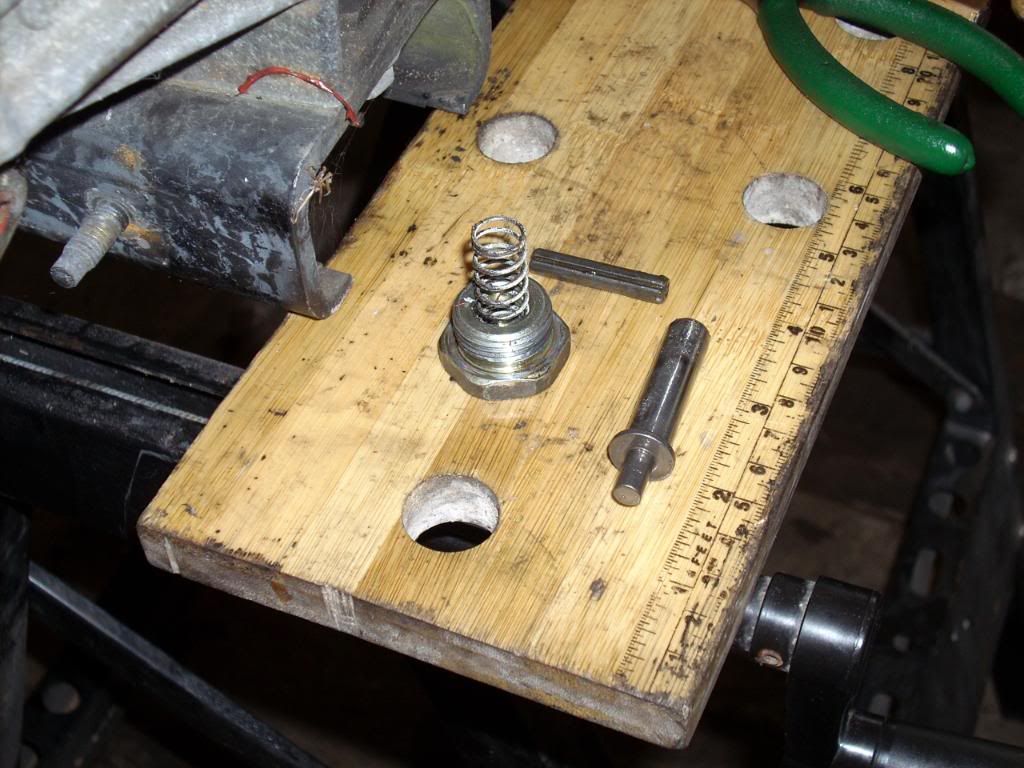
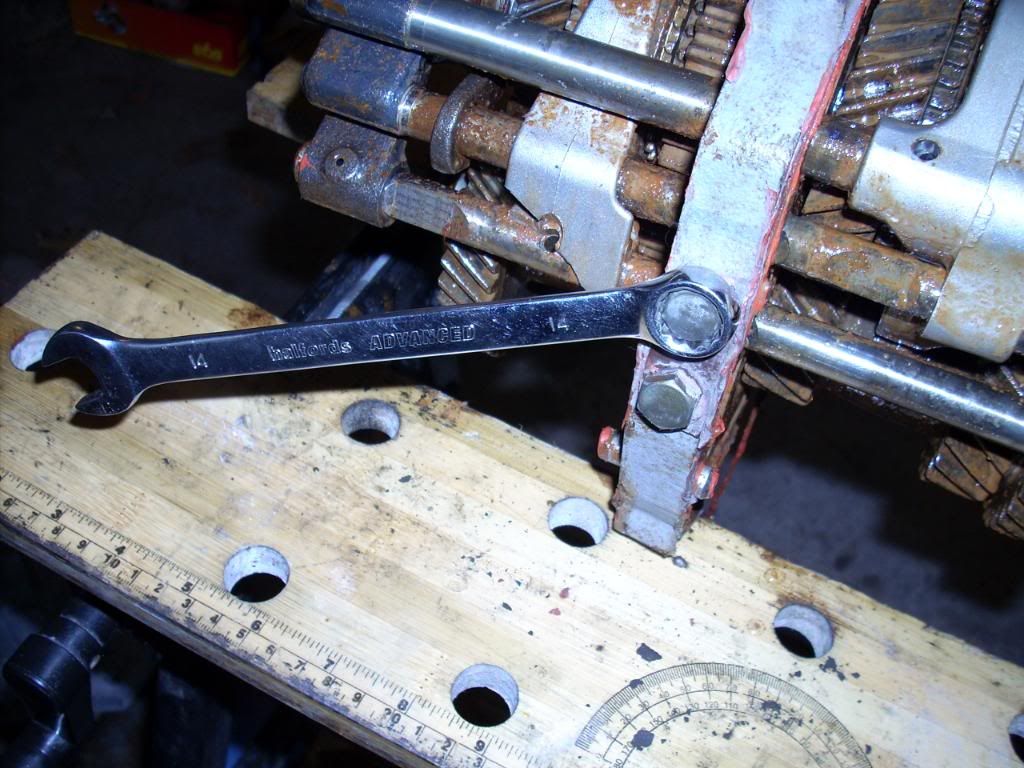
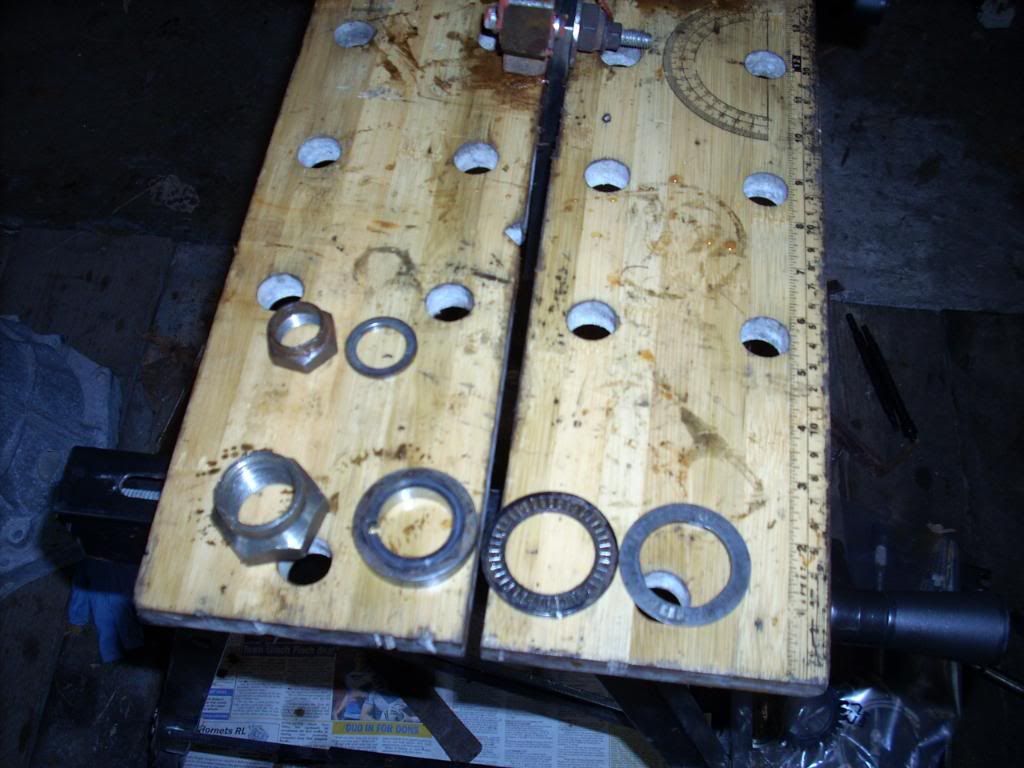
Remove this.
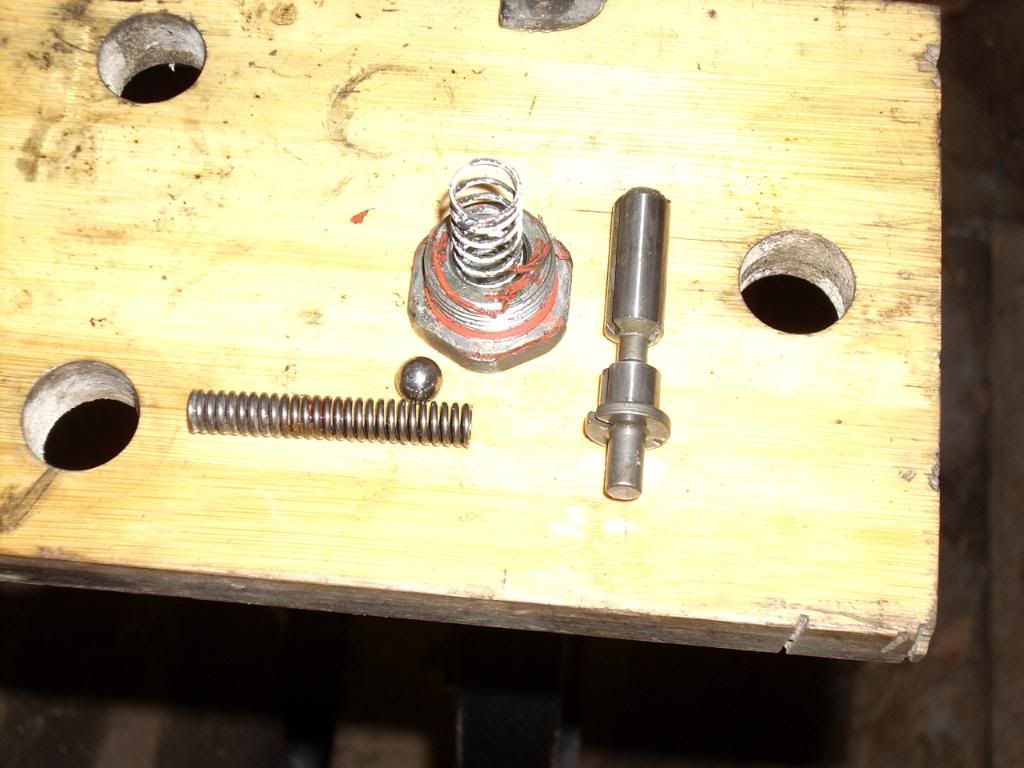
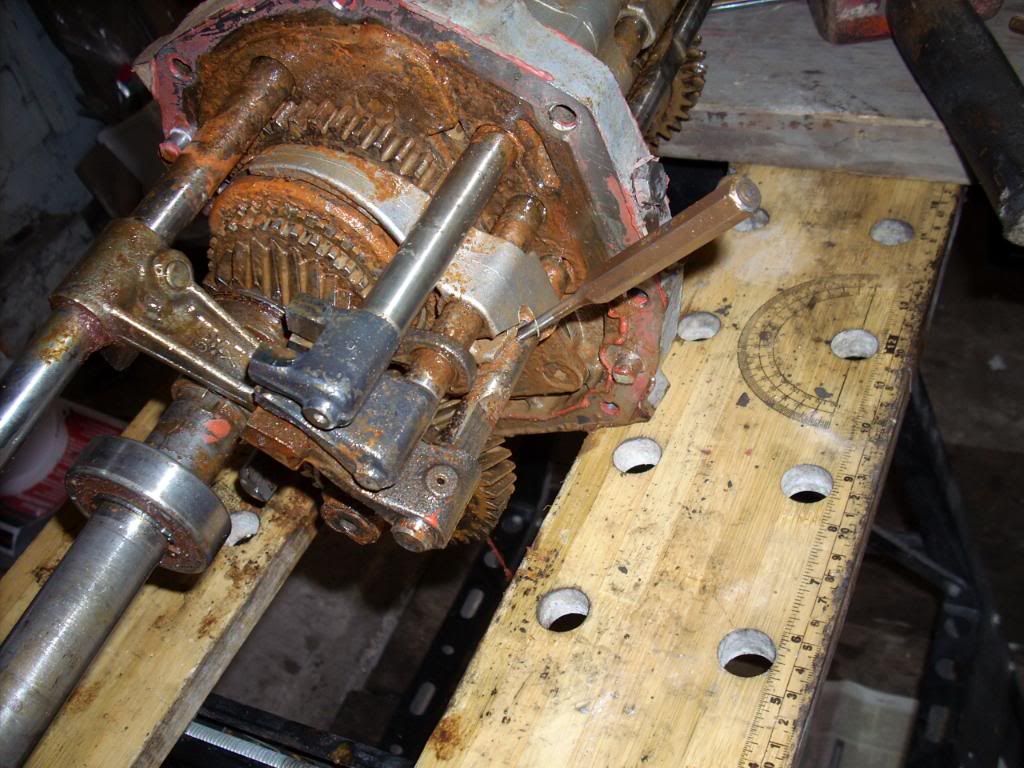
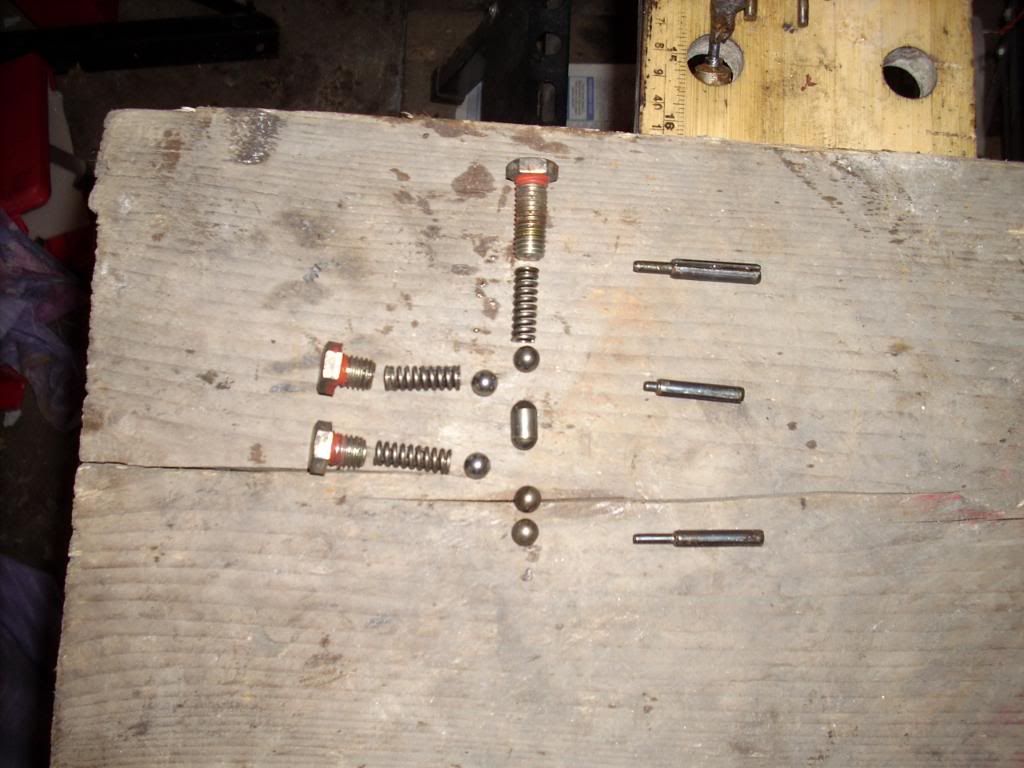
There is another on the other side of the casing, and behind these, are these springs and plungers. The long spring and steel ball are located in the casing under the gasket you can see in the first pic.
Passenger side.
Driver side.
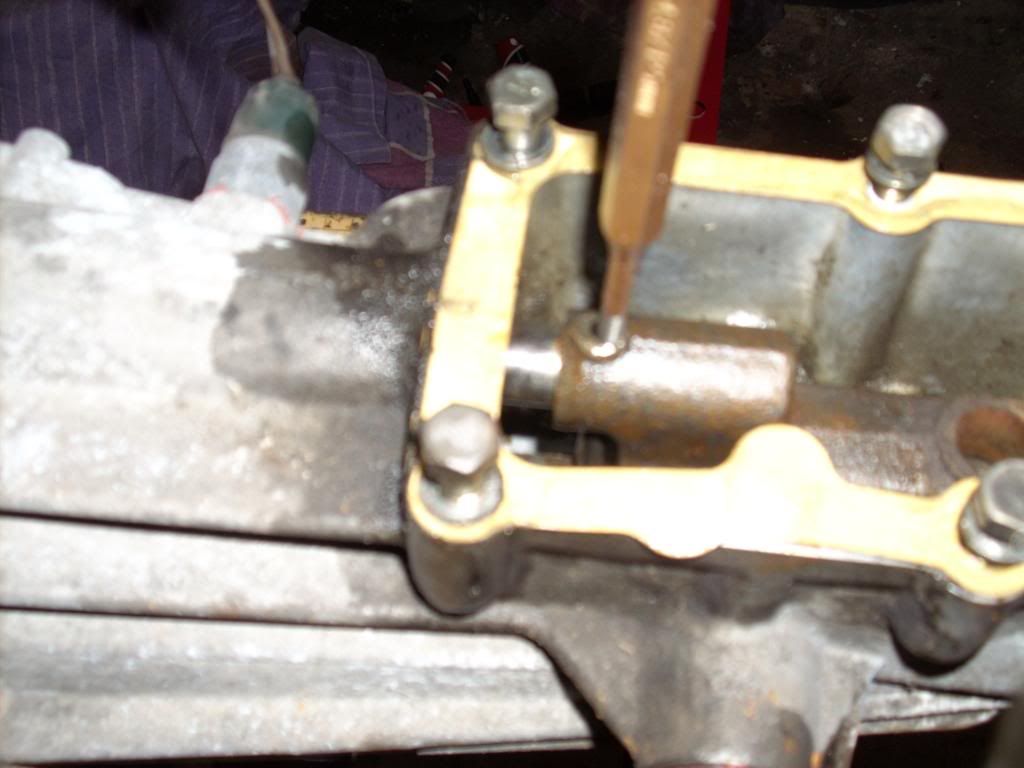
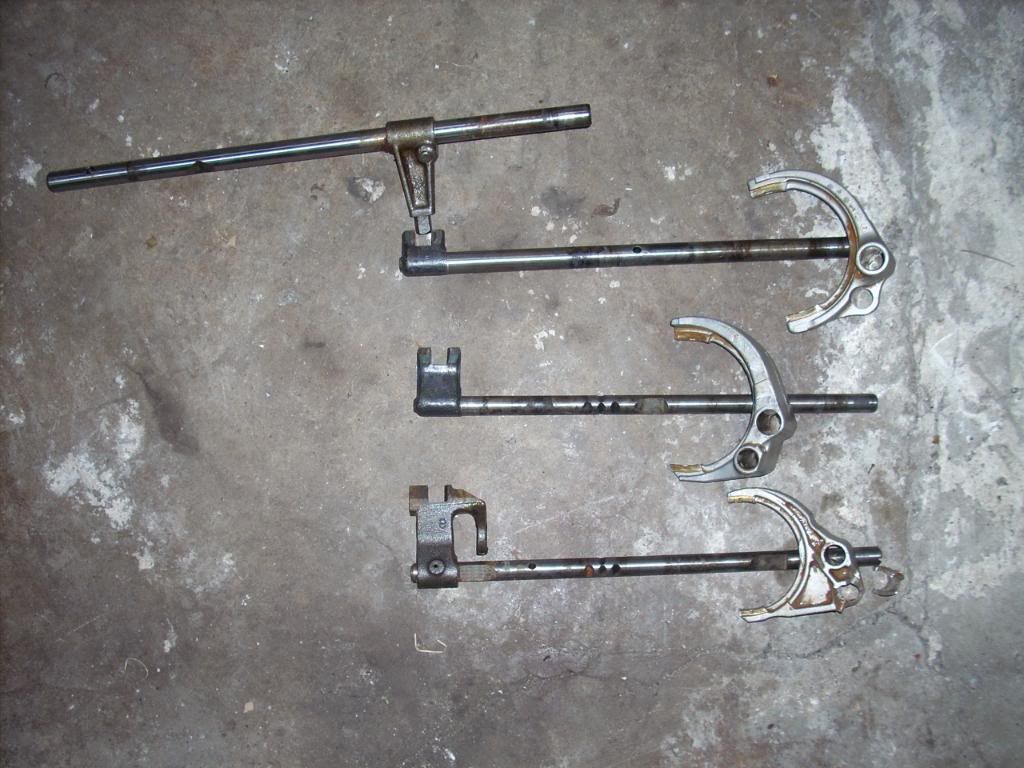
The roll pin in the previous pic is knocked out of here with a punch.
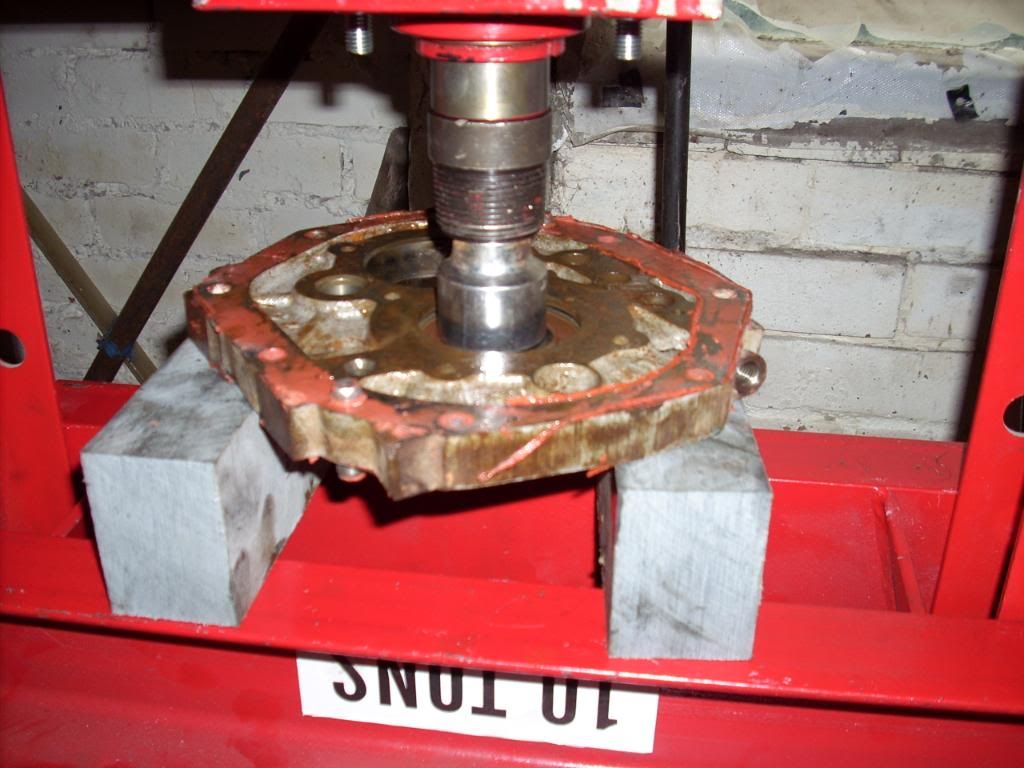
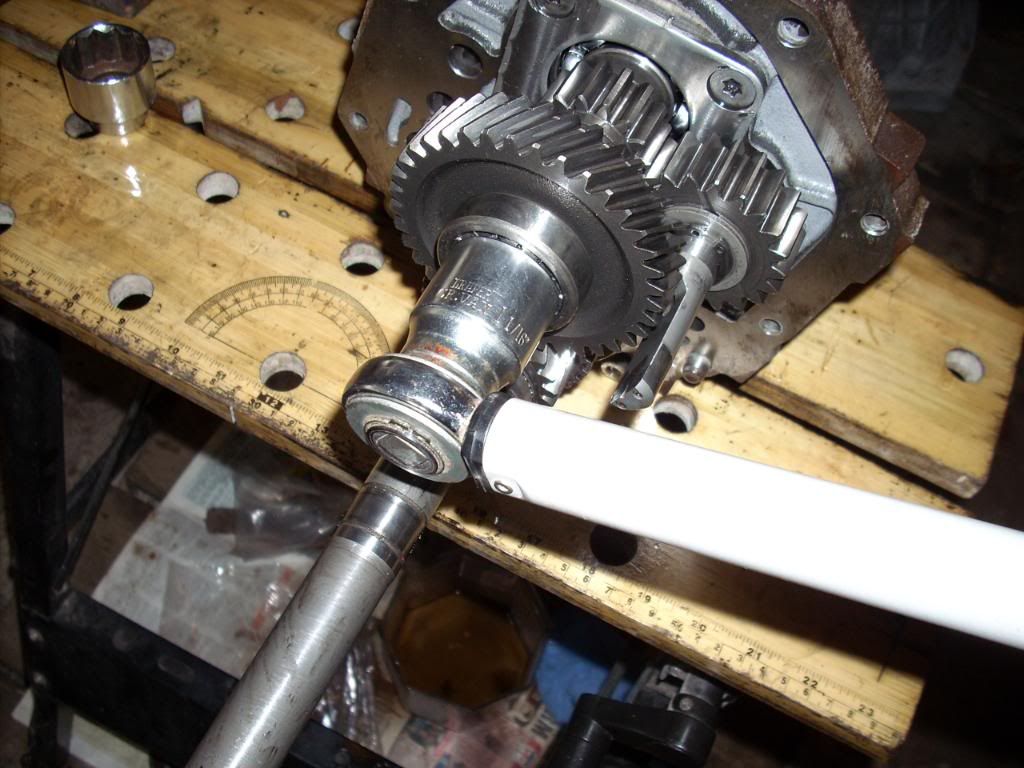
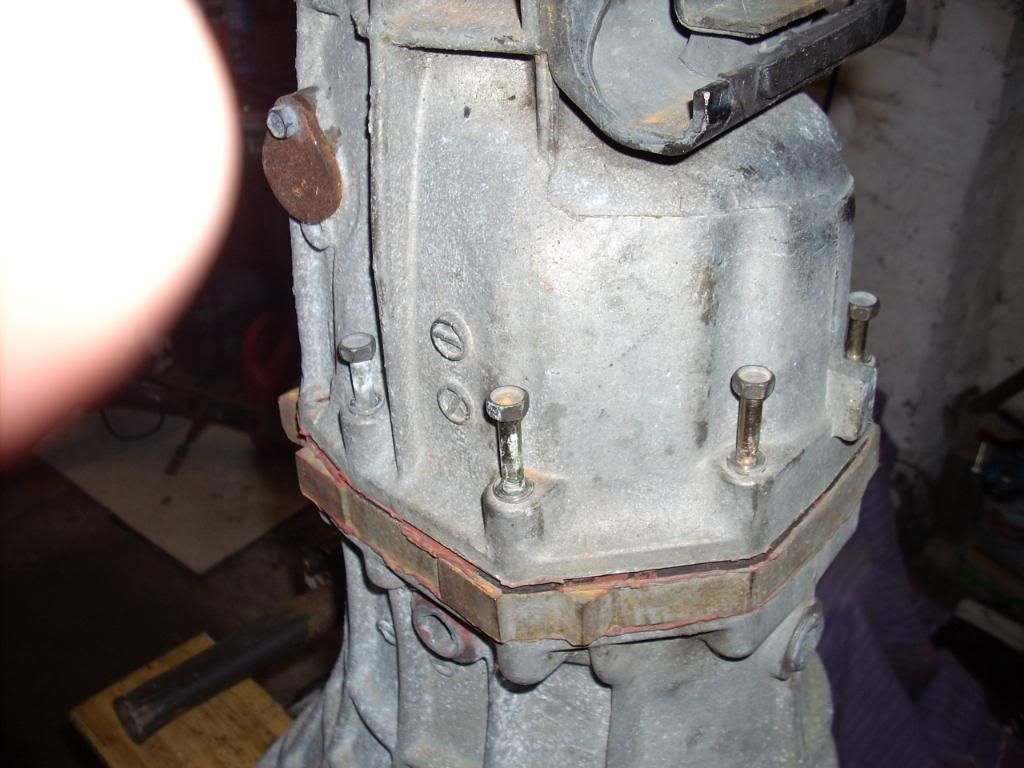
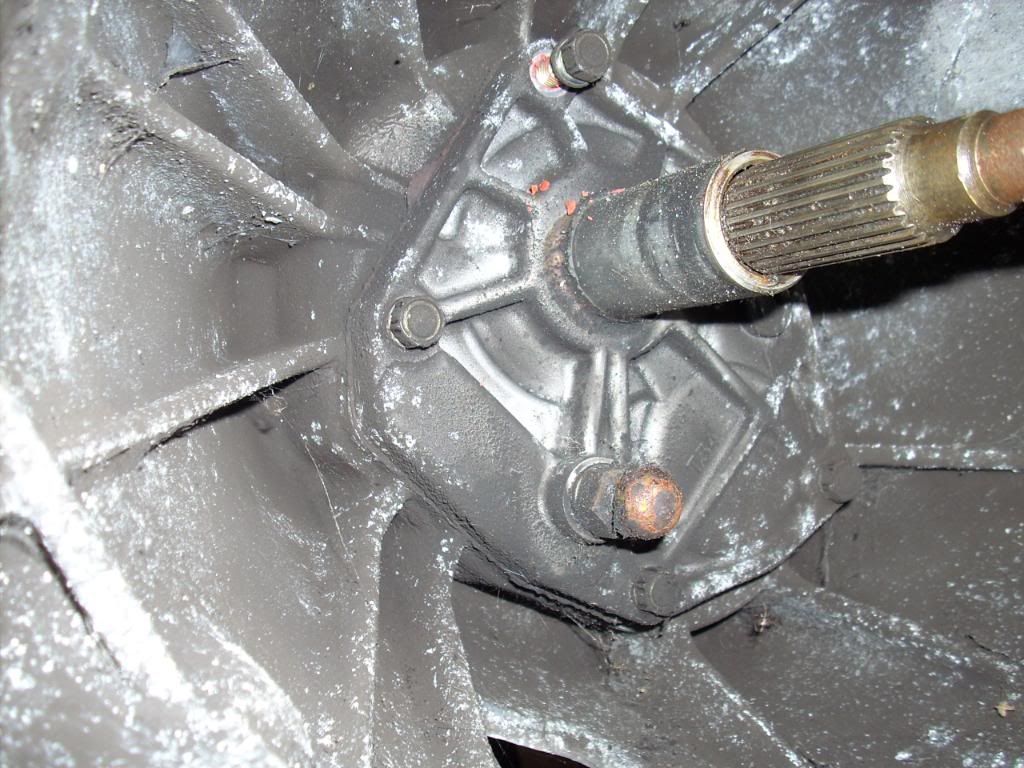
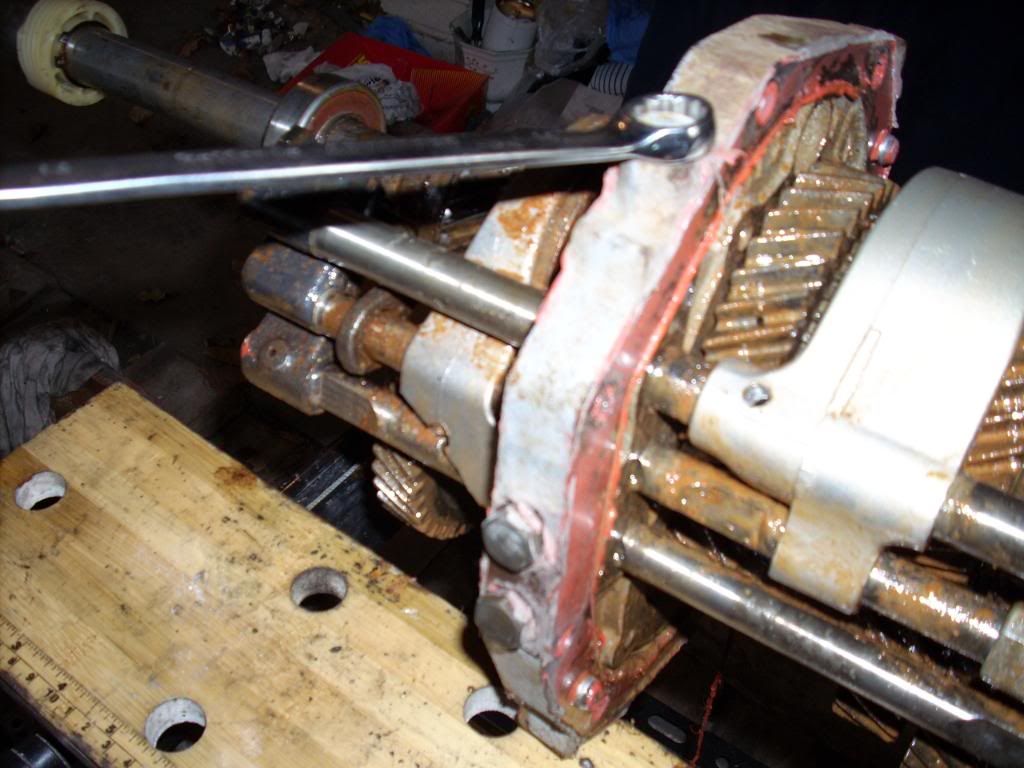
Next, remove these bolts around the rear casing.
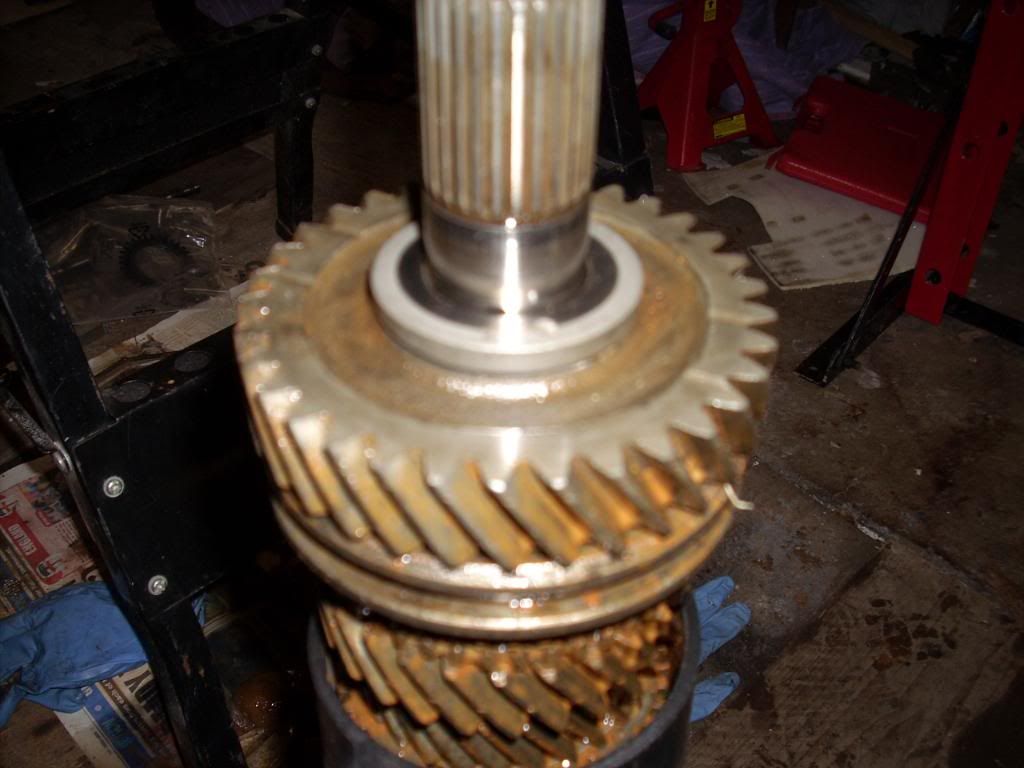
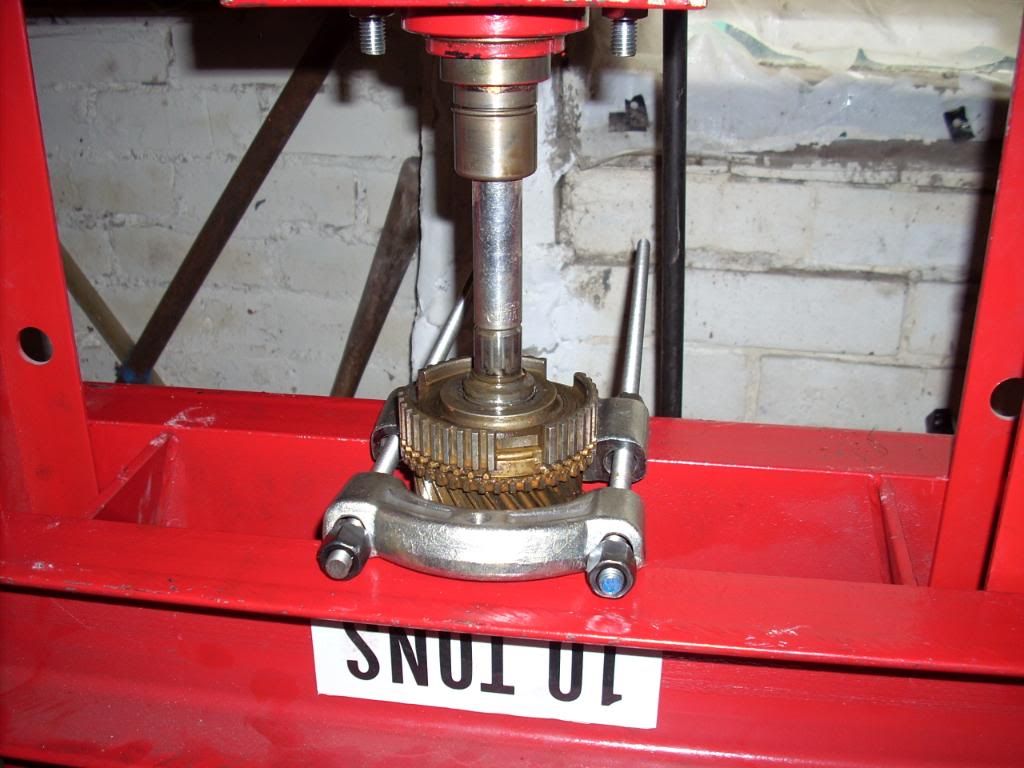
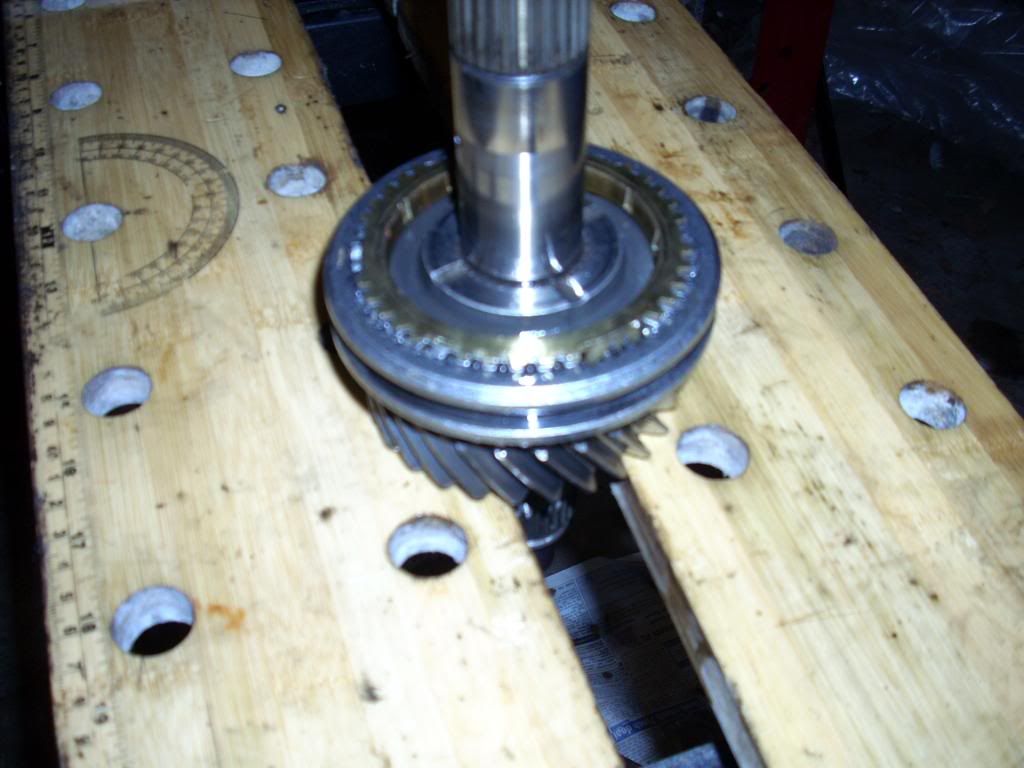
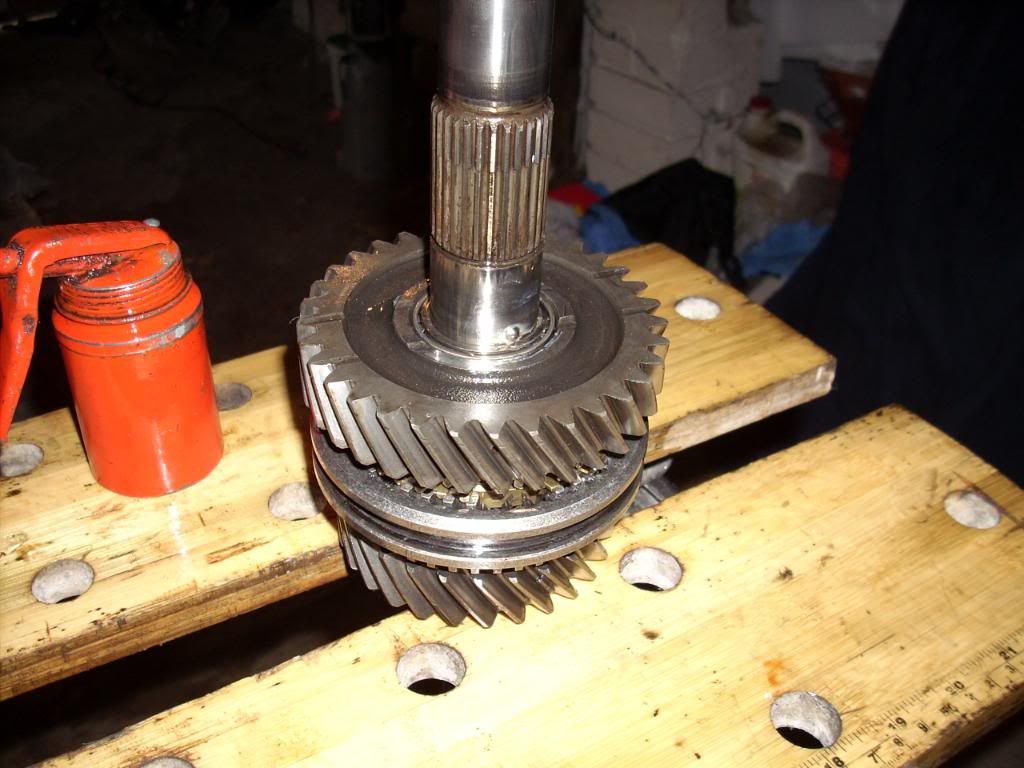
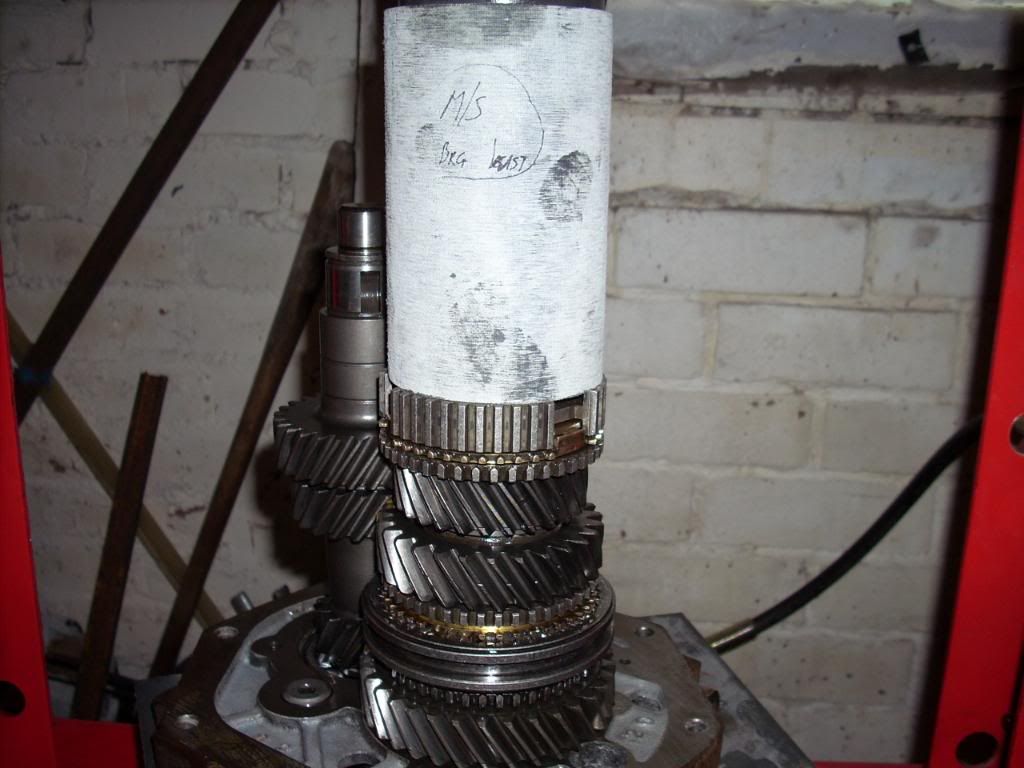
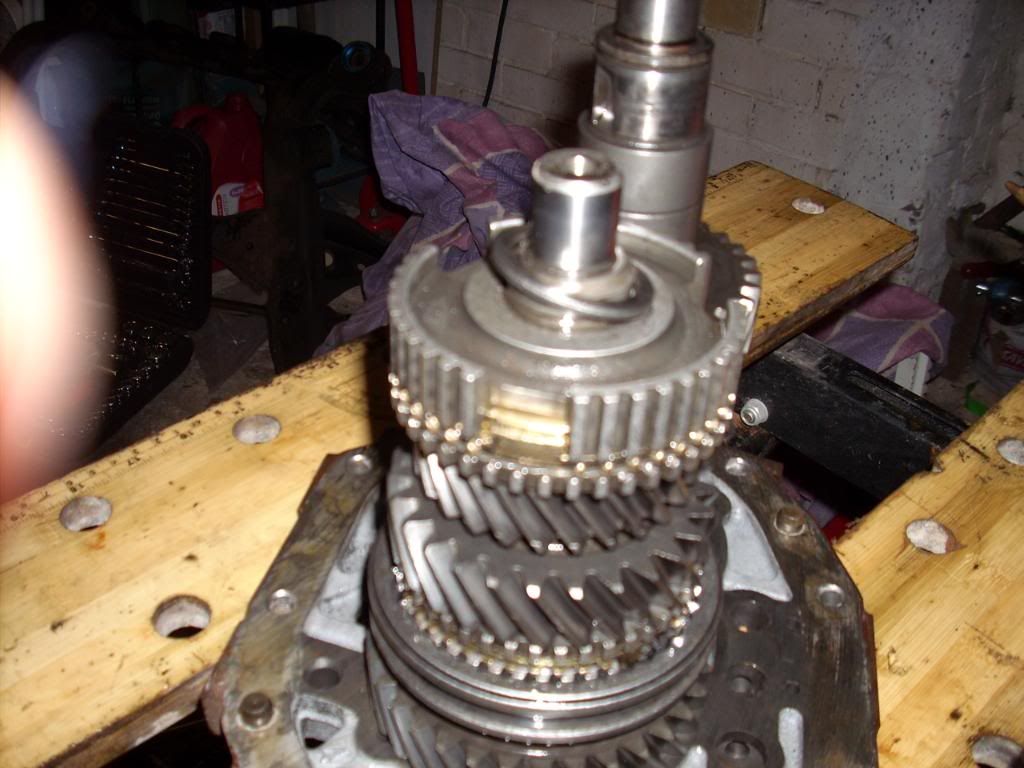
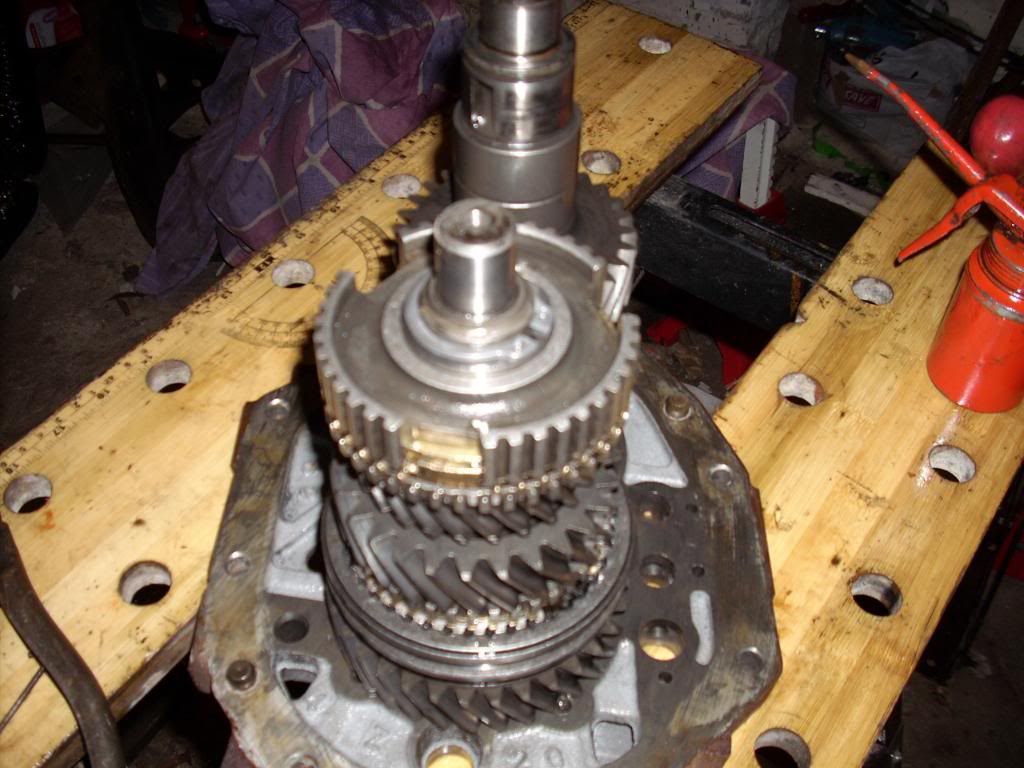
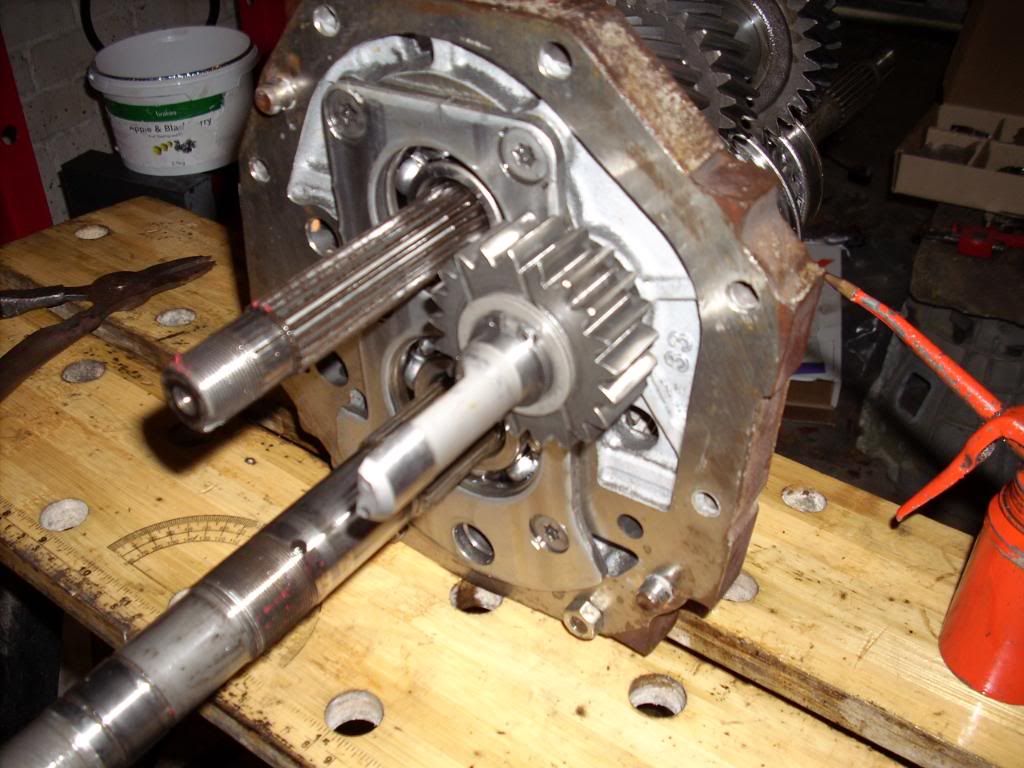
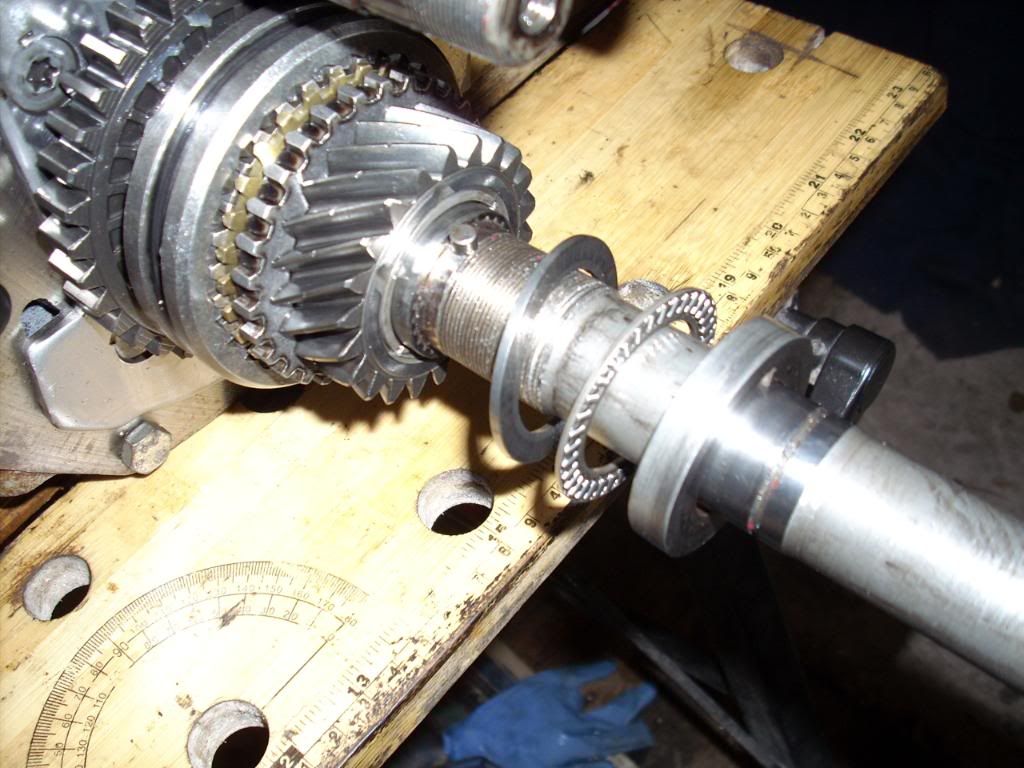
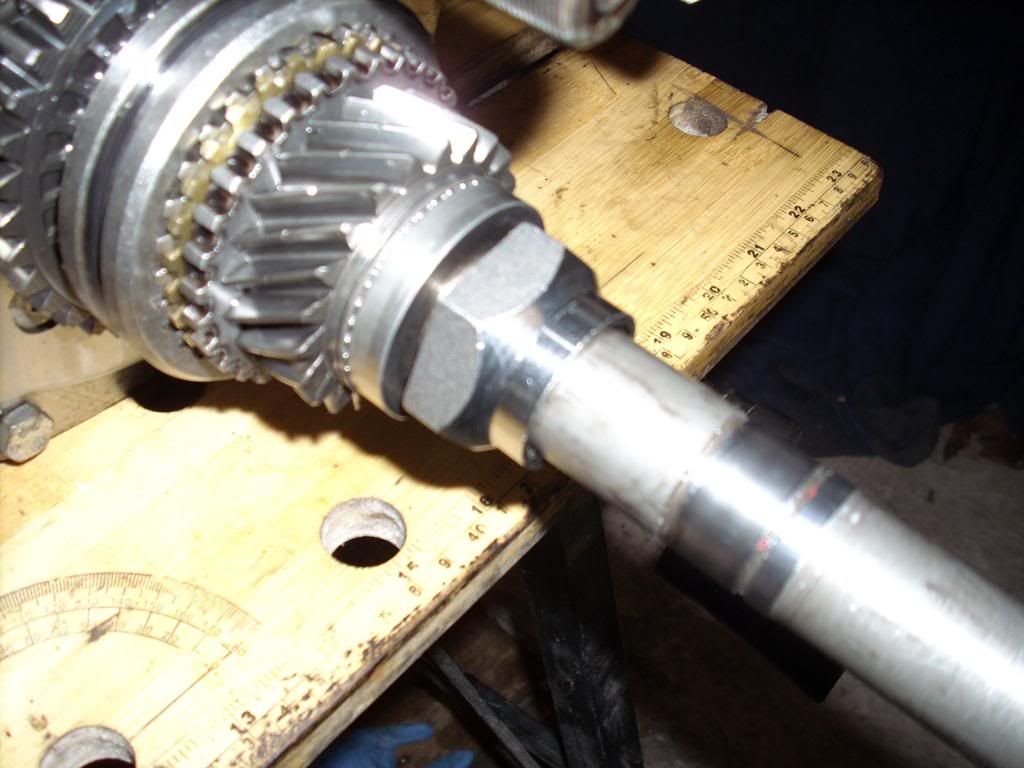
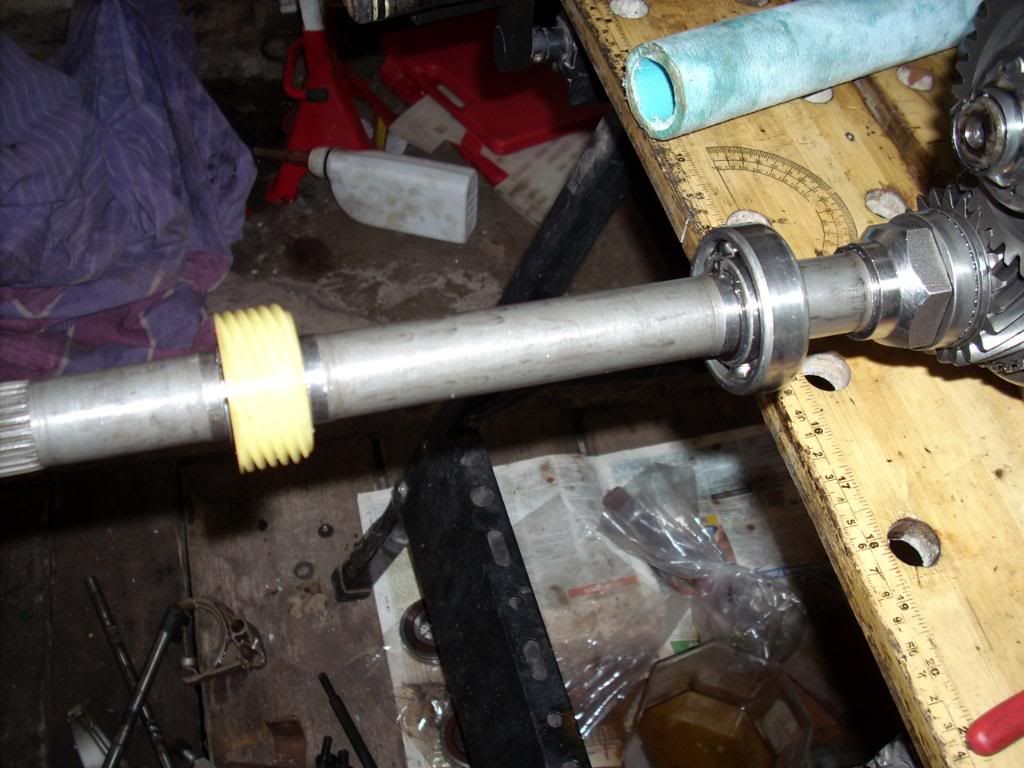
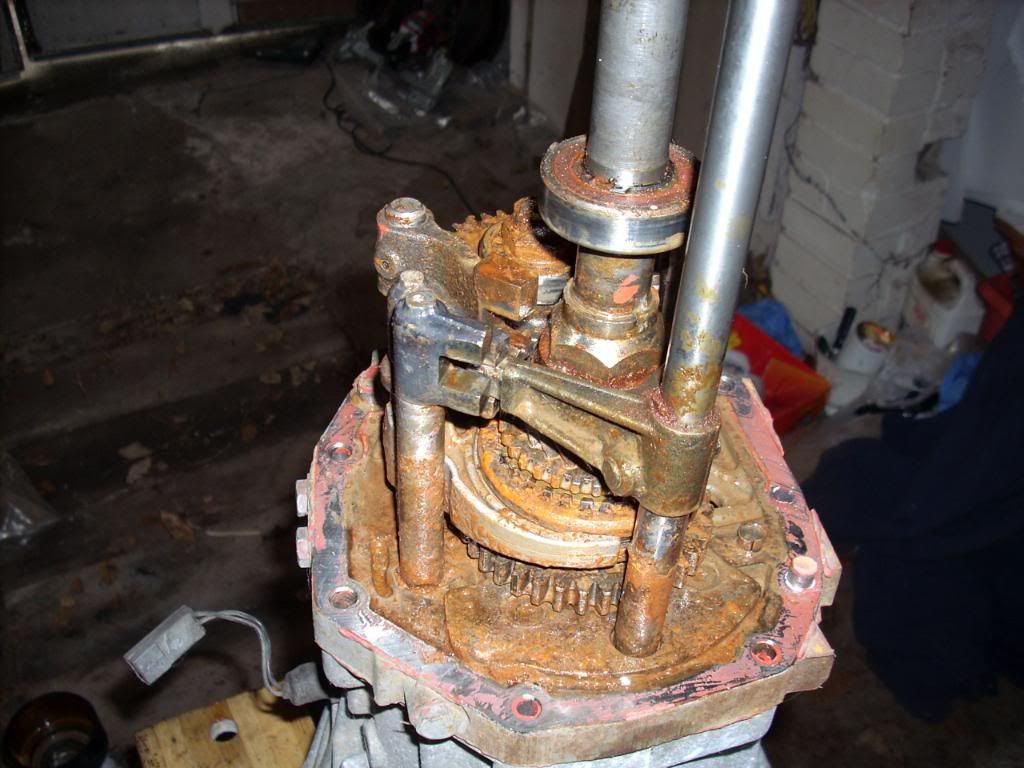
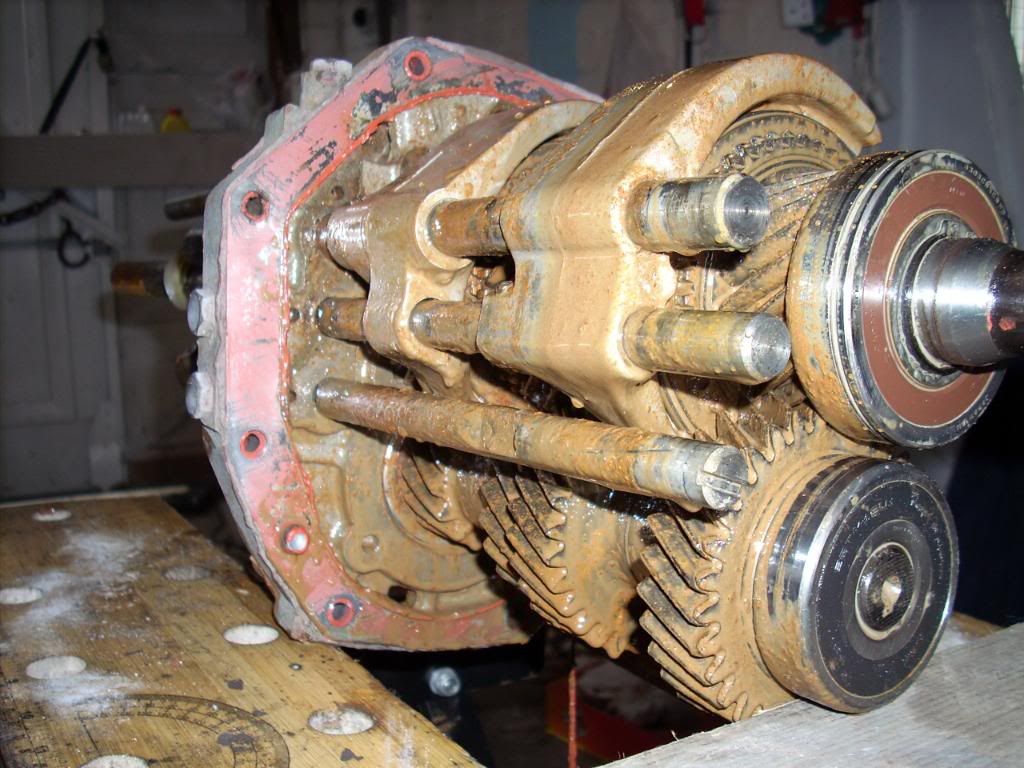
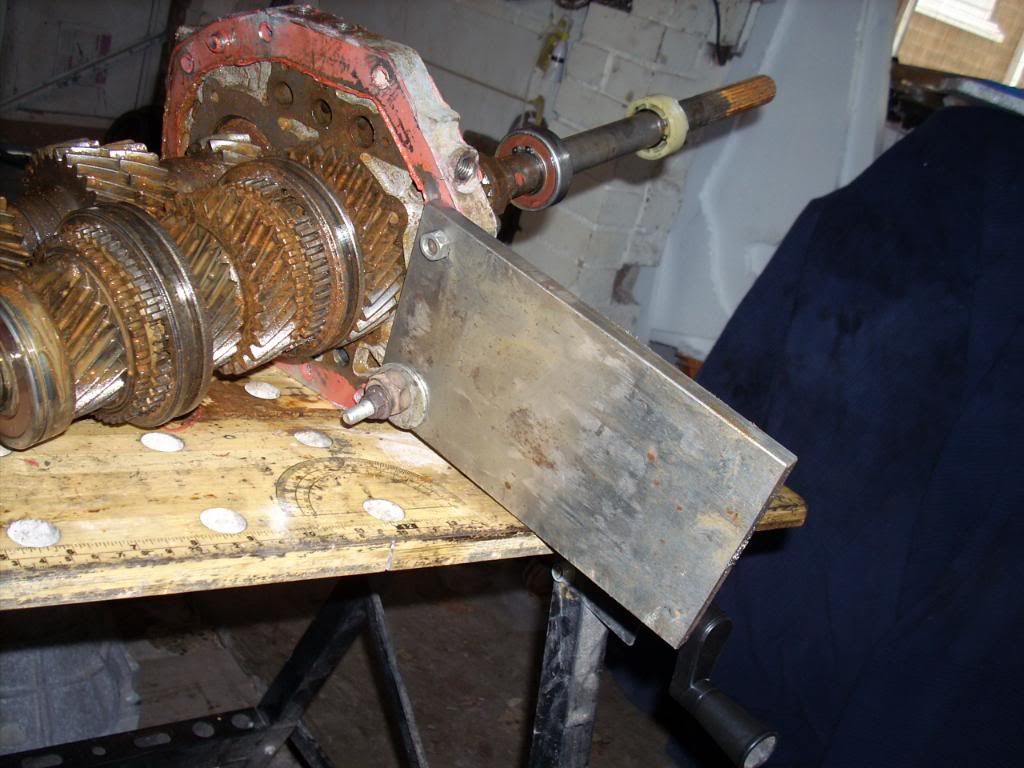
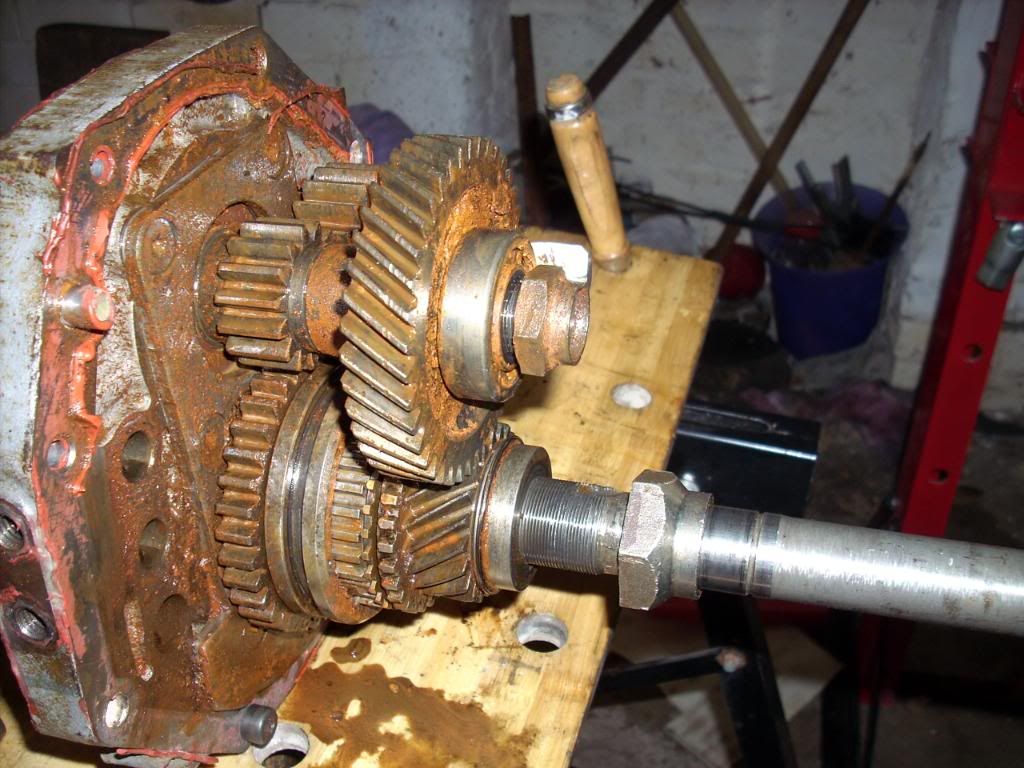
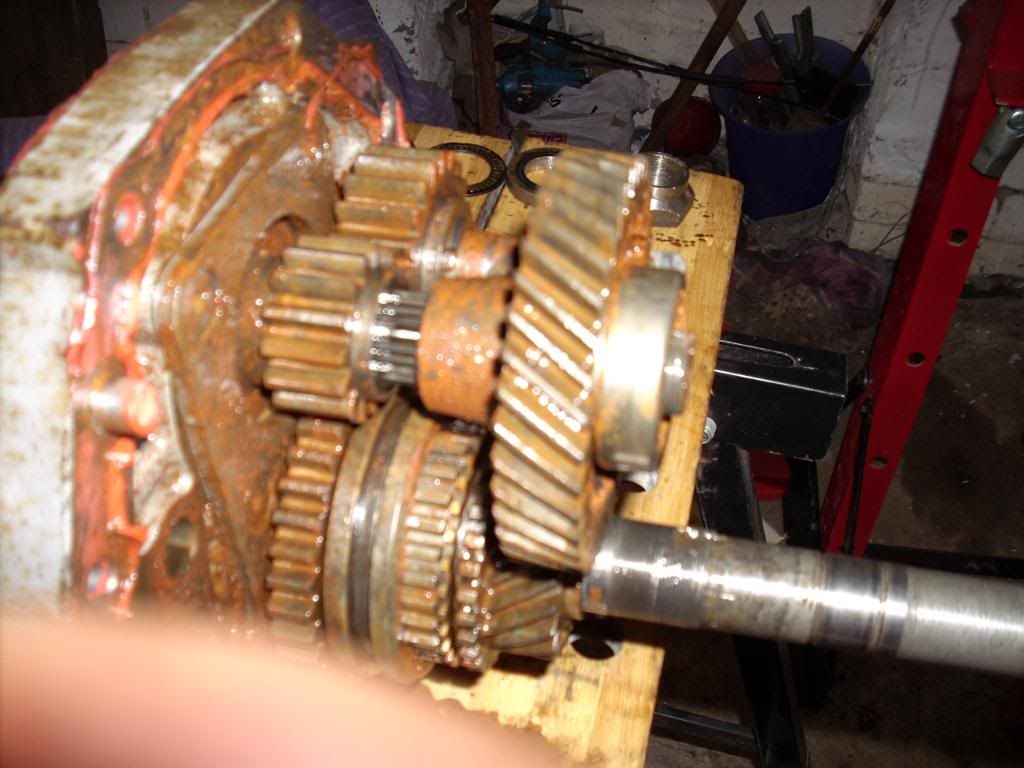
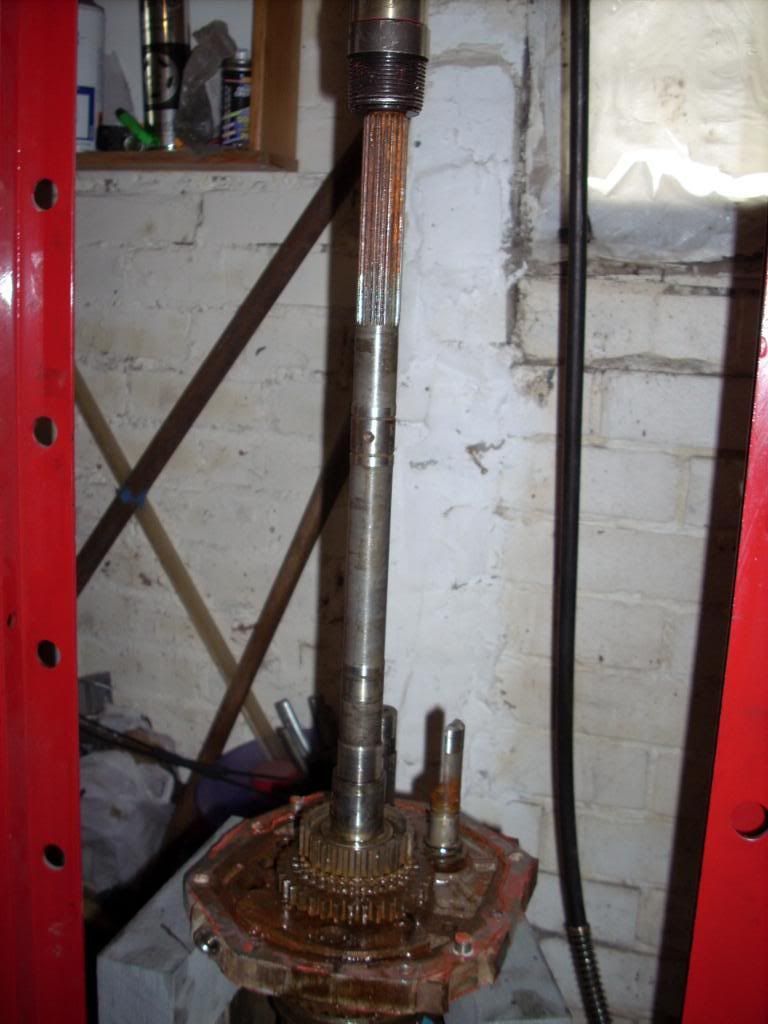
You can then tap the rear casing off, to reveal the rear of the mainshaft.
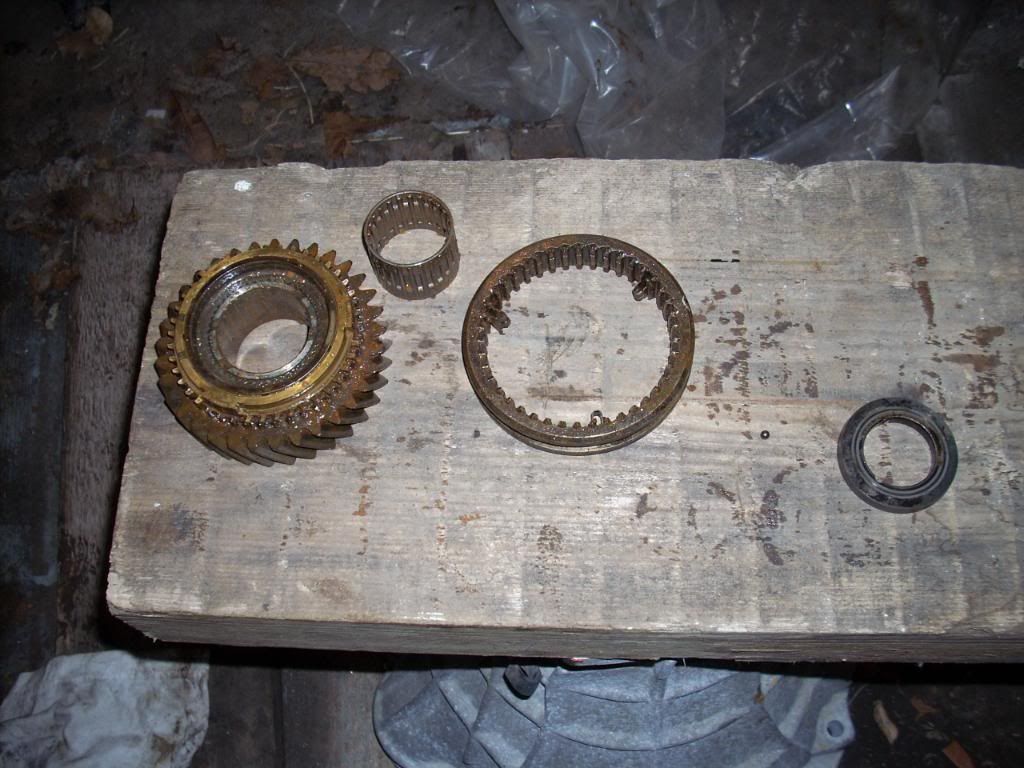
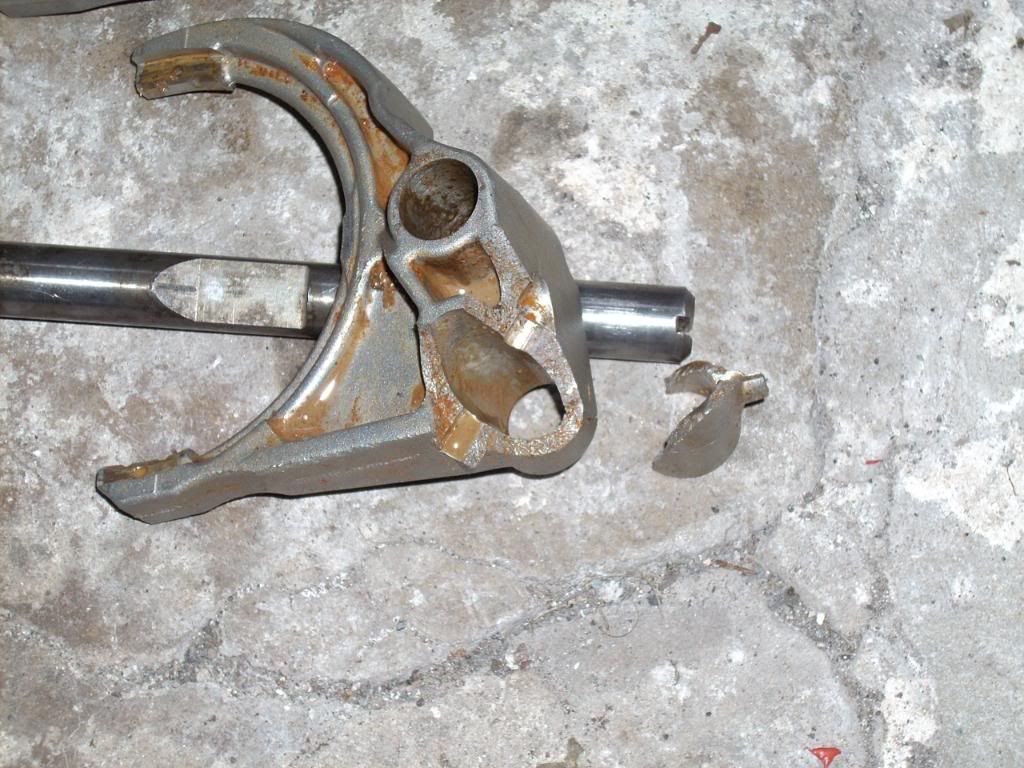
This box has lived outside for about 3yrs under no cover, that's why it's as rusty as it is.
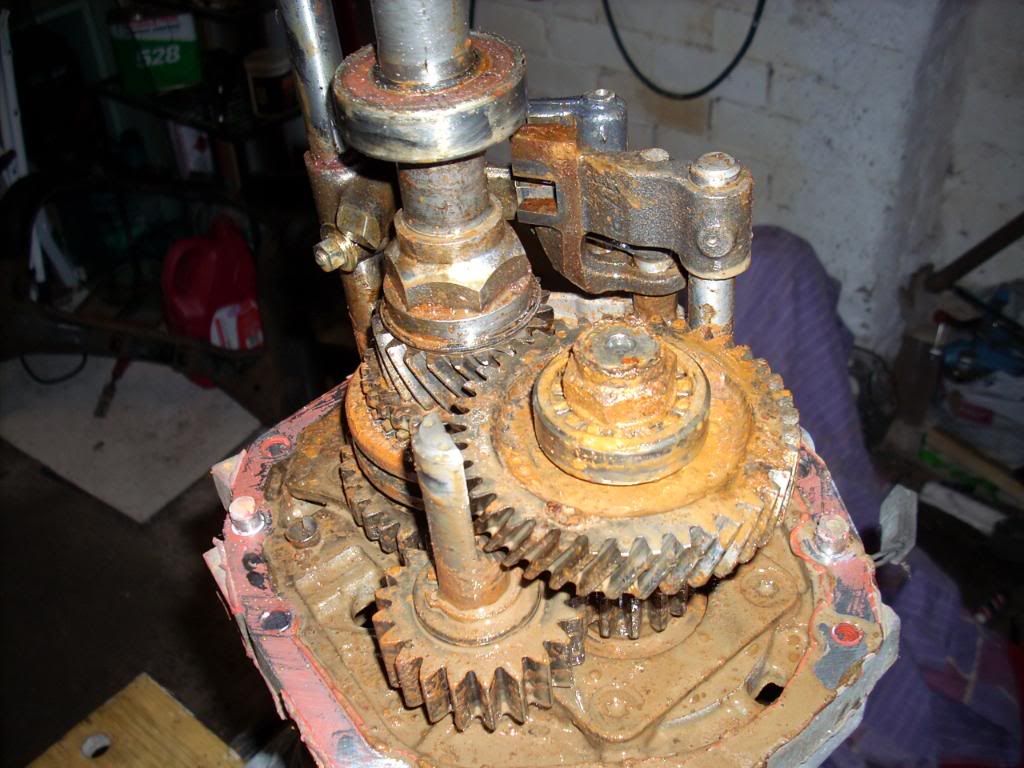
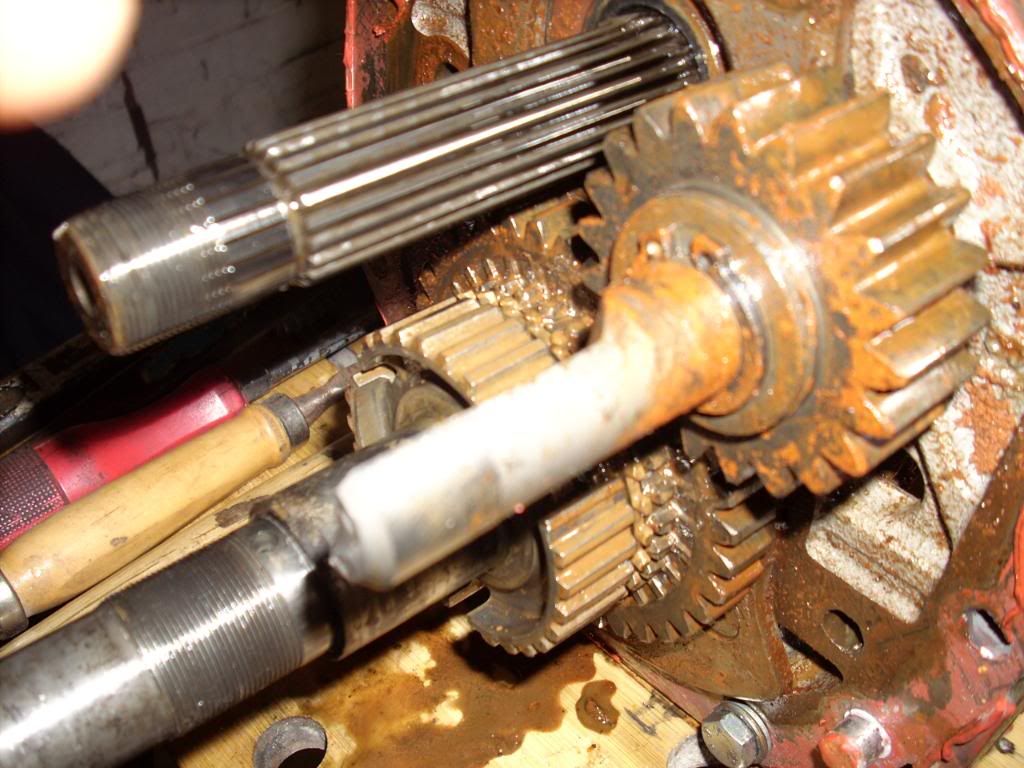
Next, into the bell housing.
Remove these bolts from the front cover.
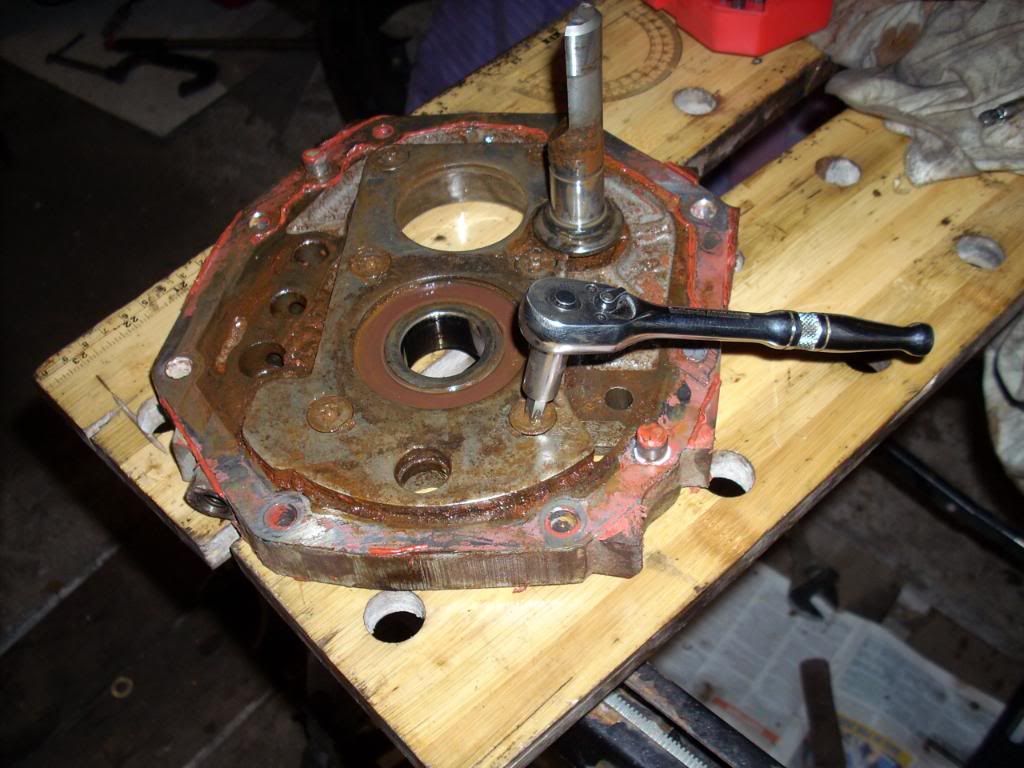
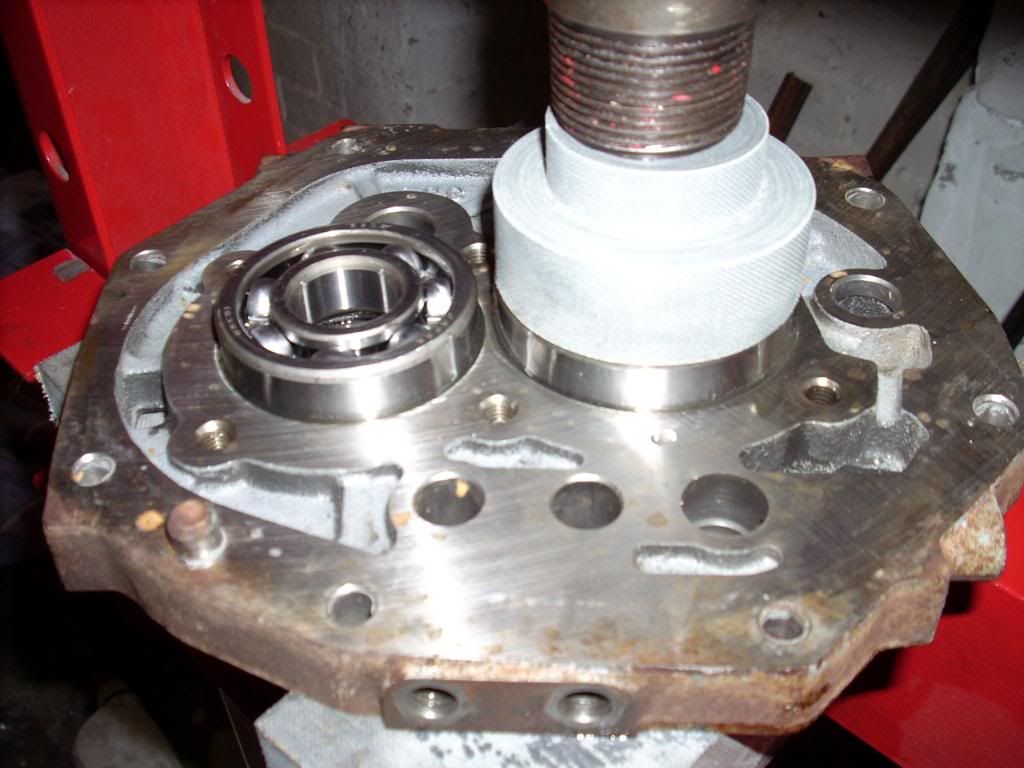
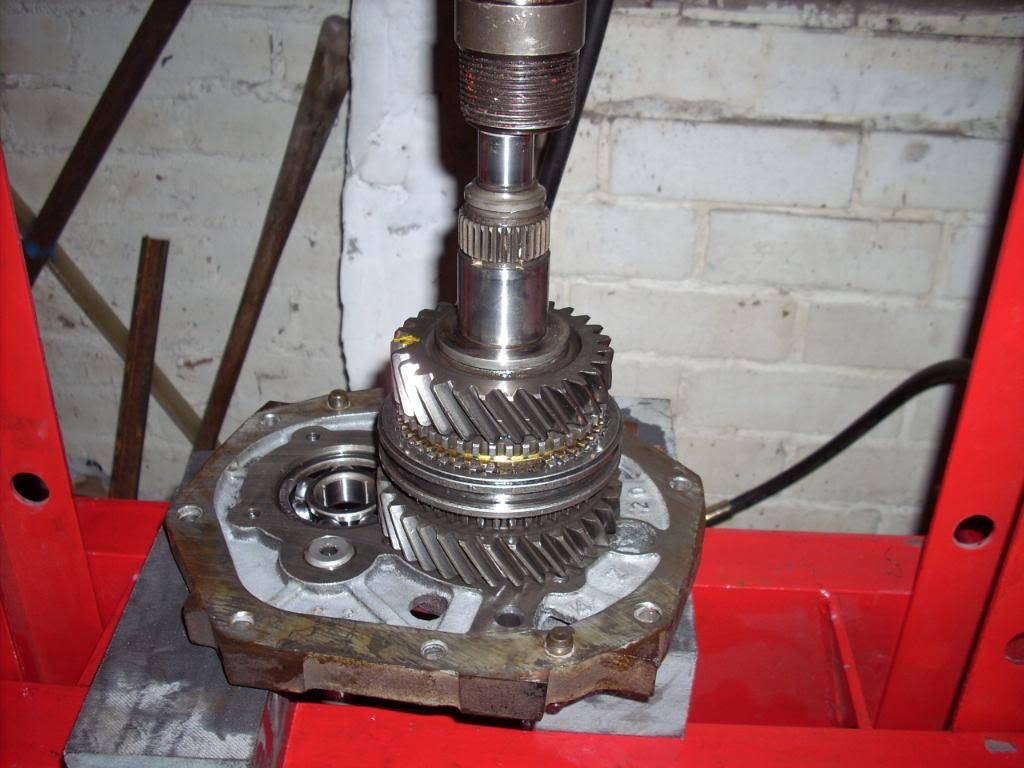
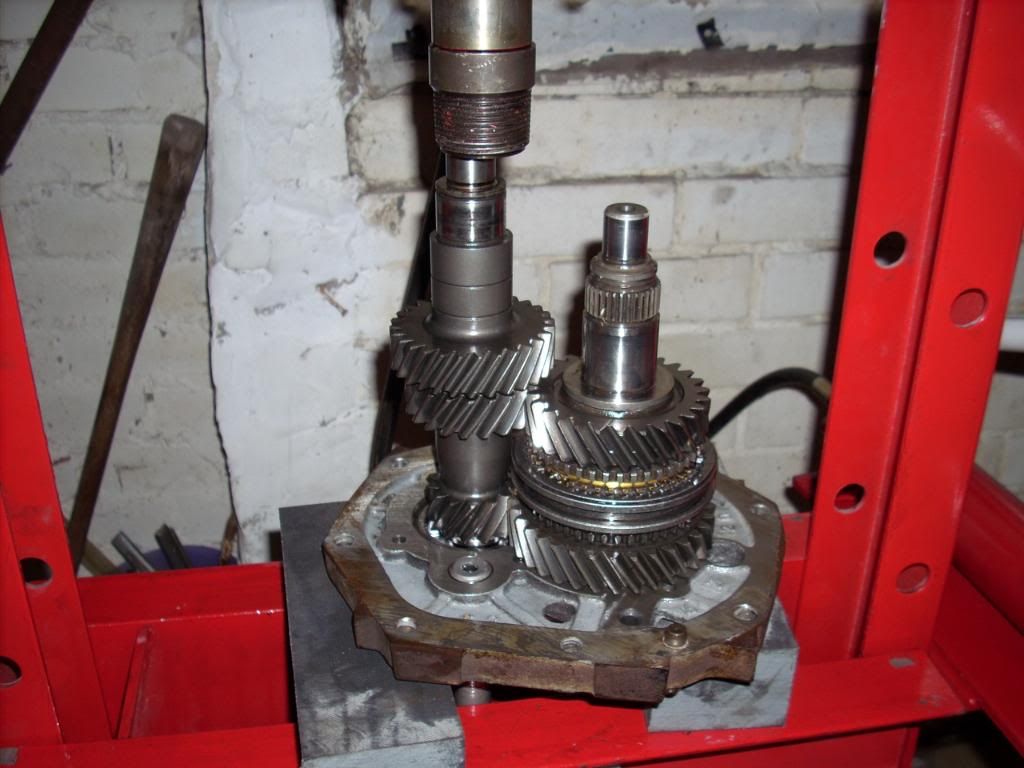
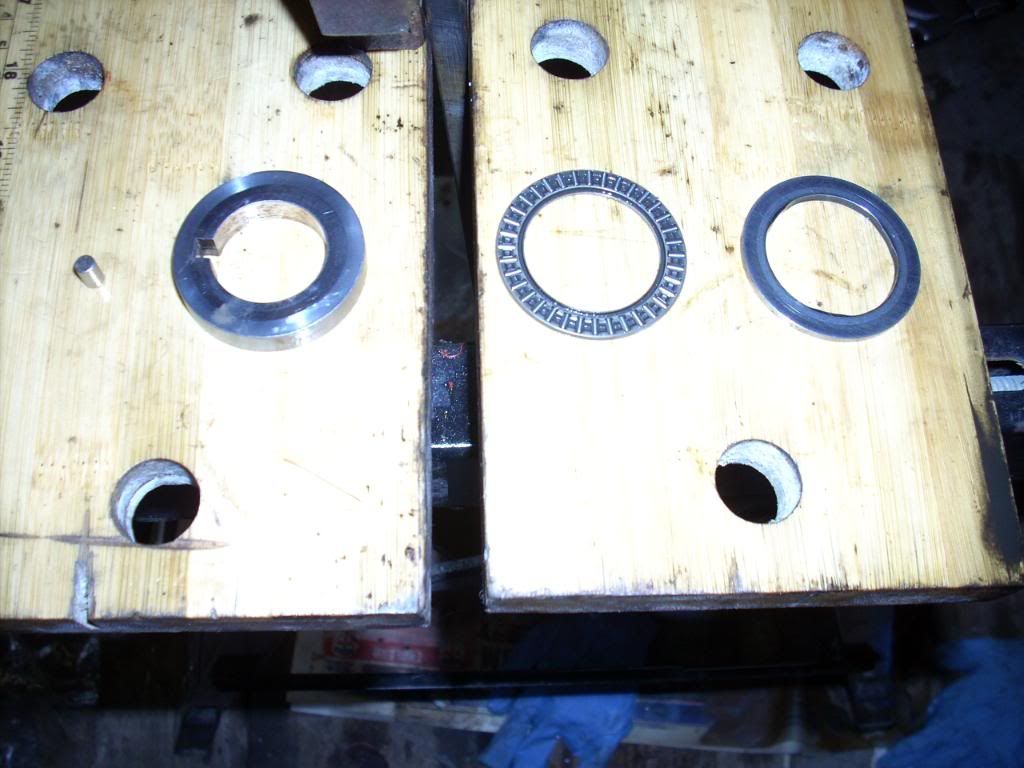
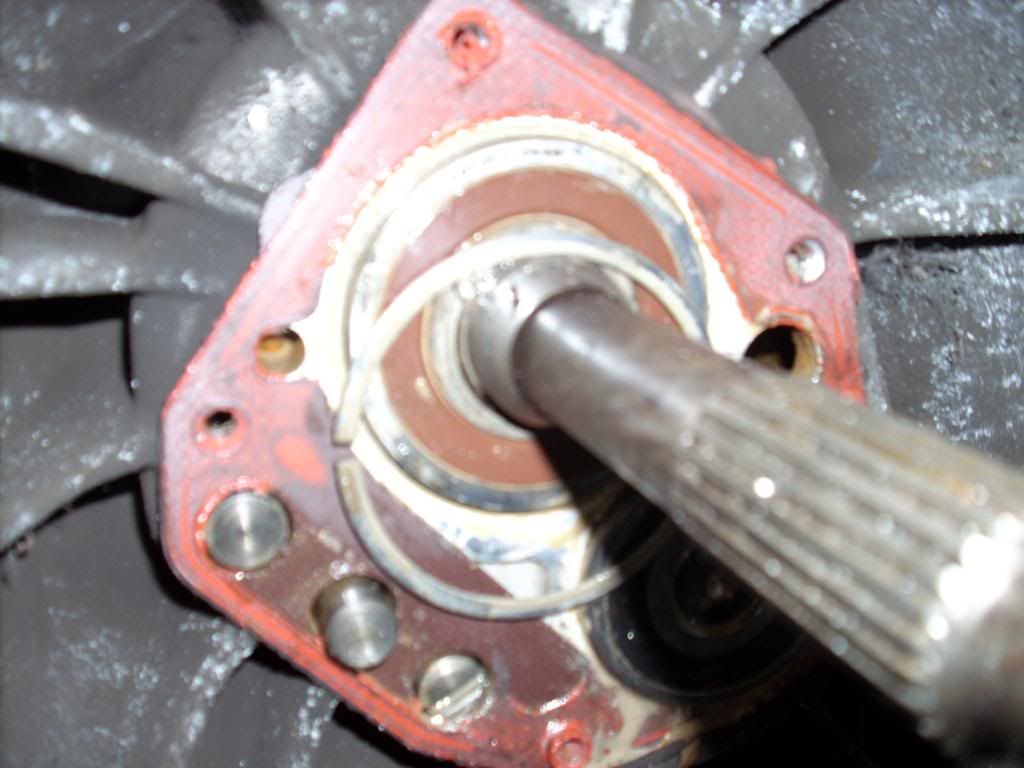
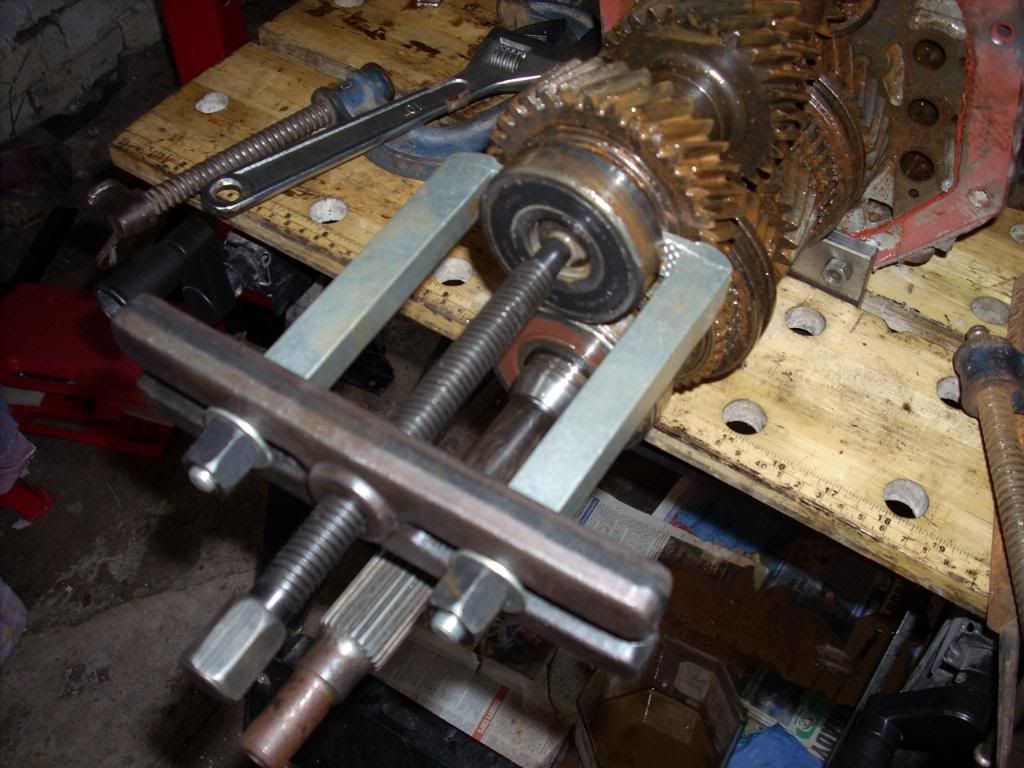
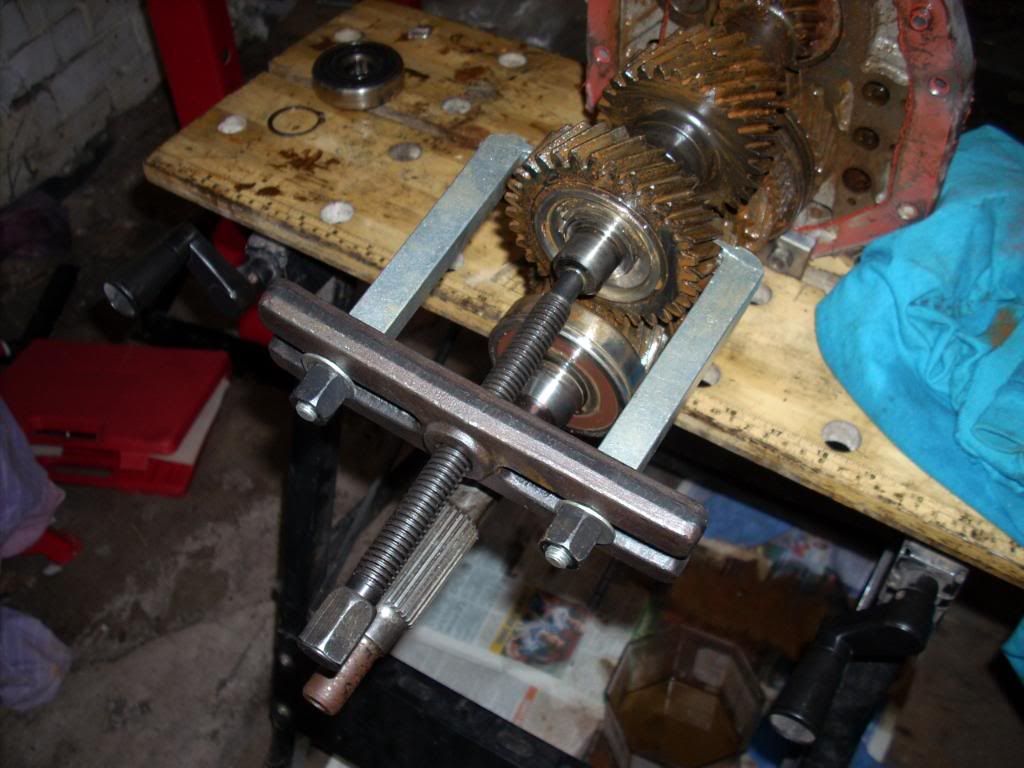
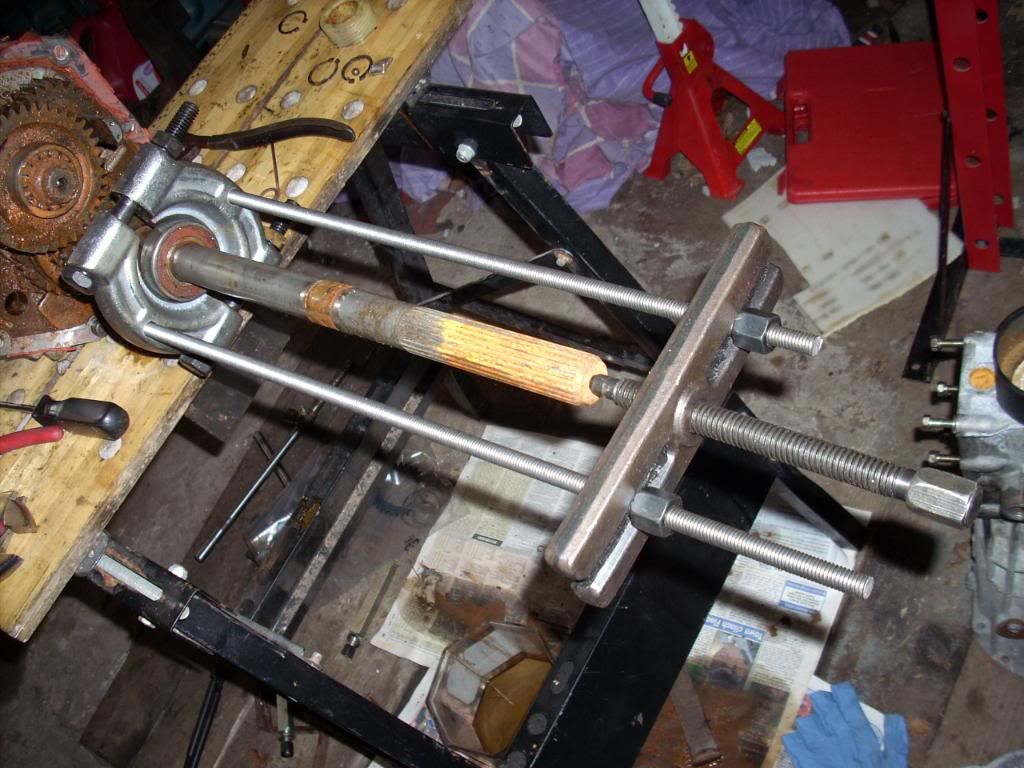
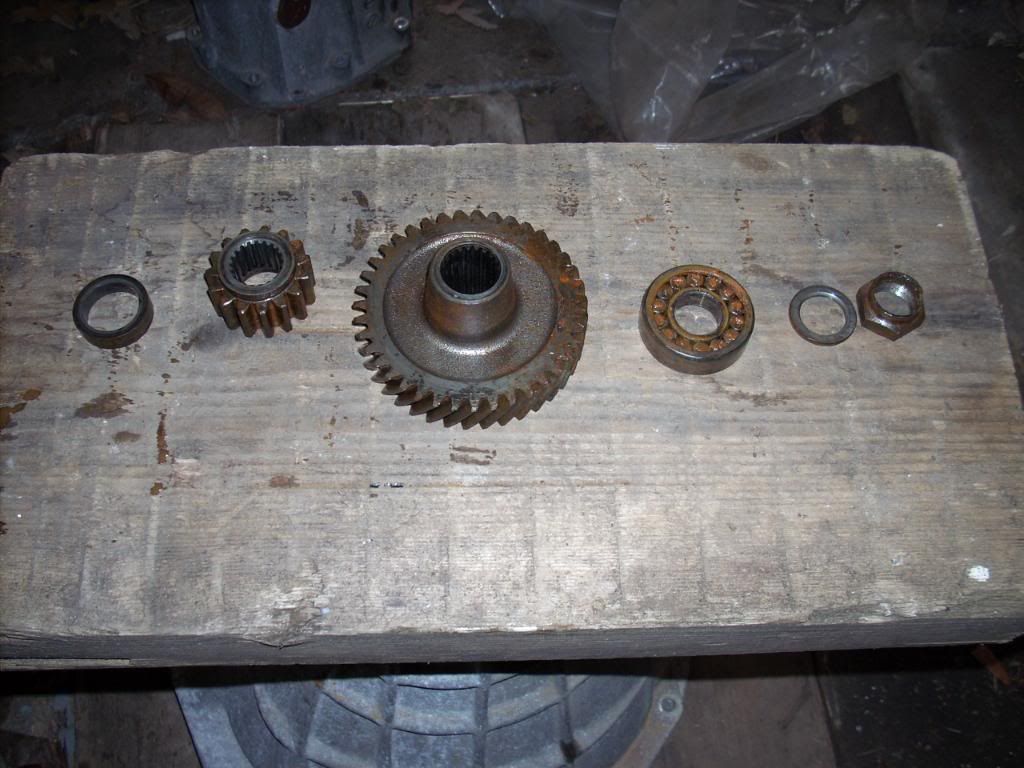
Remove the cover and you'll see the input shaft and countershaft front bearings.
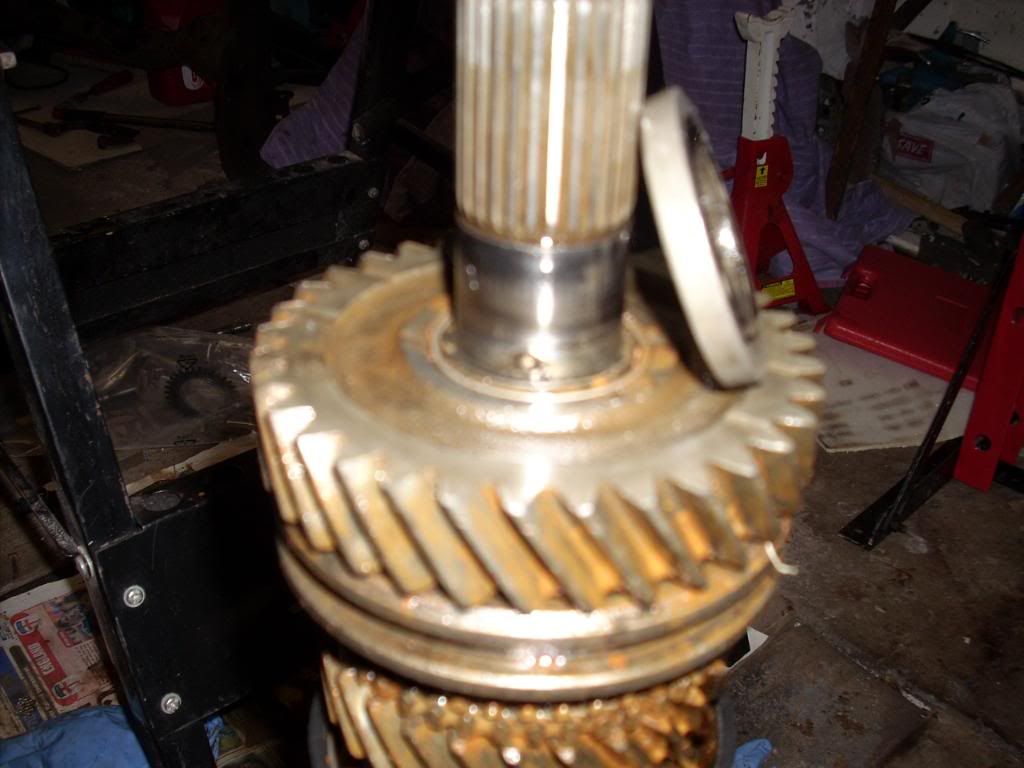
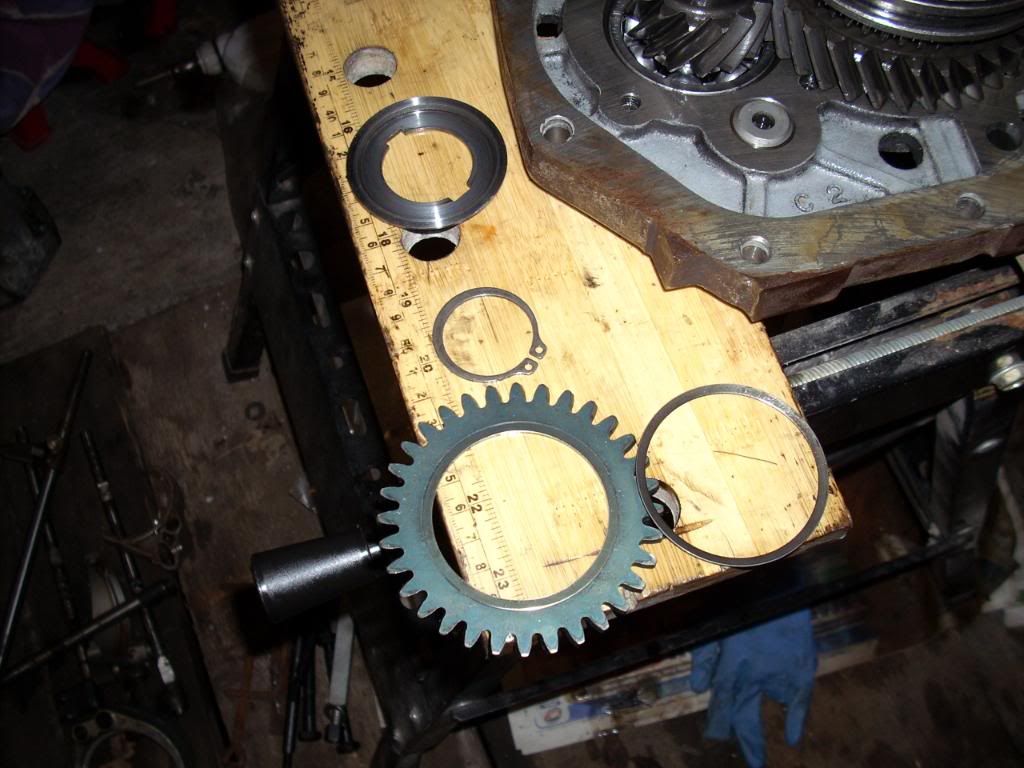
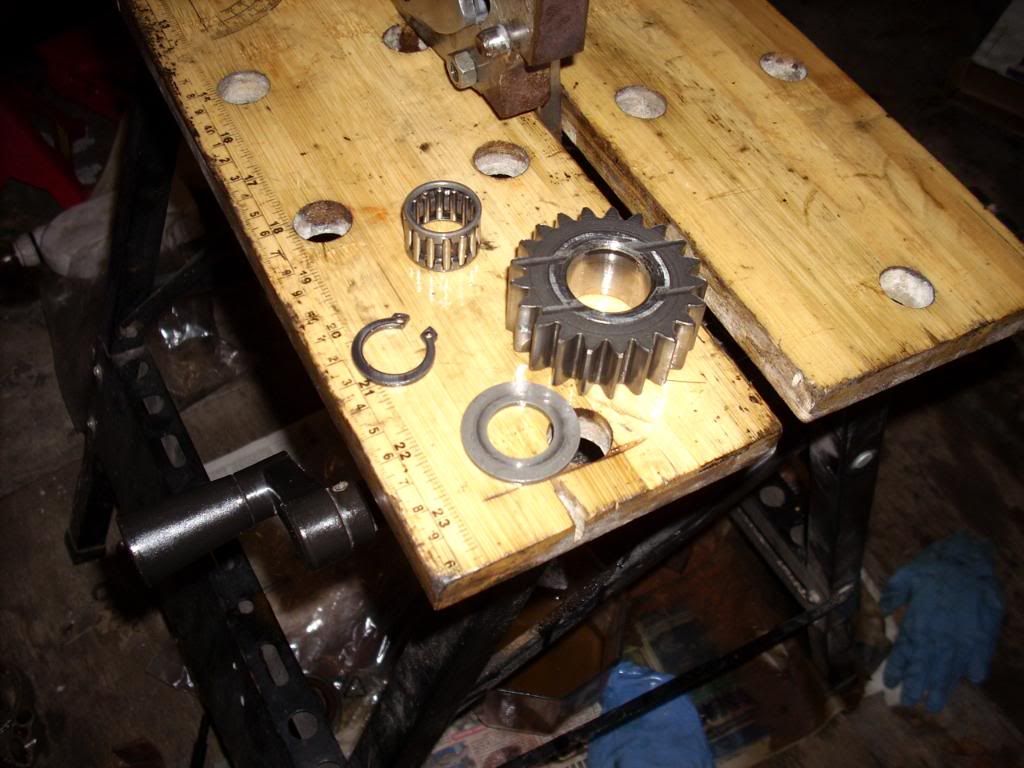
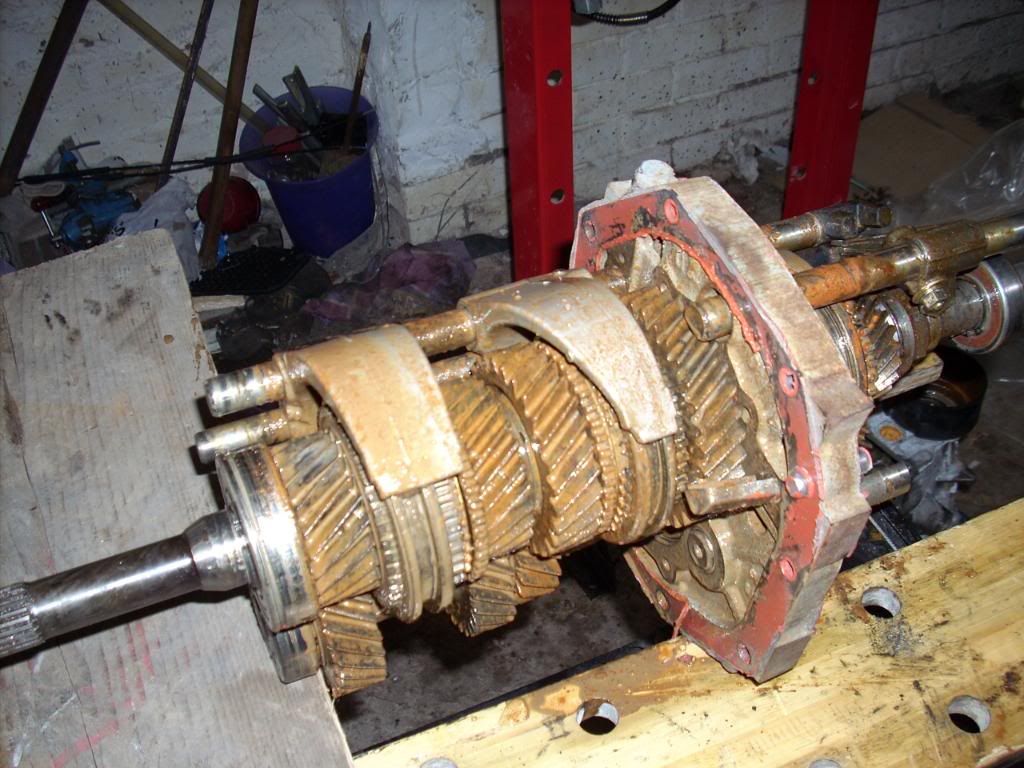
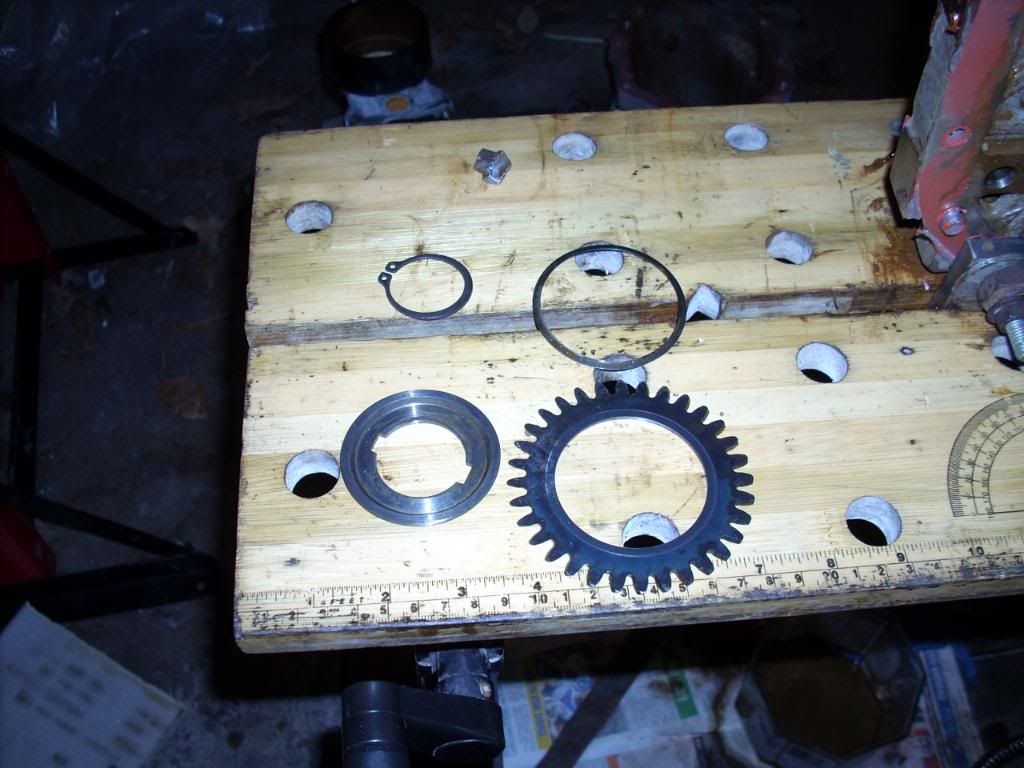
Remove this snap ring from the input shaft front bearing (the larger one).
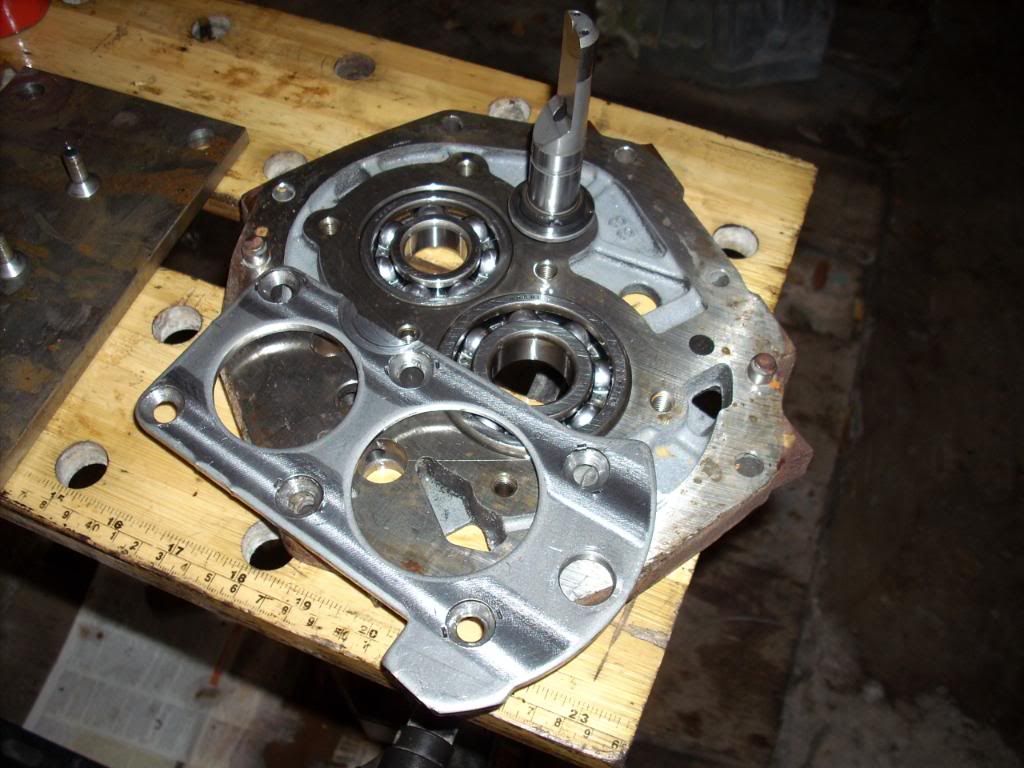
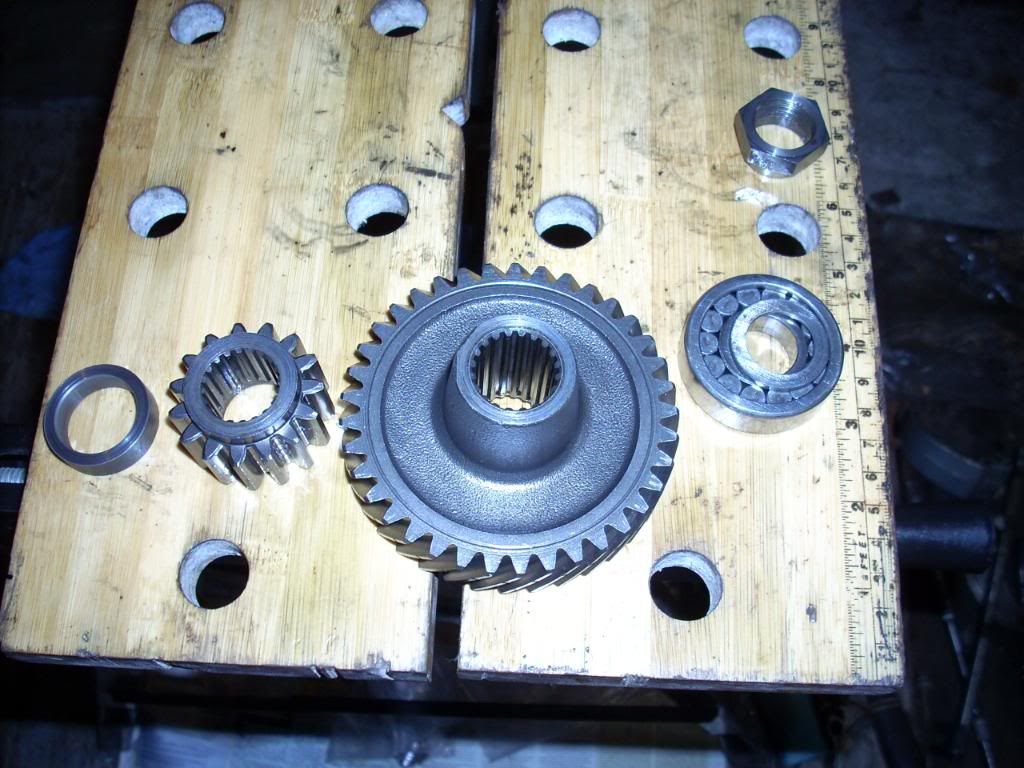
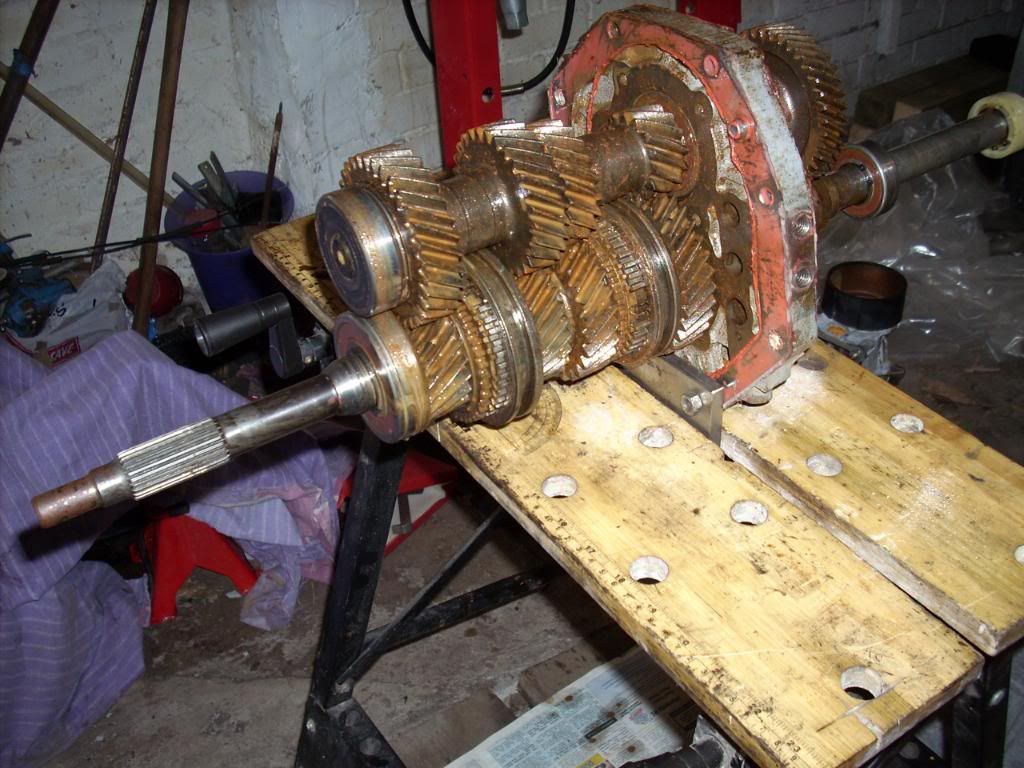
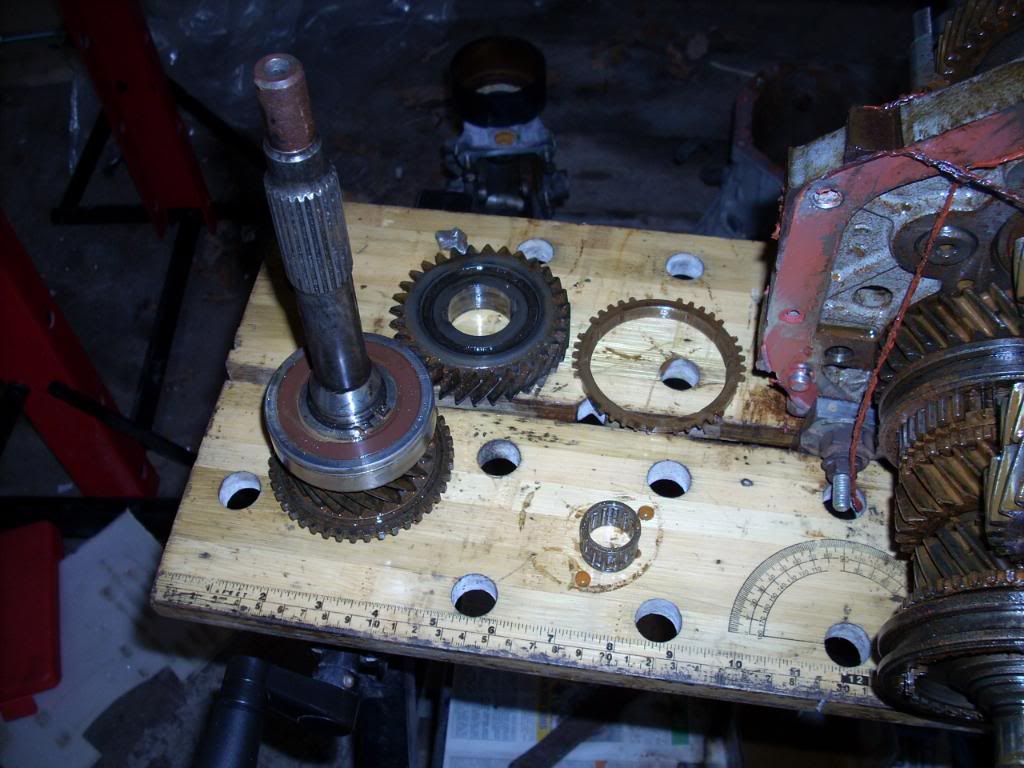
You can then remove the bell housing from the gear cluster assembly, leaving you with this.
Bedtime now. I'll carry on tomorrow.


 Reply With Quote
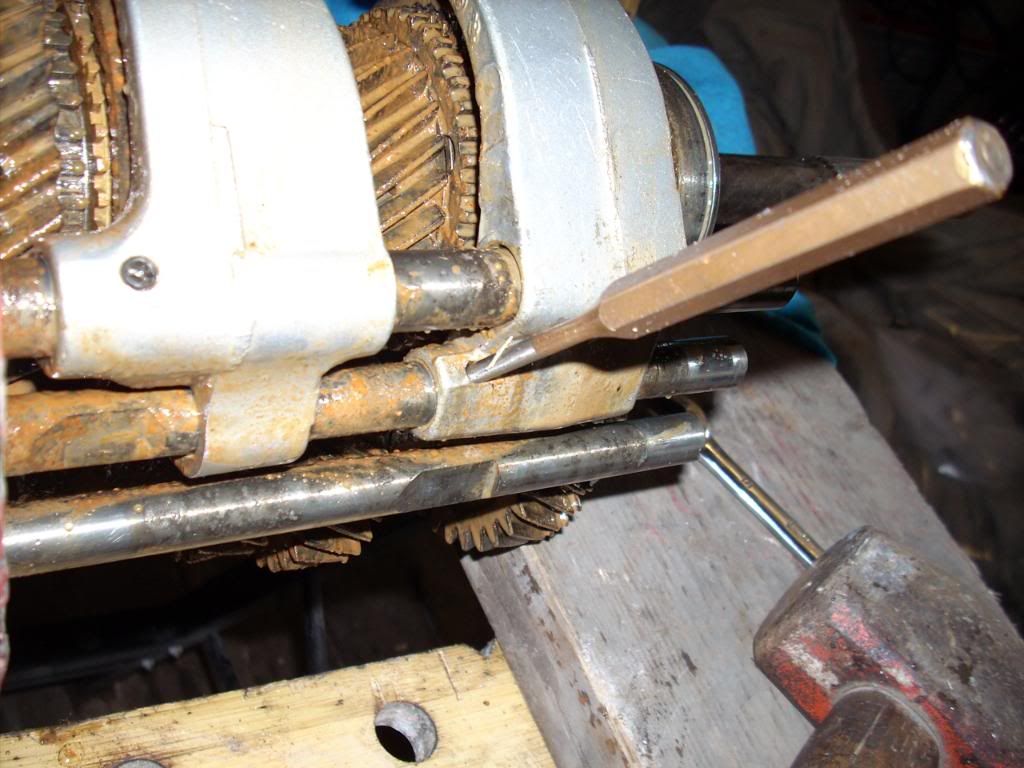


")


 I was thinking it doesn't look *too* bad, as long as you remember where everything goes.