Page 6 of 71 FirstFirst ... 456781656 ... LastLast
Results 101 to 120 of 1418

Thread: My S14 Reshell/rufurb/rebuild. Major project so will take a long time.

  1. #101
    Guest spice_weazle's Avatar
    Join Date
    Oct 2004
    Location
    nottingham
    Posts
    3,483
    Rides
    0
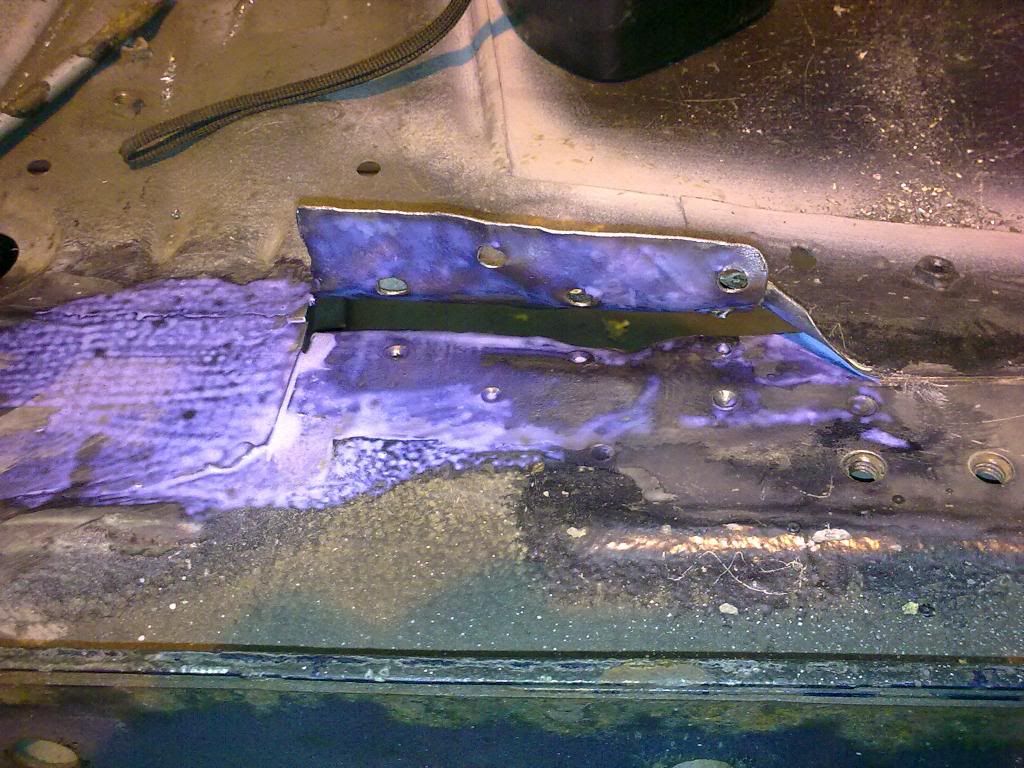
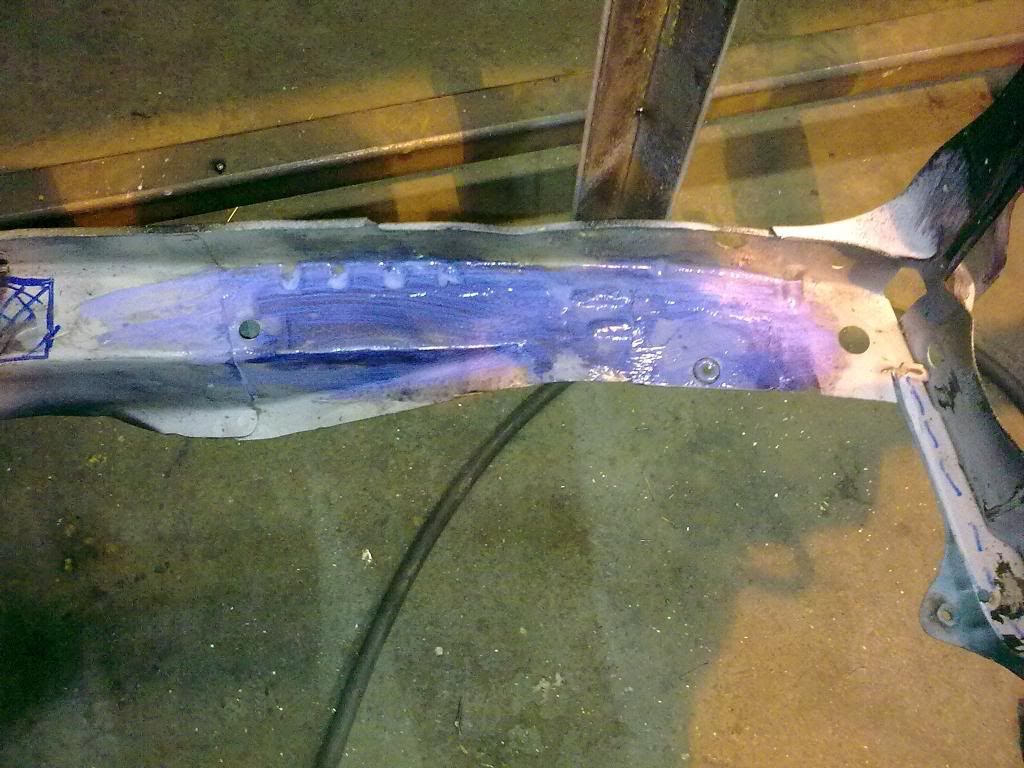
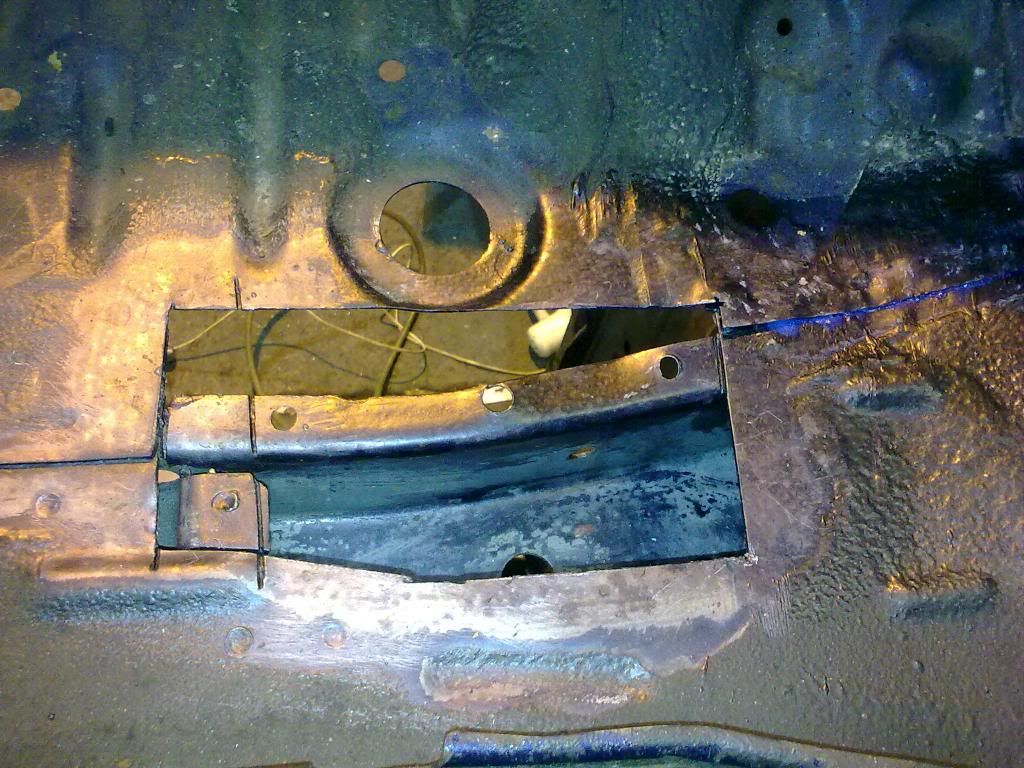
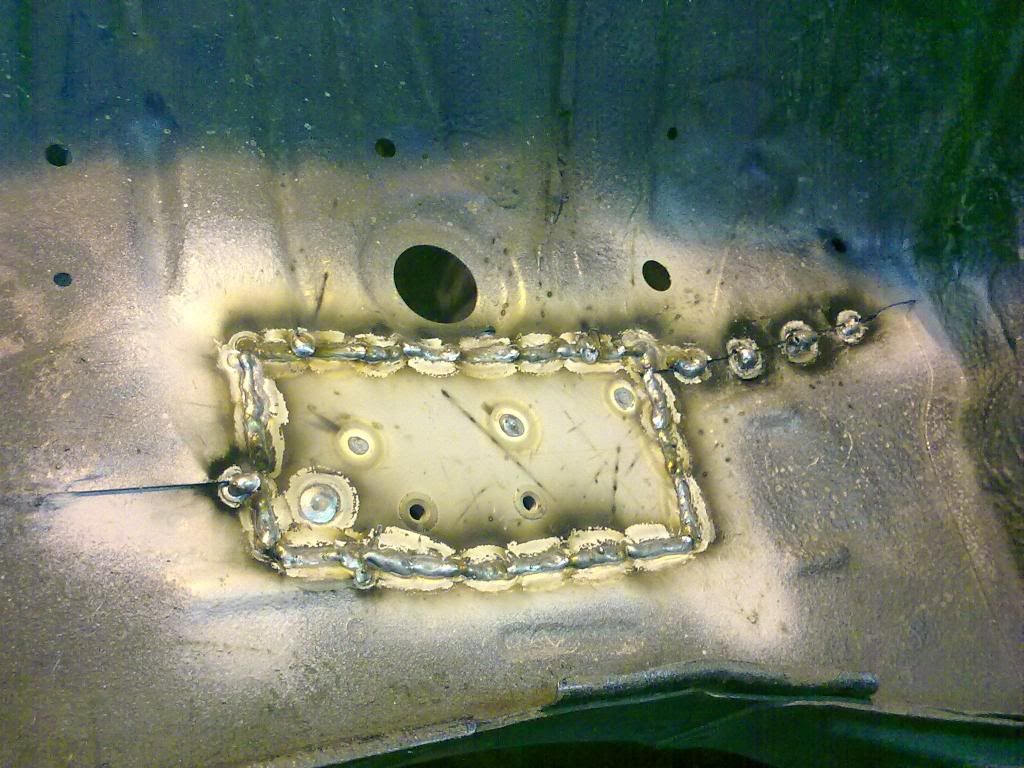
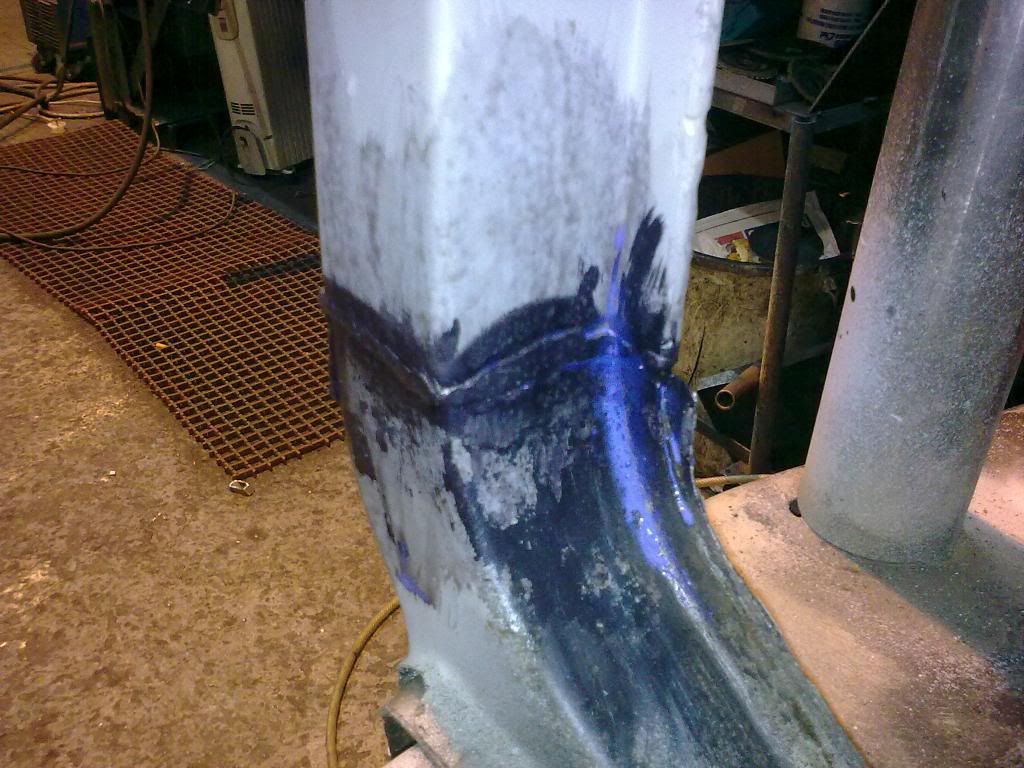
    Popped into work today for 1/2 hour to clean off the DEOX-GEL.

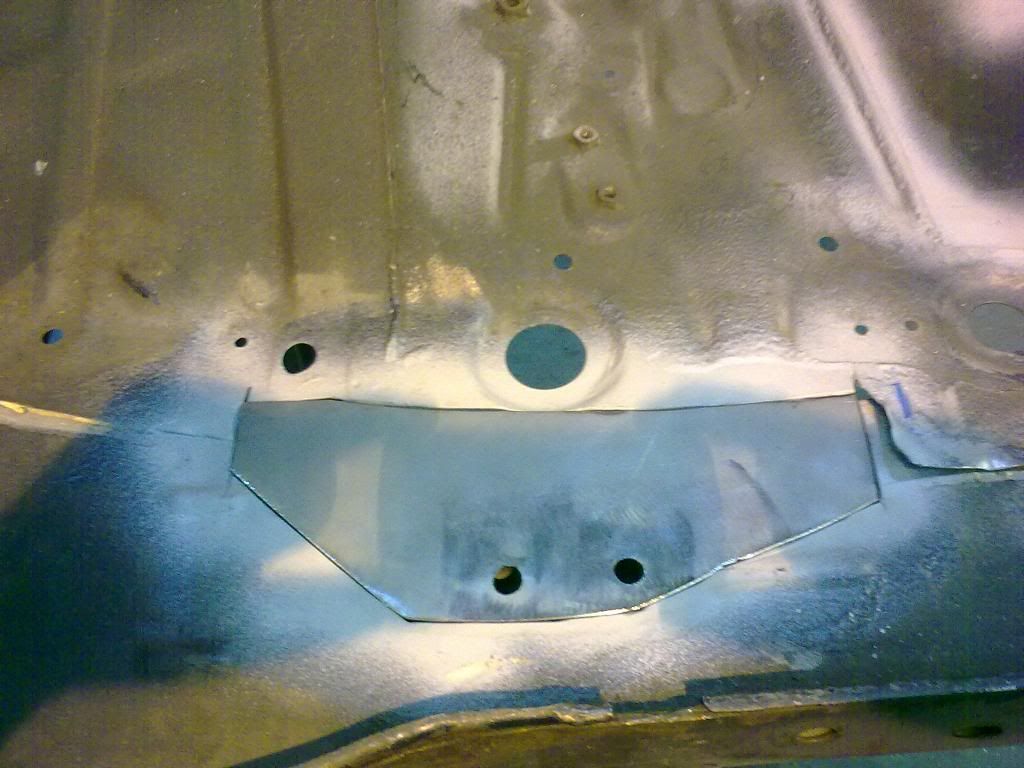
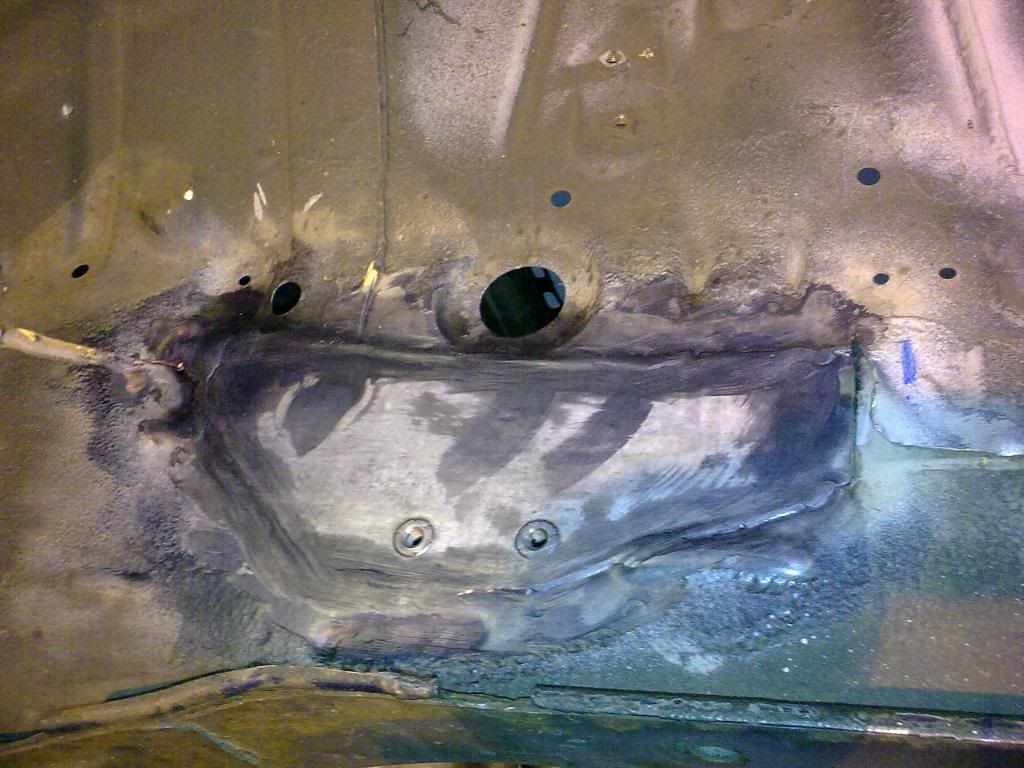
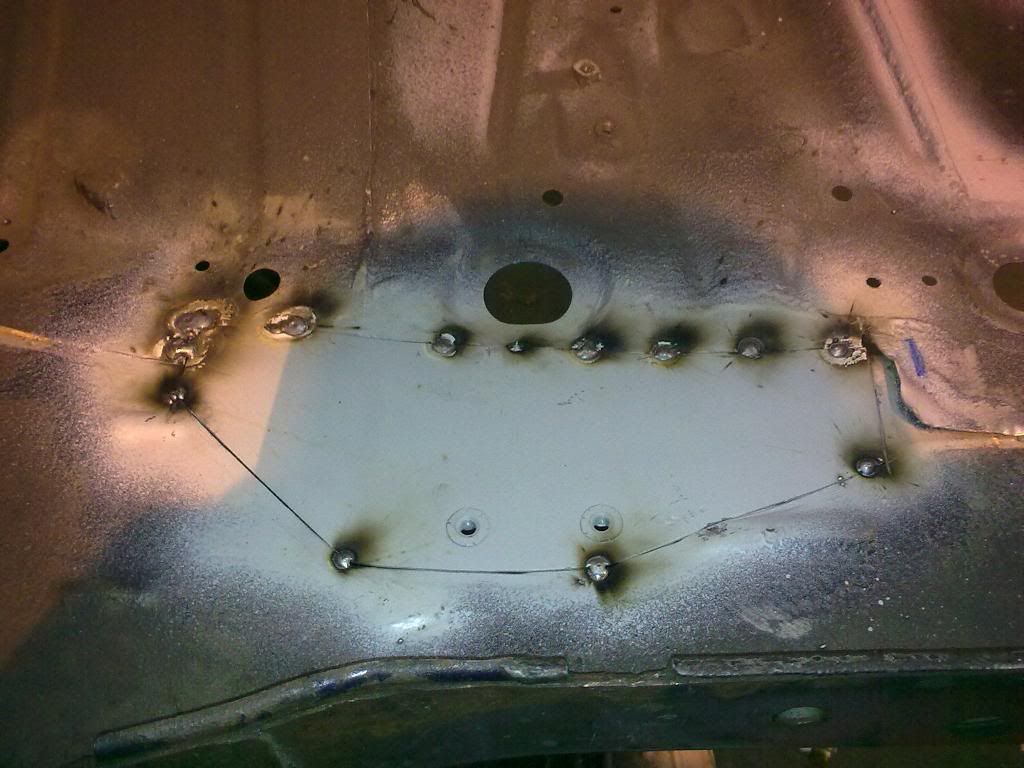
    The metal that has been treated came out looking very clean.


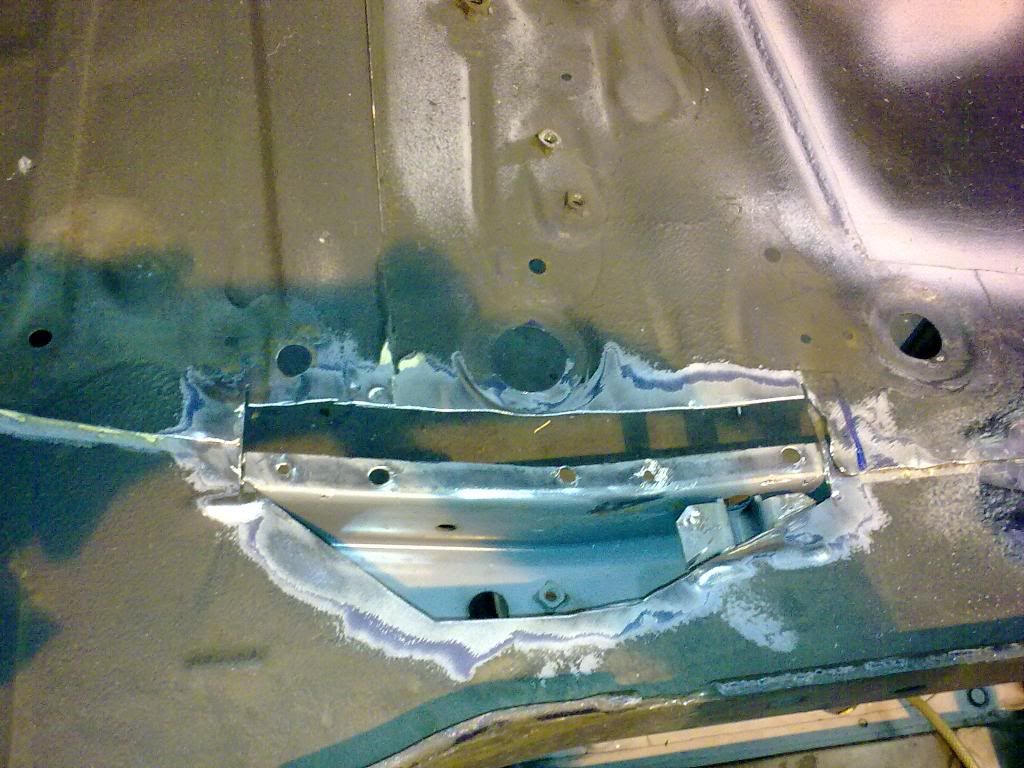
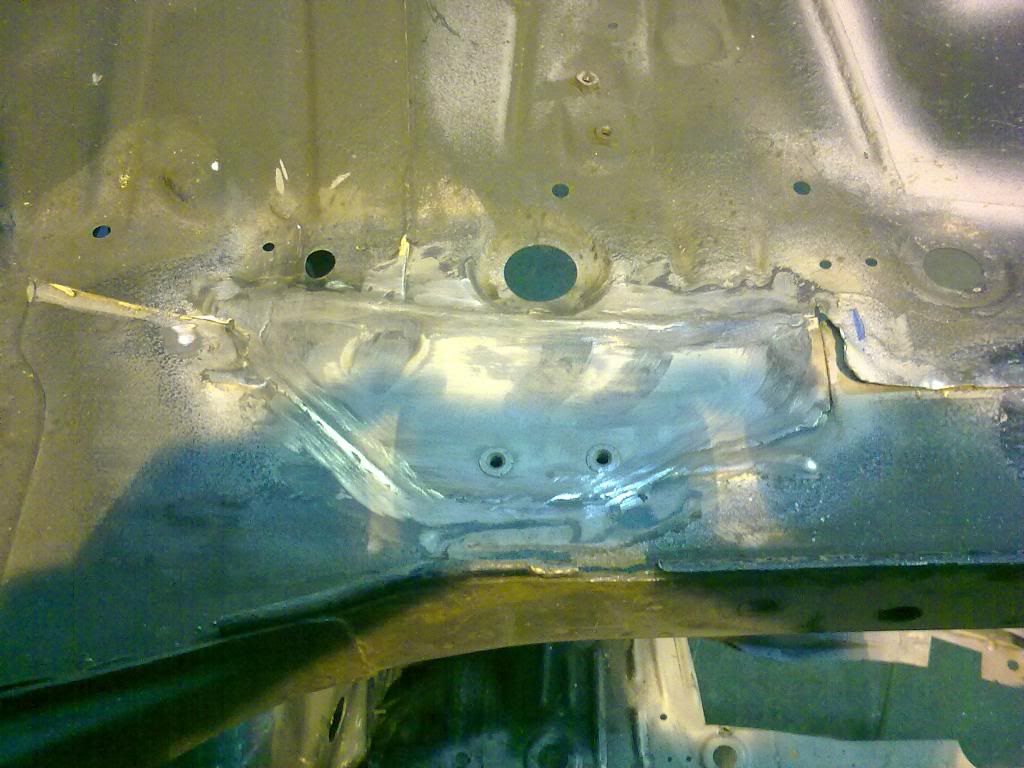
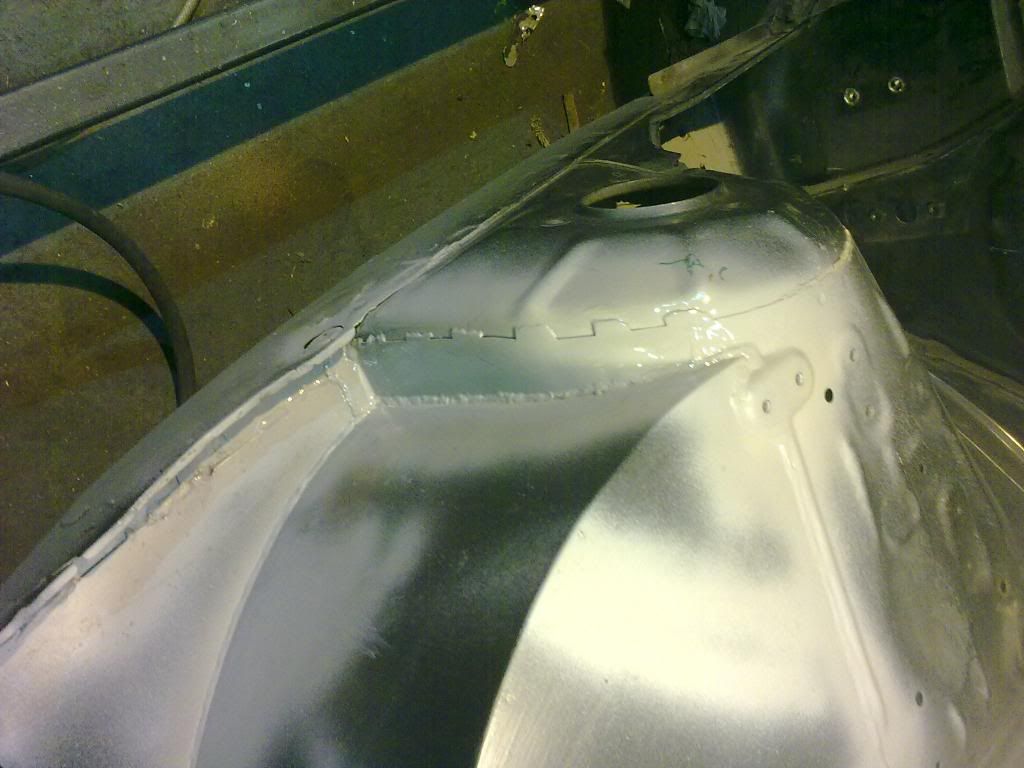
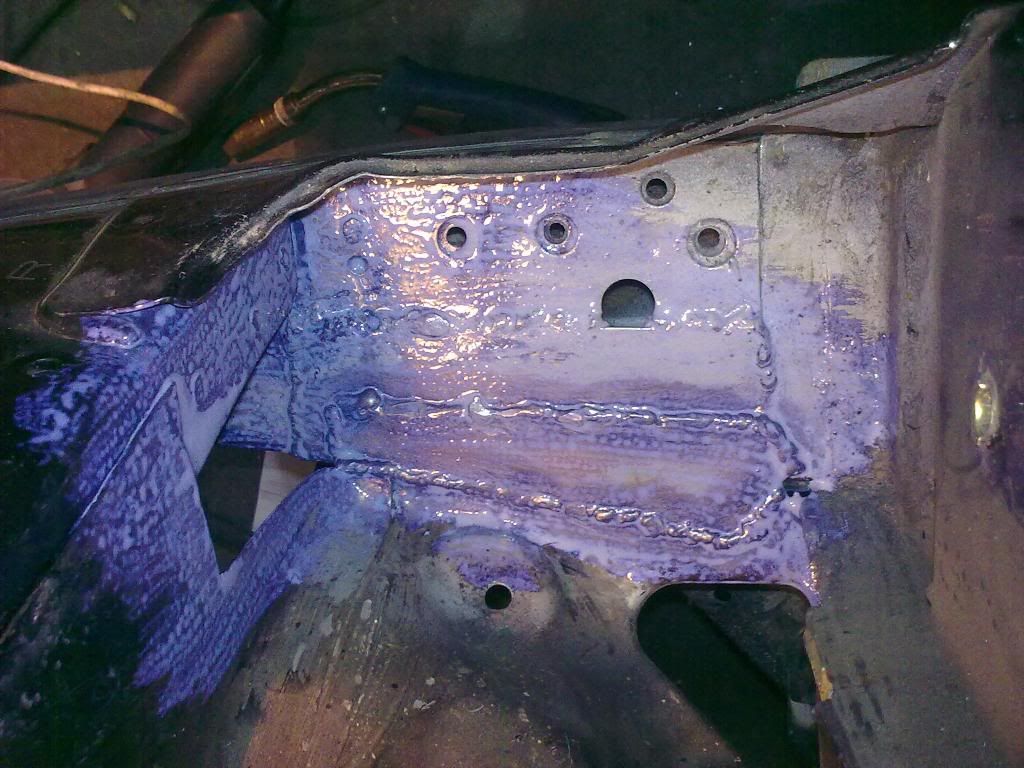
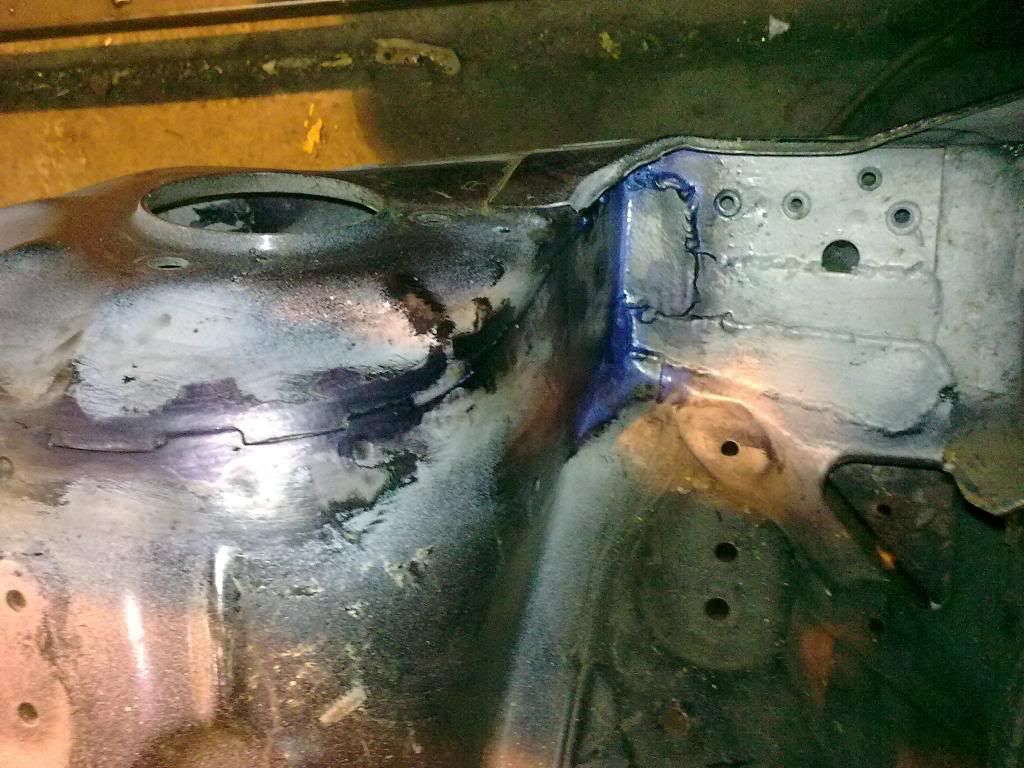
    After it had all been cleaned up and dried. I wiped the area with a little gun wash to degrease it and then sprayed it with the weldable pimer all ready for the new piece to be welded in on monday.


    Thats it for another day.
    Last edited by spice_weazle; 28-02-2013 at 19:41.

  2. #102
    Guest
    Join Date
    Aug 2009
    Location
    Nottingham
    Posts
    1,011
    Rides
    0
    Its look good fella,very good!!

    I have now found some area's that need cutting/welding!!

    I might ask for a hand as your on fire on this!

    OOOO btw i still have your suspension!

  3. #103
    Guest spice_weazle's Avatar
    Join Date
    Oct 2004
    Location
    nottingham
    Posts
    3,483
    Rides
    0
    Quote Originally Posted by Alex.j View Post
    Its look good fella,very good!!

    I have now found some area's that need cutting/welding!!

    I might ask for a hand as your on fire on this!

    OOOO btw i still have your suspension!

    Nice one mate.

    Ill give you hand if Im able to help no probs and no rush for the shocks. They are not needed, they are just part of my spares collection.

  4. #104
    Guest spice_weazle's Avatar
    Join Date
    Oct 2004
    Location
    nottingham
    Posts
    3,483
    Rides
    0
    Todays update.

    I welded on the final piece for the front part of the turret/tub. So Im almost ready to start on the rear of the turret.

    Pics of the finished front piece.


    and a view from inside the new arch.


    I also got the first plate on the box section behind the turret on today.

    I will get the next peice welded in tomorrow I just need to wait for the paint to dry fully.

    I noticed I hadnt taken the brake pipe bracket off in the drivers side arch so out came the socket set. The amount of crap caught behind it was unbelievable. It pretty rusty where it was.

    I cleaned it up, treated the rust and welded a new piece in.


    I recommend any one who does any tidying up in the wheel arches to check the brake pipe brackets. The build up of crap just holds moisture and creates holes. Im expecting the drivers side patch of rust to be as bad as the passenger one TBH and will suprised if it not the same once the surface rust has been removed.

    Thats all for today.
    Last edited by spice_weazle; 28-02-2013 at 19:50.

  5. #105
    Guest corfublue's Avatar
    Join Date
    Aug 2006
    Location
    nottingham
    Posts
    1,460
    Rides
    0
    Kin ell Rich you gotta stop cutting

    Send these pics to Nissan they may give you a job in their quality control centre lol

    Then again maybe not

  6. #106
    Guest spice_weazle's Avatar
    Join Date
    Oct 2004
    Location
    nottingham
    Posts
    3,483
    Rides
    0
    Quote Originally Posted by corfublue View Post
    Kin ell Rich you gotta stop cutting

    Send these pics to Nissan they may give you a job in their quality control centre lol

    Then again maybe not
    There is a shit load to be cut out yet. 
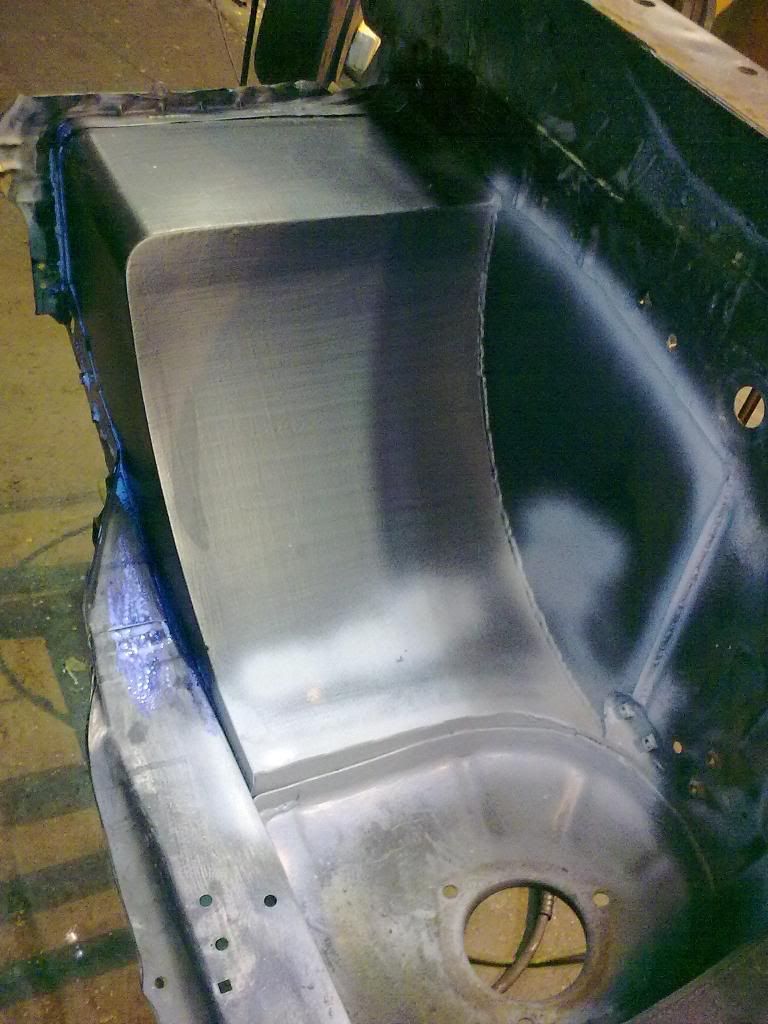
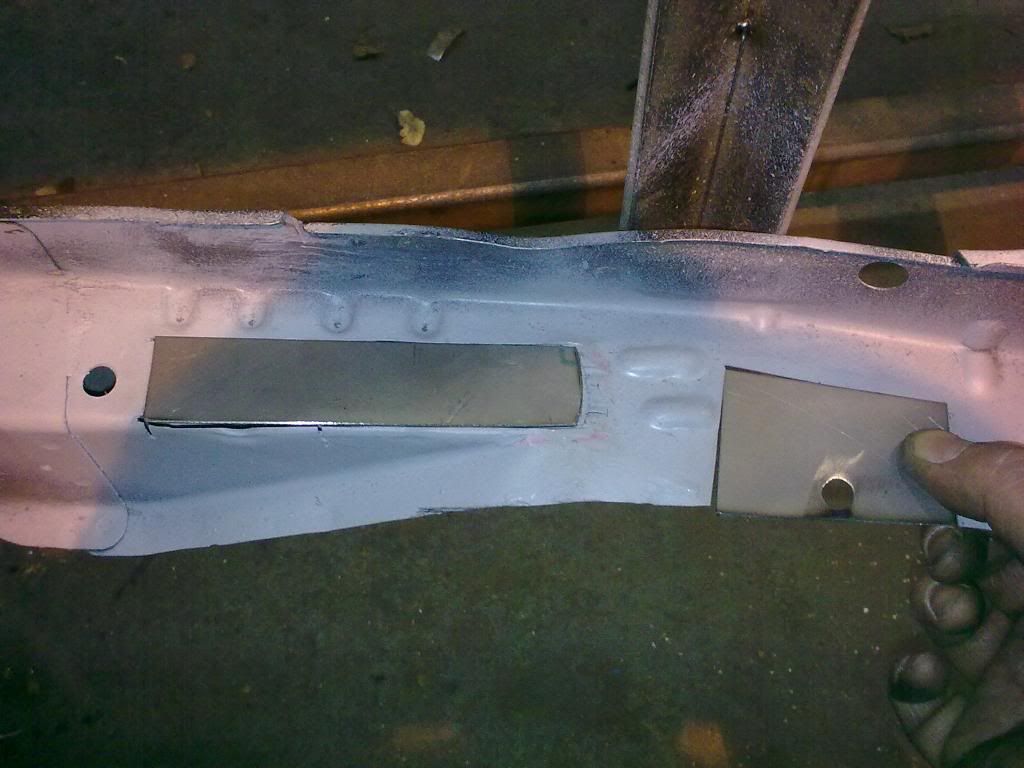
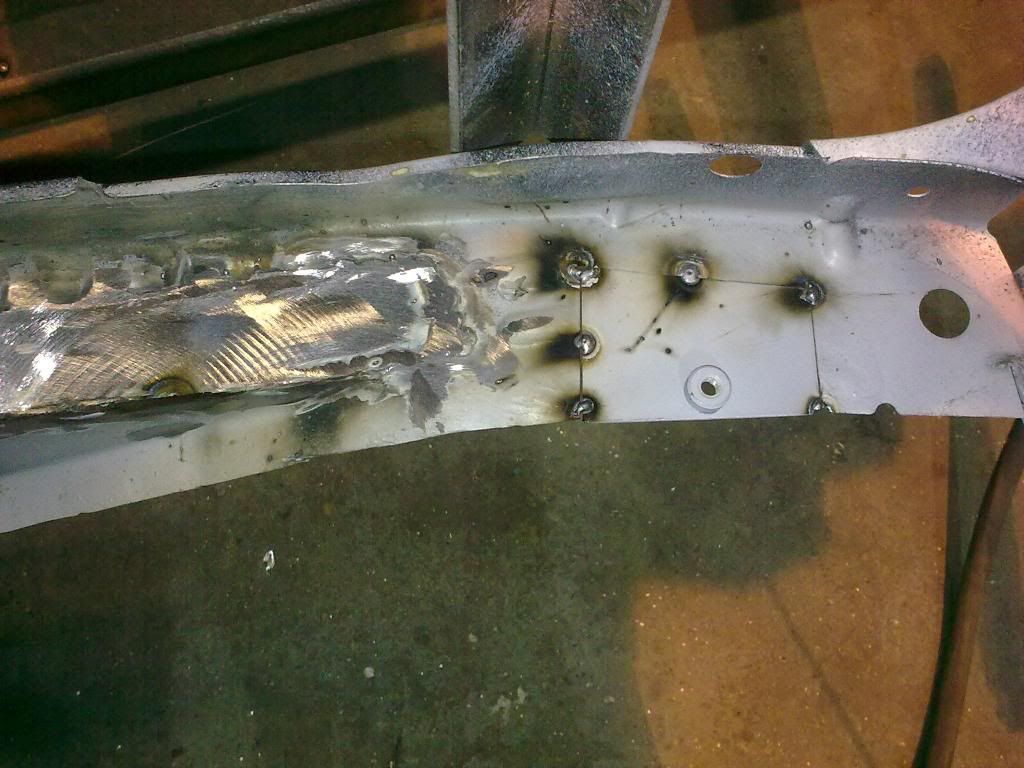
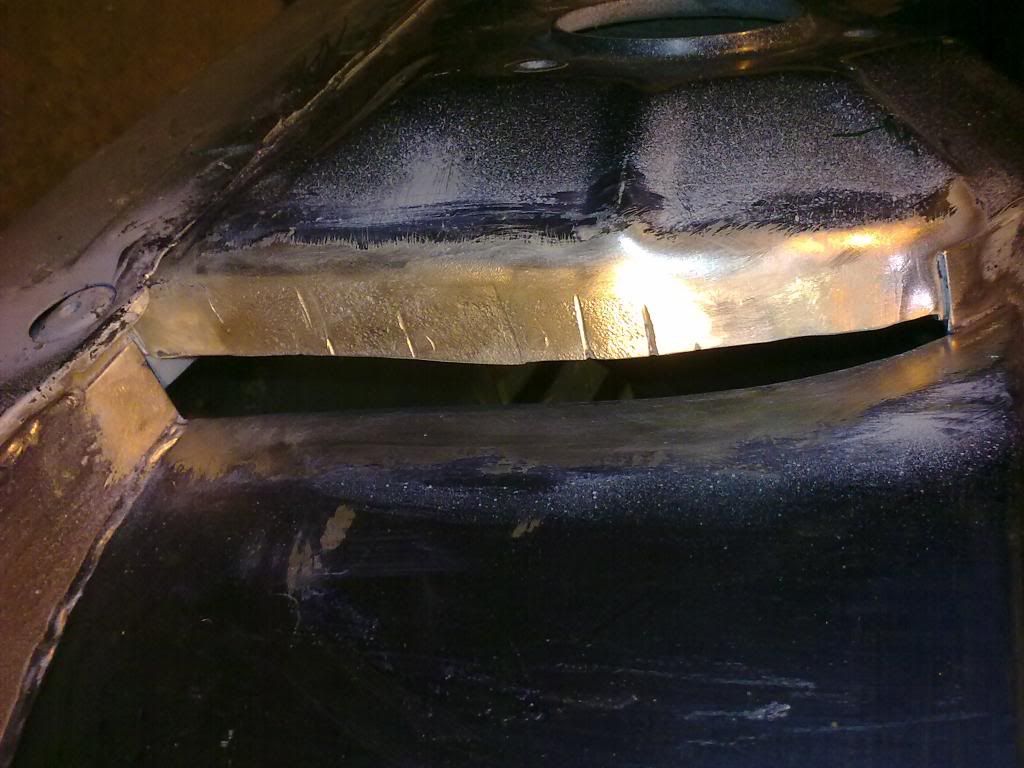
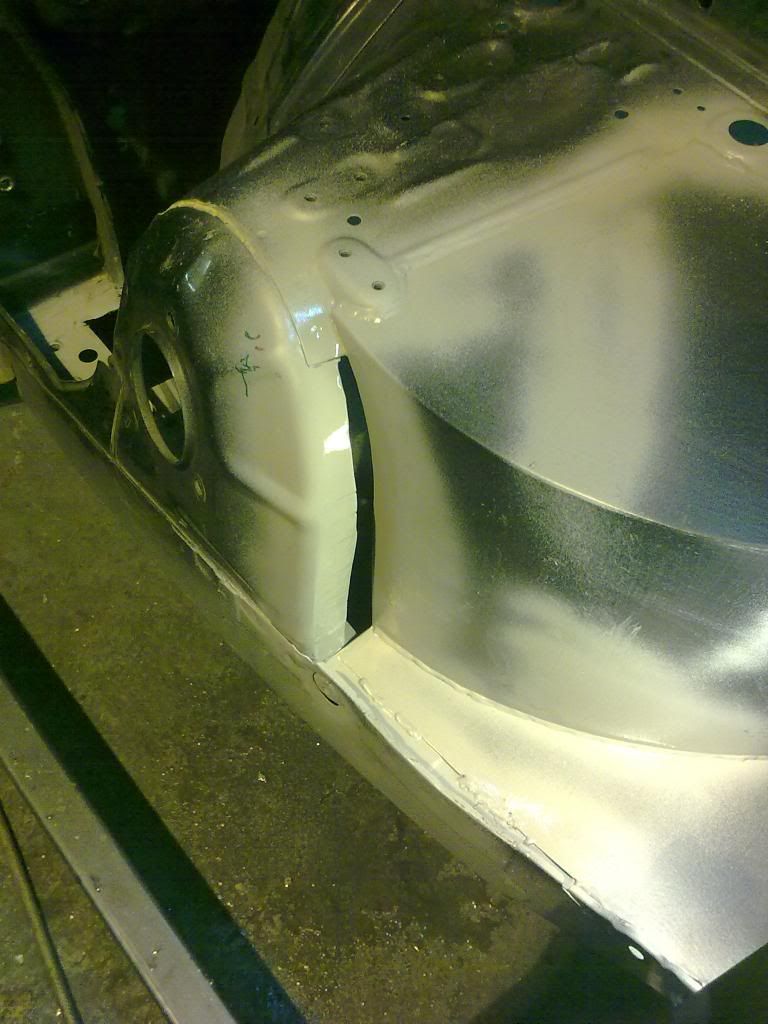
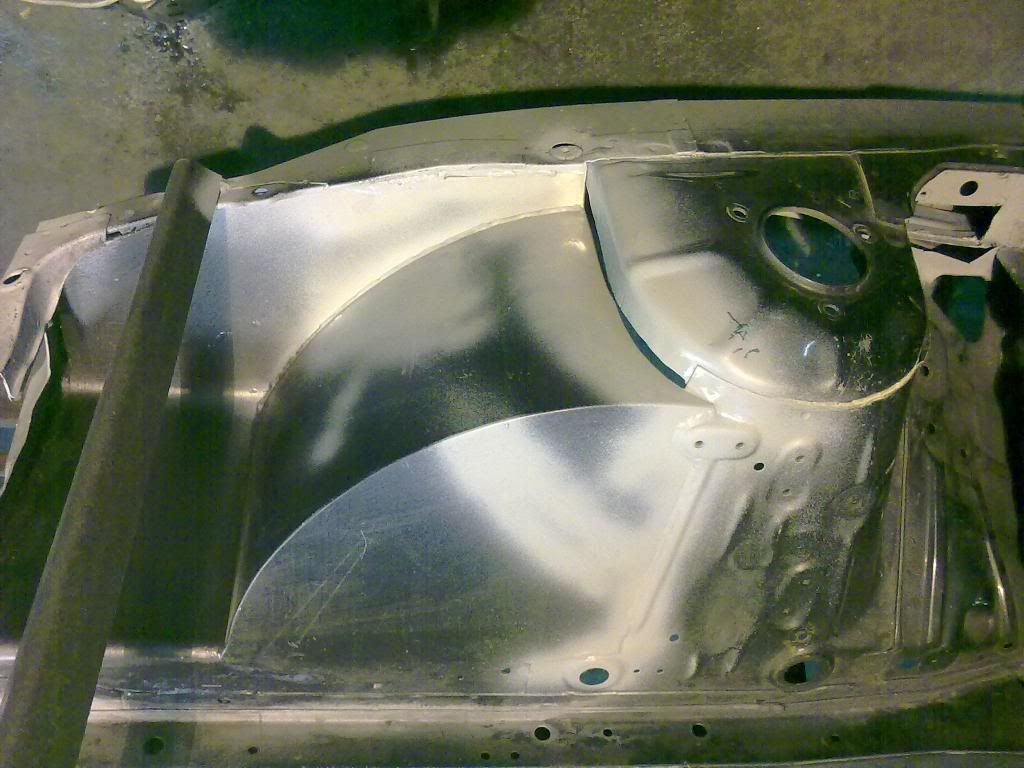
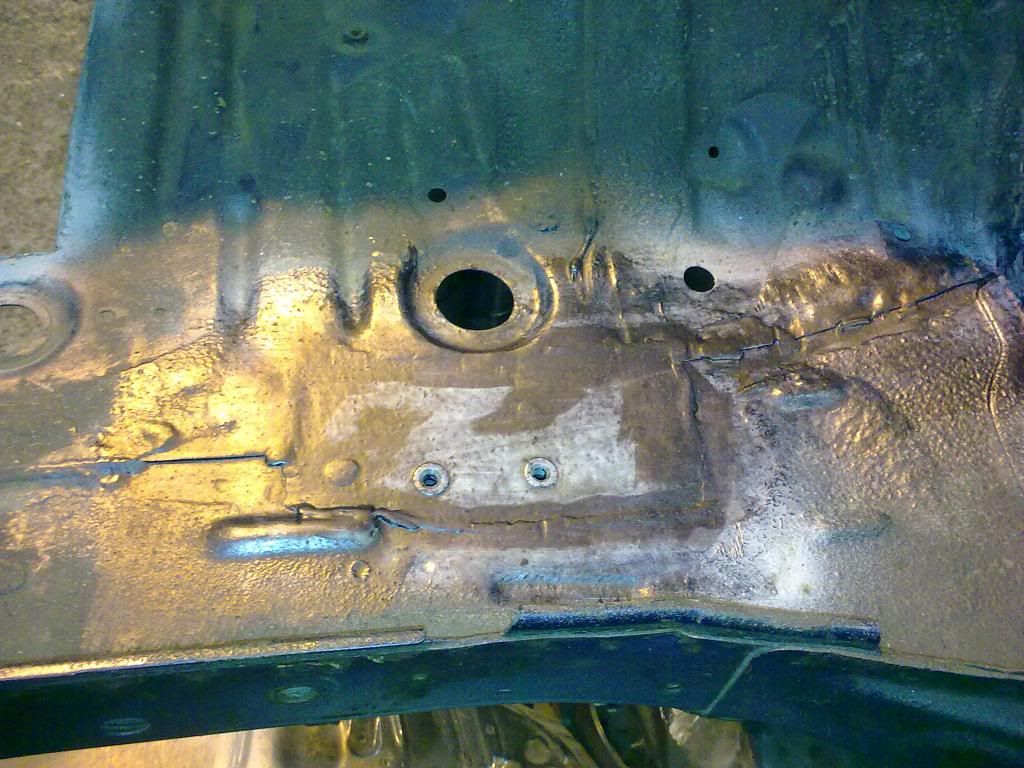
This is just the engine bay.

    Ive just ordered a book on car body restoration. Hopefully it will have some helpful tips in it.

  7. #107
    Guest spice_weazle's Avatar
    Join Date
    Oct 2004
    Location
    nottingham
    Posts
    3,483
    Rides
    0
    Todays update.

    Things have been going rather slow this week. This is due to me changing my mind on what to do about the rust in the seam at the rear of the turret.

    I was going to cut it out but after having a poke around I decided to 'open' the seam up a little and fill it full of DEOX-GEL to remove the rust.

    Heres the seam opened up and with HYDRATE 80 on.


    And with the seam tapped back down.


    Im going to be tack welding around the top of the turrets and then giving them a good coat of sealant so hopefully that will help prevent the rust coming back as much as pos.

    Thats it for today.
    Last edited by spice_weazle; 07-03-2013 at 06:54.

  8. #108
    Guest spice_weazle's Avatar
    Join Date
    Oct 2004
    Location
    nottingham
    Posts
    3,483
    Rides
    0
    I got a little more done today.

    I welded in another piece that wanted replacing behind the turret and coated it all with HYDRATE 80.


    I then did a bit of work on the area where the brake pipe bracket was in the passenger arch.

    Here it is derusted and treated.


    Checking fitment of the patch thats going in.


    I then roughly marked the position of the hole for the bracket and drilled the holes ready for some M6 hank bushes.


    Heres a pic of the hank bushes them selves.


    And a few pics with them in the patch piece.


    I then primed the whole thing so its now ready to be welded in.

    Thats it for another day.
    Last edited by spice_weazle; 07-03-2013 at 07:31.

  9. #109
    Guest
    Join Date
    Jan 2006
    Location
    Mold, Flintshire, N Wales
    Posts
    2,832
    Rides
    0
    all i can say is to look at it before it was a mint shell. but until you start digging you never know what you will find.

    fair play though your doing a cracking job can't wait until its finished.

  10. #110
    Guest spice_weazle's Avatar
    Join Date
    Oct 2004
    Location
    nottingham
    Posts
    3,483
    Rides
    0
    Quote Originally Posted by karl elwell View Post
    all i can say is to look at it before it was a mint shell. but until you start digging you never know what you will find.

    fair play though your doing a cracking job can't wait until its finished.

    Totally mate. Its only when you start digging deep that you find the rust in a lot of hidden places and TBH I dont think I would of found most of what I have if the car was a whole car. Its only cos its a bare shell that I have found it.

  11. #111
    Guest IKRAM's Avatar
    Join Date
    Jan 2006
    Location
    West Yorkshire
    Posts
    2,667
    Rides
    0
    Hi Weazle, what kind of tool did you use to get thos 'hank bushes' in?
    and also do they sit flush with the outside?

  12. #112
    Guest spice_weazle's Avatar
    Join Date
    Oct 2004
    Location
    nottingham
    Posts
    3,483
    Rides
    0
    I used a hammer to put the hank bushes in. For example, the ones in the pic are m6 and the splined part is 9.5mm dia so all you do is drill a 9.5mm hole put the bush in and smack it with ahammer on the 'flat' side to peen the edge over. The ones I used dont sit completely flush, they are approx 0.25mm - 0.5mm proud. That is because the metal they are in is 1.2mm thick but the bush is for 3mm thick metal. You can get bushes for different thicknes's of material but we only have them for 3mm. If I had used 3mm thick metal for the patch then the bushes would be near as dam it flush.

    Hope that makes sense.

  13. #113
    Guest IKRAM's Avatar
    Join Date
    Jan 2006
    Location
    West Yorkshire
    Posts
    2,667
    Rides
    0

    Lightbulb

    Quote Originally Posted by spice_weazle View Post
    I used a hammer to put the hank bushes in. For example, the ones in the pic are m6 and the splined part is 9.5mm dia so all you do is drill a 9.5mm hole put the bush in and smack it with ahammer on the 'flat' side to peen the edge over. The ones I used dont sit completely flush, they are approx 0.25mm - 0.5mm proud. That is because the metal they are in is 1.2mm thick but the bush is for 3mm thick metal. You can get bushes for different thicknes's of material but we only have them for 3mm. If I had used 3mm thick metal for the patch then the bushes would be near as dam it flush.

    Hope that makes sense.
    Will get myself a few. Cheers,

    Fantastic work you're doing btw. Carry on!
    Last edited by IKRAM; 23-11-2009 at 12:56.

  14. #114
    Guest spice_weazle's Avatar
    Join Date
    Oct 2004
    Location
    nottingham
    Posts
    3,483
    Rides
    0
    A little update.

    Firstly I brought this at the weekend.


    Will hopefully help me along on this project.

    Reading the chapter on sills has made think that maybe its best to do a proper job and totally remove the old sills and make and install all new sills including inner sills. Basically right back to the floor pan. I will decide what route Im taking later once Ive removed the outer sills and accessed the rust situation.

    Today I finally got the drivers side turret area finished.

    Not the best pic but...


    All thats needed to be done now to the drivers side is the area where the brake pipe bracket was. Ill do this when I spin the shell to fit the passenger side tub.

    Thats all for another day.
    Last edited by spice_weazle; 07-03-2013 at 07:33.

  15. #115
    Guest spice_weazle's Avatar
    Join Date
    Oct 2004
    Location
    nottingham
    Posts
    3,483
    Rides
    0
    Quote Originally Posted by IKRAM View Post
    Will get myself a few. Cheers,

    Fantastic work you're doing btw. Carry on!
    Nice one, cheers.

    You should be able to get hank bushes from most enginnering suppliers. If not pm me and ill post some to you if you need a few and if we have them at work.

  16. #116
    Guest spice_weazle's Avatar
    Join Date
    Oct 2004
    Location
    nottingham
    Posts
    3,483
    Rides
    0
    Todays update.

    I welded in the patch that goes where it had rusted big time around the brake pipe bracket in the passenger arch.

    Firstly I tacked the patch in position.


    Then welded it up.


    A view from inside the engine bay.


    Then I cleaned it up a bit and treated it.


    After Id done that I welded in the new cross member.


    Whilst welding it in though I kept blowing through the exsiting metal because its very thin on the inside of the engine bay near both chassis rails so Ive decided to cut these areas out and patch them. You can see in the pic below where I mean(the area Ive marked with a marker).


    I was a little worried wether the cross member would be strong enough once welded in but after giving it a 
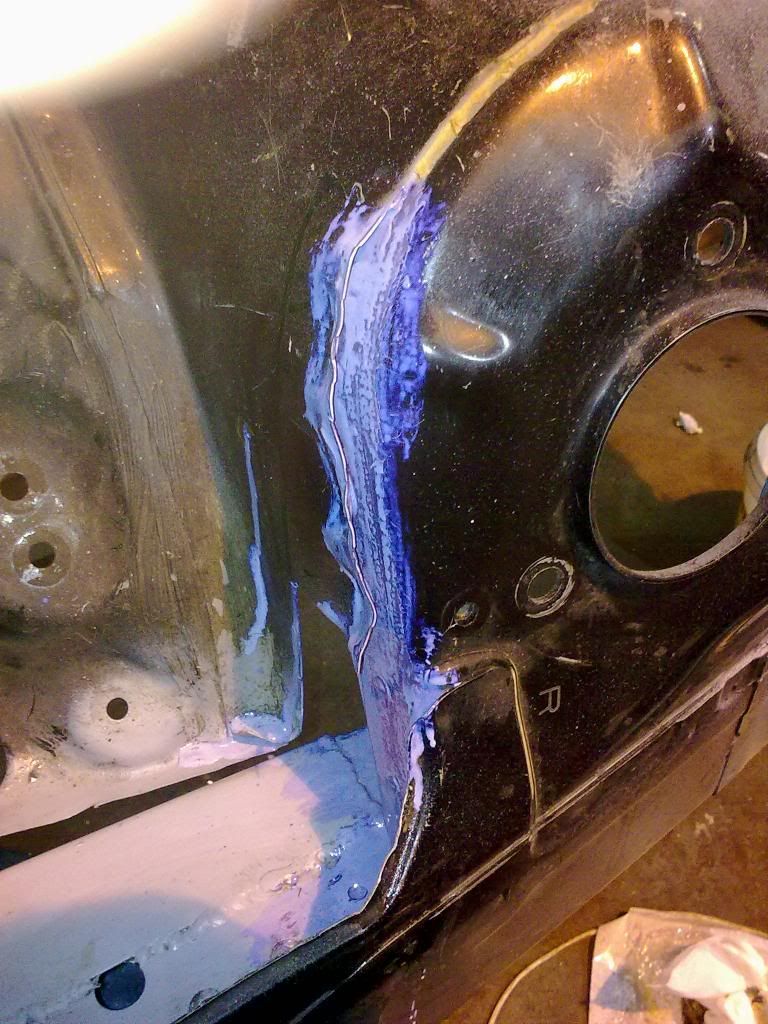
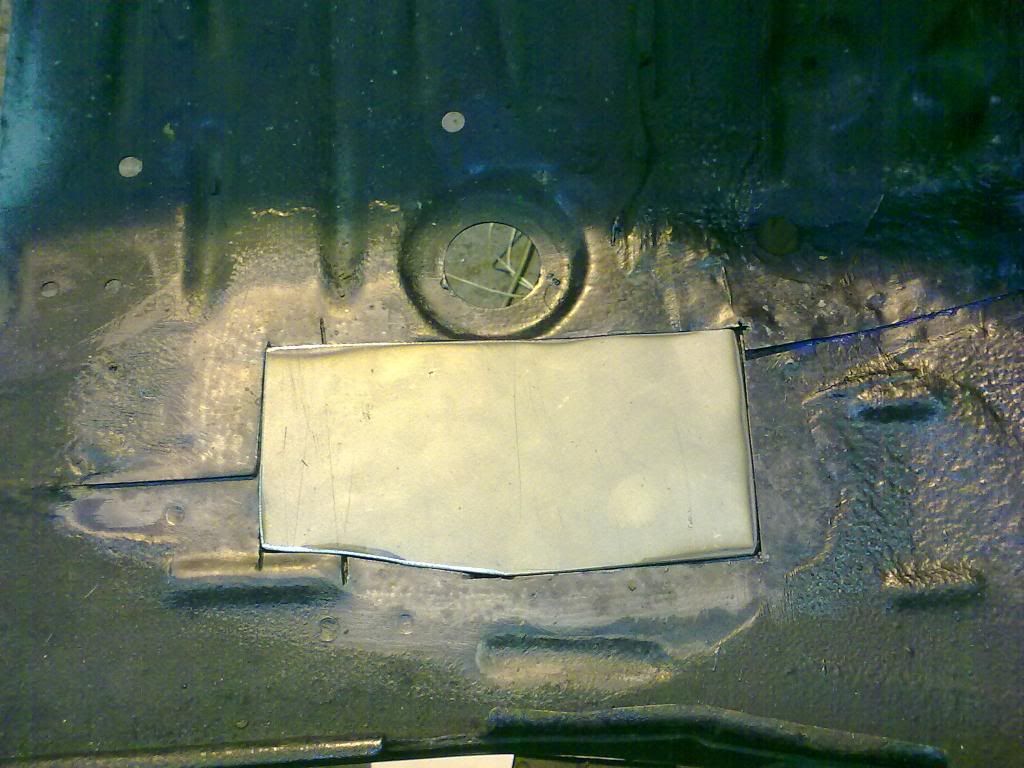
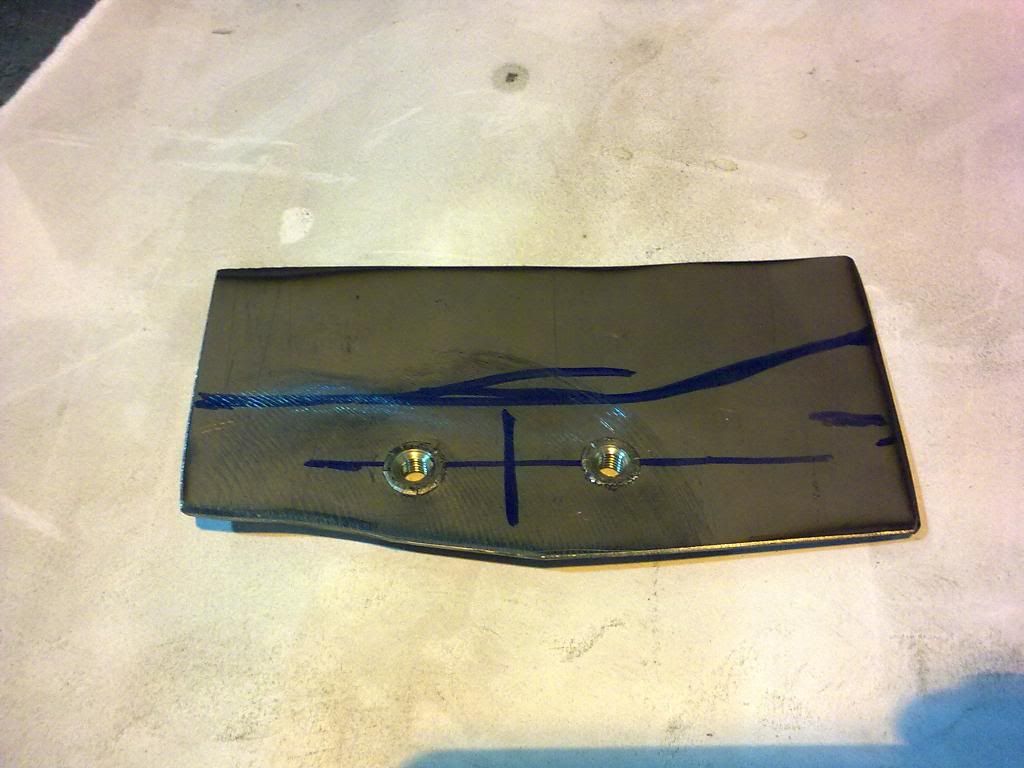
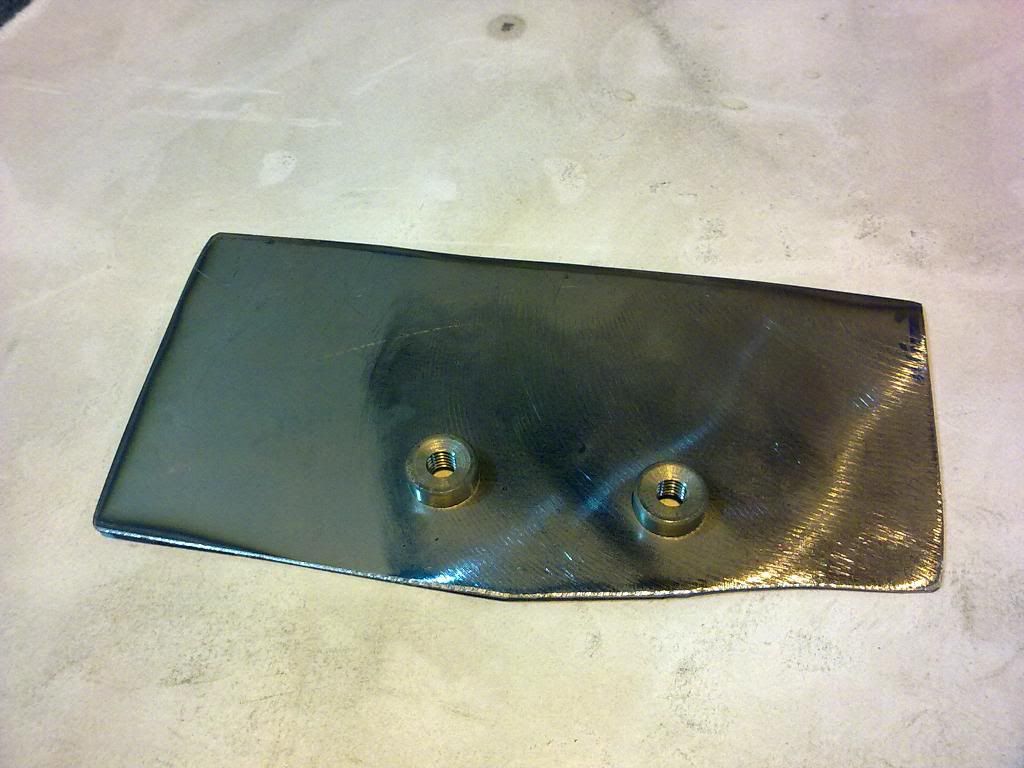
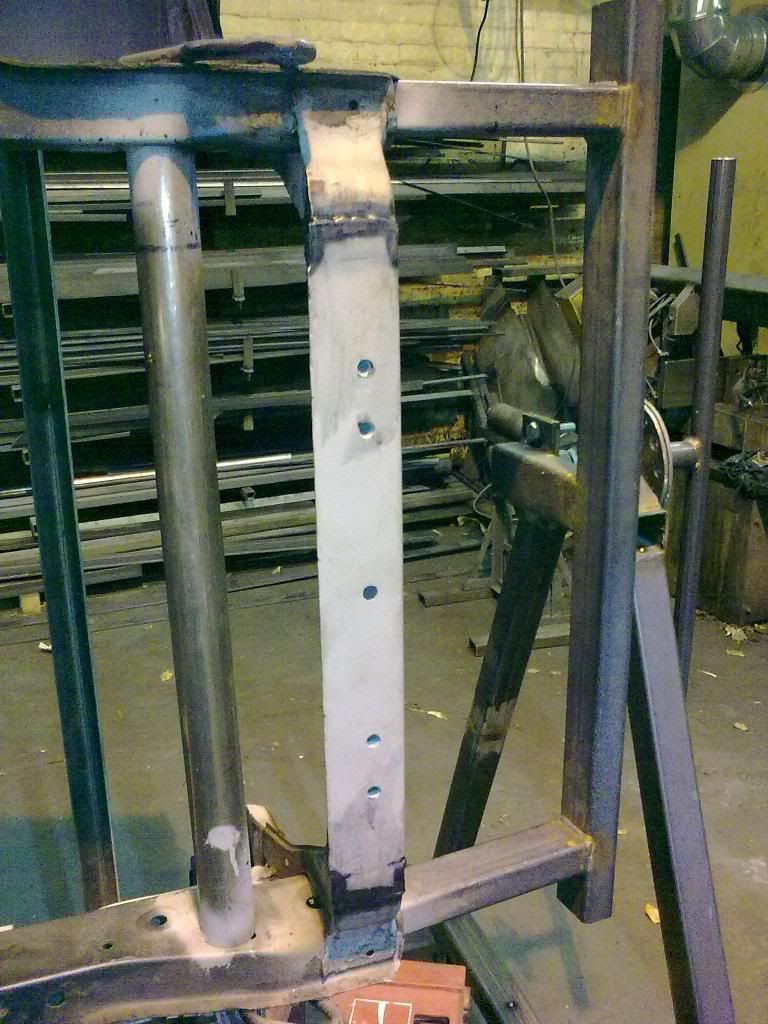
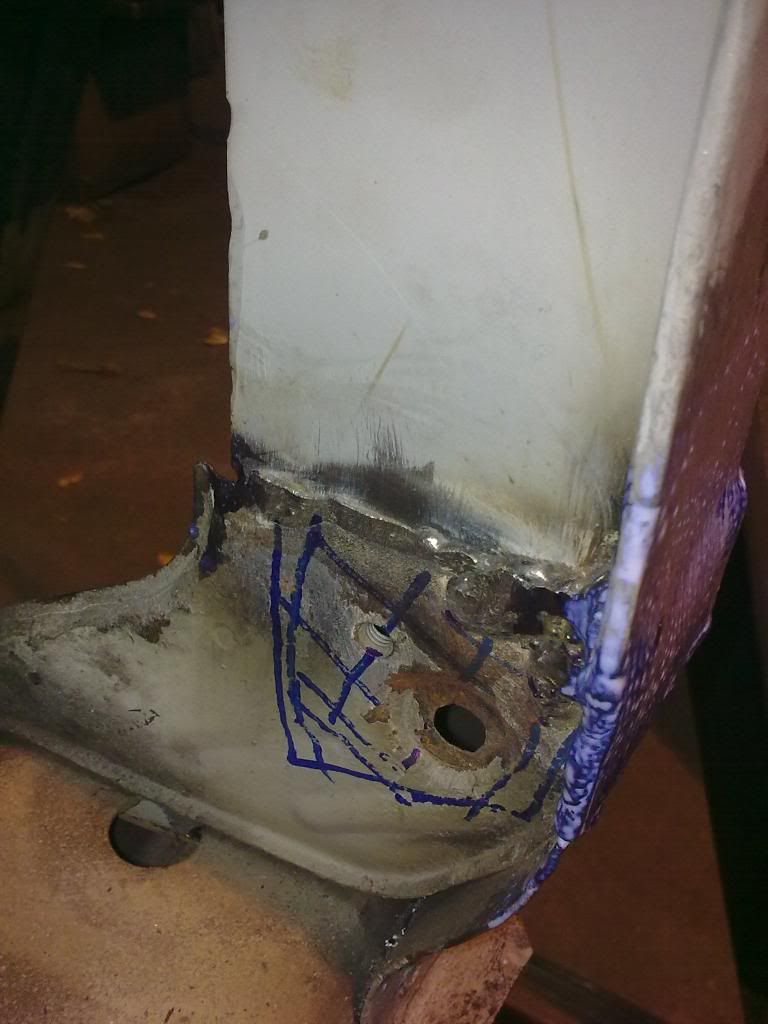
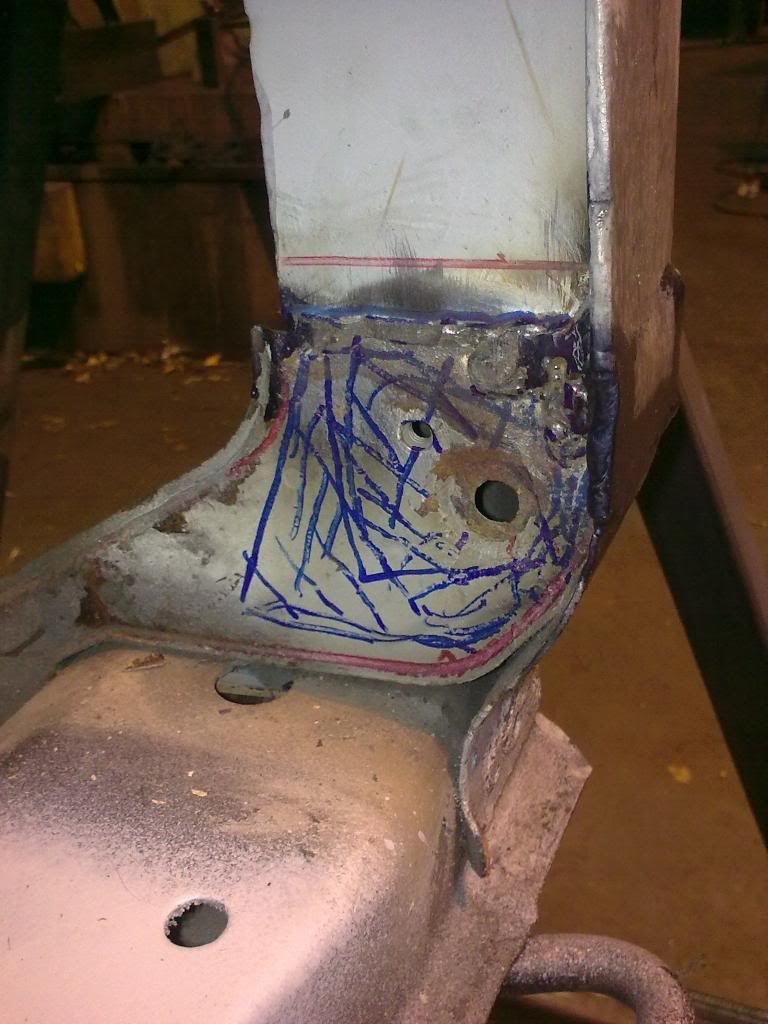
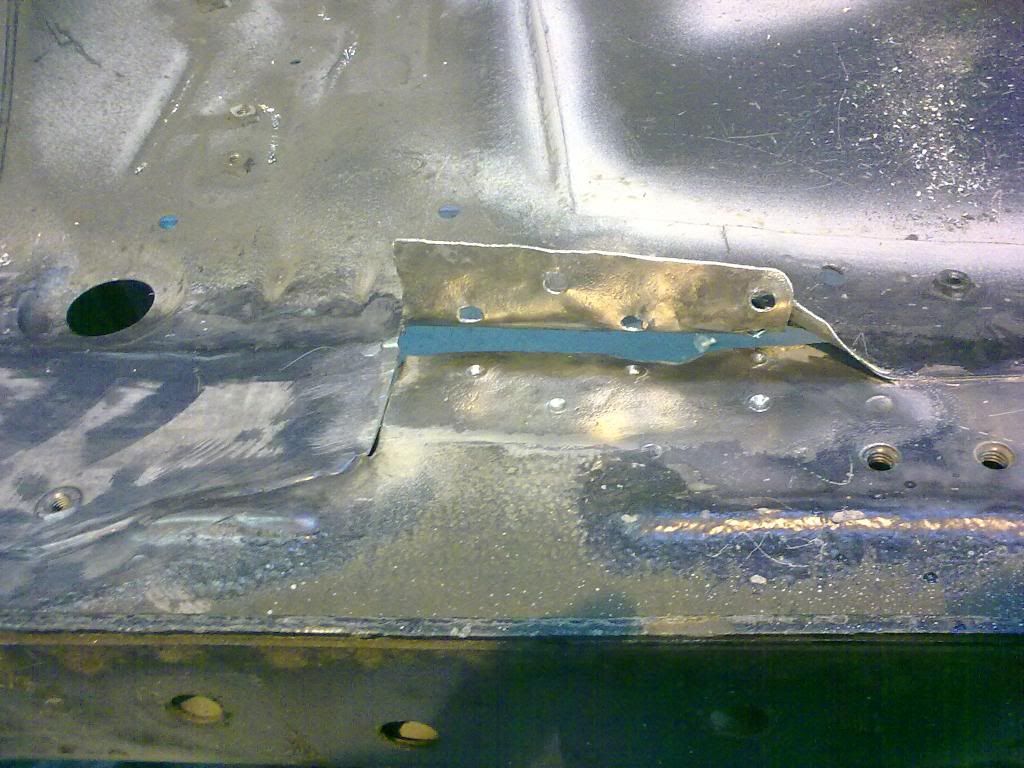
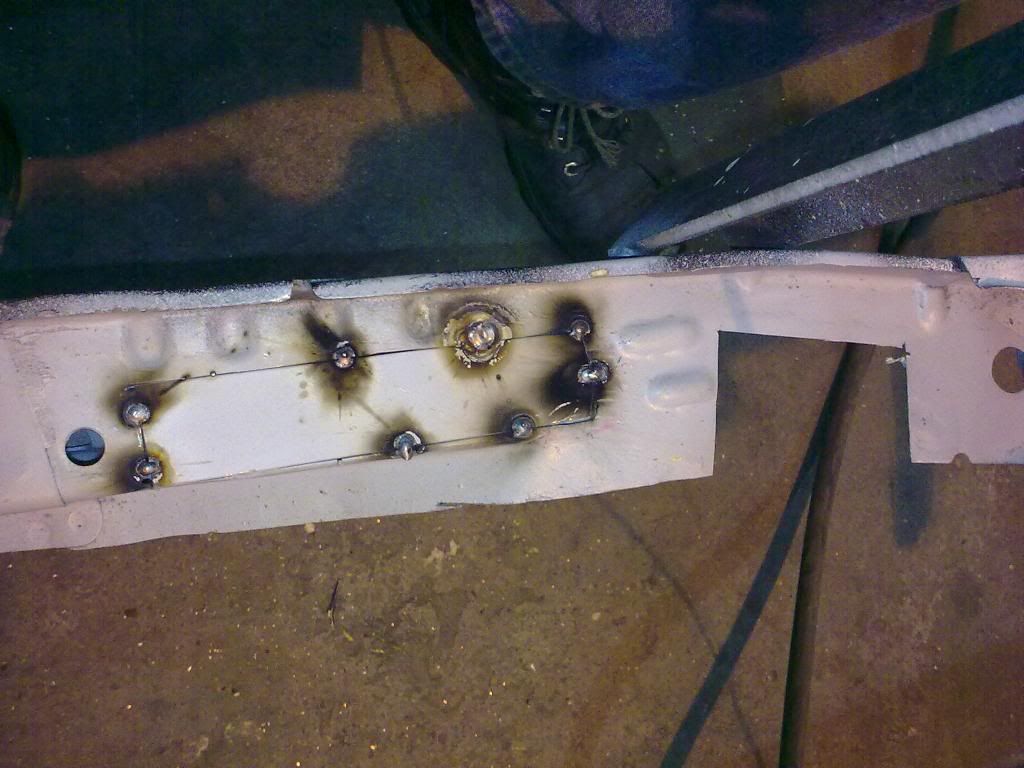
with a hide mallet it sound very solid so I happy with it.

    Tomorrow Ill be spinning it over and repeating all I done over the last few weeks on the other side of the shell. Hopefully things will go a bit quicker becaeuse I now know what needs to be done and also I dont think the other side needs as much work to remove rust..... We shall see though.
    Last edited by spice_weazle; 07-03-2013 at 07:39.

  17. #117
    Guest spice_weazle's Avatar
    Join Date
    Oct 2004
    Location
    nottingham
    Posts
    3,483
    Rides
    0
    An update for today.

    Ive cut out the bad metal where the brake pipe bracket was in the drivers arch. I thought it didnt look as bad as the passenger side but I was wrong. Ive had to cut a bigger piece out.


    Here is the beginings of the replacement piece.


    I have now put the hank bushes in and primered it so its ready to be welded in place.

    I have also made up some patches to fill in where I have removed some rust at the top of the passenger arch. Again the hank bush has been put in the small one and both have been primered and are ready to be welded in.


    Next I started to clean the area around the top of the turret.

    I wire brushed as much rust off the top of the turret as I could and then applied some DEOX-GEL and wrapped it in cling film.

    Hopefully when i clean it of tomorrow lunch it will be rust free.

    I have also looked at the rusted ends of the front cross member. I going to be cutting the blue area(same on the other end) out and made some patches up to weld over the top. The red line is where the patch will go.


    Here's one of the patches.\/\/\/ Ive put a joddle on the end that is going over the new cross member piece to allow me to weld it on using a higher current to get a stronger weld.


    Thats it for another day.
    Last edited by spice_weazle; 07-03-2013 at 07:52.

  18. #118
    Guest spice_weazle's Avatar
    Join Date
    Oct 2004
    Location
    nottingham
    Posts
    3,483
    Rides
    0
    Todays update.

    Just been welding in some patches today.

    First one was where the brake pipe bracket was.

    Here it is tacked in place.


    Then I welded it in.


    Then treated.


    The next to the above patch had rust in the seam so I drilled the spot welds and folded the metal up slightly to allow me to wire brush the rust off.


    I then treated it with HYDRATE 80


    and I have now tapped the metal back down ready to be plug welded where the spot welds were.

    I then tacked and welded in the patches around the boxed area at the top of the front wing.


    The area was then treated with HYDRATE 80.


    Thats it for another day. Im slowly getting there and the engine bay area will hopefully be finished in the next week or two.
    Last edited by spice_weazle; 07-03-2013 at 07:56.

  19. #119
    Guest
    Join Date
    Aug 2005
    Location
    Cambs
    Posts
    1,017
    Rides
    0
    Looks very time consuming! Keep at it!
    Im in the same position as you- mine needs doing sooner rather than later- will be keeping tabs on here to see how you get on.

  20. #120
    Guest spice_weazle's Avatar
    Join Date
    Oct 2004
    Location
    nottingham
    Posts
    3,483
    Rides
    0
    It is very time consuming. I recon I get about 2hrs a day average on it(I go into work a bit early and work on it during my breaks) and Ive been at it for a few months. Ive found though I have to plan a head a little cos at fist I was losing time by waiting for paint to dry over night and especially with the DEOX-GEL as its best to leave it on for 24hrs then I treat the area thats had it on.

    At the moment my mission is to get the fabrication work done and then Ill be wire brushing and sand blasting the whole of the engine bay and unerside(in segments though) and then treating it all with HYDRATE 80 to help nuetralize any remaining rust and seal the whole lot before any paint is applied.

Posting Permissions

  • You may not post new threads
  • You may not post replies
  • You may not post attachments
  • You may not edit your posts
  •