Yeah, didn't help that it was blindingly hot as well. I believe that a heat gun makes light work of it although I haven't got a heat gun

Yeah, didn't help that it was blindingly hot as well. I believe that a heat gun makes light work of it although I haven't got a heat gun
yea i will have to look into it cheers buddy
heat gun and a wall paper scraper is much easiereasly take you half the time
OK more of an update from work done.
AS it was this morning
Drivers side almost stripped, start to see how bad the rot is on the inner wing
fully stripped (ignore the runs in the paint, it was get a coating on it to stop the rot)
and a close up of the rot, it is one awkward panel to sort
Passenger side looks much better
And some of the bits removed and used, the hubs are just out of the shot
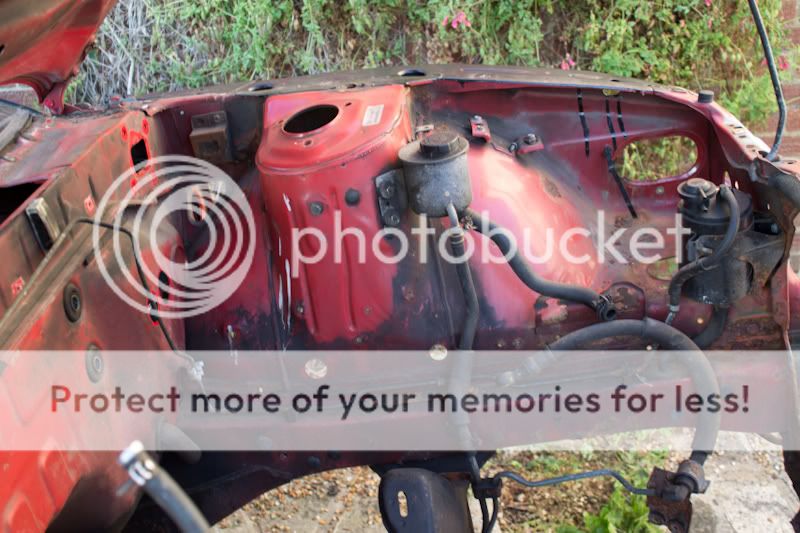
So all that's left in the engine bay now is the loom (looks a nightmare to remove), subframe/crossmember which I need a windy gun to undo the 4 nuts, fuel lines and the power steering lines (as they are attached to the above). Need to start working along the car now, sort the dash out and remaining interior bits then strip the rear
Update?
Unfortunately not at the moment. Birth of my son has taken up more time than I was hoping so far.
I got a bit of clearing up done on the front end, covered the inner wings in hammerite to protect the top of them. I need to get the wiring loom out of the engine bay and then begin sorting that out fully.
Hopefully we will be moving much closer to work at which point I will be able to do more in the evenings once little man has gone bed as I won't be as shattered etc.
just get yoursef a flap wheel and a wire wheel. it may look nasty at the beginning but once you have tidied it up a little and then cut out the rotten edges square itll look so much more manageable.
we have just finished the underside of the most rotten vauxhall nova ive ever seen and it only took a few days to be back to being ready for the track it belongs on again.
the hardest bit is stripping it all down as im sure you well know. as you have gone to the extent of stripping yours this far id be tempted to get some spare tyres and roll the car onto its side and get cracking in a much easier welding position
That's not a bad idea. Especially as I got a spare set of rims with the beemer, the tyres are shot on them so could make use of thoseOriginally Posted by m.d.

I do need to start thinking of how to get it moved up to Leamington for when we move up there. Wish the little spanner thrower would grow up enough to be able to help properly rather than just crawl around mischieviously
Well after a fair old while, I have an update to the car and its progress
So once the car has had the back end stripped down it will be a case of finding somewhere to acid dip or media/sand blast the shell (minus doors, bonnet and boot) to get rid of all the gunk on the car. Then I can start with putting it all back together.
I think the hardest part that I have had to do is removing the wiring loom. I am seriously tempted to go through and remove all the ABS and AC wiring from the looms to tidy it all up a fair bit and make it a lot more manageble for getting back in
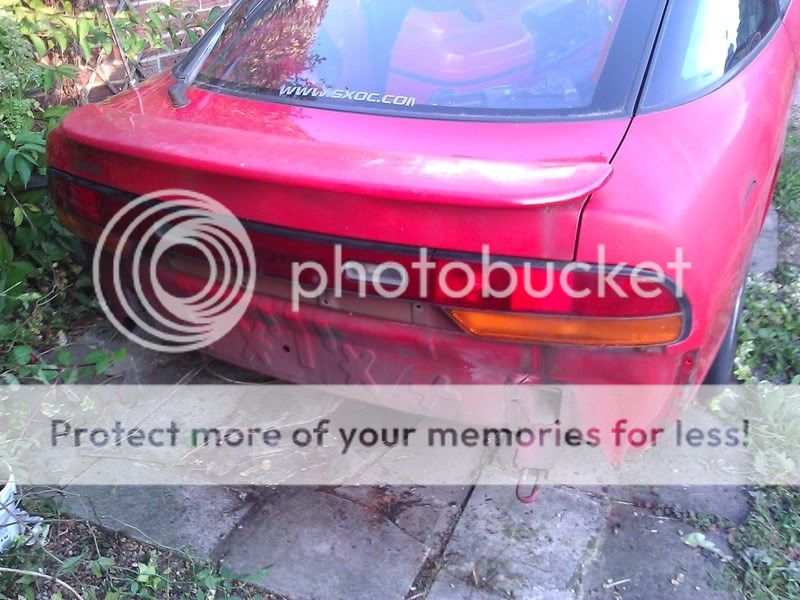
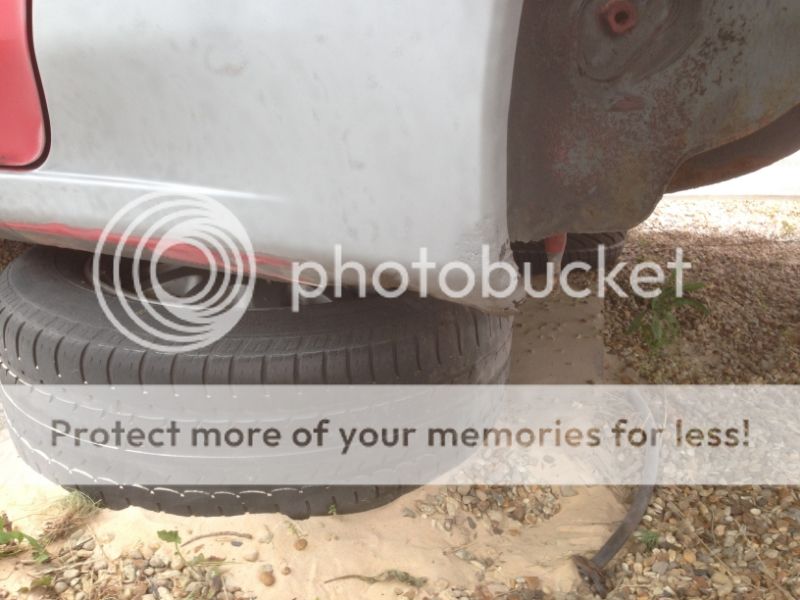
Well I have managed to get a bit more done on the car today. I have gone out and bought a set of axel stands to support the rear from halfords (love a trade discount) So managed to get the rear bumper off after finding the 4th small nut down at the bottom and realising that the tow hook was attached to the exhaust hanger
Anyway, removed the exhaust as well so that it's less desireable to the pikey's given that they have already been eyeing the car up in broad daylight
Fingers crossed the weather is the same next weekend and I should get the back end stripped down completely ready to ship the car off for a full acid dip or sand/media blast
Excellent progress so far, hats off to you for going indepth with this build mate!
Thank you. I have now got the rear subframe off along with the diff, drive gear etc. Just the fuel tank to remove then I can get it tipped over and the bottom stripped down. Working on clearing space on my credit card for air compressor, sand blaster etc
Last edited by mandelbug; 09-06-2012 at 20:15.
Wahooo well yesterday I managed to get a little bit of time working on the 200 stuff so I started on the tear down of the engine. The photo's are mainly reference for me
Upper breather pipes:
Inlet side breather pipe:
Exposed Cams:
So I managed to get the cams out, the crank pulley (although this now needs replacing and I found a Project-D blue one
Fingers crossed though, a change of jobs means I am now a 10 minute, 5 mile drive from work instead of 1:45, 90 mile drive and starting to feel like I have more energy to work on the car
So, for the first time in a long time, I managed to get some time in on the 200. I have bought myself a compressor and sandblaster. So time to get cracking on. Trying to stop the rust at the moment.
First job, build a house for the weekend:
Progress was slow to start with as I was learning the blaster, feed rates etc but was getting there. Especially when I realised that I didn't need to fully open the sand valve:
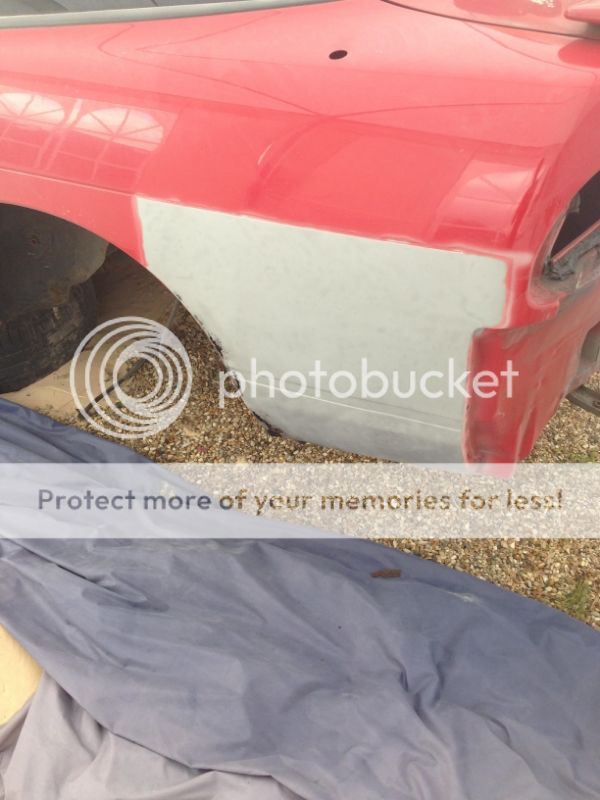
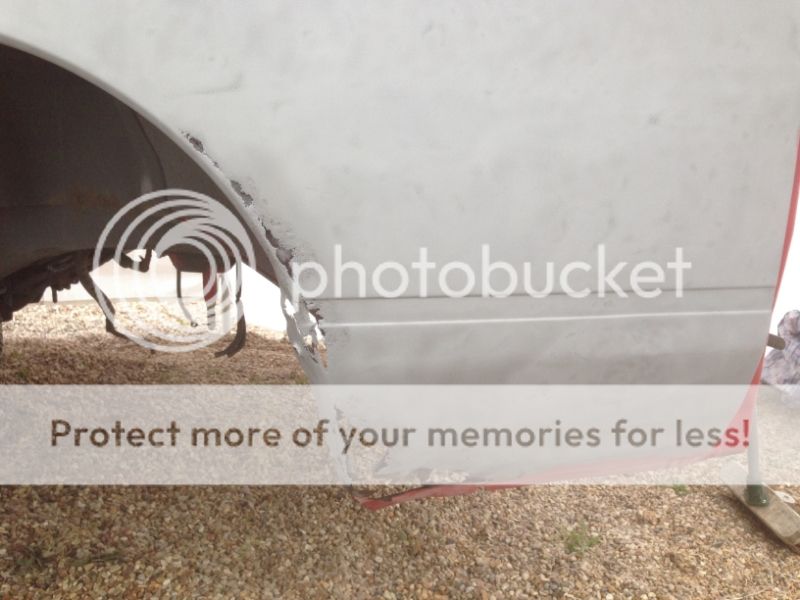
Eventually the rear quarter was stripped to the line. I was surprised as apart from the rear section and the sill, the panel wasn't too bad in fairness:
So, if I can find a section for the rear I can get away with just replacing that not the full panel. So a coat of paint as a line of defense
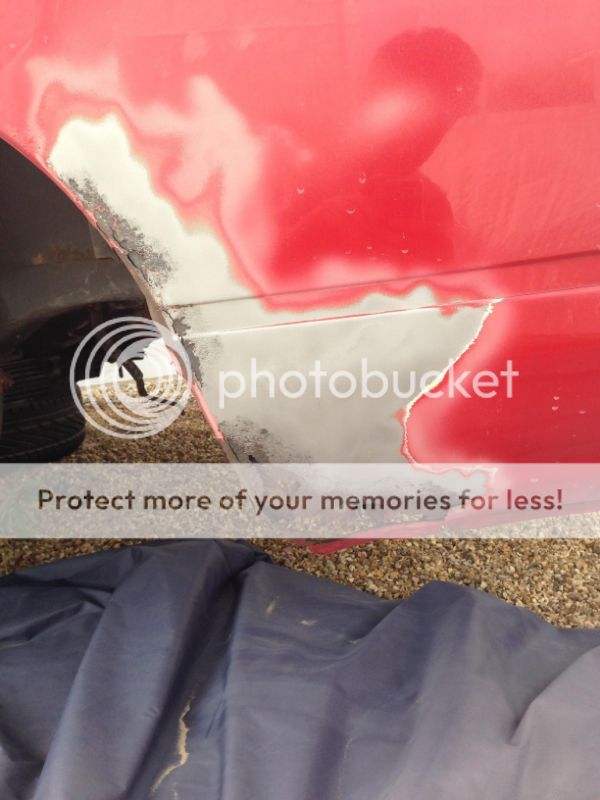
So then it was on to the drivers side. I know there is filler on this panel from before I bought it but needless to say I was shocked. Progress was slow, I didn't realise the rear was filled:
So, out with the hammer and chisel to attack the filler, I thought there was a skimming of filler, turns out I was VERY wrong
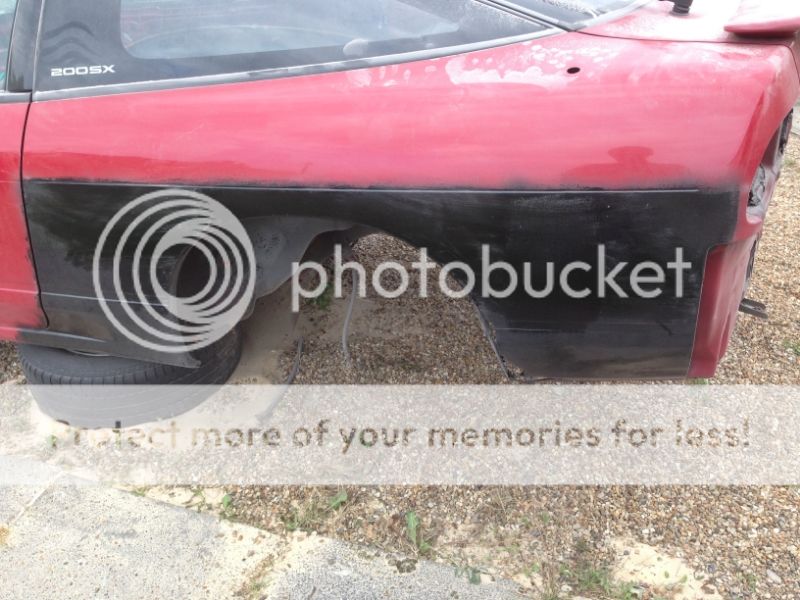
Oh well, I need a whole quarter panel on this side:
Throw some paint on it as a temporary measure and I will address this at a later date:
I had a quick look underneath and the back at least seems solid with just surface rust. At least some (slow) progress was made. Hopefully get some more done soon
 Posting Permissions

 Reply With Quote