Ebay special. They were about £25-30 each from memory.

Ebay special. They were about £25-30 each from memory.
lol cheers pal
No problemjust got the water temperature gauge to wire up at some point lol
damn... those bearings were in bad shape... how was the crank ?
ohh that sounds like a bundle of funwell i know who to come to for advice on fitting anyway lol
TM the crank wasn't scored but could have done with a polish to remove blemish marks but other than that no pitting or scoring. I did the first two from the front pots and thought oh they are fine, took number 3 off and was like "Ah OK so they are a bit shot"
Need to do the breather bypass or cleanup but after 14 hours I needed to get out of there and back home to bed
Fergulster - They were really simple to fit when I was changing the oil filter. Wiring is very simple
ahh cool. ive just ordered some i cant wait
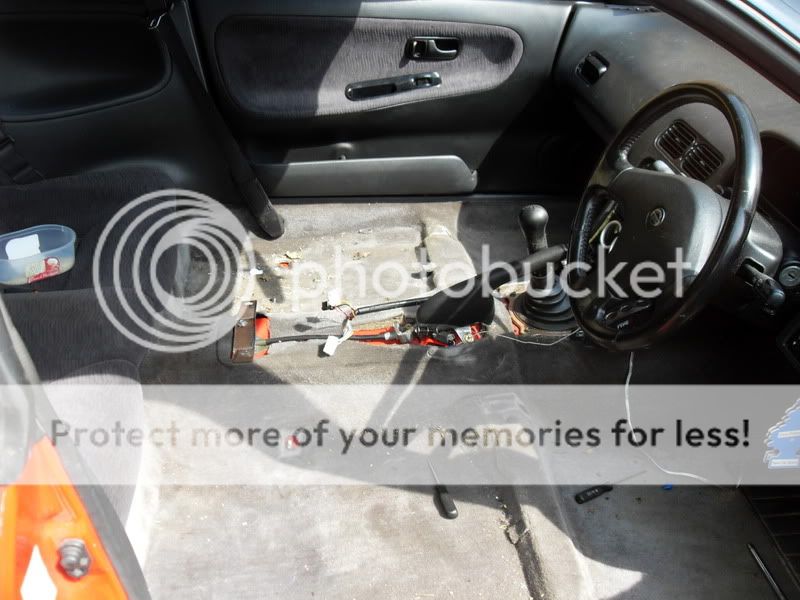
OK So today I have managed to get the interior stripped although still got to do the sound deadening and a few patches of rust to sort before starting on the exterior.
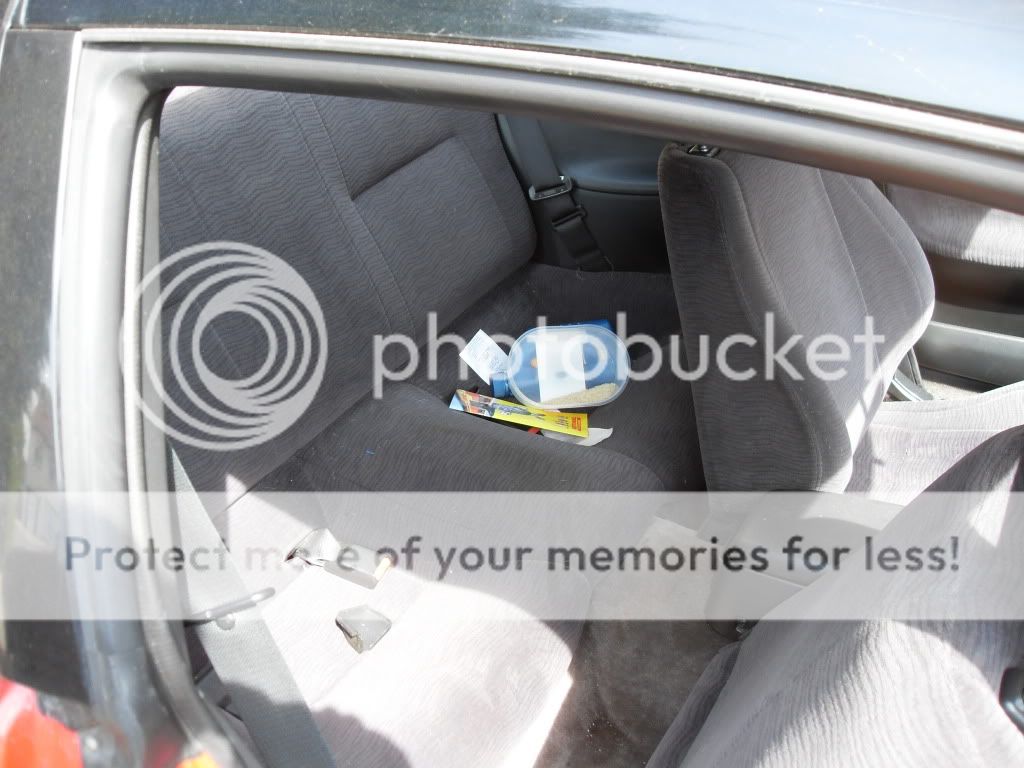
How it started:
Getting there:
And then pretty much how it ended:
Hopefully I can start stripping down the front and getting the engine out for a rebuild
OK So last weekend I started stripping out the sound deadening, by god it's hard work
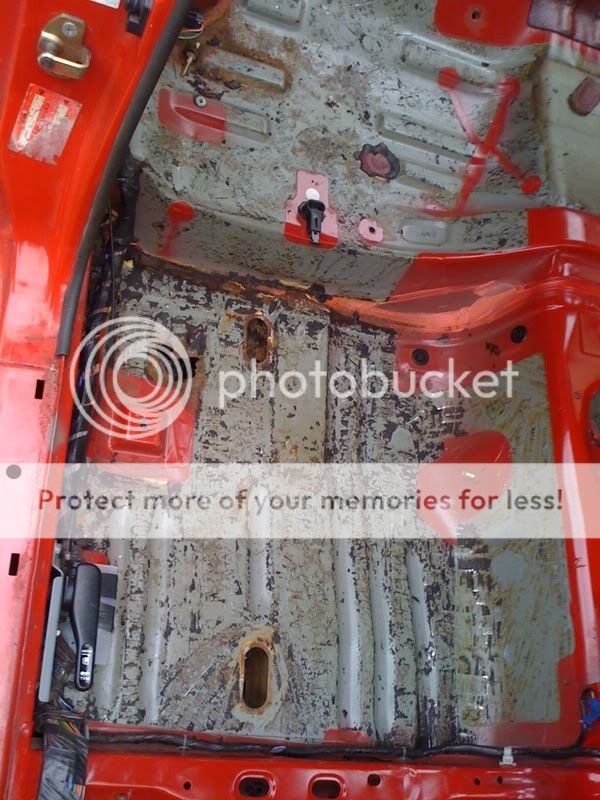
Rust hole in the rear passenger foot well that will require a weld up
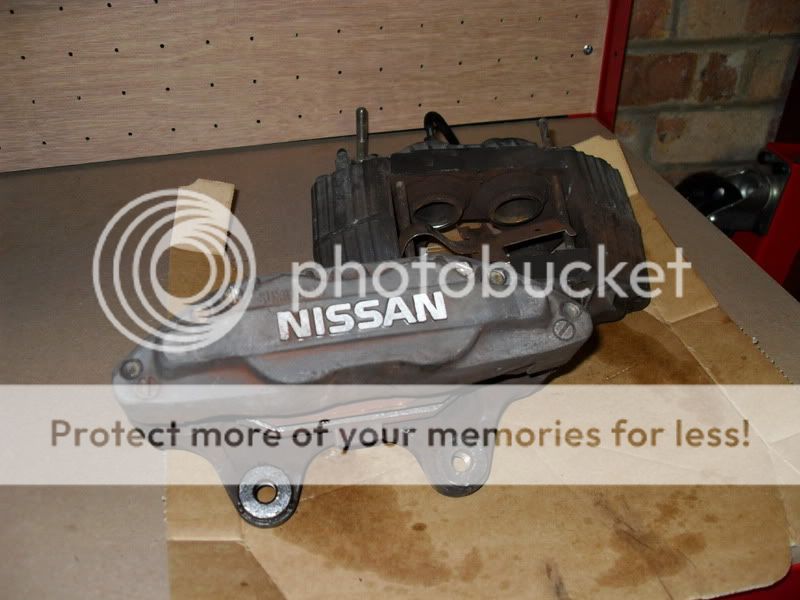
Yesterday I went out and picked up some Z32 front calipers from a chap on here (TurboDailyDan
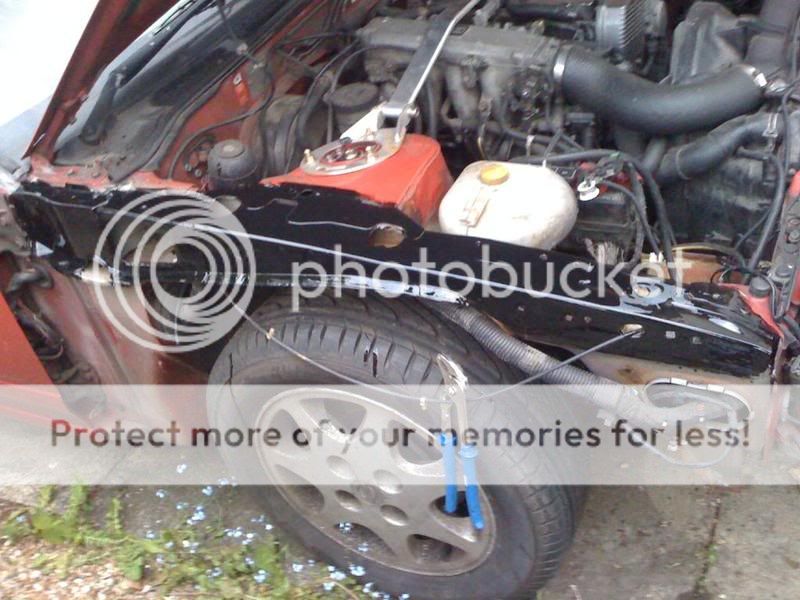
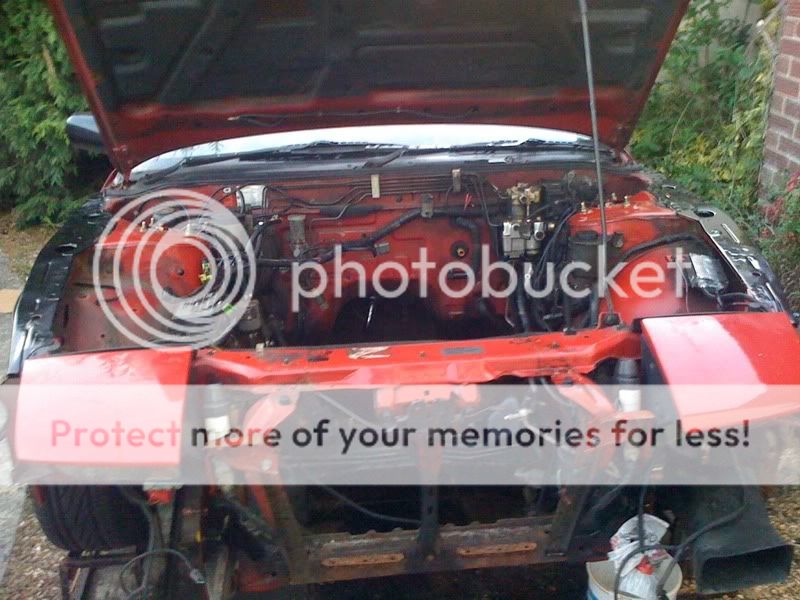
Today has been stripping down the front, bumper off
and the drivers wing off
with a nice patch of rust found as well
so that will be some more welding that needs doing, any way off with the passenger wing
and then to finish off a bit more sound deadening removal with the rust hole getting a touch larger
although the hole did provide a nice easy exit for the sound deadening, saves trying to get a dust pan and brush into the contours of the floor.
Does anyone know what the two holes are above the chassis rail? Planning to shove a load of waxoil down them after the clean up is finished and any patches welded on the chassis
OK done a little more tonight on the tops of the inner wings today.
First of all, attack the surface rust with a wire brush
and then cover with Hammerite to provide a little protection
Need to start getting the engine out this week and start clearing up the engine bay
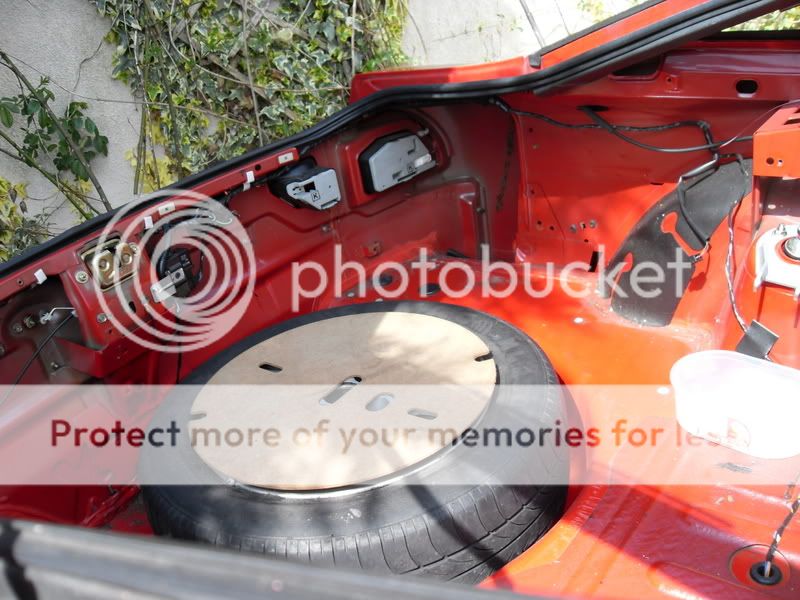
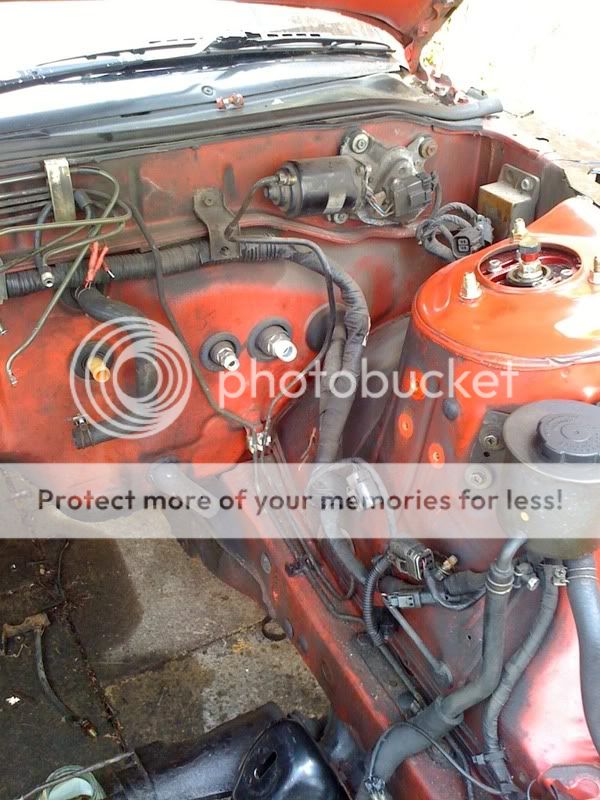
And today I have spent the day stripping bits n pieces out of the engine bay in preparation for yanking the engine out.
Just need to sort out an engine hoist to get it out and onto the stand for strip down. Clean the engine bay up and sort the rot, bin the ABS by using the kit from DB Power and get on with learning to weld, plenty of practice is here
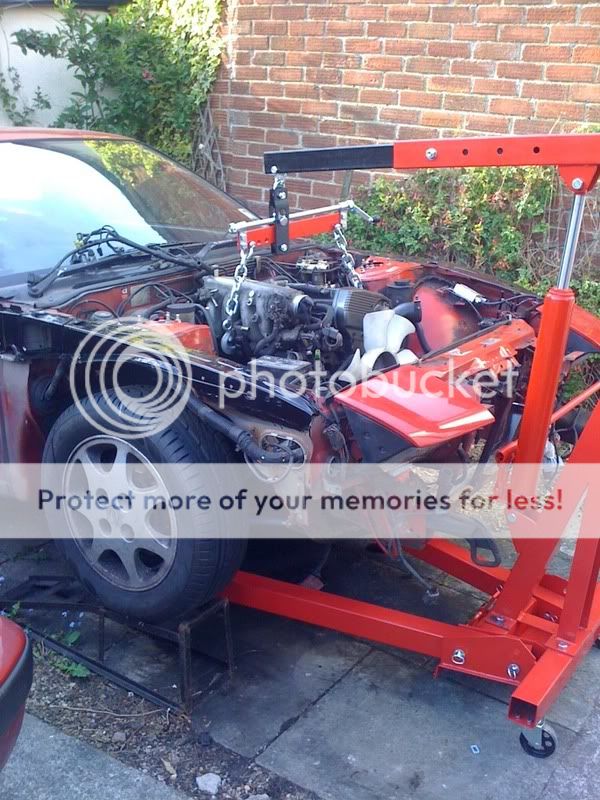
Yesterday was a fairly productive day, took a trip out and bought myself this:
hooked it all up, fingers crossed I haven't forgotten anything
yay, no I haven't, I remembered I needed a bit more clearance for disconnecting the heater pipes and after a bit of jiggery pokery, hey presto. Ended up taking it out with the downpipe still attached as there is one bolt on it that is a pig to get access to and just would not come off although it can't be seen here
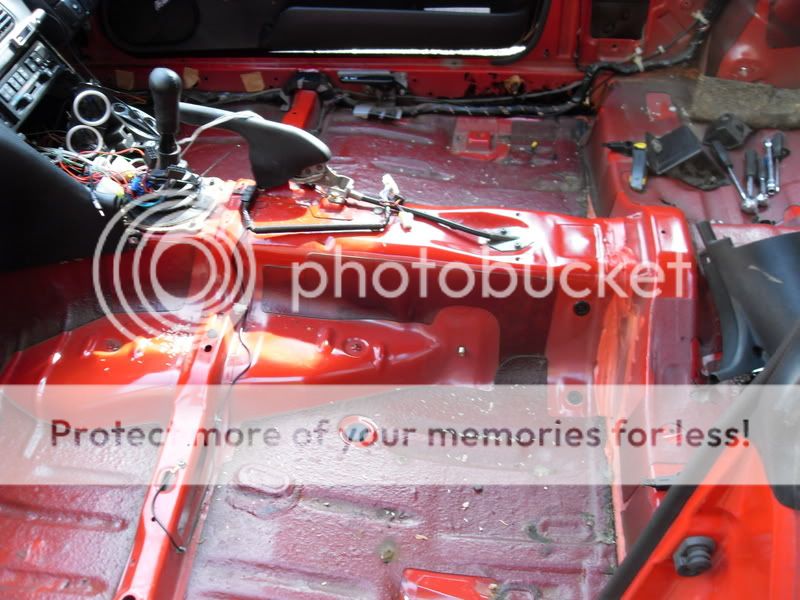
Am going to have to clean a fair bit in here after all the oil that the CA has leaked. After it's cleaned up I can sort out the rot and hopefully not too much welding will need doing
Not so much work done yesterday rather a logistical PITA getting the engine in the workshop so it can be rebuilt at some point (Good weather = work on body, bad weather = work on engine
First of all, remove the clutch and cover to get the bracket on for the stand. Clutch doesn't look too bad with a few mm of material left
Then off with the flywheel, went out, bought a 27mm socket to hold the crank still, undid two flywheel bolts and then when doing the third, I cracked the crank pulley bolt (doh) but at least I don't need to worry about that later. Managed to undo the remaining 6 and off it comes
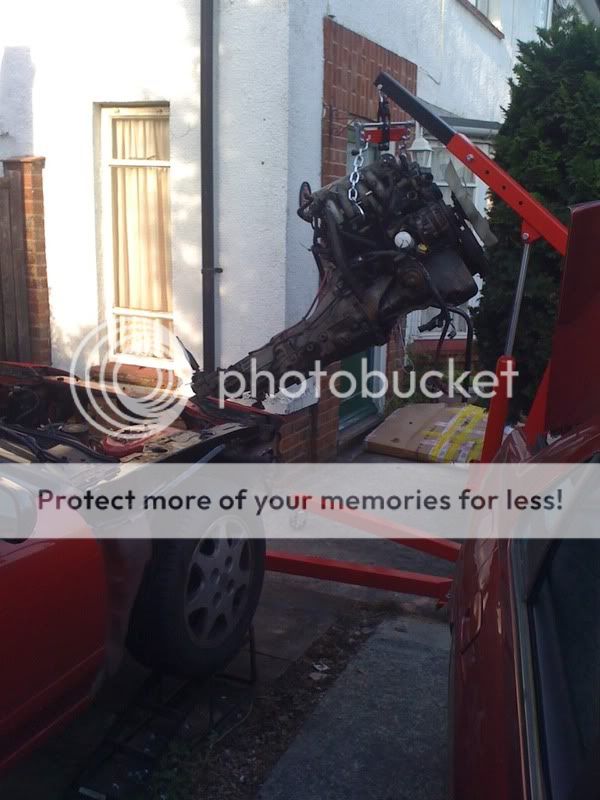
And then as the engine stand and crane were too wide to get through the workshop door, I had to put the engine down, drag it through, had to remove a couple of ancillaries to shed weight to be able to move it, then get the crane and stand facing each other then a bit of a swing and on it went
Next job is to strip more of the engine bay, replace the clutch pipework with a single braided hose (I snapped the hose undoing it from the slave cylinder), clean it all up and start learning to weld
OK a tiny bit more done on the datsun, bit of a tidy up at the front
Started with this
Attack it with wire brush on drill and a nylon rust remover thing from halfrauds
Get the daughter earning her pocket money
and end up with this
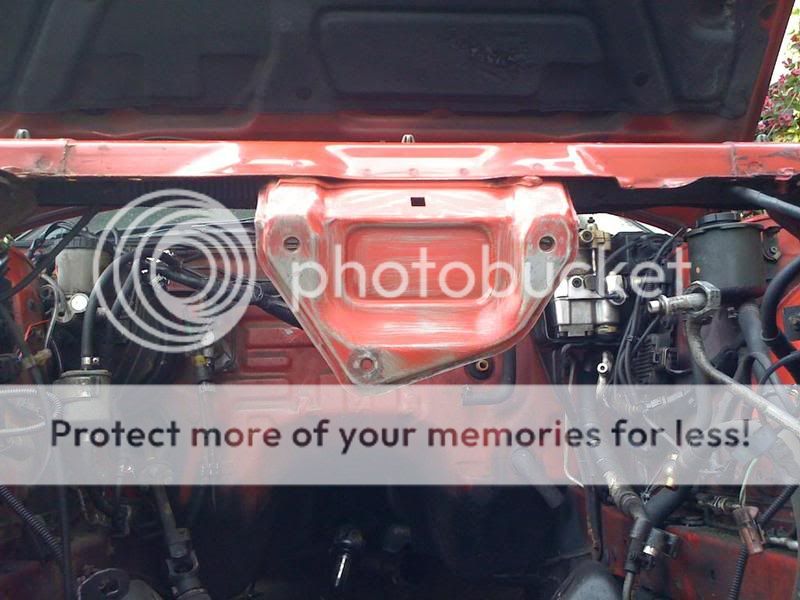
then start work on the bonnet support catch bracket, it's minging from oil that the CA has spat out everywhere
and once again attack it
give the actual bonnet catch mounting panel a good keying
Liberally cover everything in black hammerite and that's another job done.
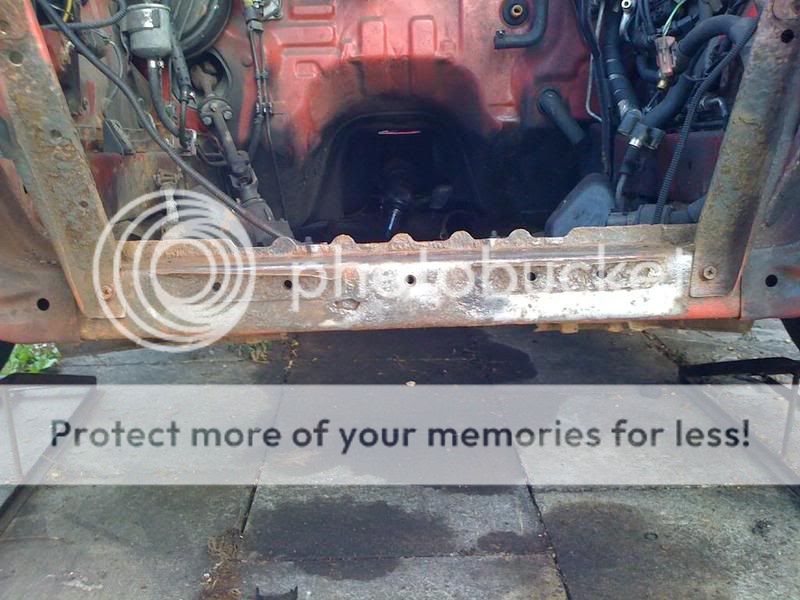
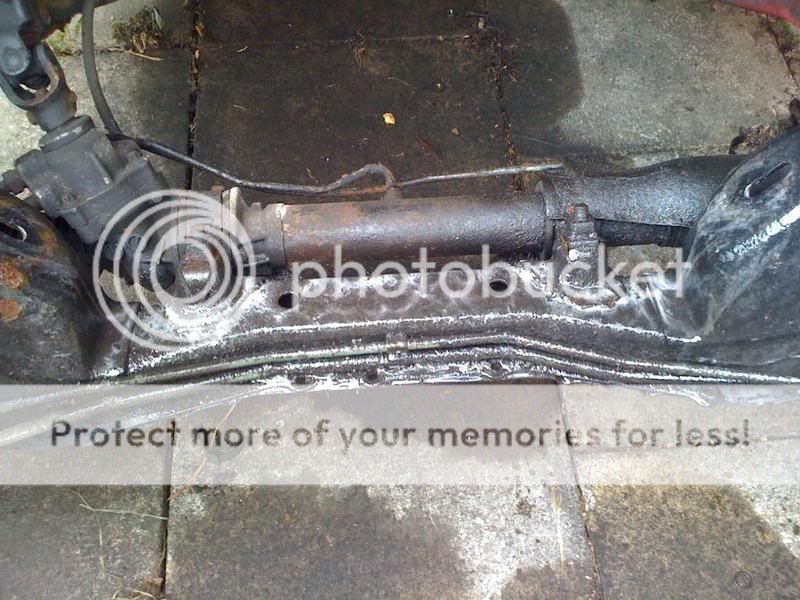
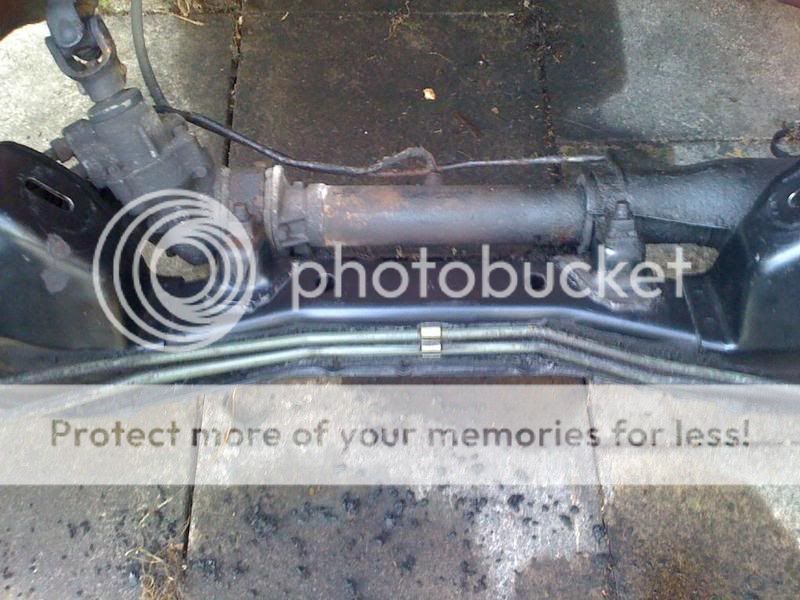
Also started cleaning up the cross member as it has a covering of about 1cm of oily gunk so give it a soaking in engine cleaner
Attack with tooth brush and old socks and it's a good way there although still got around the steering rack and under the power steering pipes to do but it's already a lot better
OK did a bit more ripping stuff off at the weekend, the ABS, last of the AC in the engine bay, clutch master cylinder, brake master cylinder and pedals are all off
And looks like it will be a PITA to replace the panel between the suspension turret and bulkhead but needs must. Decided to strip everything off and try and get the shell blasted, either media or sand
some amount work you have left to do there you doing it all yourself???
yeah am doing it all myself, bit by bit. Will be getting a good lesson in welding on this
what did you use to remove the sound deadening mate?
Hammer and chisel, I haven't done it all though, it's been a P.I.T.A to do so far, am hoping a media blast can remove the rest when the shell is ready
dam i want to remove mine but hammer and chisel sounds like had work lol, did it take you long to do, the bit you did that is,
 Posting Permissions

 Reply With Quote