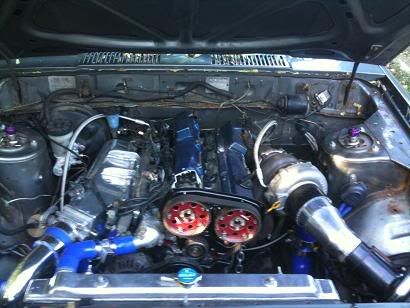
Thought I should pay some attention to under the bonnet as the engine won't spring in to life without me.
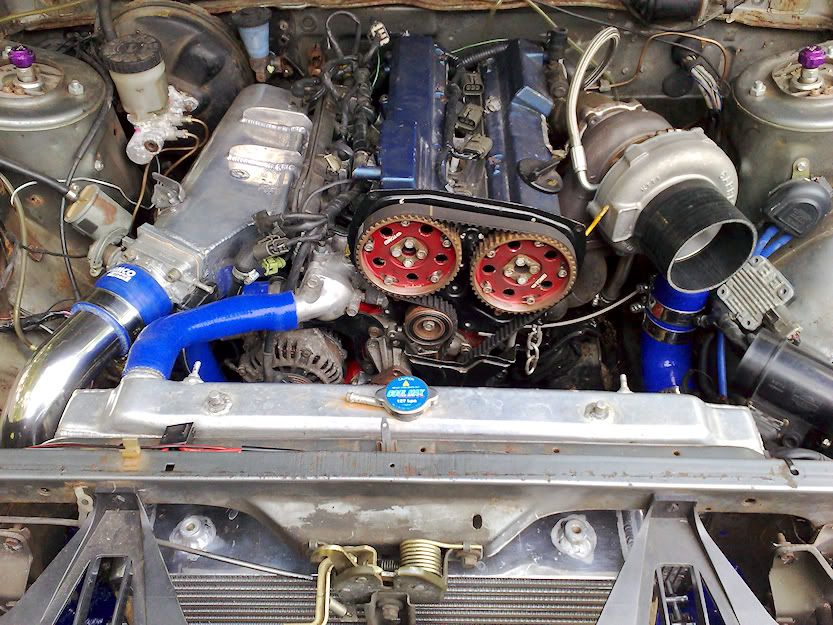
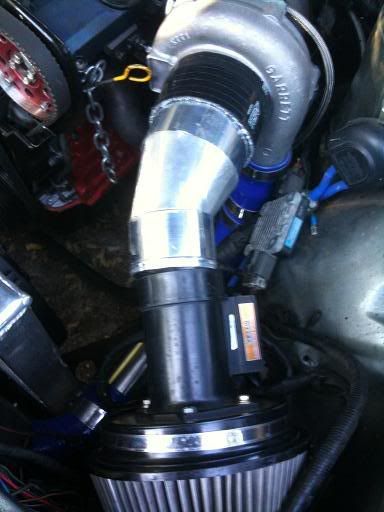
Intercooler. I got some big chunky 3" thing for the front. I had to have my pants pulled down and buy some samco to make up the pipework. Had to do a fair amount of metalwork removal including hacking the battery tray out to make it all fit.
Not much left to do in the intercooler other than buying one more Mikalor clamp, some M8 1.25 studding to secure the intercooler a bit tighter and get a 15mm and 30mm pipes tee'd in to the intercooler piping for the recirc dump valve and slow running system.
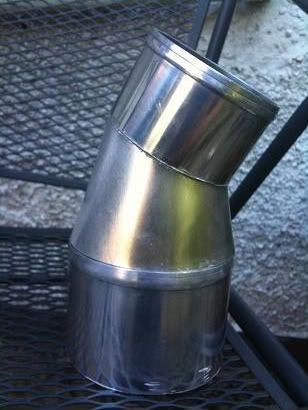
Oh and also need to get something to got from 4" to approx 3.1" for the airflow meter including 2 slats inside to make the air direction linear.

 Reply With Quote


 looking good!

")