just found this project and loving it, well done so far, keep the updates inc!

just found this project and loving it, well done so far, keep the updates inc!
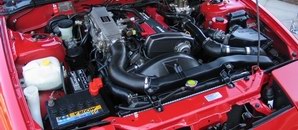
The problem is that you cant fasten the flexi pipe to the shell. This means the only thing supporting it is the hard pipe that runs from the clutch master cylinder. I got a Nismo braided line off AlanjugglerThis one has a slot in the end to enable it to be fastened to the shell proper job
With regards to the hose solutions pipe, its not a manufacturing fault, its lack of attention to detail
I have to say it does my head in when you buy an upgraded part and the bottom line is, its a downgrade. Long term the movement in the hard pipe would work harden it and it would crack. This is the problem with buying upgrades they are often done on the cheap without any though into the design of them. I guess thats why my S13 and S14a have very little mods.
I cant see the point in trying to get my money back from hose solutionsat the end of the day, if they are not capable of making a simple pipe up with the relevant fitting at either end, then I cant be arsed talking to them. I would rather just bin it than trying to have a long conversation on the phone with them explaining.
Apologies to rant on your thread, keep up the good worktidy S14s are becoming more and more rare

Pete
SXOC Member Number : 317
LOL no worries about the rant, I quite agree! Thanks for the heads up rather than letting me find out for myself.
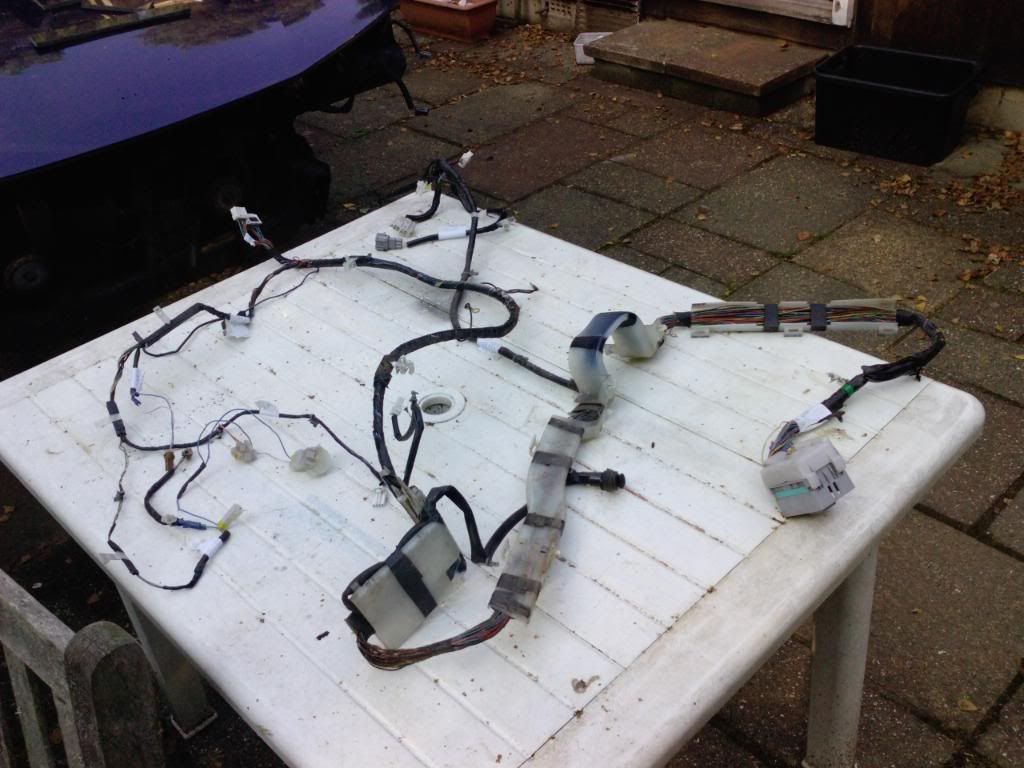
Heres a pic of the damaged wiring loom which we had a 'little' accident
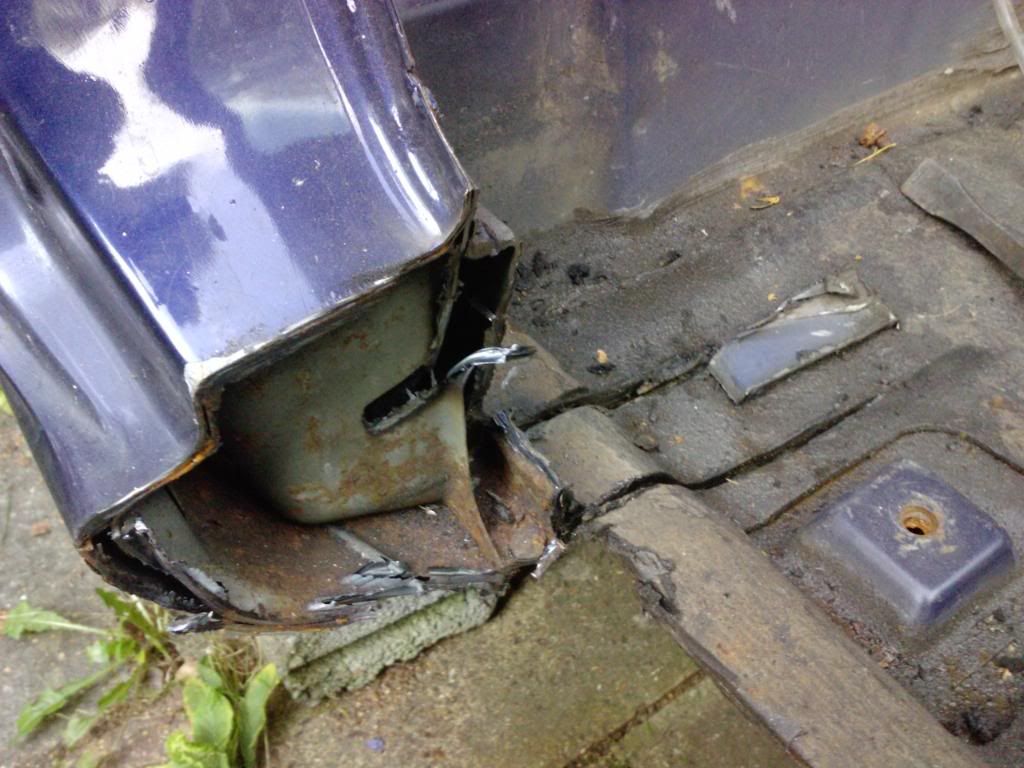
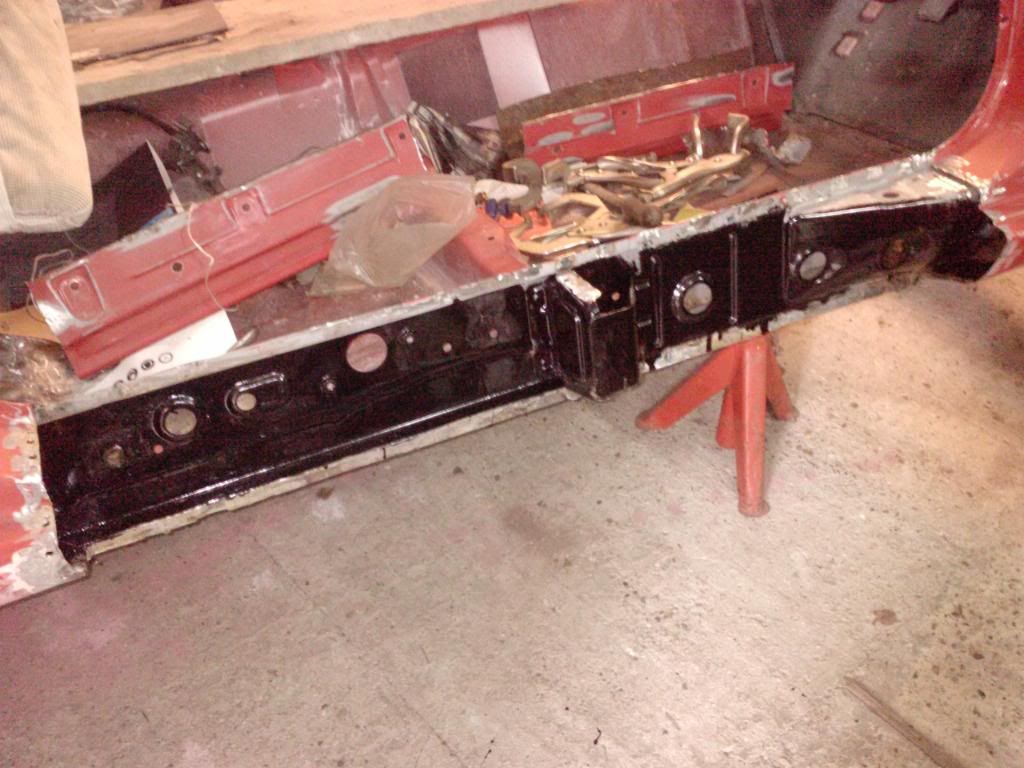
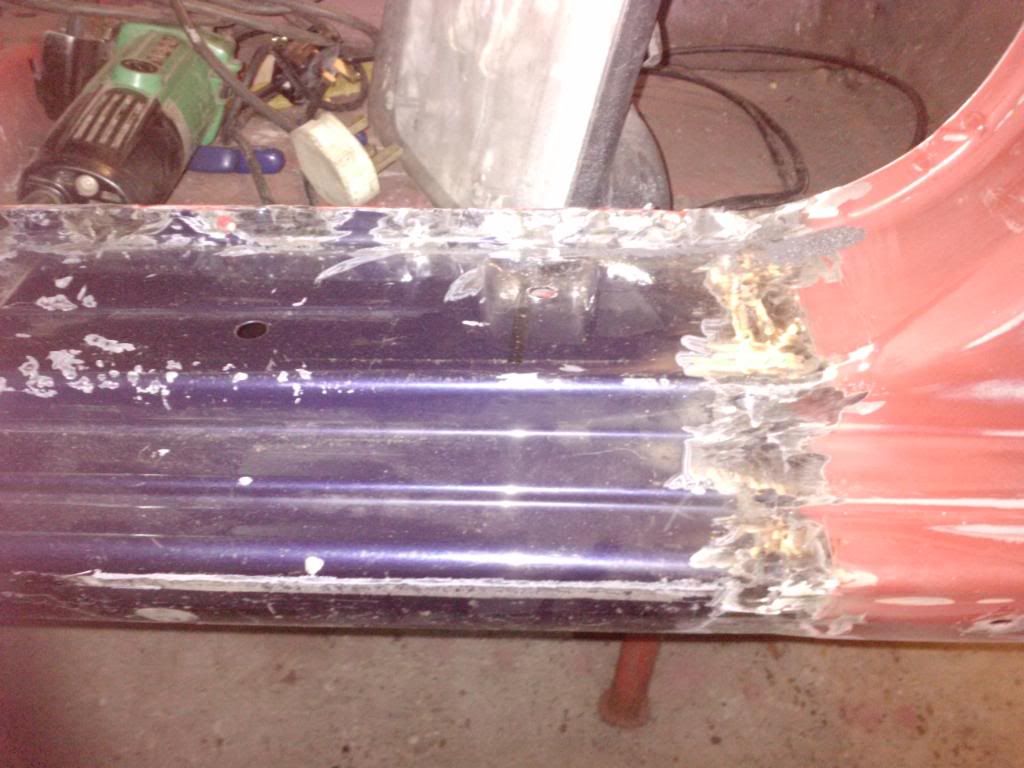
And a few pics of the damaged sill wihich is due to be removed
Will keep you posted!
Can't see why you need to fix a flexi pipe personally?
Anyhoo, looks like a fun job you have on the go mate, did a similar thing to a mates Skyline not long back, just without the repainting
Edit: Just re-read about the flexi pipe. Can't understand now there is any hard pipe involved. I thought the Hose solutions replacement goes between the master and slave cylinder and you bin the restThe Nismo pipe leaves the crappy loop system in
Last edited by drifter; 22-09-2008 at 19:37.
Removed the damaged wiring loom section...fixing it up soon, not too bad i think to pach up.
Got the sill out of the blue car today, left a bit of a hole...
Been revising for work and finaly had my exam so I can get back to the project...
Since my last post the old car has been moved to the bottom of the garden, after quite some effort, sinking in the mud, nearly rolling through the fence into next door garden and then getting stuck good and proper after trencial rain!
Finaly got it under cover made a quick roof up (the old rotten shed lol) so its not being blasted by the elements so much.
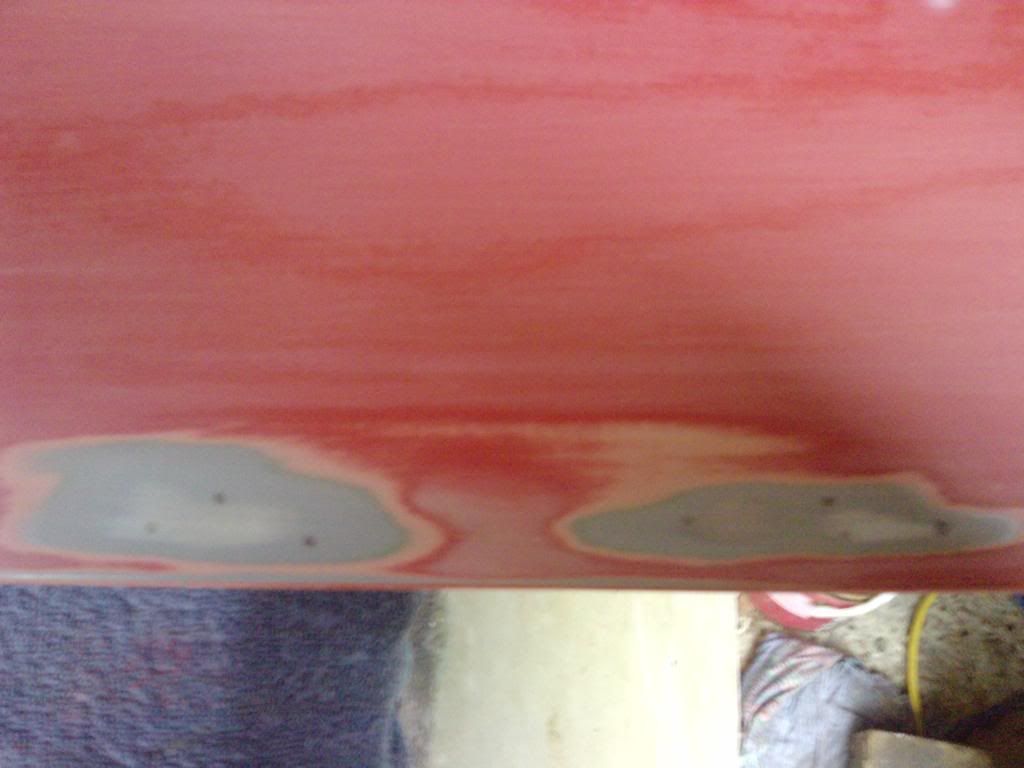
Got the damaged sill off the red car, to find that it was a bit of a mess in side, didnt really think it would be so rusty!
Think this was due to the previous owner drilling holes in it to secure the side skirts on with self tappers!
Removed the rust and gave it a good coat of paint, will be filling up later on with Wax oil or what ever that other stuff it Dyx... some thing or other.
Overall plan now that I have my life back and a week and half off over xmas new year is get it rubbed down and sprayed up in Jan fingers crossed lol
My jaw hit the ground!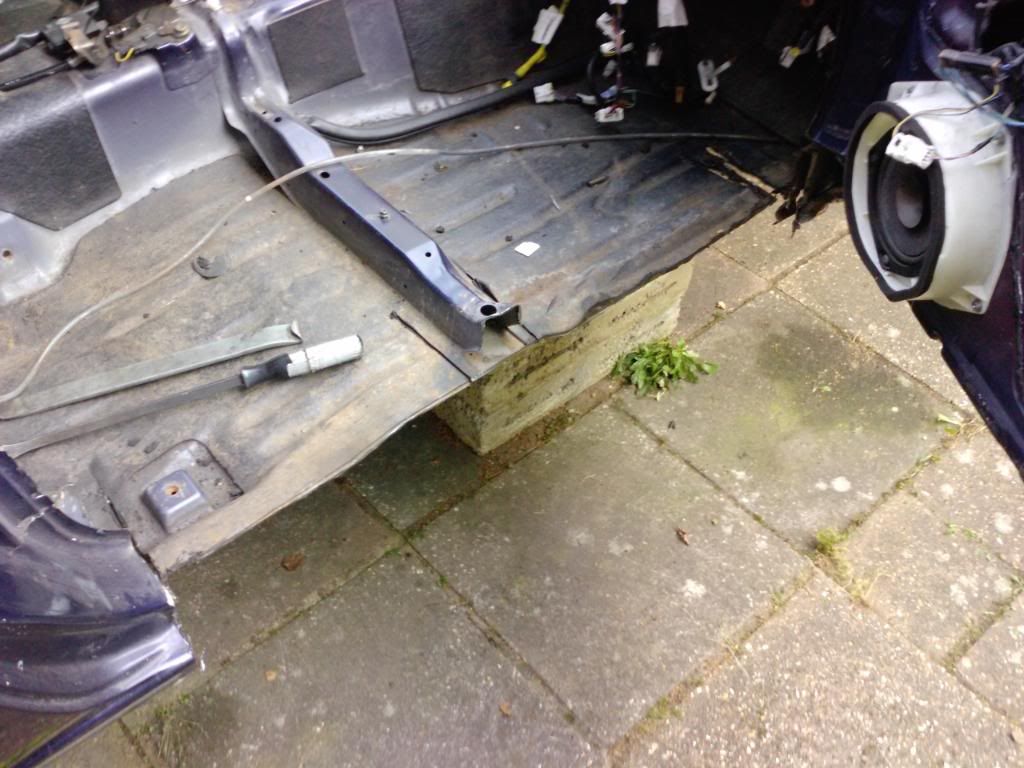
1000000000 out of 10 for your work!
Had some time over xmas and new year so I got the other sill on the car, and then tidyed it up a bit.
Rubbed down the near side door, this had been resprayed before, not very well I have to say and there were also a number of dinks from car doors
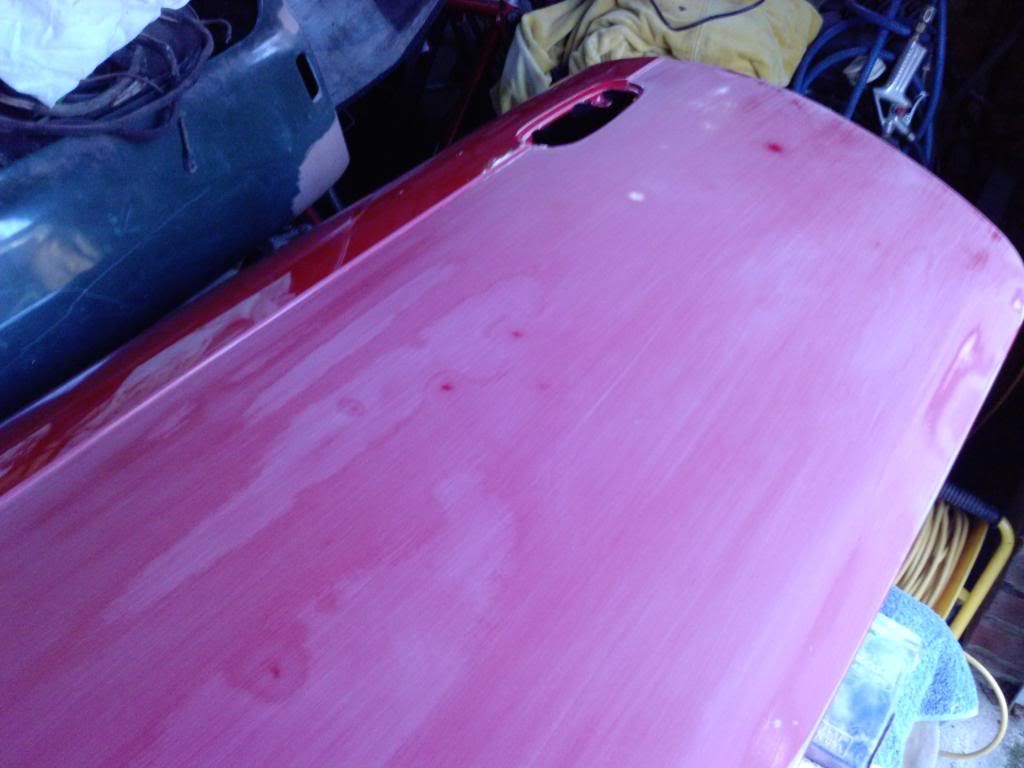
Manage to tidy it up, filled the dinks, removed teh runny paint job and got rid of a few spots of corrosion along teh bottom of the door.
Finally finished the door off in 800 wet and dry hopefully its good enough when I take it down the spray shop. I also finished rubbing the wing mirrors in 800 again, and did the door shut, 600 on the bits you won't see and 800 on the bits you will. And then popped the door back on.
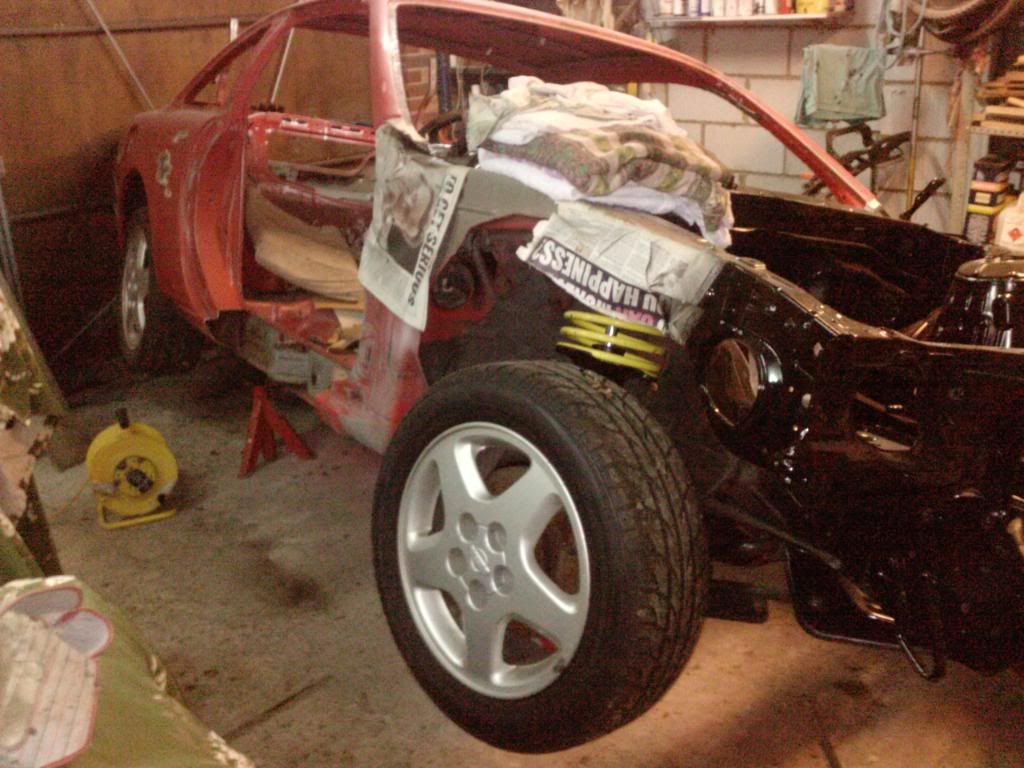
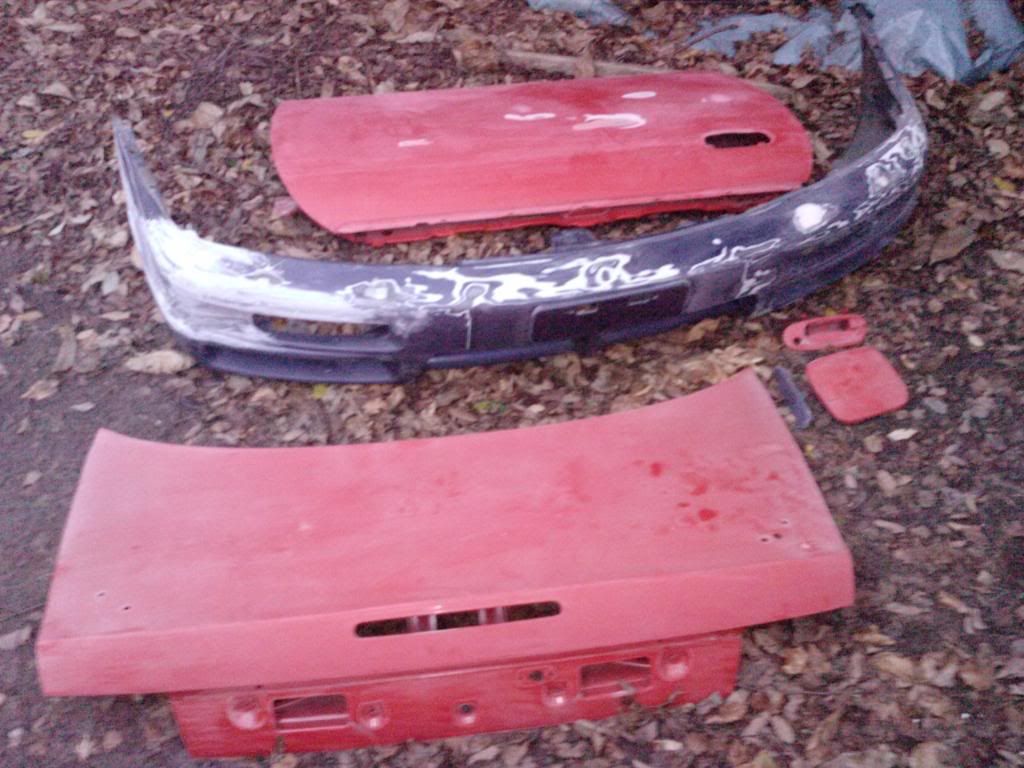
Heres whats coming next! Most of it as already been rubbed down in 600 so it shouldnt take too long, but i have a feeling that there are a few little niks which will need attention.
angle grinder??Originally Posted by avinall

needs lowering
excellent project
Yeah had a little slip, woops! lol
yeah i think i should get some coilovers on there, would stick to teh road like glue! lol
Bought a few items which have got things moving a bit faster... First off a sander, £19.99 B&Q jobby, and speeds up rubbing down so much, good buy in my books!
Also got some locking collars, £20 bargain!
Only problem is Ive got to remove these lovely looking nuts to fit them...
So far Ive soaked them for the past 4 weeks in WD40, fingers crossed it has some effect!
 Posting Permissions

 Reply With Quote