Page 28 of 129 FirstFirst ... 1826272829303878128 ... LastLast
Results 541 to 560 of 2561

Thread: Comprehensive S14a refurb

  1. #541
    Member Petrol's Avatar
    Join Date
    Feb 2003
    Location
    North West
    Posts
    5,757
    Rides
    0
    Quote Originally Posted by Leviathan View Post
    Thanks very much Pete, will look foward to it.
    Plating guide.

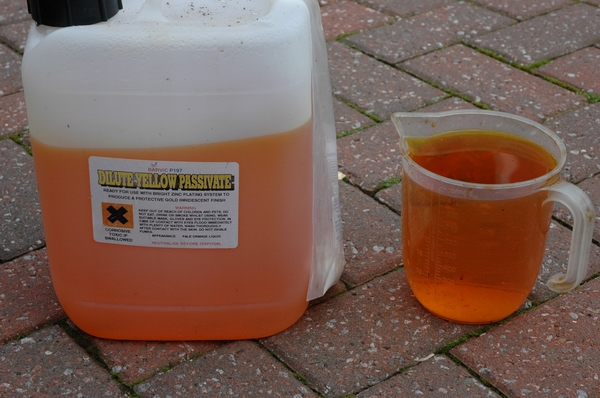
    The kit comprises of a zinc plating tank, a rising tank and a yellow passification tank. Pour 5 Litres of de ionised water into the plating tank, mix in the salt crystals and add 1/2L of Barvic. Install the 2 zinc anodes and the tank is ready. Full instructions are included with the kit.

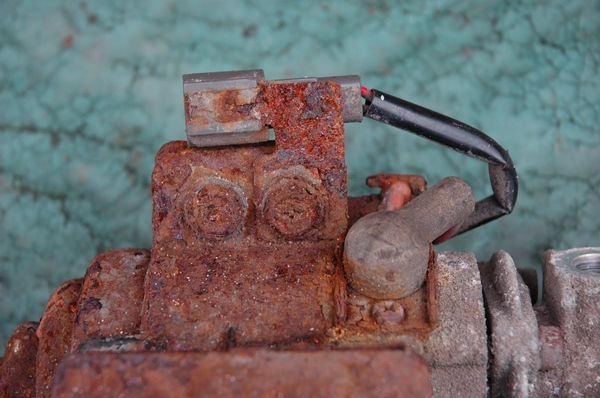
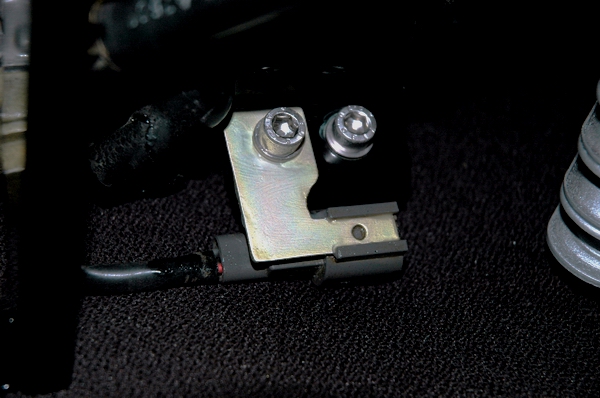
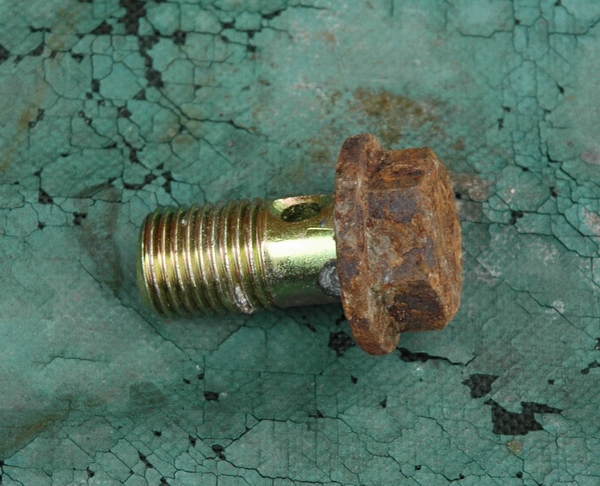
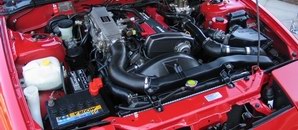
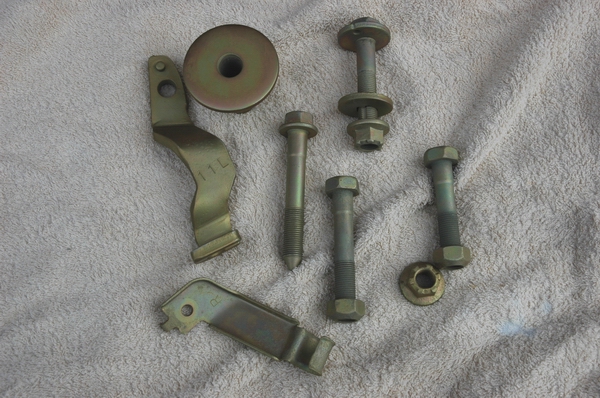
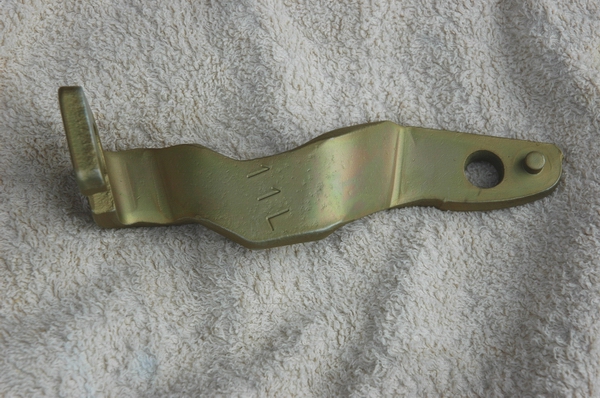
    Preparation is most important, my theory is shiny in – shiny out. Parts typically look like this
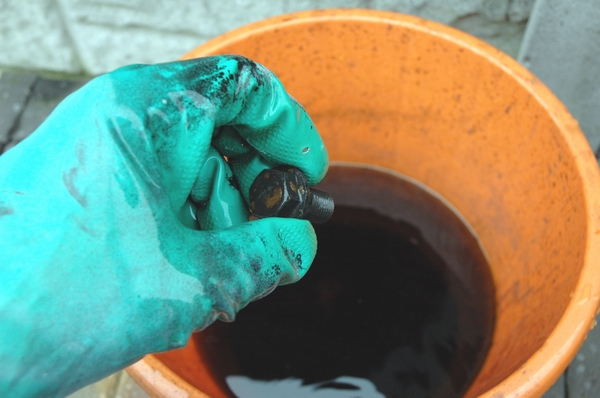


    Half corroded and half plated. It’s important to remove all previous plating. The easiest way to do this is soak them overnight in a strong mix (8:1) of Deox C
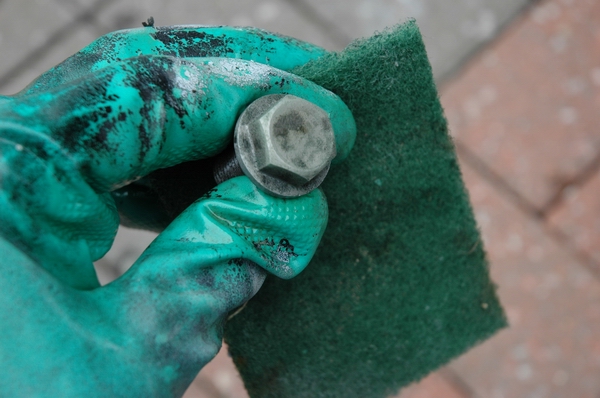


    If it’s still rusty, scrub it with some scotchbrite or a toothbrush. The Deox softens the corrosion and it comes off pretty easy. Then it’s back into the Deox for a few hours.


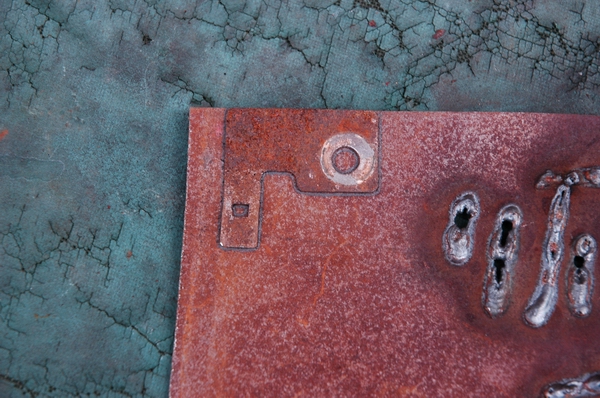
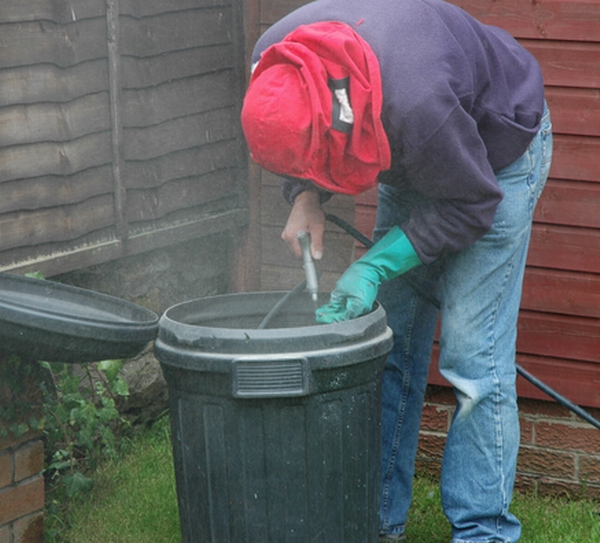
    Next job is to shotblast.


    I don’t think removing the plate by shotblasting is a good idea as you run the risk of damaging the threads. The only reason I have shotblasted the parts is to remove the black film left by the Deox, the main reason for this is to prevent contaminating the polishing wheels.


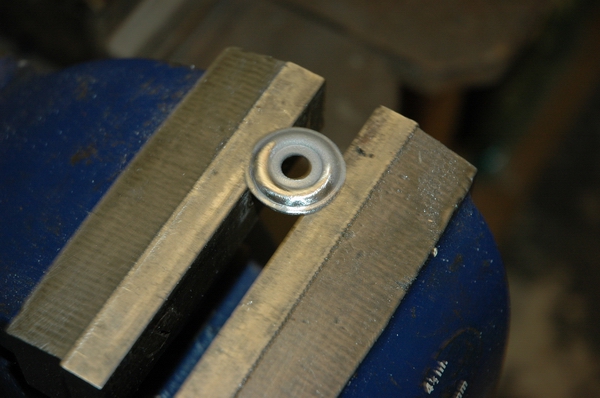
    Here you can see the difference between a shotblasted matt finish and a polished finish


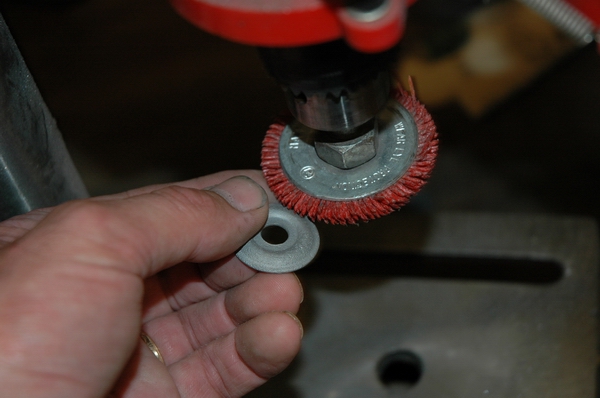
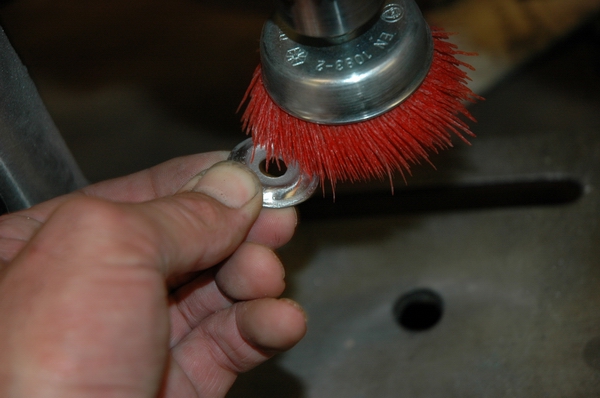
    Different wheels help to polish in awkward areas
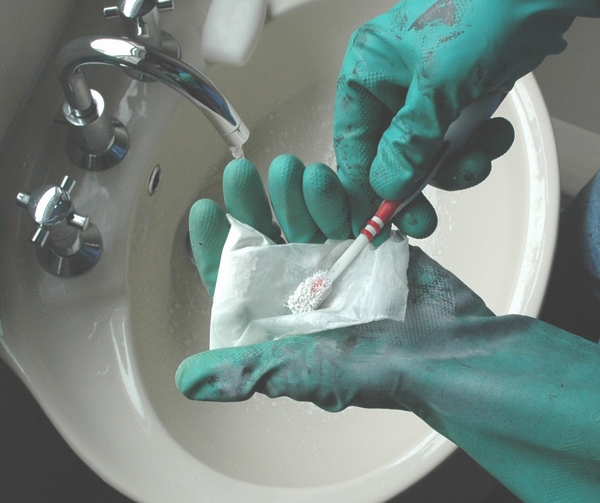
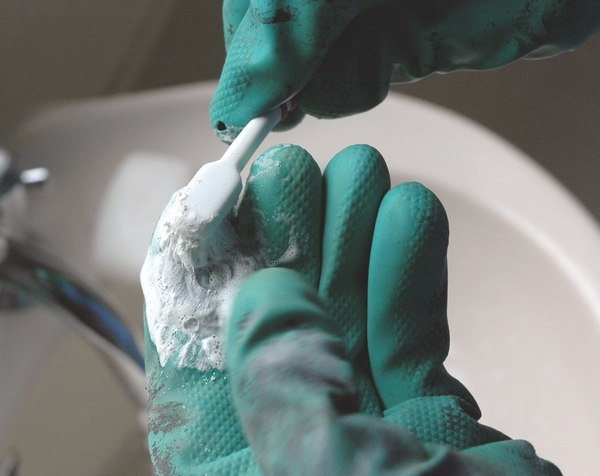
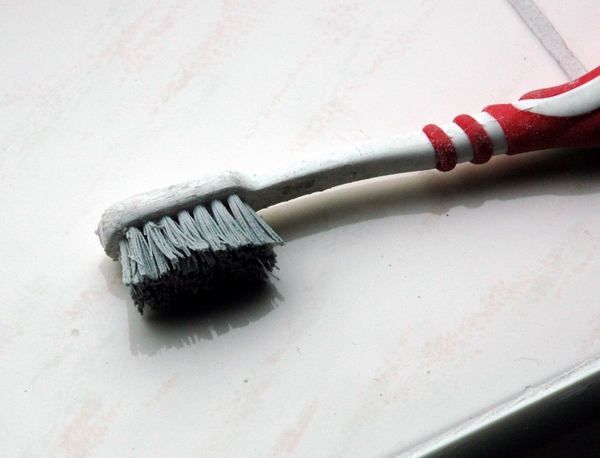


    It’s gloves on from here as you don’t want salts or moisture from your hands being transferred to the part. This scouring detergent comes with the kit. I have used a damp toothbrush to load the bristles with the powder.


    Then scrub the part.


    It definitely does something as the brush turns black


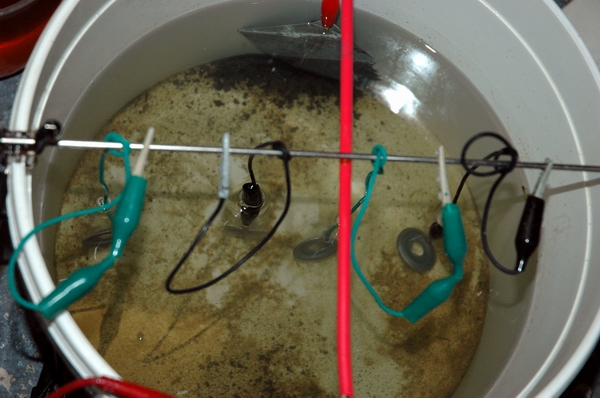
    Rinse in clean water and immediately load the tank. Don’t put too much in though as overloading it results in poor plating. It’s also important to ensure that parts are not in the shadow of each other. Each part must have a clear line of site to both anodes.


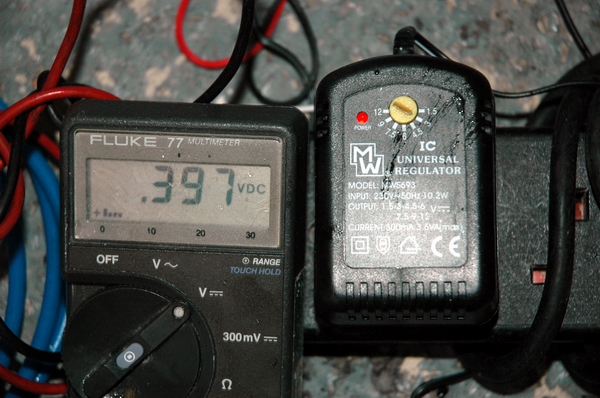
    The voltage is adjustable between 1.5 to 12V as can be seen on the PSU. As a general rule of thumb I have connected a meter across the anode and cathode bars and have had best results with the voltage at around 0.35V to about 0.4V. The maximum voltage I have had the PSU set to is 4.5V. Plate for at least 8 hours.


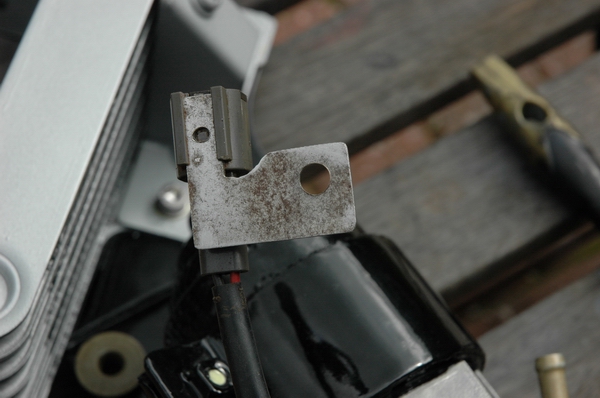
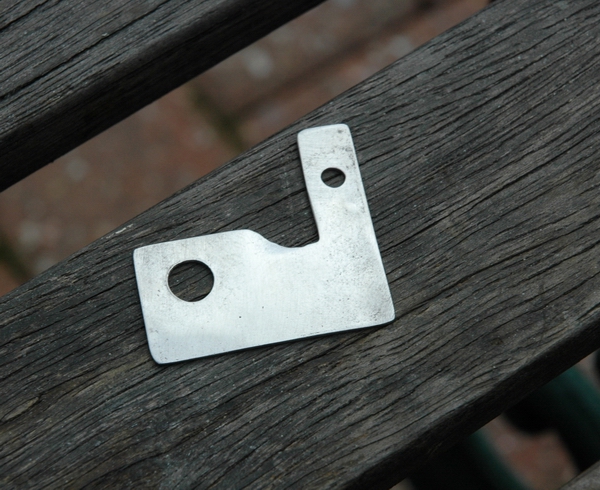
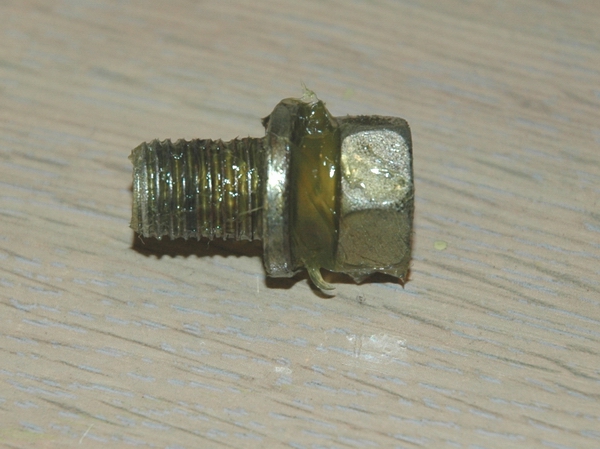
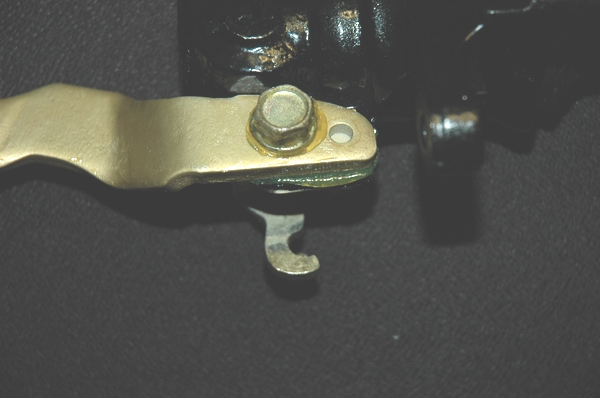
    Remove from plating tank and rinse in tap water. Parts come out of the tank looking like the earth strap I posted up. To give them the yellow finish they are dipped in this passification solution, again this comes with the kit. I have dipped everything for 16 seconds. The longer it’s dipped the darker it goes. Then it’s a final rinse before drying.

    Pete


    SXOC Member Number : 317

  2. #542
    Member Petrol's Avatar
    Join Date
    Feb 2003
    Location
    North West
    Posts
    5,757
    Rides
    0
    Here are some I did earlier


    Pete


    SXOC Member Number : 317

  3. #543
    Guest Davie's Avatar
    Join Date
    Jul 2003
    Location
    Glasgow.
    Posts
    4,838
    Rides
    0
    Insane patience.

    I was washing my car the other day, and as i couldn't get a stubborn bit of bird poop off, i thought to myself....

    WWPD??

    (What Would Petrol Do) I'll get my coat.

    But, the answer i gave to myself was that he would have had the wing off, stripped, primed, flatted and painted.

    Must stop talking to myself really.

  4. #544
    Guest
    Join Date
    Jul 2003
    Location
    Taunton
    Posts
    1,686
    Rides
    0
    Thanks very much for that Pete, i think it gives a greater insight to the lengths you are going to

  5. #545
    Member Petrol's Avatar
    Join Date
    Feb 2003
    Location
    North West
    Posts
    5,757
    Rides
    0
    Quote Originally Posted by 30PSI View Post
    Gonna try to get some of the Deox gel though, never heard of that stuff, and that looks like it will be perfect for cleaning up my drum brakes.
    If you can immerse the part, Deox C is better than the gel


    Quote Originally Posted by felixdc View Post
    Here's couple of pics from the FAST.
    I'd say it's either J or d clip.

    Hope those help.
    Clips are now sorted, thanks for your help. Went into Nissan today to order them and the bloke on the parts desk said "Hiya Pete how’s the car going?" Have to say that now they know what I am doing they are very helpful This must be a first from a Nissan dealer


    Quote Originally Posted by Davie View Post
    I was washing my car the other day, and as i couldn't get a stubborn bit of bird poop off, i thought to myself....

    WWPD??

    Bird crap can be a right pain to remove. Usually needs loads of water but it can also etch the paintwork. P21-S paintwork cleaner is pretty good at removing bird crap stains. Dead flies can also be a pain to remove after a long drive on a hot summer’s day – not like that will be an issue this year 
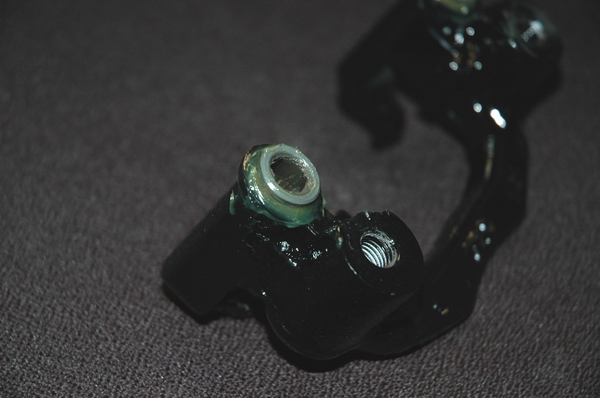
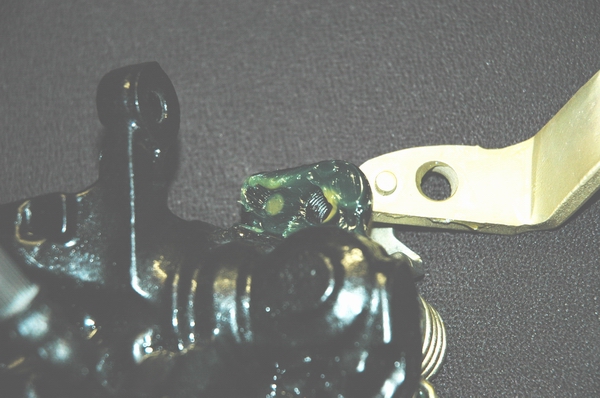
The best way to remove them though is to wet a towel in hot water and drape it over the affected area for half an hour. This softens them and they wash off pretty easy.


    Quote Originally Posted by Leviathan View Post
    Thanks very much for that Pete, i think it gives a greater insight to the lengths you are going to
    No probs Only took me an hour or 2

    Oh and so did this –

    Bracket to support the pump connector had seen better days


    Sometimes it's easier to make a new one


    Trial fit


    Ready for polishing. It's now being plated

    Pete


    SXOC Member Number : 317

  6. #546
    Guest raseri's Avatar
    Join Date
    May 2006
    Location
    Sweden
    Posts
    262
    Rides
    0
    Great work!

  7. #547
    Guest
    Join Date
    Aug 2001
    Location
    Area 51, Norfolk.
    Posts
    6,110
    Rides
    0
    Admirable work mate, reminds me of myself when i used to build and restore motorcycles. but i must admit i no longer have the patience, good luck

  8. #548
    No, the other one. Pete C's Avatar
    Join Date
    Sep 2002
    Location
    Bath
    Posts
    23,863
    Rides
    0
    Insane amount of patience, can't see me ever coming close

    1993 [L] RS13 200SX
    2003 [53] MX-5 Angels
    2004 [04] E63 645i
    SXOC Member #199

  9. #549
    Guest Gary's Avatar
    Join Date
    Mar 2003
    Location
    Norwich
    Posts
    3,378
    Rides
    0
    This thread is like reading a haynes manual.... but not a lying one!

  10. #550
    Member Petrol's Avatar
    Join Date
    Feb 2003
    Location
    North West
    Posts
    5,757
    Rides
    0
    Quote Originally Posted by Gary View Post
    This thread is like reading a haynes manual.... but not a lying one!
    With everything stripped and restored, assembly is the reverse of removal
    Pete


    SXOC Member Number : 317

  11. #551
    No, the other one. Pete C's Avatar
    Join Date
    Sep 2002
    Location
    Bath
    Posts
    23,863
    Rides
    0
    Quote Originally Posted by Petrol View Post
    With everything stripped and restored, assembly is the reverse of removal
    "Clamp with mole grips and beat repeatedly with hammer"


    1993 [L] RS13 200SX
    2003 [53] MX-5 Angels
    2004 [04] E63 645i
    SXOC Member #199

  12. #552
    Guest scimmy ben's Avatar
    Join Date
    May 2002
    Location
    West Berks
    Posts
    3,444
    Rides
    0
    Quote Originally Posted by Petrol View Post
    With everything stripped and restored, assembly is the reverse of removal
    Hope you have removed the battery earth strap

  13. #553
    Member Petrol's Avatar
    Join Date
    Feb 2003
    Location
    North West
    Posts
    5,757
    Rides
    0
    Quote Originally Posted by scimmy ben View Post
    Hope you have removed the battery earth strap


    The bracket came up good after plating


    Sorry but all these pics are pretty poor

    Silicone grease is good on metal to metal stuff but can perish rubber. I have decided to assemble some parts with this brake grease


    Like here where the rubber boot fits over the sliding caliper


    I assume this is OK?


    Same with the handbrake lever - the plan is to seal everything to prevent water ingress


    Lots of grease behind the spring washer


    Should make it waterproof


    It's taking ages Caliper now looks like this

    Pete


    SXOC Member Number : 317

  14. #554
    Guest
    Join Date
    Oct 2003
    Location
    High Wycombe
    Posts
    1,501
    Rides
    0
    Looking good, but using all this grease won't waterproof it for all that long

    Better than nothing of course, by a long way, but if you want it really waterproof, grease threads and then get busy with the RTV!

  15. #555
    Member Petrol's Avatar
    Join Date
    Feb 2003
    Location
    North West
    Posts
    5,757
    Rides
    0
    Quote Originally Posted by base-1 View Post
    Looking good, but using all this grease won't waterproof it for all that long

    Better than nothing of course, by a long way, but if you want it really waterproof, grease threads and then get busy with the RTV!
    Thanks had to google RTV though Any idea where I can get some?
    Pete


    SXOC Member Number : 317

  16. #556
    I <3 BBS LM Actual_Ben_Taylor's Avatar
    Join Date
    May 2001
    Location
    South East
    Posts
    23,660
    Rides
    0
    Quote Originally Posted by Petrol View Post
    Thanks had to google RTV though Any idea where I can get some?
    Any liquid gasket

  17. #557
    South West Rep Evilchap's Avatar
    Join Date
    Sep 2006
    Location
    Devon
    Posts
    18,016
    Rides
    0
    I would suggest something like superlube

    http://www.super-lube.com/

    put that on the threads and they will be easy to work forever!

  18. #558
    Guest
    Join Date
    Oct 2003
    Location
    High Wycombe
    Posts
    1,501
    Rides
    0
    You could use exterior sealant from B+Q really, rather than trying to find good quality car sealant. Although not the best on things that get real hot like calipers, other stuff should be fine with it

  19. #559
    Guest
    Join Date
    Jul 2005
    Location
    leicester
    Posts
    346
    Rides
    0
    for my polybushes(rubber) it says use graphite grease.

    great work you're doing. pretty unbelievable, awesome

  20. #560
    Member Petrol's Avatar
    Join Date
    Feb 2003
    Location
    North West
    Posts
    5,757
    Rides
    0
    Thanks for the feedback I will have a look around and see what I can find to protect the plated stuff.

    I went into my local stainless stockist today to get some nuts and bolts but came out with very little. Most of the bolts on the S14 are metric fine, the problem is, there’s a few metric fine pitches It’s also worth remembering that stainless stuff only has 80% of the strength of carbon steel. I have decided to play it safe and only replace non-stressed stuff which basically amounts to the 10mm bolts.
    So the plating kit is back in action and I have had to order some more zinc anodes as the original ones are fubared
    Last edited by Petrol; 27-07-2007 at 22:51.
    Pete


    SXOC Member Number : 317

Posting Permissions

  • You may not post new threads
  • You may not post replies
  • You may not post attachments
  • You may not edit your posts
  •