Please come to the weekender with this

Please come to the weekender with this
you got the original crappy sissor jack in there to? just checked mine and looks to be all i have to
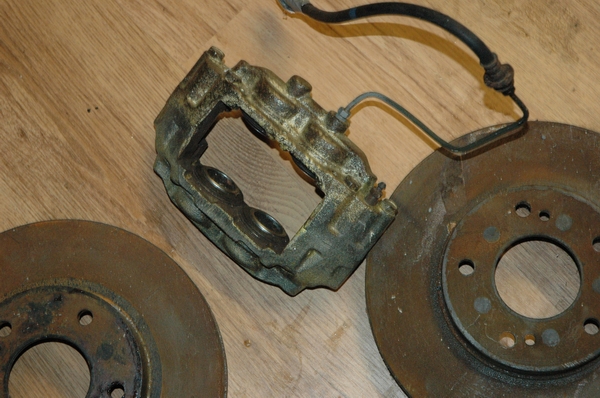
That's a pretty poor show. I can see rust on the discs.Originally Posted by Petrol


In what respect? I was just going to polish them up
Yep, its in the secret cubby hole in the boot. Looks like the toolkit is complete then Alan I found one of those spanners and wondered, looks like its off the S13 then
Not much I can do about it at the moment. They rusted when I was assembling the back end and it was under the car cover. The rain bounced up and they got wet. Wont make that mistake again, Carcoon all the way now. It's a right pain having to deflate it, unzip it and pull it back though
What and rag it up Prescott
Pete
SXOC Member Number : 317
I was thinking park up and show it off... but yeah, maybe a bit of reward after all your effort is in order too, and what finer reward than driving the smartest 200SX there up the hill?
this car sure is looking sweet...
holy feck! nearly 2yrs in the making! looks super sickly sweet and i should've been in bed an hour ago but kept clicking on 'next page'!
brilliant intensive job petrol and i've now got,loads of info on how to tackle mine. comparitively, with the amount of rust on mine i should be finished just in time for the next olympic games... or maybe the one after. everything is rusted solid and ive got some serious issues delaying the job. in some places i could push a screwdriver through no bother and below the car is a brown carpet of rust flakes! add to that the weather is fecked up so when i get time its a hit or miss if i get anything done!
pity im so far away, i'd love to see it in the flesh, so to speak. hats off to you and your 'staff' for a job well done.
hello petrol. you truly are an insperation. got my s14 on stands on the drive ready to start (no idea where to begin tho lol) quite a lot of rot in it plus all the suspension and brake bolts are rusted solid so they should be fun! got a couple of questions mate, hope you dont mind. when i sand or wire brush down to bare metal, what should i use to protect it before the por 15? if you sprayed the por 15 then how did you mix it or thin it down? does the deox stuff rot rubbers or will i have to remove/replace them after? cheers for any advice you can pass on. neil.
You can’t protect the prepared surface with anything that I know of. It’s best to work in sections. I prepped and primed on the same day. I didn’t use POR 15 but I do know you will have to use POR thinners before you can spray it. I didn’t have any problems with Deox and rubber. Come to think of it the only parts I dipped were the rubber backed washers for the diff.
The best way to undo corroded nuts is to heat them with a blowtorch. You can soak them in WD-40 or Plus Gas for ages but if they are badly corroded, it doesn’t seem to help much. I have also successfully cracked seized nuts by tightening them fractionally before undoing them.
If anyone wants to pop over and have a look at the car, your more than welcome.
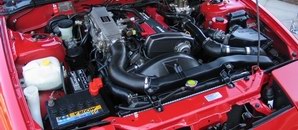
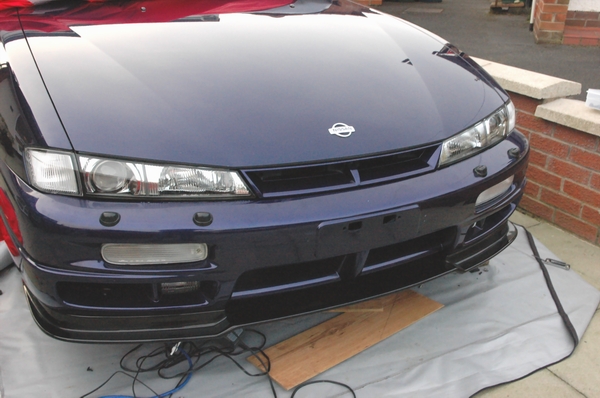
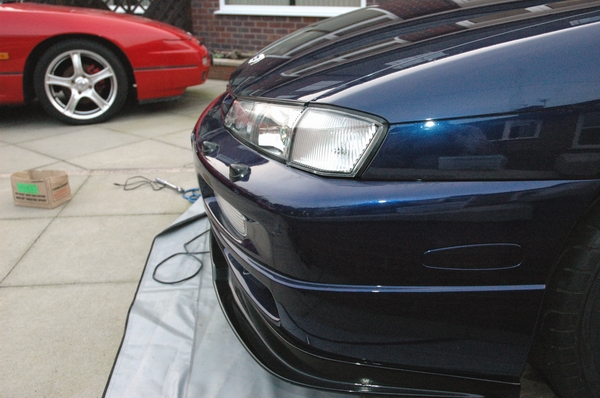
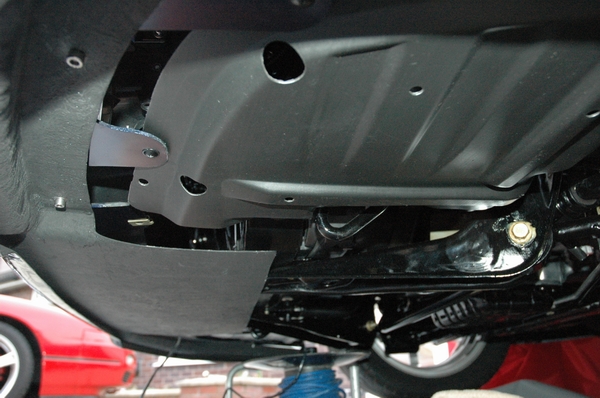
Test fitted the front splitter
It has quite a big undertray that will either need supporting, cutting down or more likely, a bit of both
Last edited by Petrol; 28-11-2009 at 10:45.
Pete
SXOC Member Number : 317
looking awsome
I am in absolute awe of you sir, fantastic work.
I am definitely going to have to give mine a good going over, will hopefully get some cleaning/undersealing done on the underside of my car this summer.
Congrats mate
I trimmed a 3" bit off the back of the splitter, then wedged it between the top of the undertray and the front chassis! but you have a type 2 so may not work?
You only need two tools in life - wd-40 and duct tape. If it doesn't move and should, use the wd-40. If it shouldn't move and does, use the duct tape.
And if you can't fix it with a hammer,you've got an electrical problem!
Hi Pete, Im glad to see it all together, it looks fantastic
Please can i ask, what seam sealer did you use? you mentioned sikaflex and also 3M, is there any difference between the two?
If it helps, Sikaflex is a brand name, 3m do an equivalent
Evilchap is right. I used 3M 08645 auto joint and seam sealer. Sikaflex would be as good but the most important thing is to use a decent brand rather than a budget one.
Thanks pdh, I really need the undertray on to sus things out properly.
I was short of a few bits and bats to make proper progress on the car.
SM to the rescue again
I can now fill the gearbox and get the engine up to temp
Pete
SXOC Member Number : 317
Truly amazing work mate!
Must be a good feeling hearing her/seeing her move after all this time.
Perseverance pays off!
Wow,seeing that being driven is like a child being born!
You really should try to bring it to Prescott for us to all have a look at though Pete! It needs to be seen properly at 1 event before it lives in a bubble forever
You only need two tools in life - wd-40 and duct tape. If it doesn't move and should, use the wd-40. If it shouldn't move and does, use the duct tape.
And if you can't fix it with a hammer,you've got an electrical problem!
No probs
Your one of the few to find the farm without phoning for directions
I thought I was on safari trying to get there
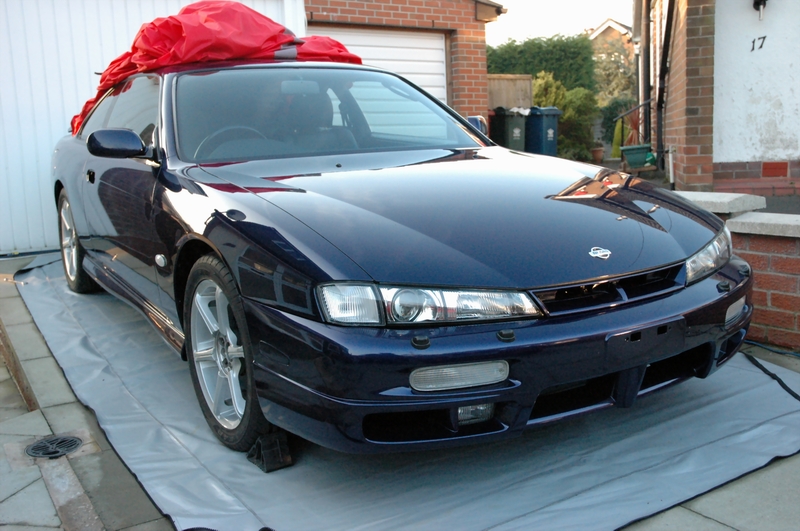
It was great to get back in and move it, even if it was only a few yards down the drive. When I started this project, I couldn’t decide whether to dip the shell, have it electrocoated and resprayed. Cost wasn’t really an issue but it would have been around the £2K mark. Now that it’s almost complete I’m really glad that I didn’t as it’s retained some originality. There are a couple of very minor dinks in it and the usual stonechips but with a bit of effort it should polish up quite well.
This is just typical of me, I have refurbed everything down to the last nut and bolt but………
I have put an insane amount of time and effort into this car, the original plan was to tuck it up into the bubble and show it in a few years time. I just want to get it finished before I commit to showing it
Last edited by Petrol; 28-11-2009 at 10:48.
Pete
SXOC Member Number : 317
 Posting Permissions

 Reply With Quote