PasteOriginally Posted by Evilchap

I don't do paste

I was thinking of using slightly oversized stainless washers and Duralac


Paste
Pete
SXOC Member Number : 317
I was talking gasket paste, I fully expecting Duralac and washers matey, with stainless or plates bolts, but just gasket replacement could be paste if you cant get gaskets to go there.
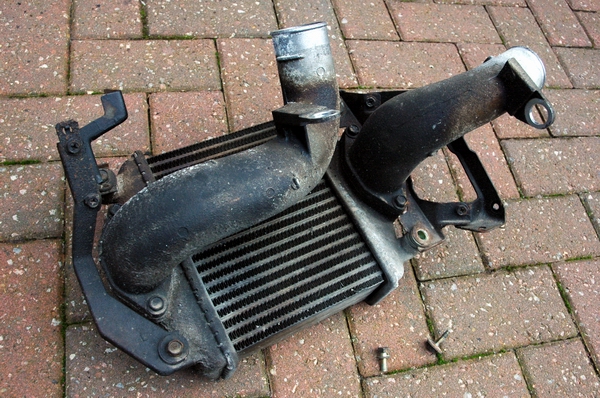
I stripped the pipes off one before and 2 out of 4 nuts snapped
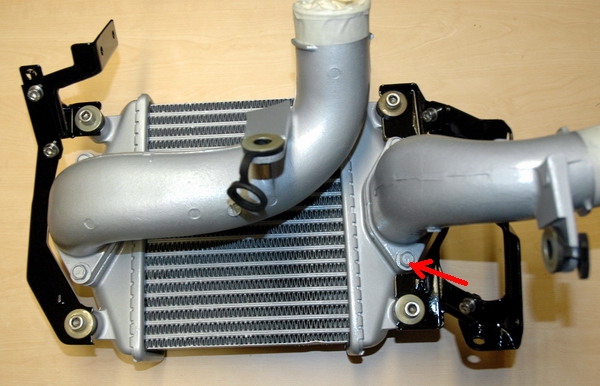
Can't believe you didn't upgrade the intercooler whilst it was off,and the front of the car was stripped
You only need two tools in life - wd-40 and duct tape. If it doesn't move and should, use the wd-40. If it shouldn't move and does, use the duct tape.
And if you can't fix it with a hammer,you've got an electrical problem!
Thanks, Think I will leave itThought about upgrading the intercooler but decided not to bother

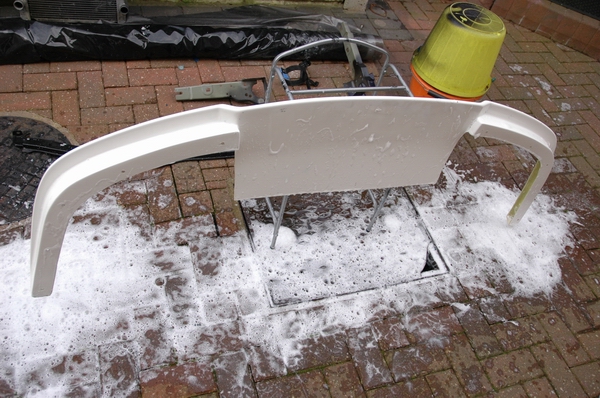
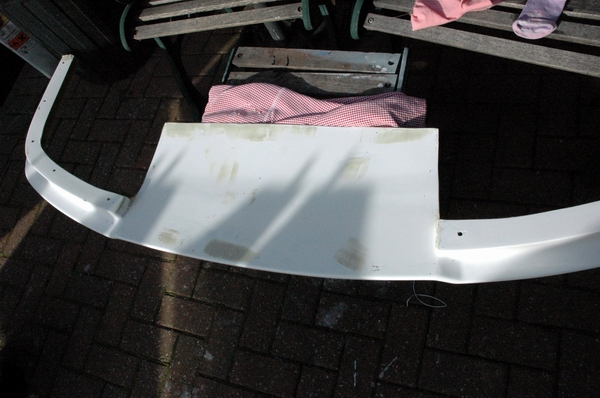
First thing to do with fibreglass parts is to wash off the mould release agent with soapy water. I did this twice.
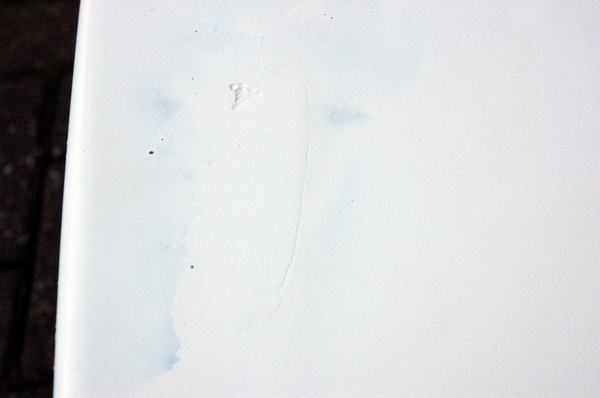
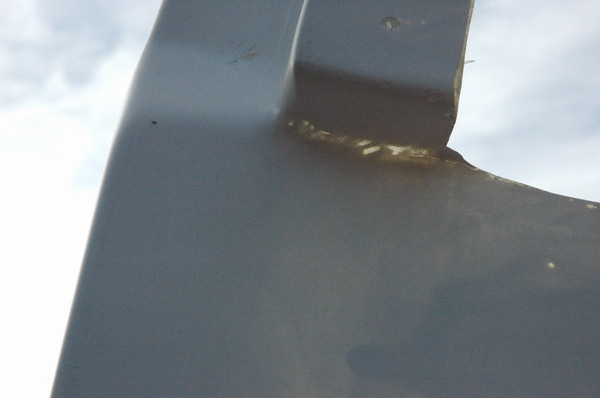
Then I used pre clean using 2 cloths - 1 to apply and 1 to remove. Again I did this twice. Then I rubbed it down with 800's wet and dry. Next job is to sort any imperfections like this.
And that
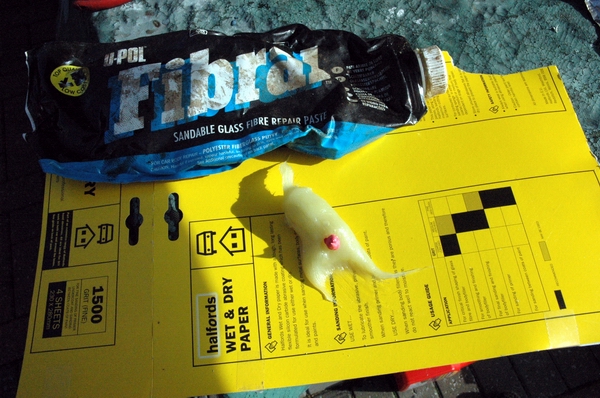
There will be bodyfiller in my car
Any areas that are a bit thin
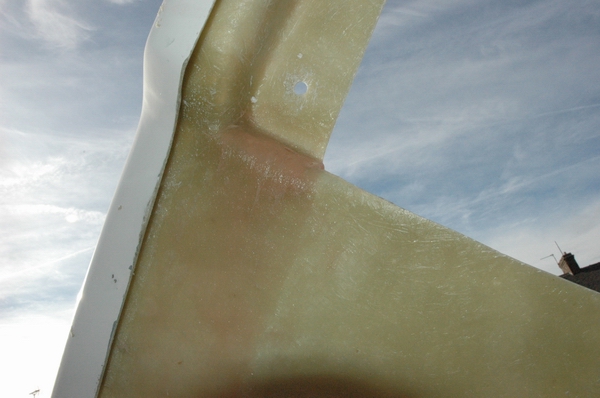
Can be beefed up with chopped matting
Like this
Washed it down, re pre-cleaned and primed it.
Needs more work but getting there
Pete
SXOC Member Number : 317
Great work! Fibreglass parts are horrible to work on lol, itchy itchy. Your work is awesome
It's not the nicest stuff to work with
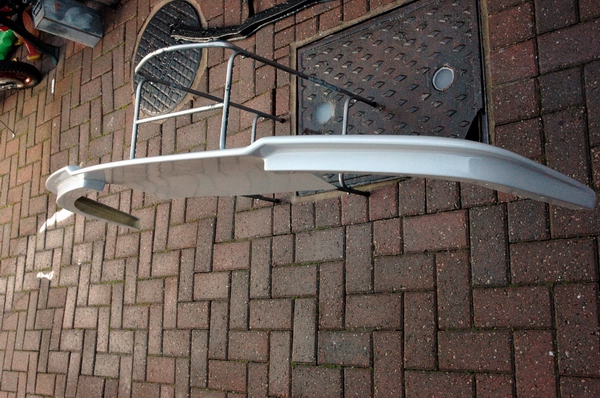
Mine fits much the same as this
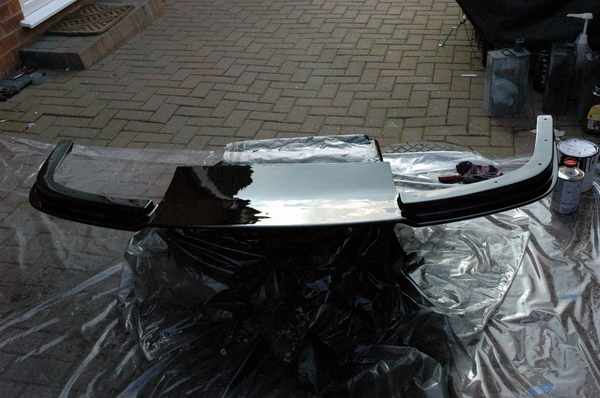
Is the angle of attack of the splitter OK?
Zoomed in looks like this
Or should it be parallel to the ground?
Pete
SXOC Member Number : 317
Is it going to make a difference with the spec you'll have? Surely it looking right and you being pleased with it overall matters more (I am not an expert but feel I need to try and help anyways)
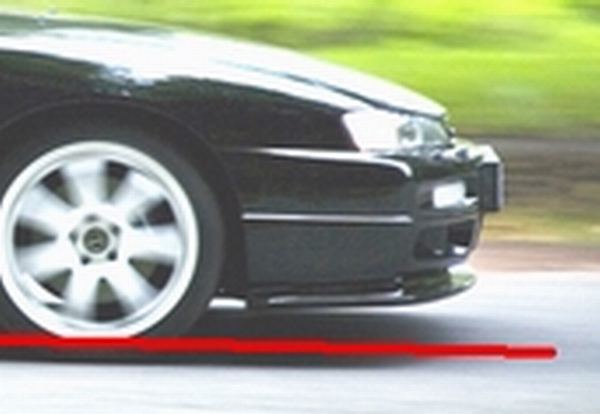
I think it would look better if the splitter was level with the ground, but the underside of the front bumper is not level, is it?
Still amazing work btw. Truely inspirational!
Level would be nice, but might be a bit tricky...
Are you going to remove the center part of the front bumper? Looks a bit odd with that splitter if you leave it.
Panel fit of the bonnet is a bit rough on that picture isn't it!
Last edited by Evilchap; 19-10-2007 at 11:20.
I agree. looks tons better with the centre bit removed.
i'm loosing it after i read this thred, glad i haven't posted eny pic of underneath my car!! Or the engine bay for that matter, way the hell coulden't Nissan paint the enigne bay insted of some cheap primer.. Anti rust treatment is a must, whay whay whay Nissan whay!!!!!

goddam i need to do something about my car before its just a pail of rust.. Black&Decker here i come
Thanks for the feedback")
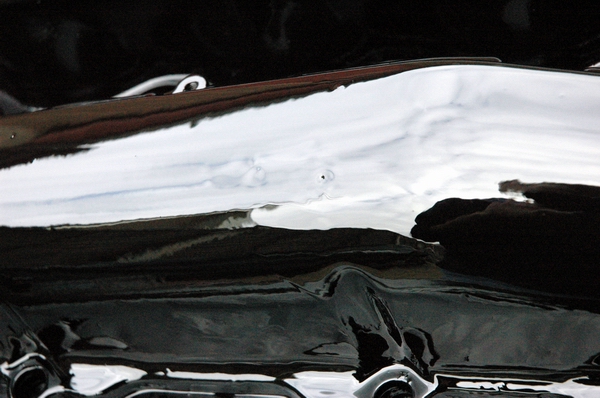
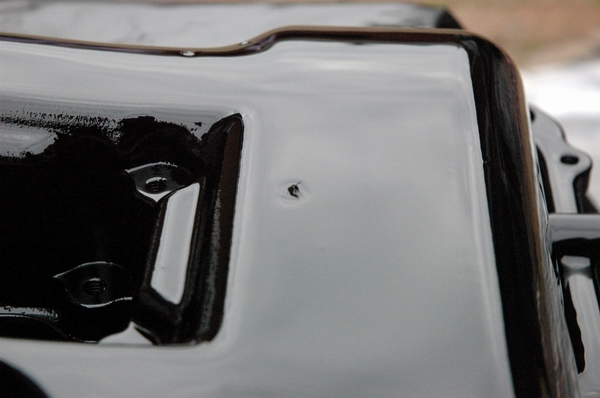
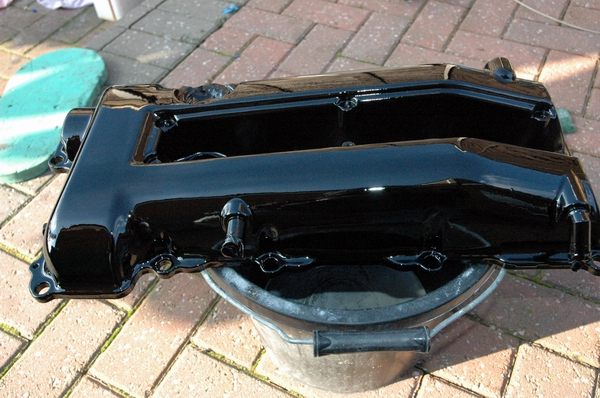
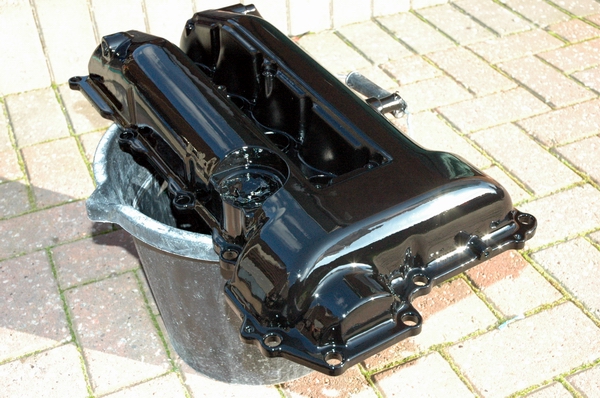
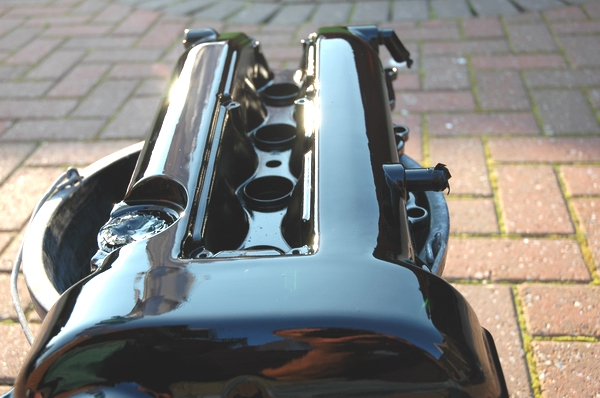
Rocker cover - huge microblister
Then this
Runs all over the splitterpoor finish
I could have done a better job with a brush
Pete
SXOC Member Number : 317
You'll be sending those back then...
I think to lighten the mood we need some more pictures of you bringing old bits of car back from the dead
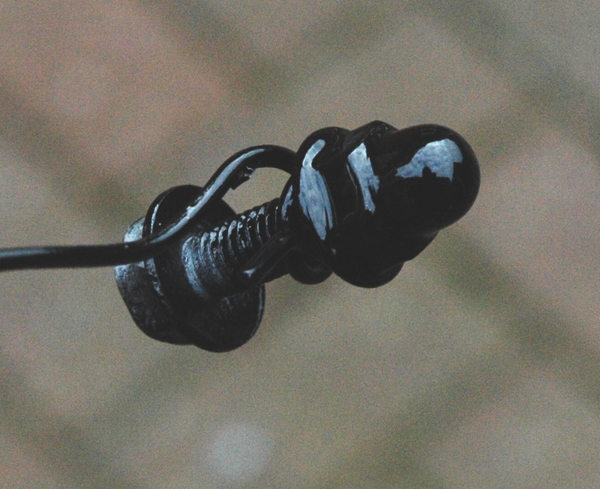
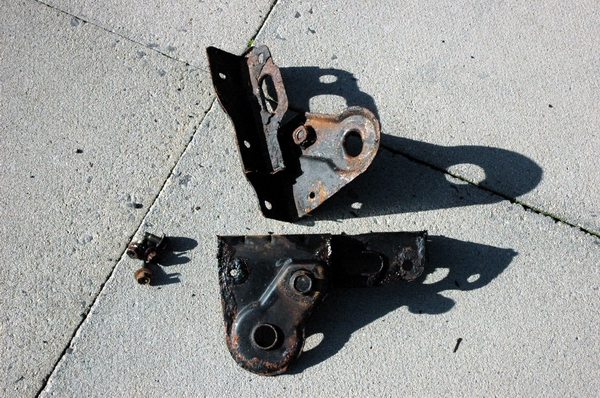
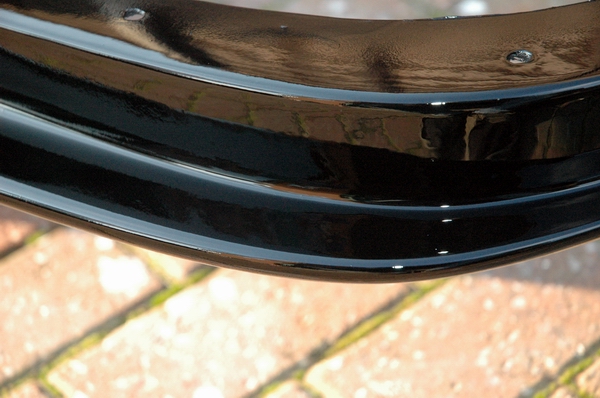
Total achievement for today was to paint my nuts
For those that havent seen it, here is a video of the car. Right click, save target as.
http://media.sxoc.com/contributors/p.../2005_edit.mpg
Pete
SXOC Member Number : 317
I think it'll be hard to make the splitter level to the ground,you'll need a spacer or have to extend the splitter itself! Leave it angled up,it helps with speed bumps anyway and getting out of driveways etc,just lower the front a cm more to compensate
Sorry to see you have had a bad day on the paint front! Makes us feel a bit better that the master has his off days though

You only need two tools in life - wd-40 and duct tape. If it doesn't move and should, use the wd-40. If it shouldn't move and does, use the duct tape.
And if you can't fix it with a hammer,you've got an electrical problem!
Good point about the splitter height
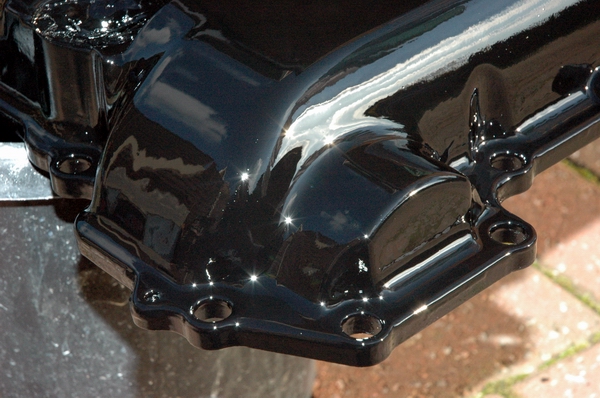
I started with 240's grade to rub the runs outThen 800's. Don't really know what went wrong other than too much too soon
Pete
SXOC Member Number : 317
Excellent news,they look awesome
You only need two tools in life - wd-40 and duct tape. If it doesn't move and should, use the wd-40. If it shouldn't move and does, use the duct tape.
And if you can't fix it with a hammer,you've got an electrical problem!
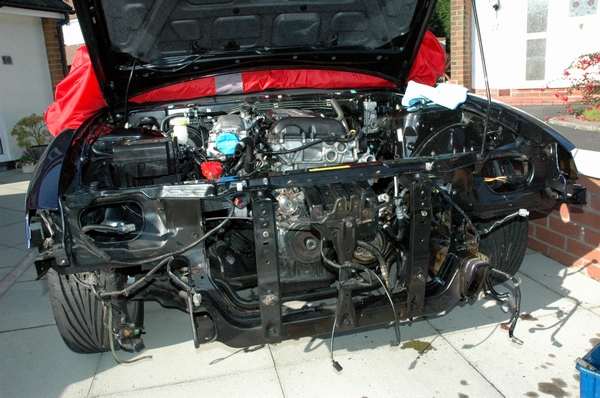
More progress today, took the car out of the carcoon (You may notice it's red. I have bought a brand new one. If anyone is interested in the old one drop me a pm) The plan was to remove more parts and clean up the front crossmember
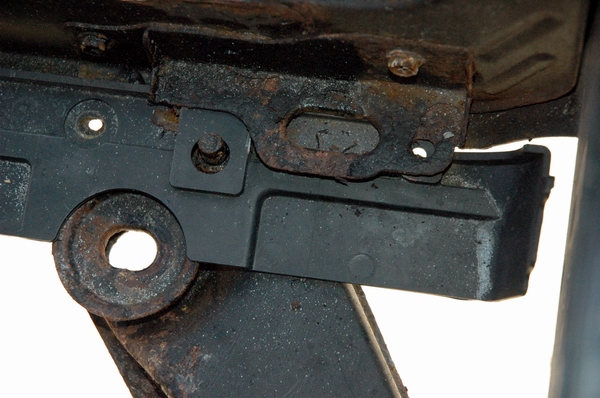
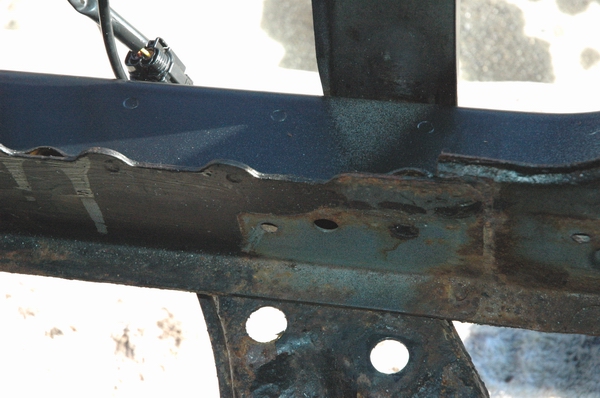
The worst of the corrosion
Fortunately these brackets come off
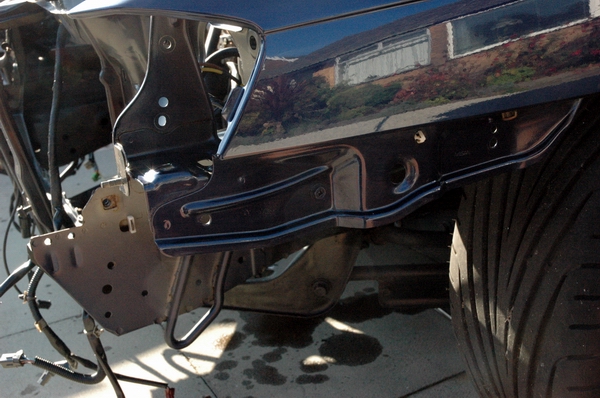
Not too bad behind them
Just some slight surface rust where the bumper bracket goes
Looks pretty good to me. Deox gel will sort the rust
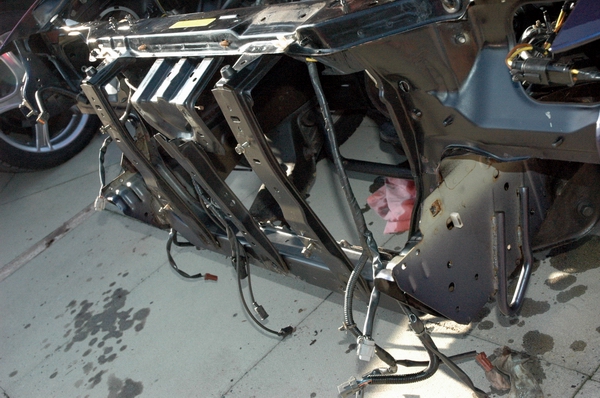
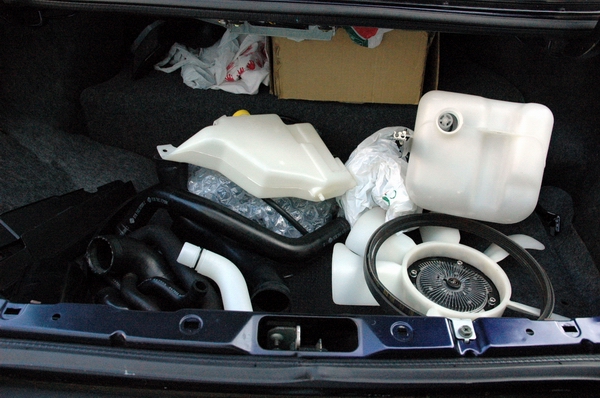
Fettled parts stored in the boot
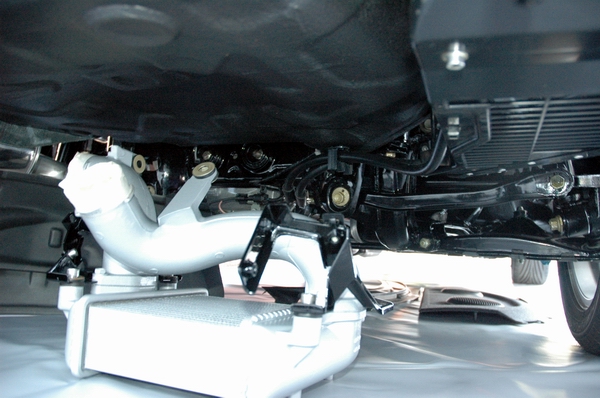
Also under the car
Just need another decent day to give the engine bay a full degrease.
Pete
SXOC Member Number : 317
Wow.. great work, its good to see the perseverance even in the lovely british weather!
The Vid was great, love the slow motion corner shine bit.. had to watch that bit like three time
 Posting Permissions


 Reply With Quote