Changing Engine Mounts!
Parts you will need:
-Replacement engine mounts (I used Apex ones)
-Someone to help at times
Tools you will need:
-Trolley jack
-Axle stands
-Decent ratchet and socket set (I used Halfords professional ones)
Completion time around 3 hours using this guide!
Step 1
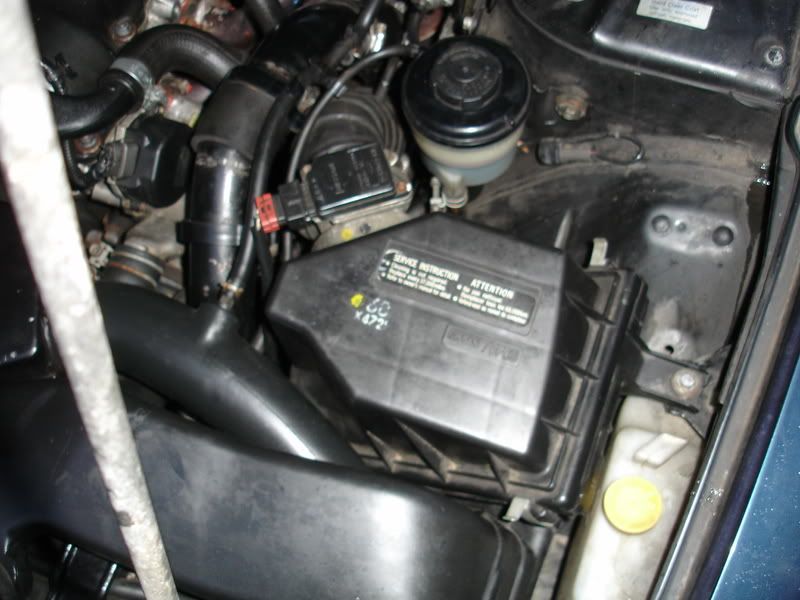
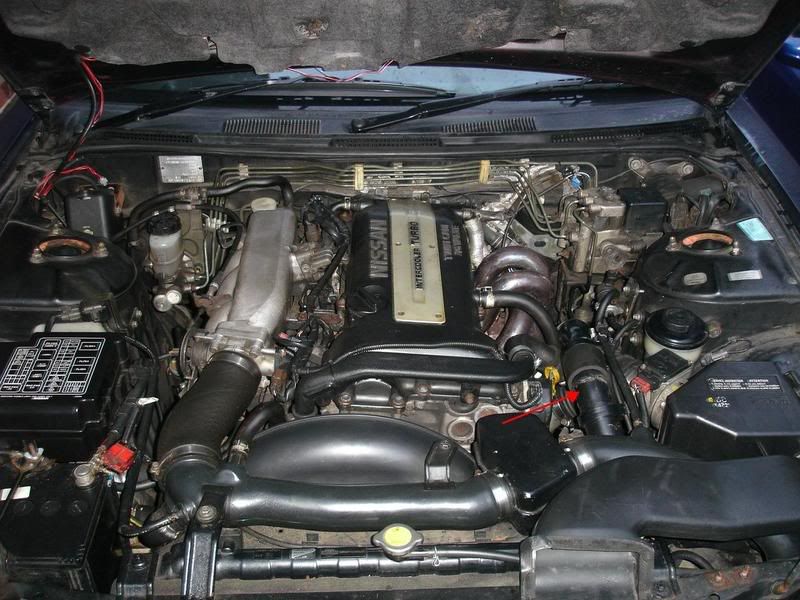
Remove the Air box or air filter if you have an induction kit fitted
Step 2
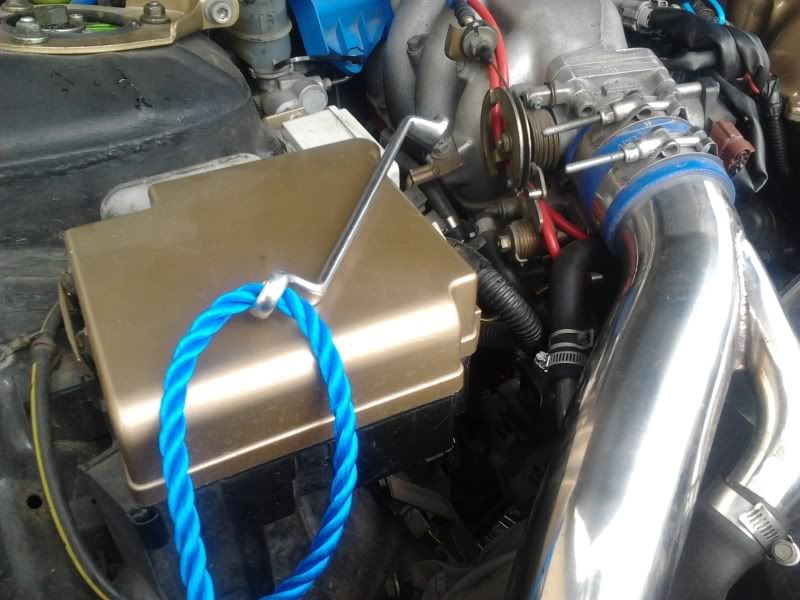
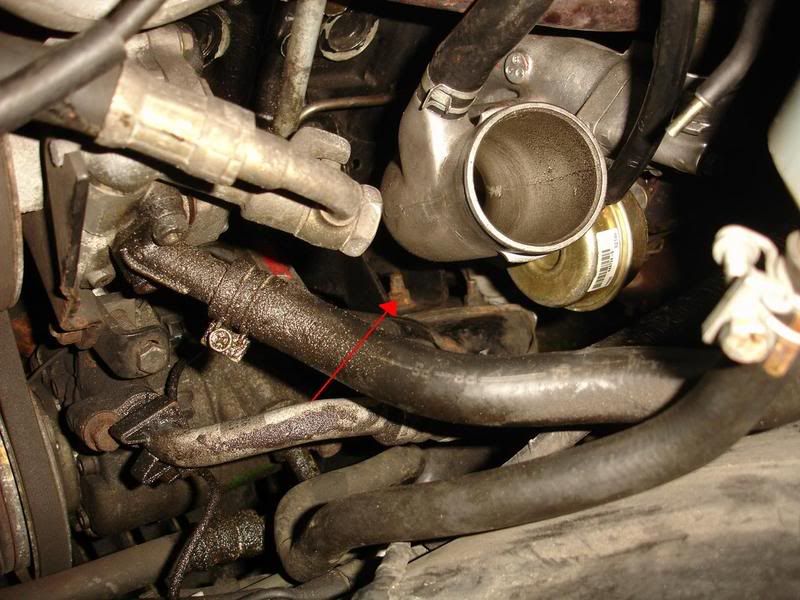
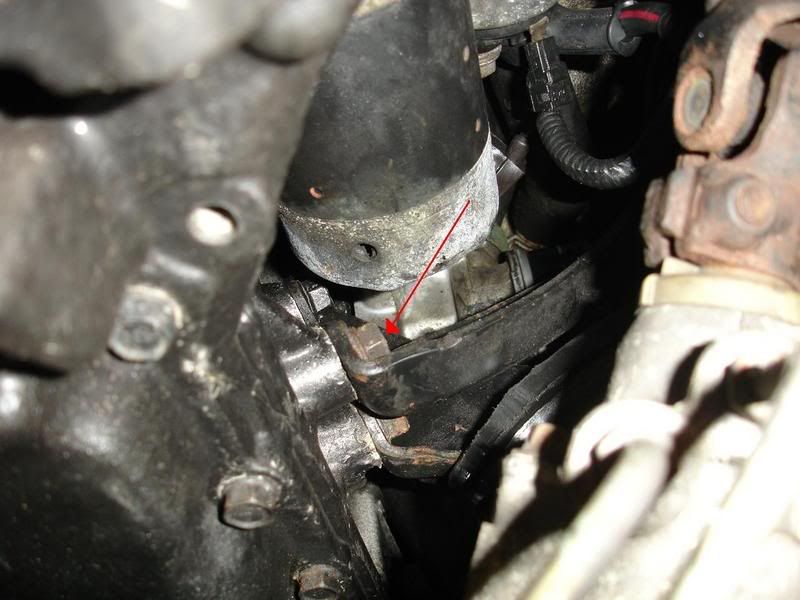
Remove the pipe arrowed in the picture below
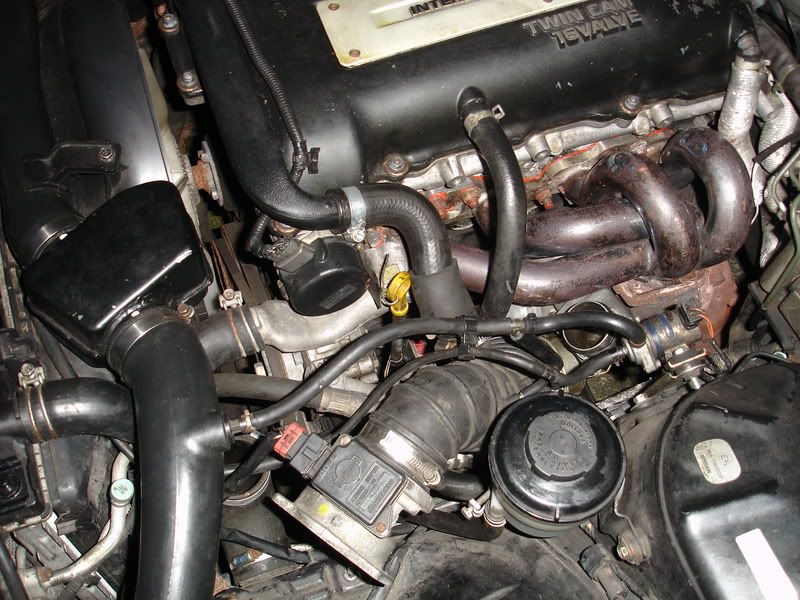
Step 3
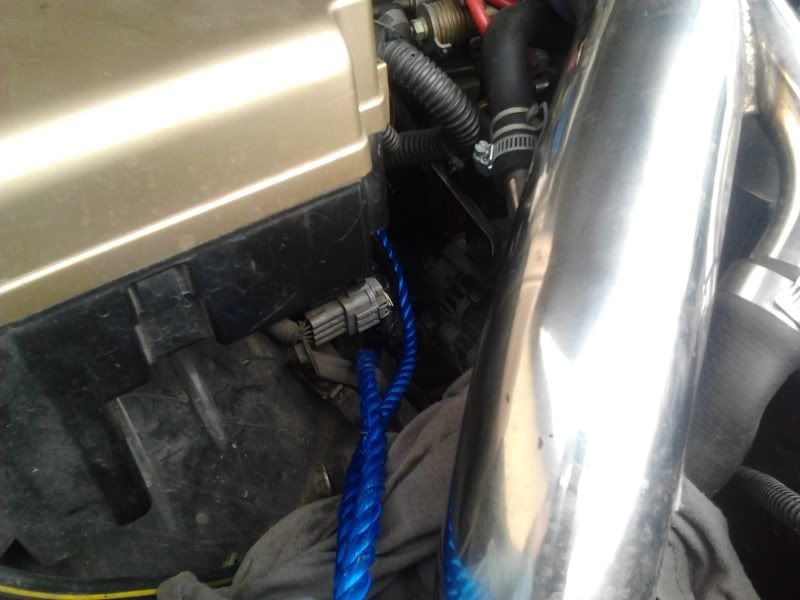
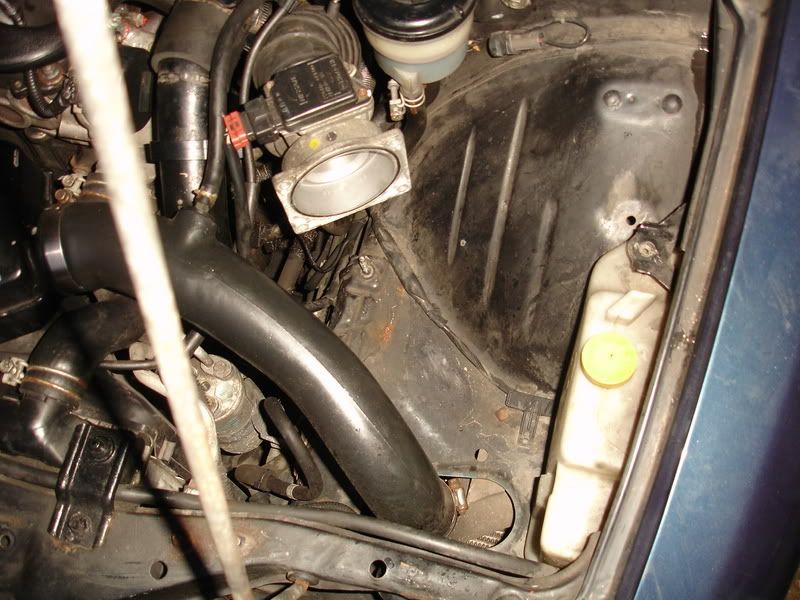
Remove the intake pipe from the car
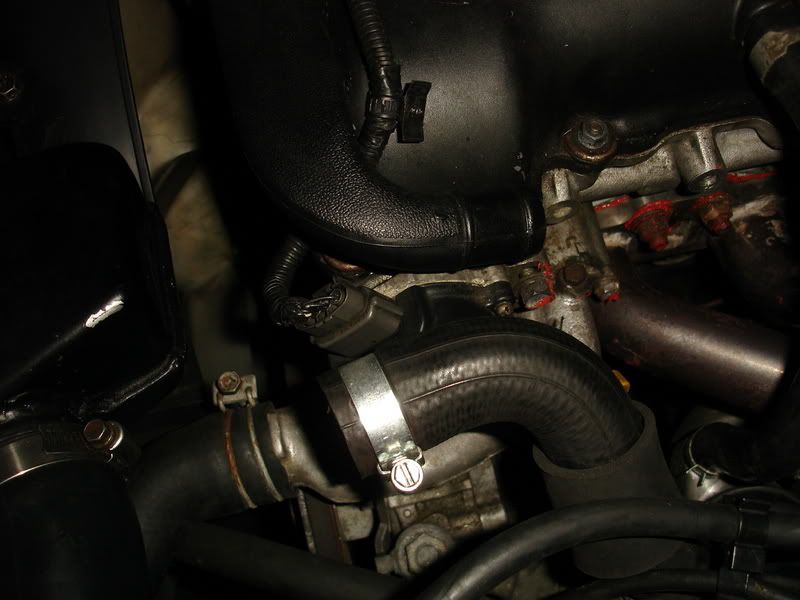
Step 4
Locate the driver side engine mount and spray the nut with WD40 or similar solution
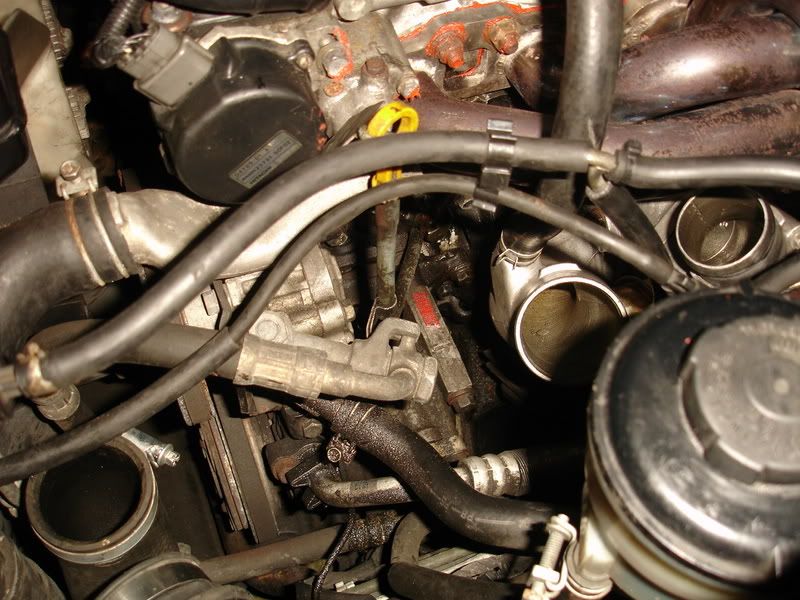
Step 5
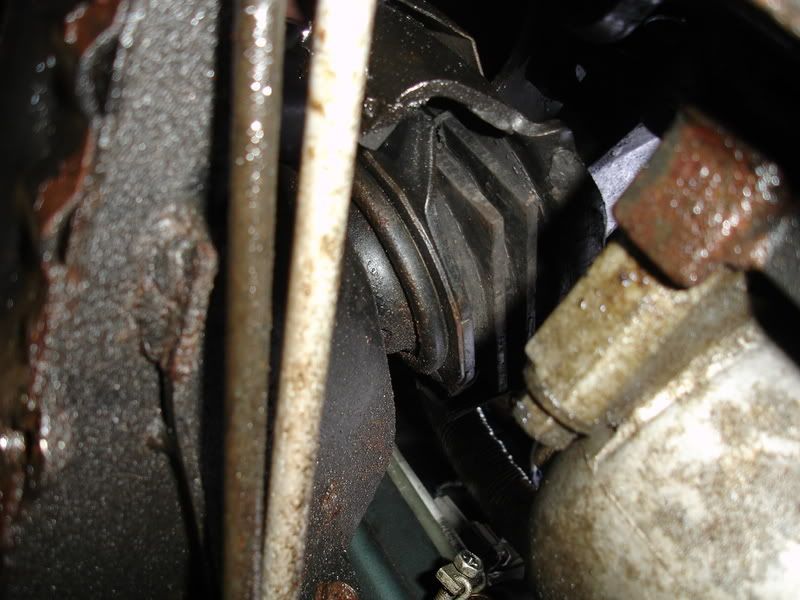
Jack up the car and locate the Engine mount from the underside of the car and spray the nut with WD40 or similar solution
Couldnt get a good enough pic of the bolt
Step 6
Whilst the car is jacked up locate the other Engine mount and spray the nut with WD40 or similar solution
Step 7
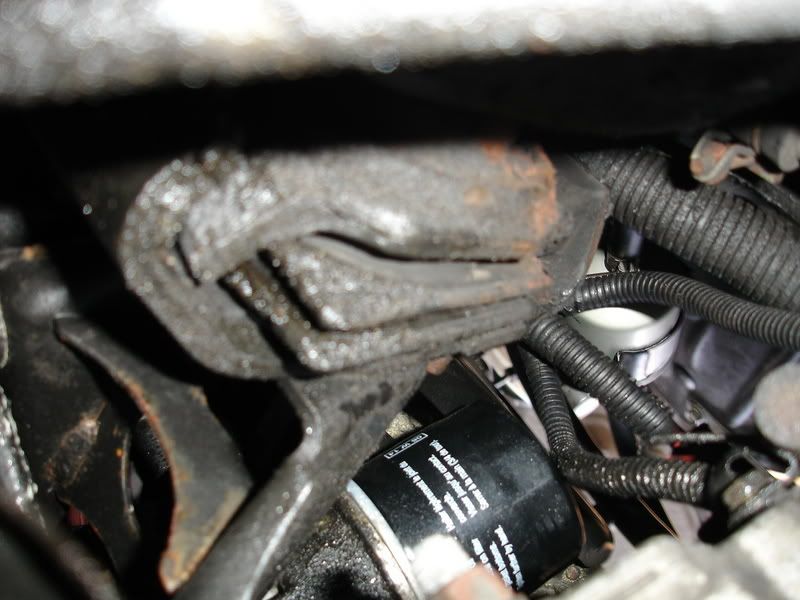
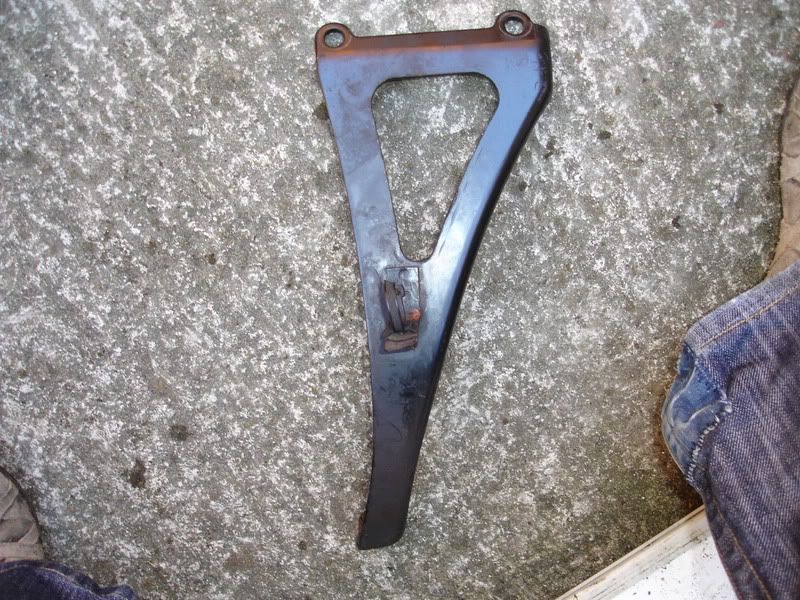
There is a black triangle shaped plate that gets in the way of the drivers side mount that will require removing. Locate the three bolts and remove them
It looks like this
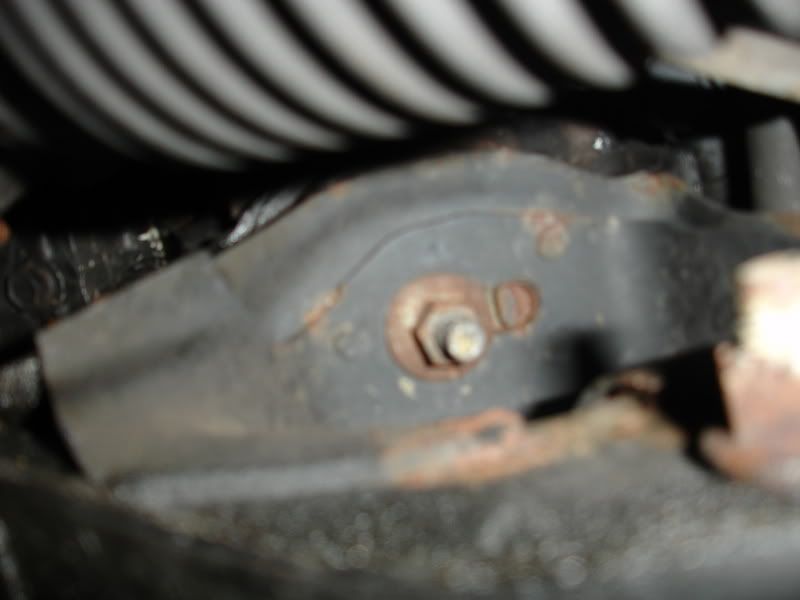
Top Bolts
Bottom Bolt
Step 8
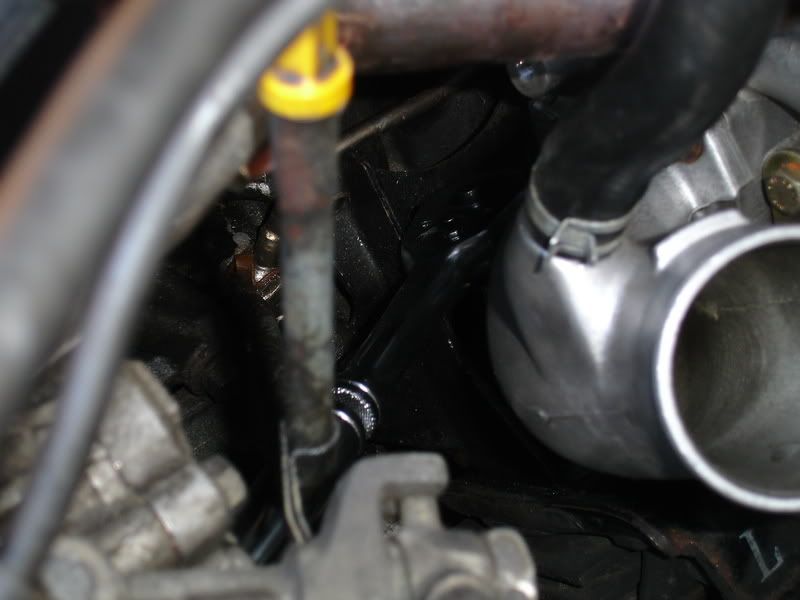
Locate the driver side mount (just below the oil filter) from the top and spray the nut with WD40 or similar solution
Step 9
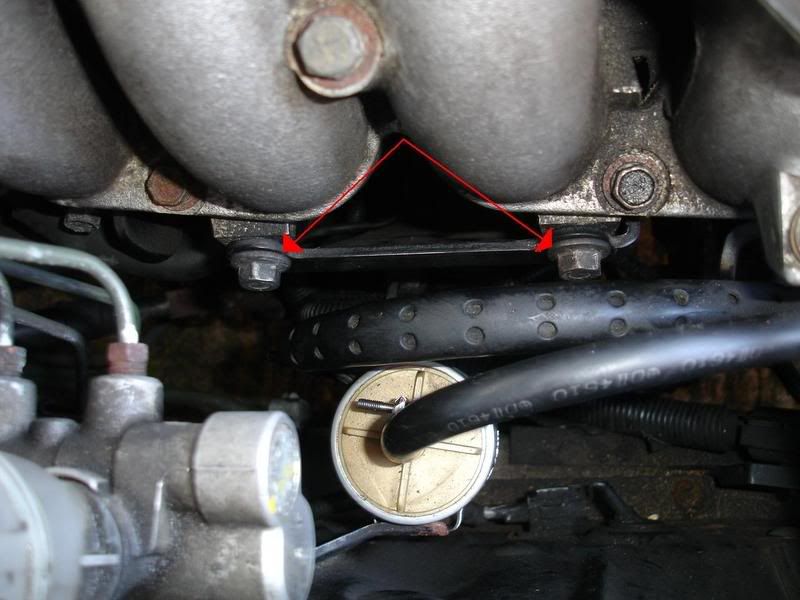
Undo and remove the passenger side mount bolts (Top and bottom)
As you can see the top mounts are tight to get at
Step 10
Undo the drivers side mount bolts but do not remove them. Leave them attached by one or two threads to prevent the engine coming off when jacking up
Step 11
Undo the nuts that hold the radiator brackets to the car to allow the radiator to lift with the engine to prevent restriction and/or damage
Be careful not to snap any of the bolts like i did as they were super rusty
Step 12
Remove the plastic guard located on the underside of the engine if it is there. This will allow you better vision when jacking up the engine and allow you to monitor the underside
Step 13
Place a block of wood across the sump and place the jack on the front passenger side corner of the sump with the wood between the jack and the sump and start raising the engine. Check the mounts often to prevent you having to raise it too much. Once the engine is raised high enough from mount bolt you should be able to remove the mount by turning and tilting it
Step 14
Replace the mount by turning and tilting it into position. I pushed the top bolt up through the hole on the engine and did the nut up a bit so the bolt didnt miss the hole on the way down. Lower the engine making sure it sits nicely onto the mount and attach the bottom nut onto the mount bolt. Make sure the bolts on the mounts are only attached by one or two threads to prevent the engine coming off when replacing the second mount
Step 15
Remove the bolts from the driver side mount (Top and bottom). Place a block of wood across the sump and place the jack on the front driver side corner of the sump with the wood between the jack and the sump and start raising the engine. Check the mounts often to prevent you having to raise it too much. Once the engine is raised high enough from mount bolt you should be able to remove the mount by turning and tilting it
Step 16
Replace the mount by turning and tilting it into position. I pushed the top bolt up through the hole on the engine and did the nut up a bit so the bolt didnt miss the hole on the way down. Lower the engine making sure it sits nicely onto the mount and attach the bottom nut onto the mount bolt
Step 17
Tighten up the engine mount nuts top and bottom on both nuts. Refer to the manual for torque settings. I couldnt torque the top bolts because I couldnt get access to the nuts with my torque wrench but I made sure they were tight enough. I would advise using some loctite thread lock but I didnt have any to hand at the time
Step 18
Replace all the pipes and airbox or filter removed earlier and replace the black plate and plastic cover on the underside of the car
Step 19
Take her out for a spin and enjoy
Is this worthy of the useful threads section?
Cheers
Adam


 Reply With Quote
 but what the hell is all the orange stuff around your exhaust manifold
 , the principal should be similar to all 200sx's whether it has an SR20 or a CA18


")