Page 1 of 2 12 LastLast
Results 1 to 20 of 33

Thread: HKS Adjustable Actuator fitting guide

  1. #1
    Guest Cluck's Avatar
    Join Date
    Sep 2002
    Location
    Cambridge-ish
    Posts
    15,747
    Rides
    0

    HKS Adjustable Actuator fitting guide

    As nobody has ever written a guide for the noob, and seeing as how I had the time to do this, here's my guide for the other noobs wanting to do this.

    Total time taken was just under 2 hours, with 10 minutes spent scrabbling around on the floor looking for the actuator arm circlip every time I dropped it.

    I had removed the manifold and turbo heatshields before hand, but these "should" only take, at most, 30 minutes to remove. Just use lots of PlusGas on each bolt before hand.

    OK, without further ado :-

    Tools used :-

    Flat blade screwdriver
    10mm socket
    12mm socket
    13mm socket
    Thin pliers

    I thought it would be easiest to remove everything that is in the way of the actuator. It looks like it is possible to remove the actuator without doing this, but it gives you a lot more room to work with.

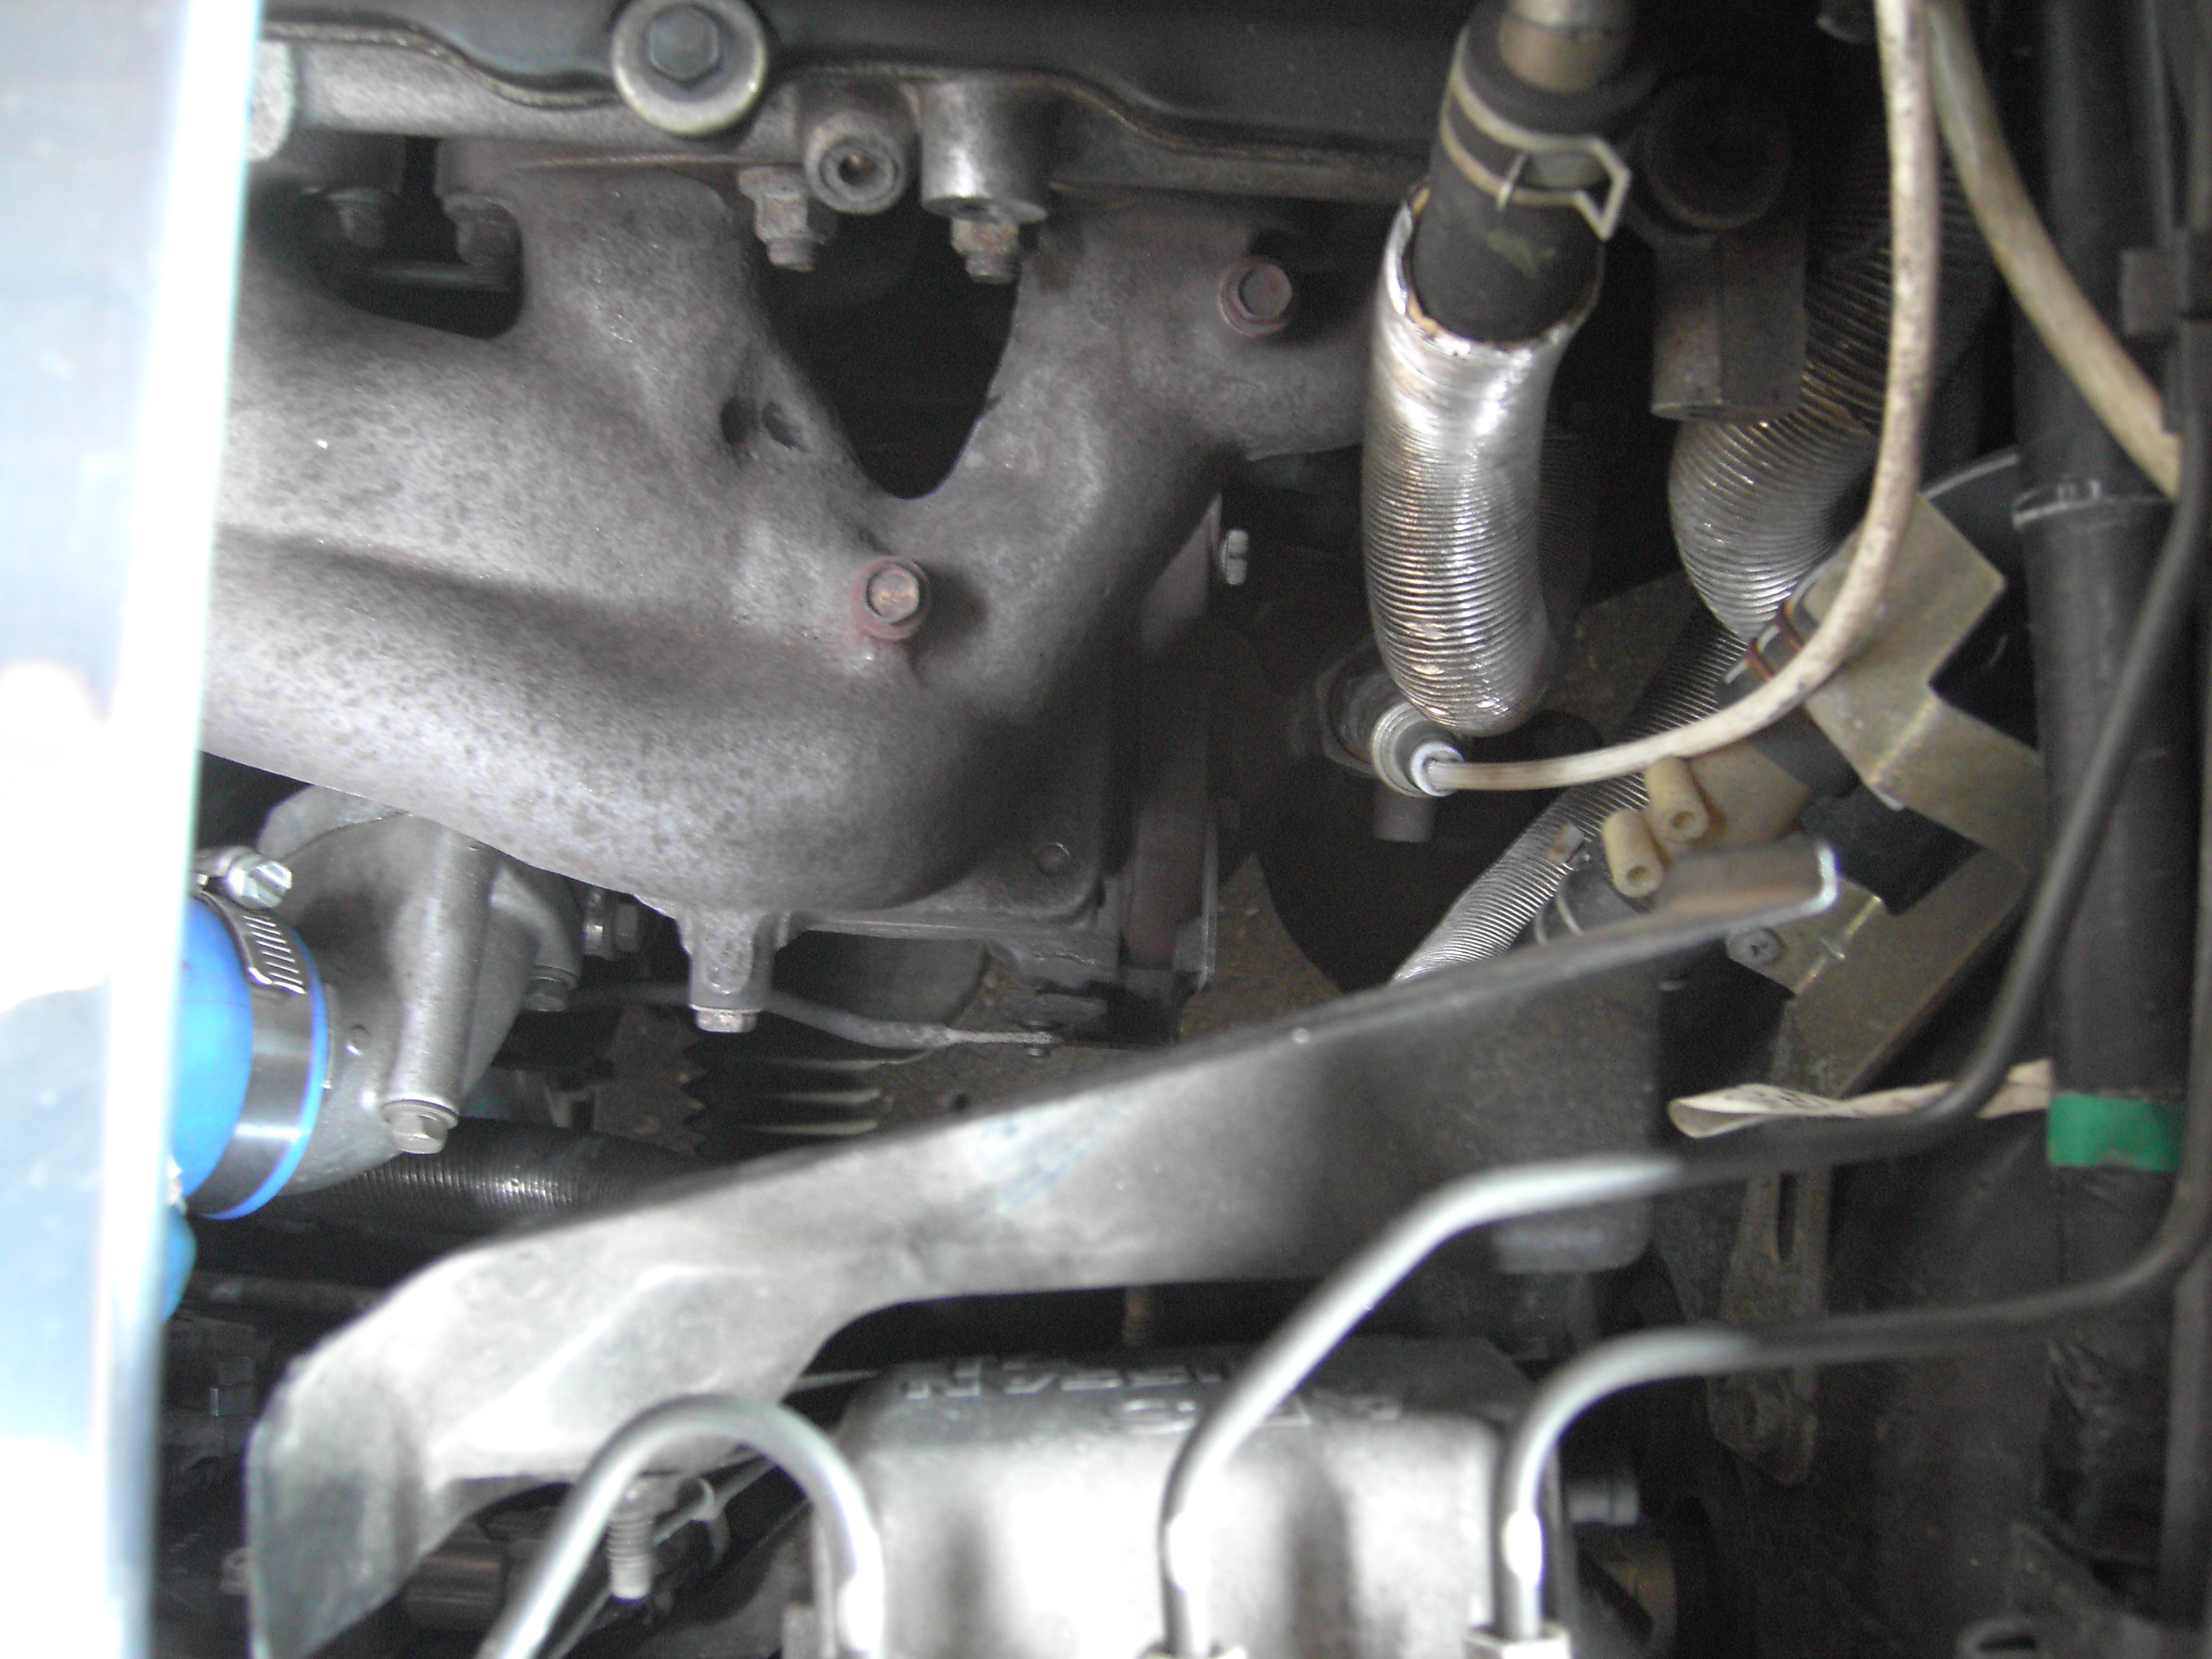
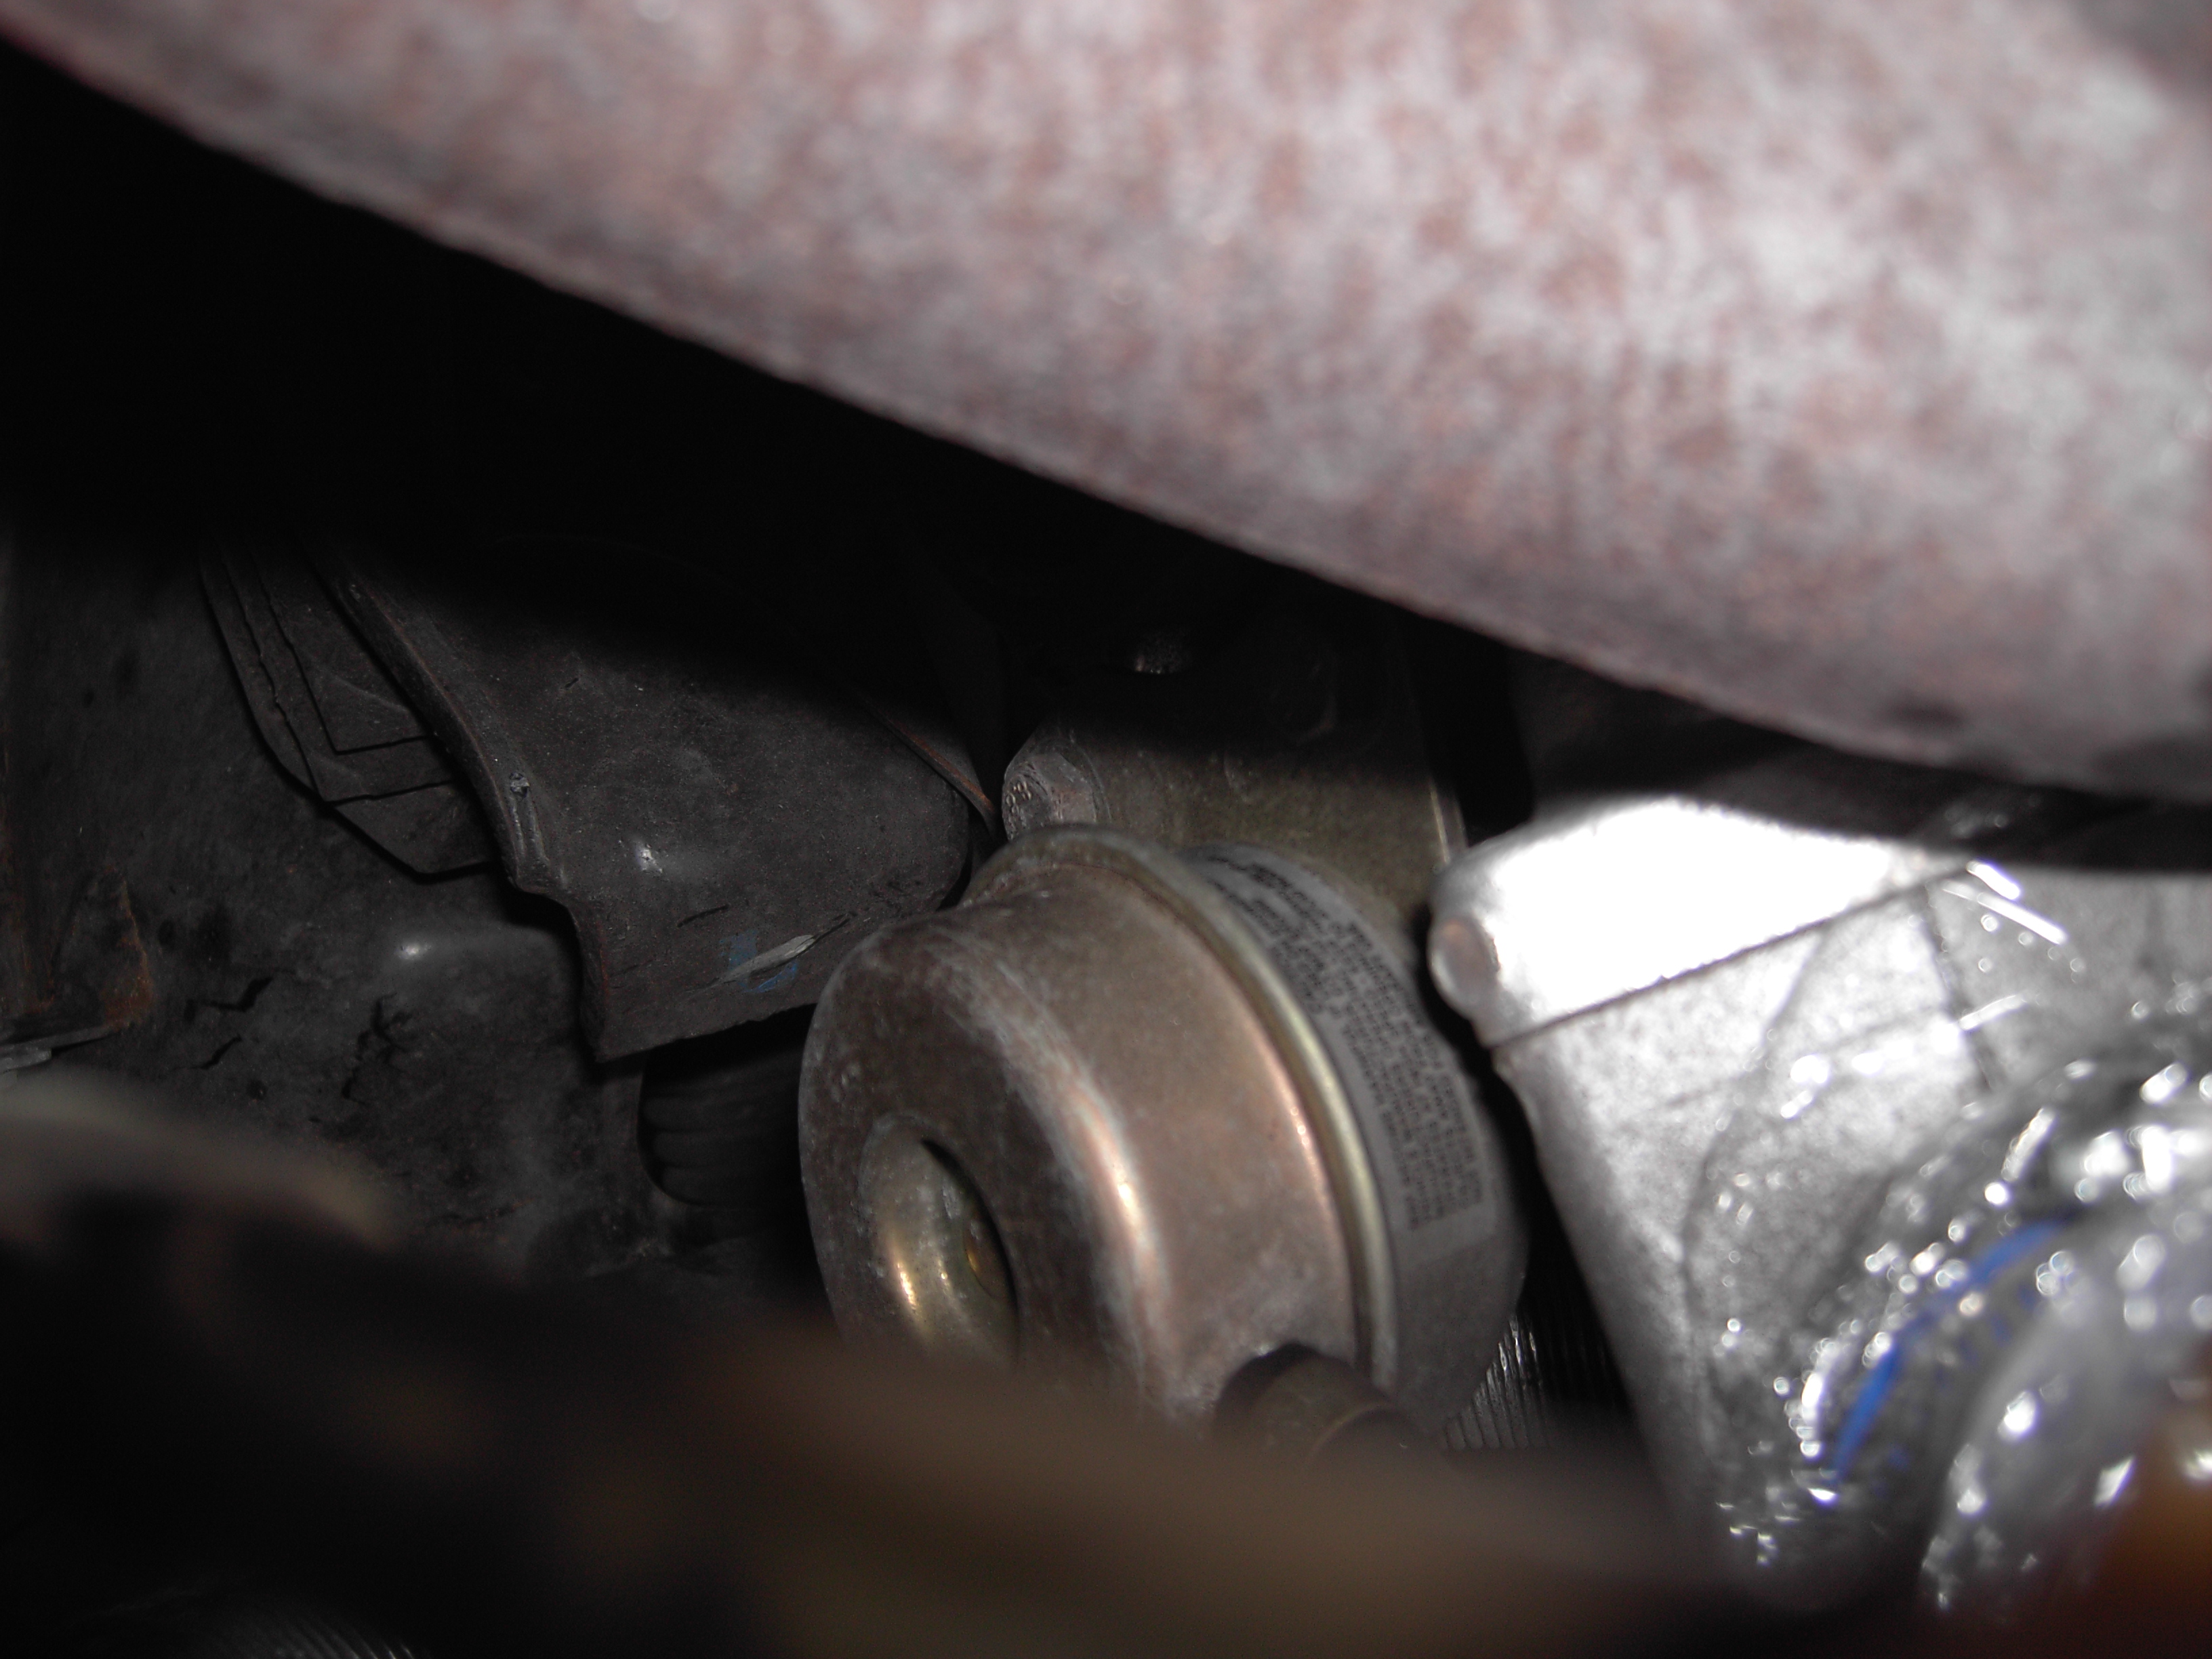
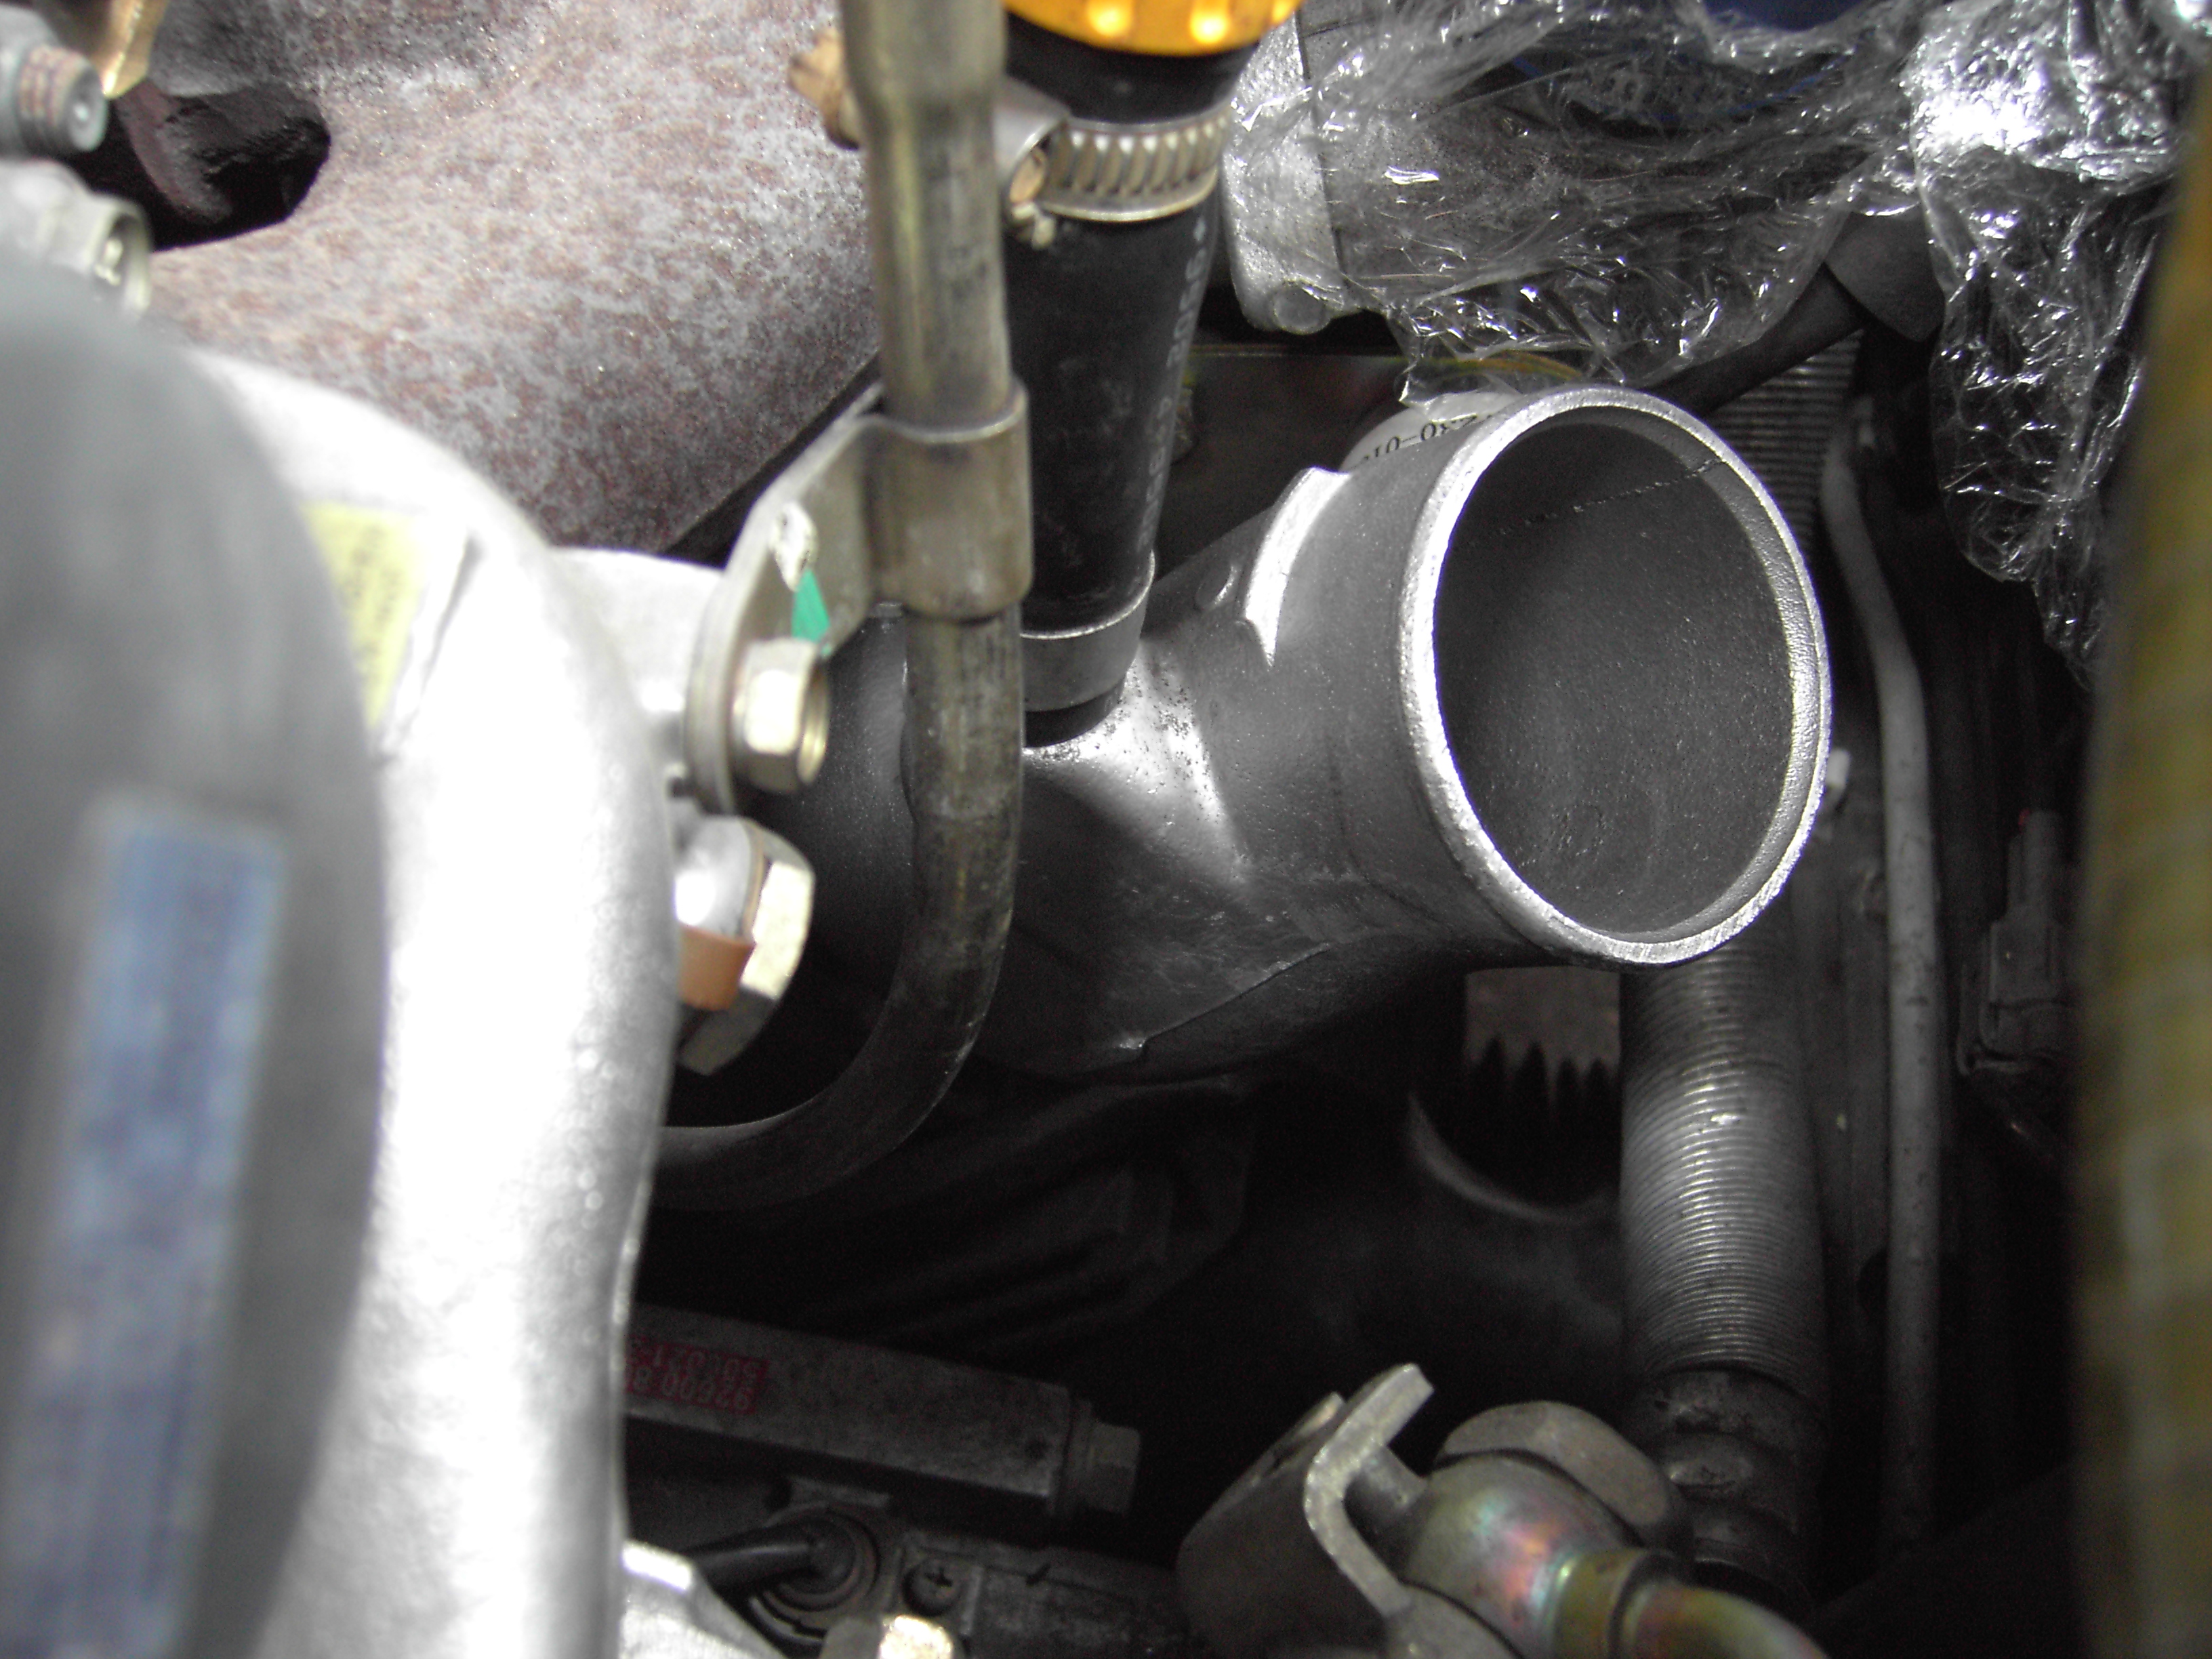
    Here's how it looks once the heatshields are out of the way


    Firstly, remove the turbo hotpipe and the rubber pipe that runs from the AFM down to the turbo intake. I sealed the hotpipe holes to stop anything falling in there.


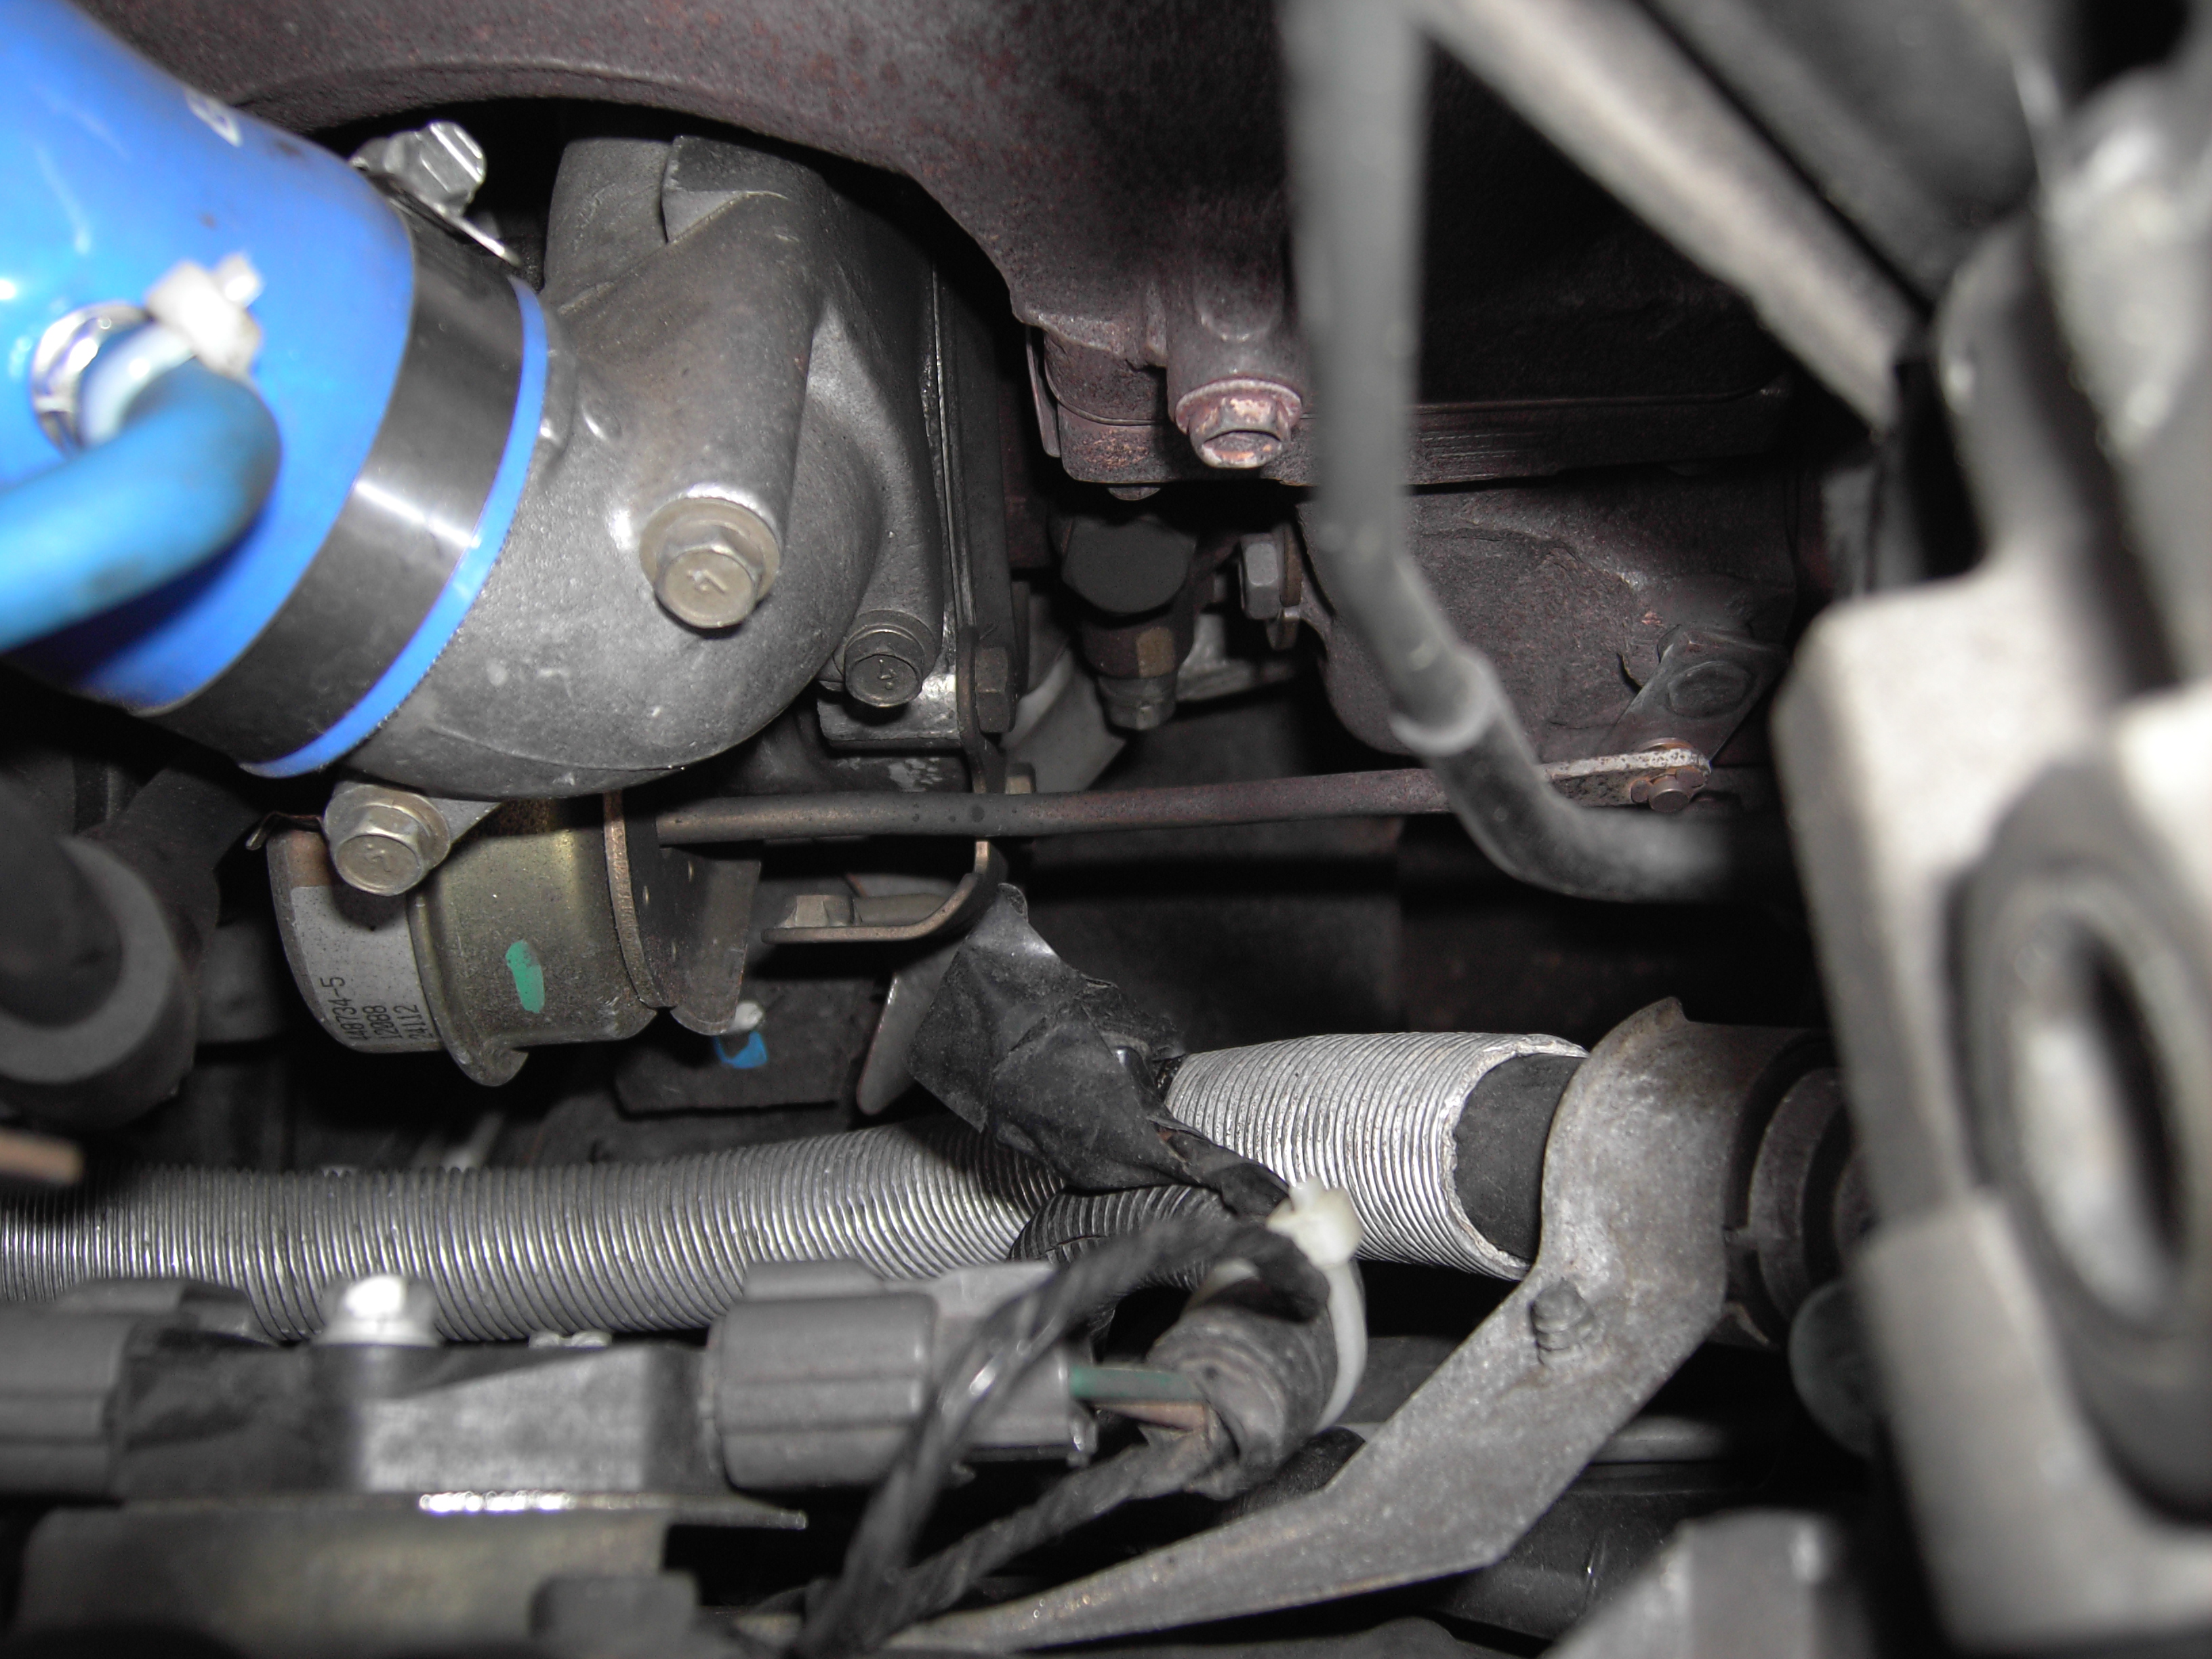
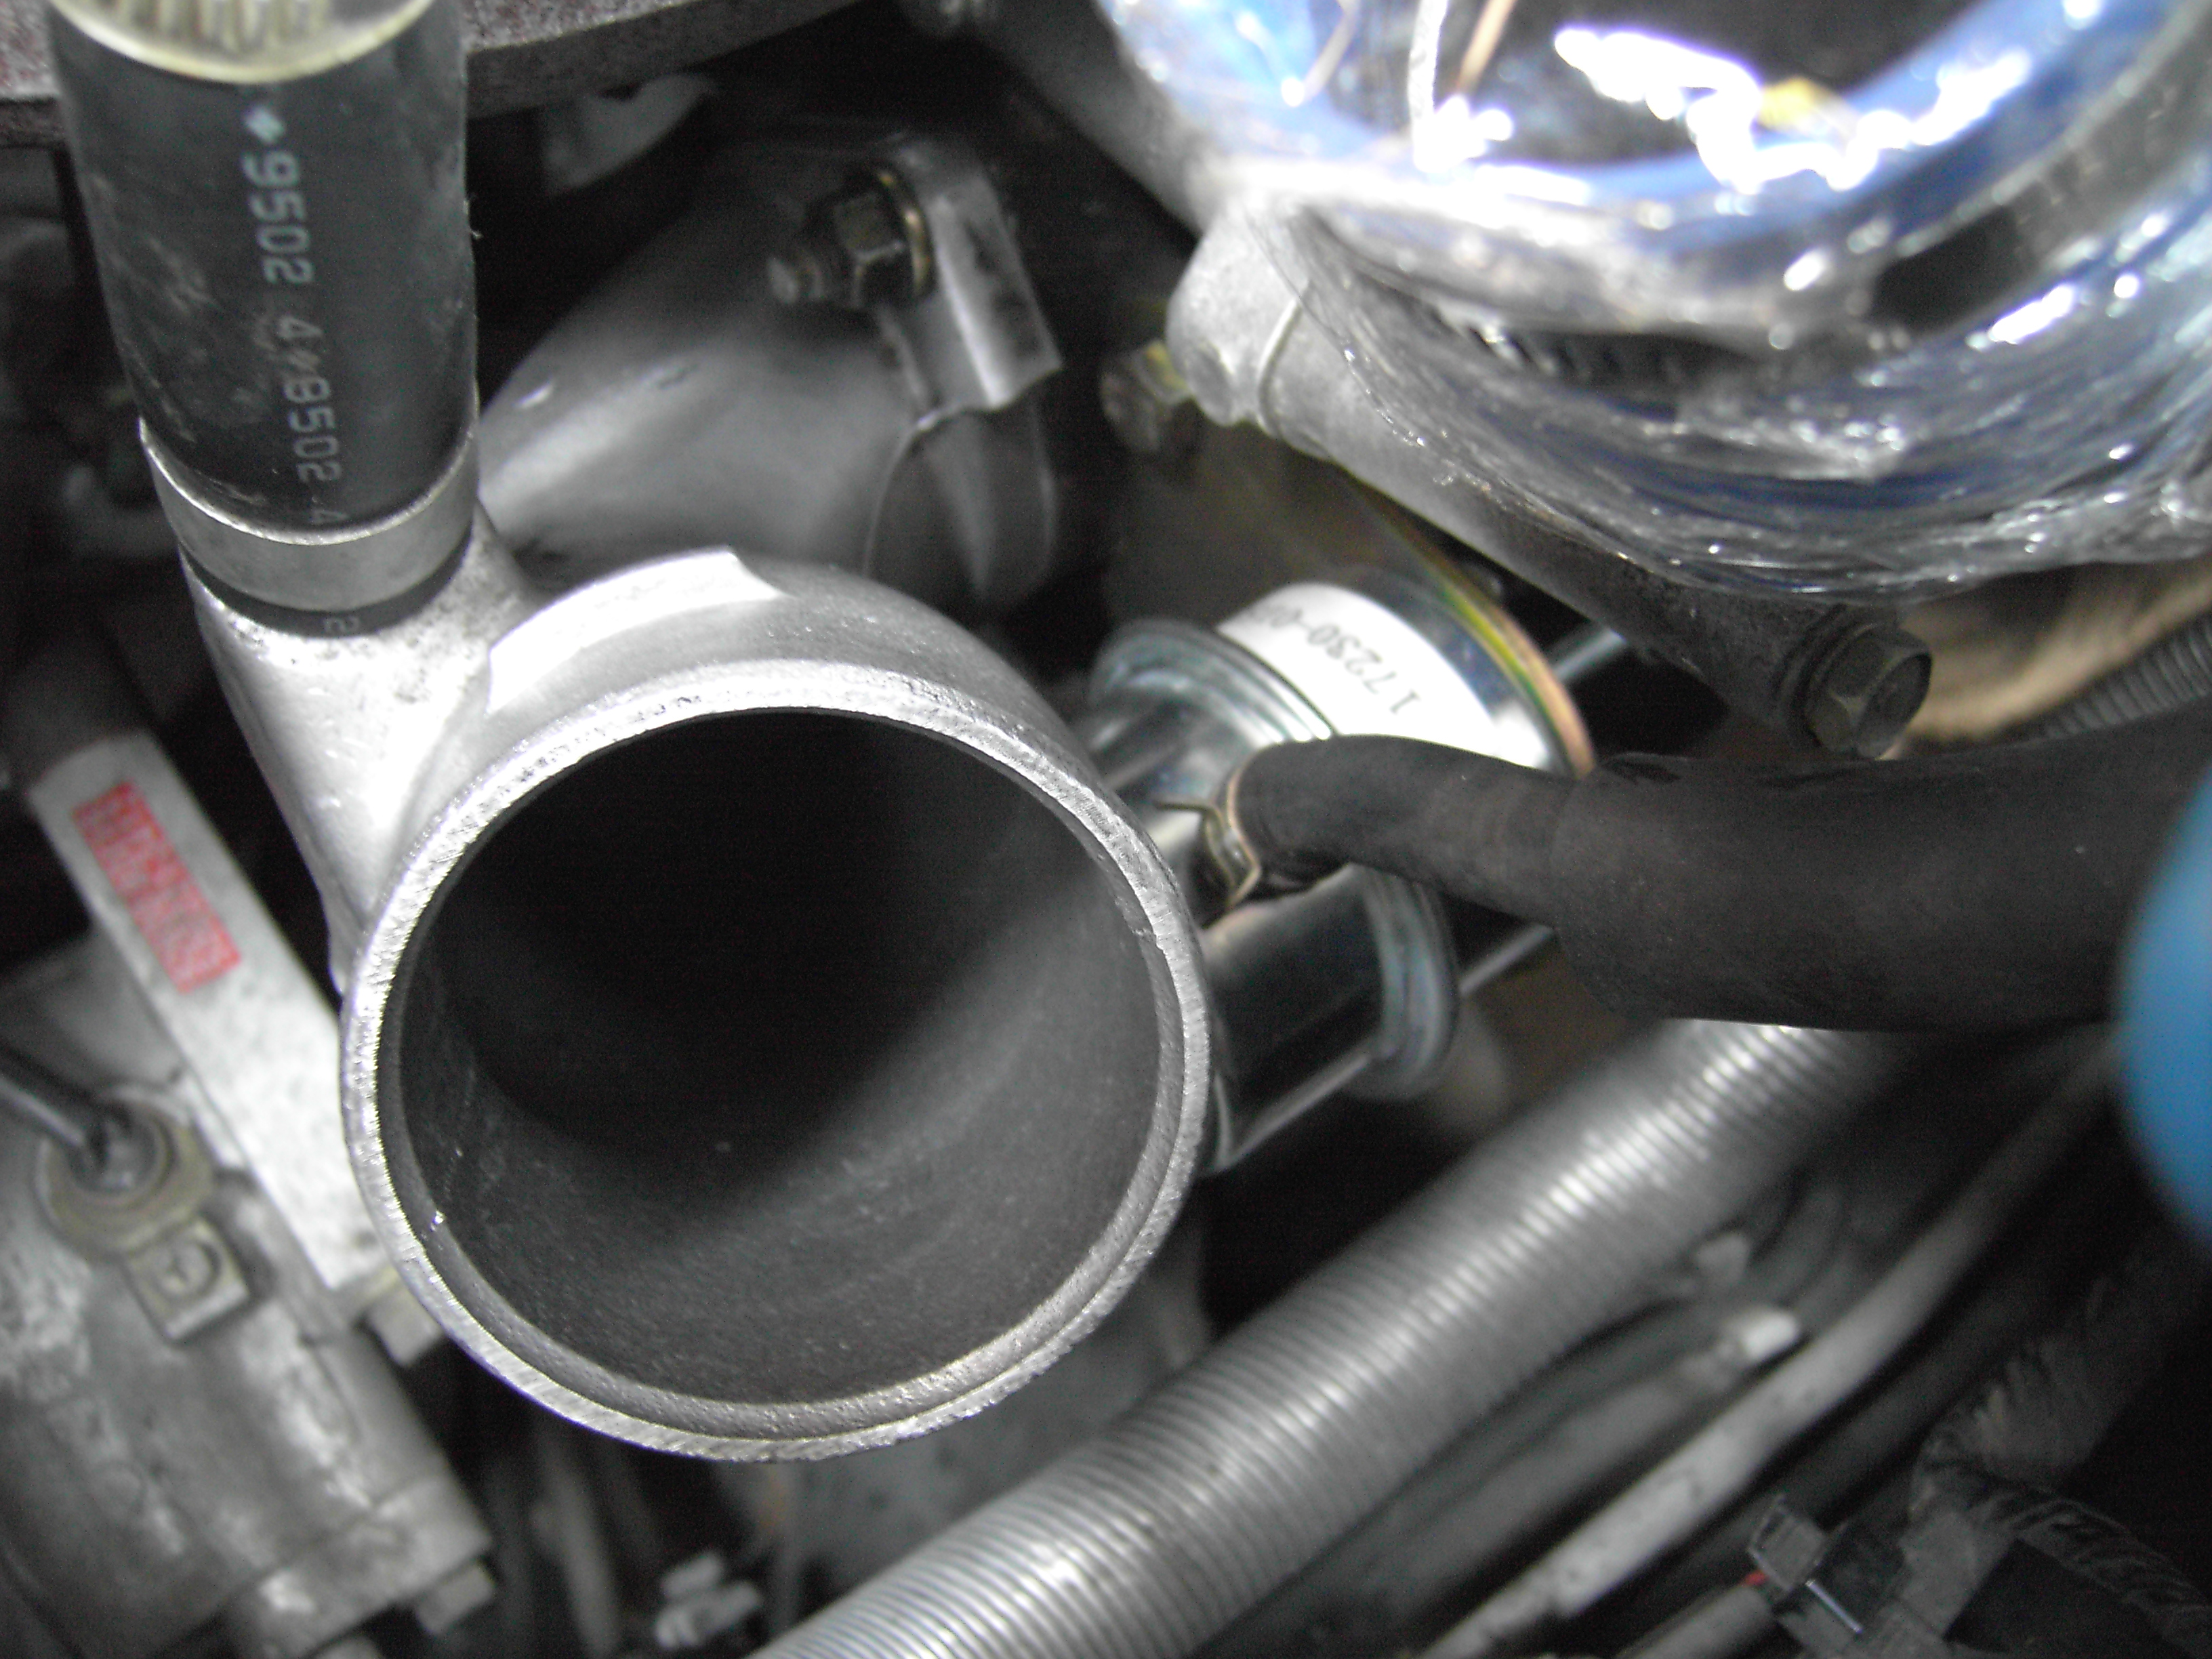
    Now remove the metal bracket that connects the rubber intake pipe to the turbo. This is held on with two nuts (12mm socket). You can't see the bottom one, so you will need to feel for it. The top one is shown in the following photo


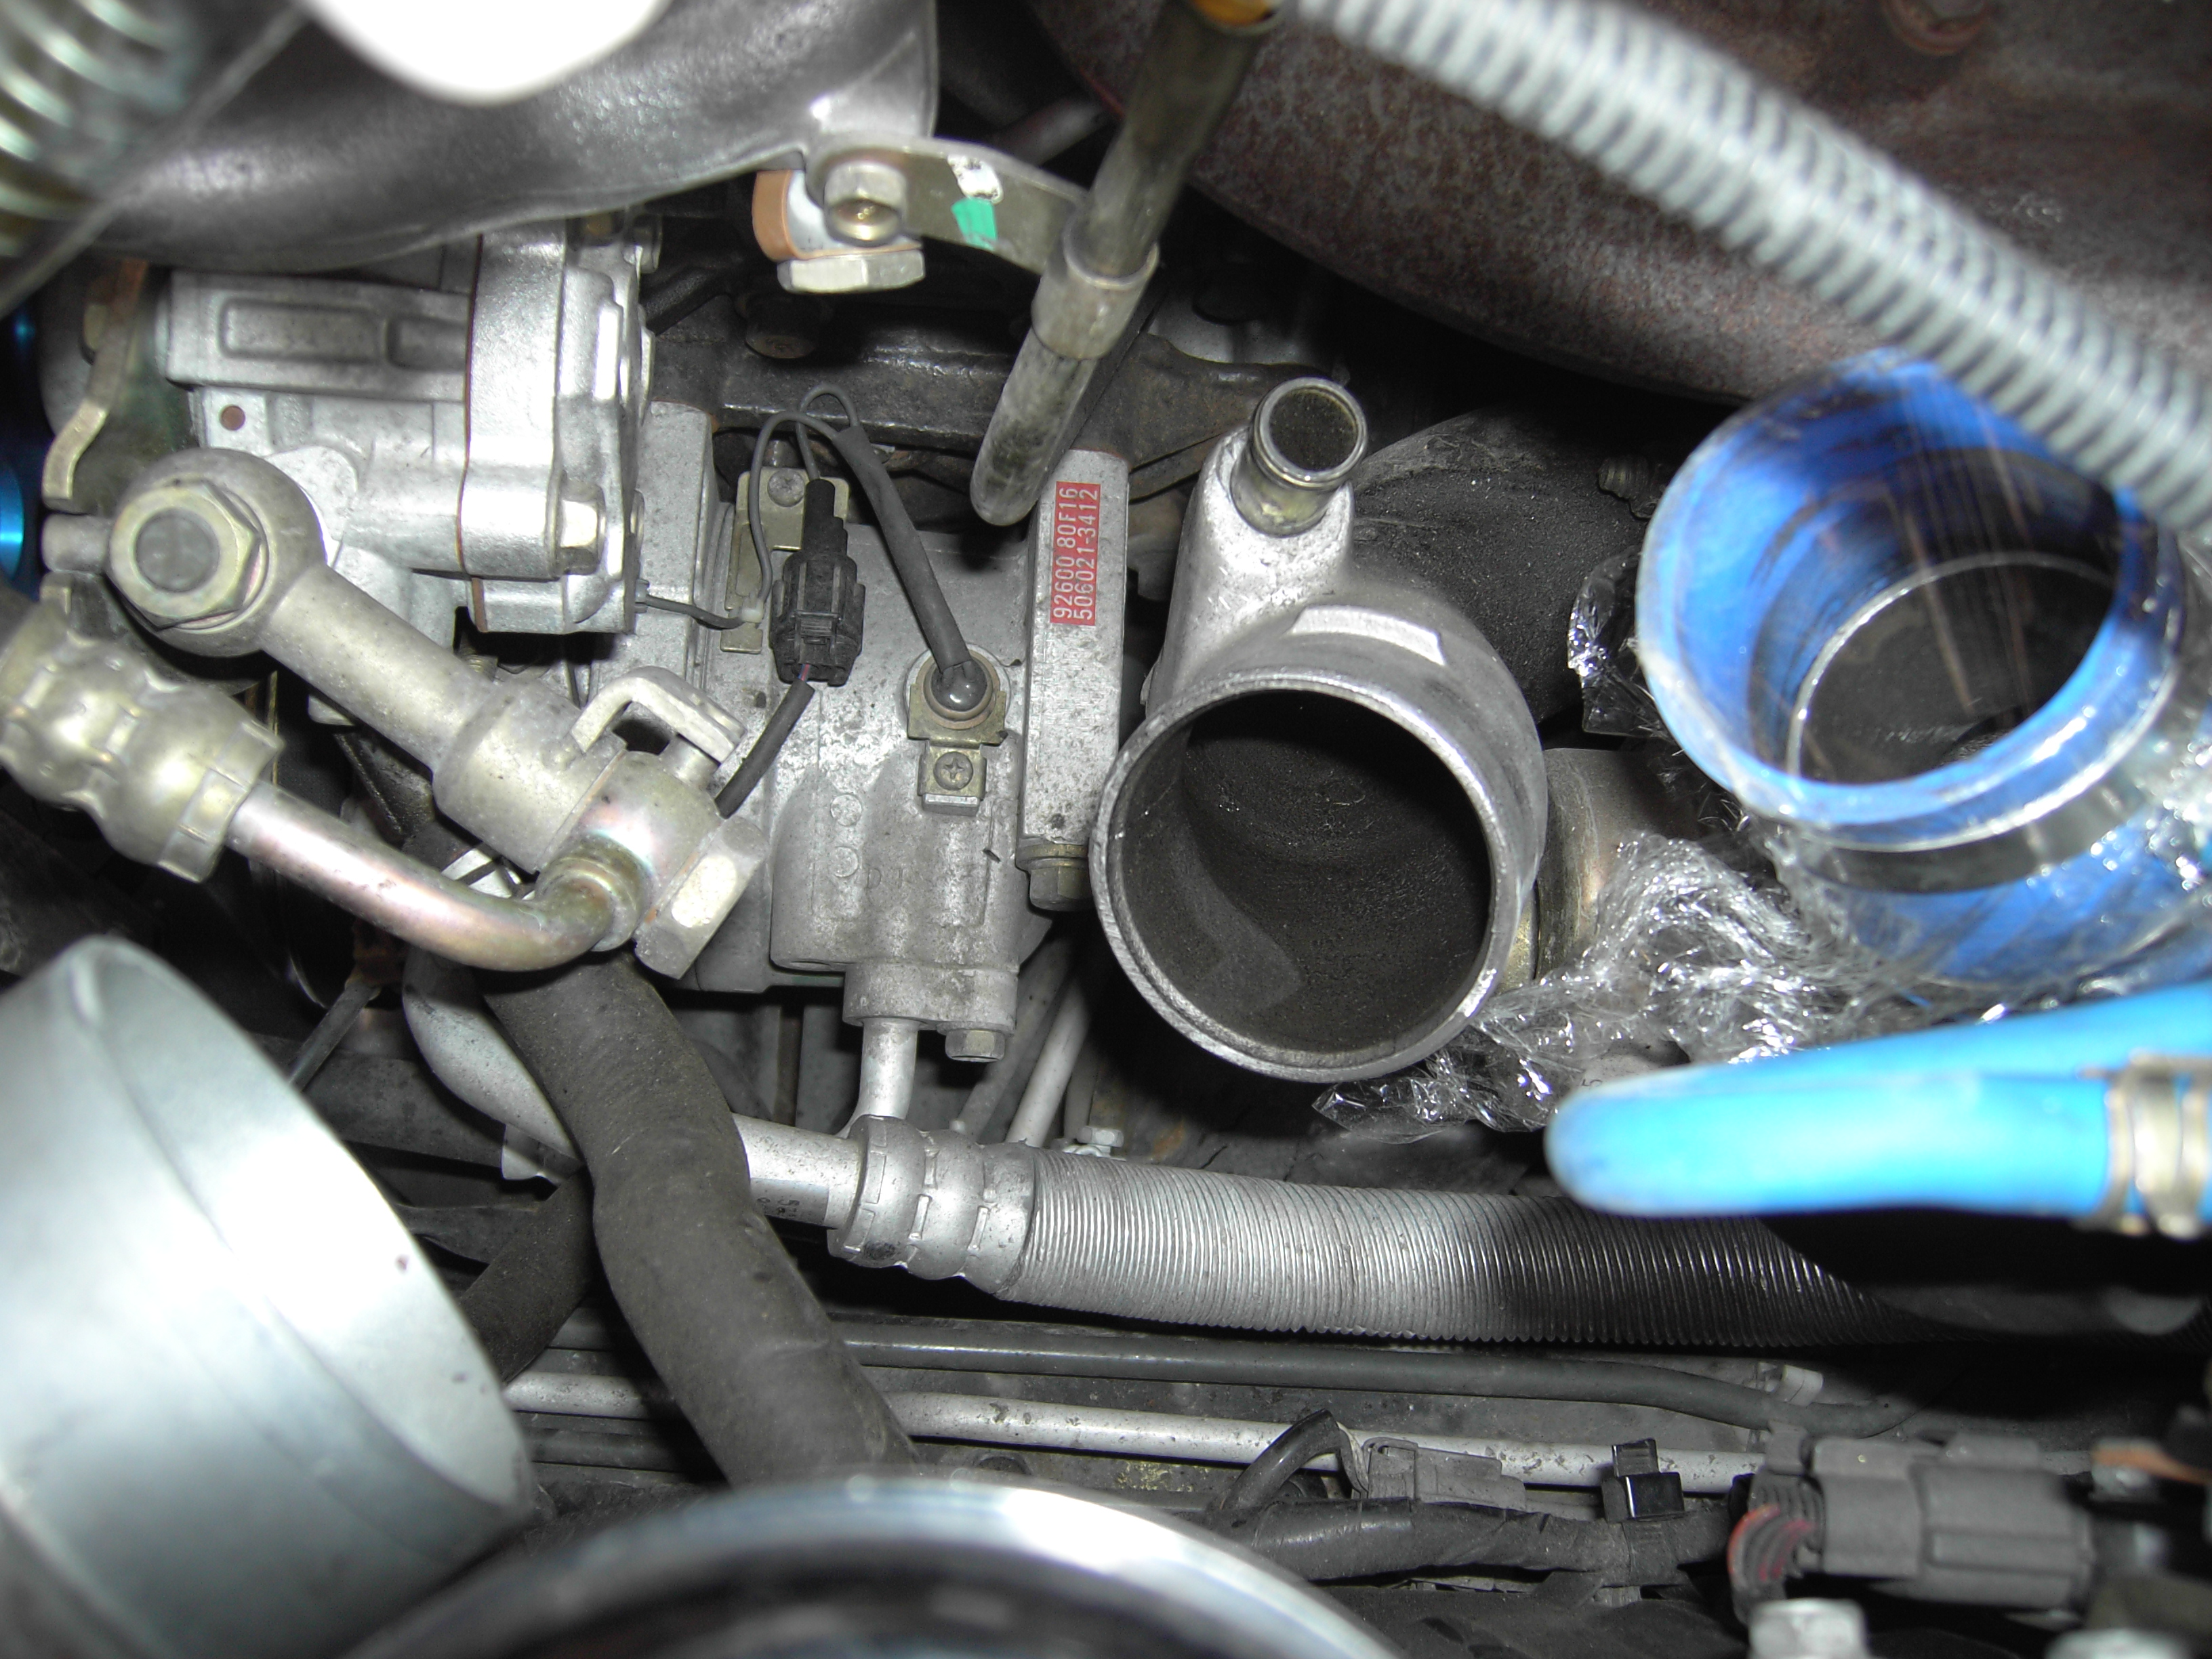
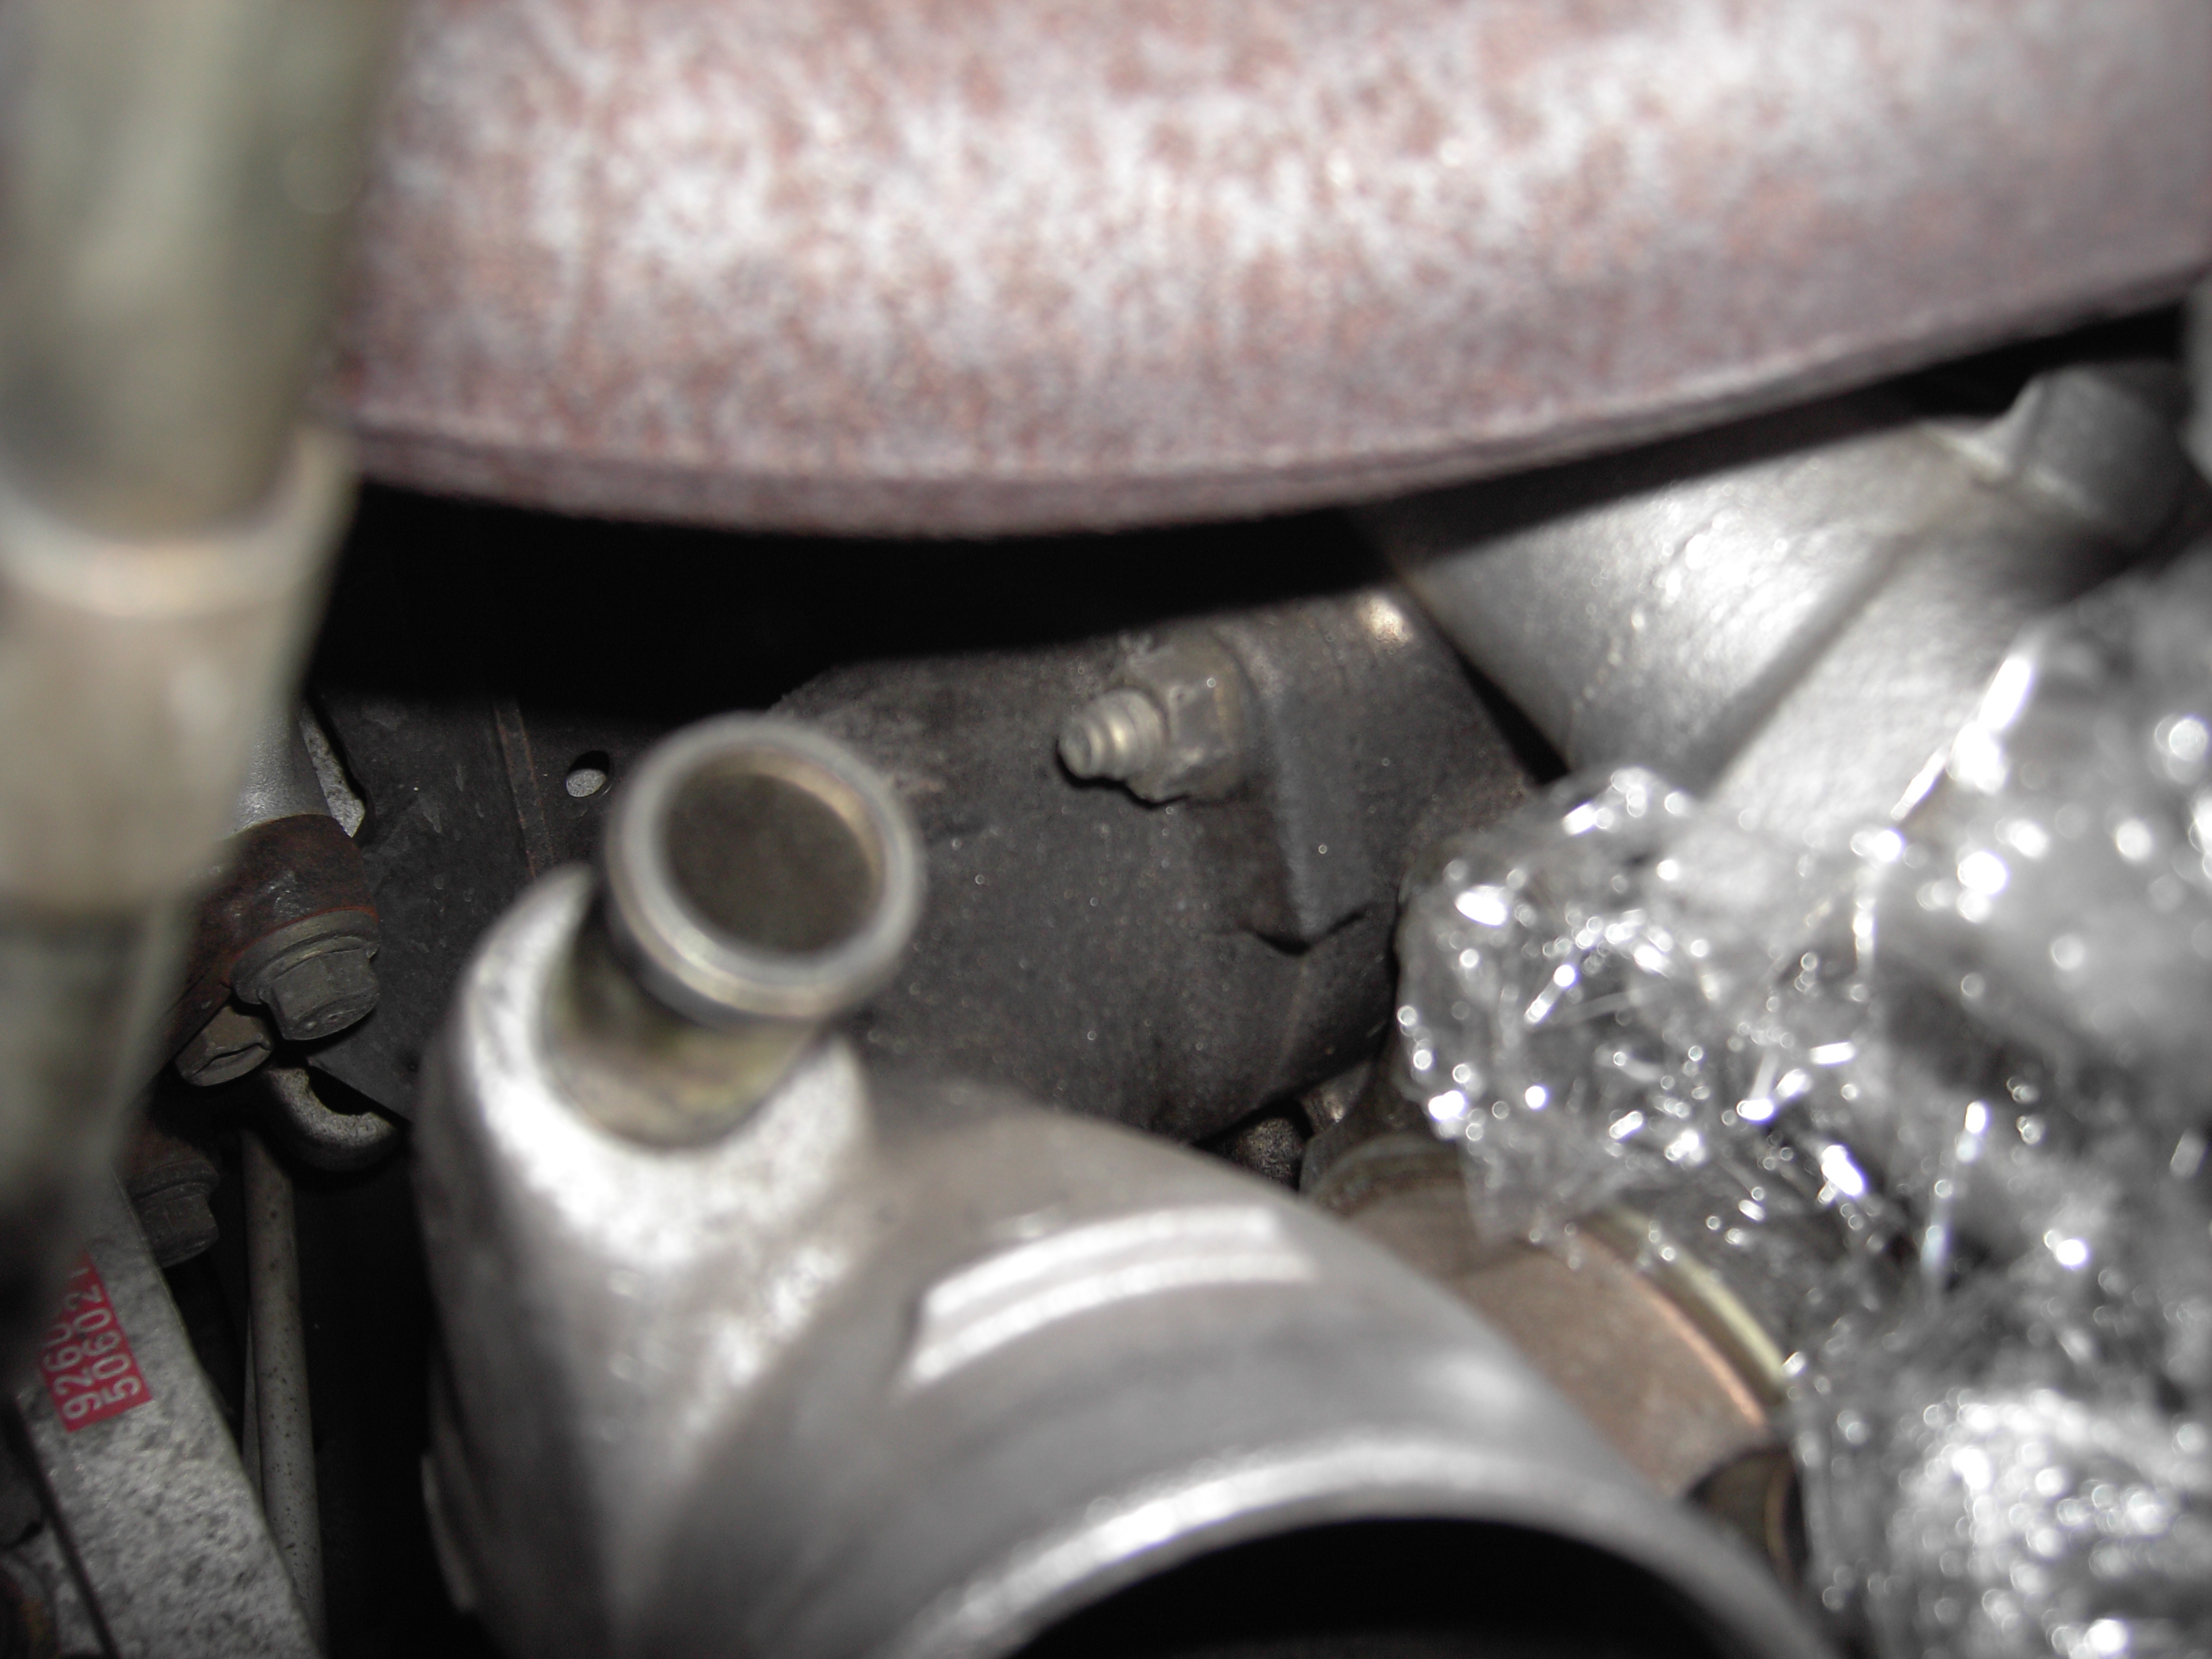
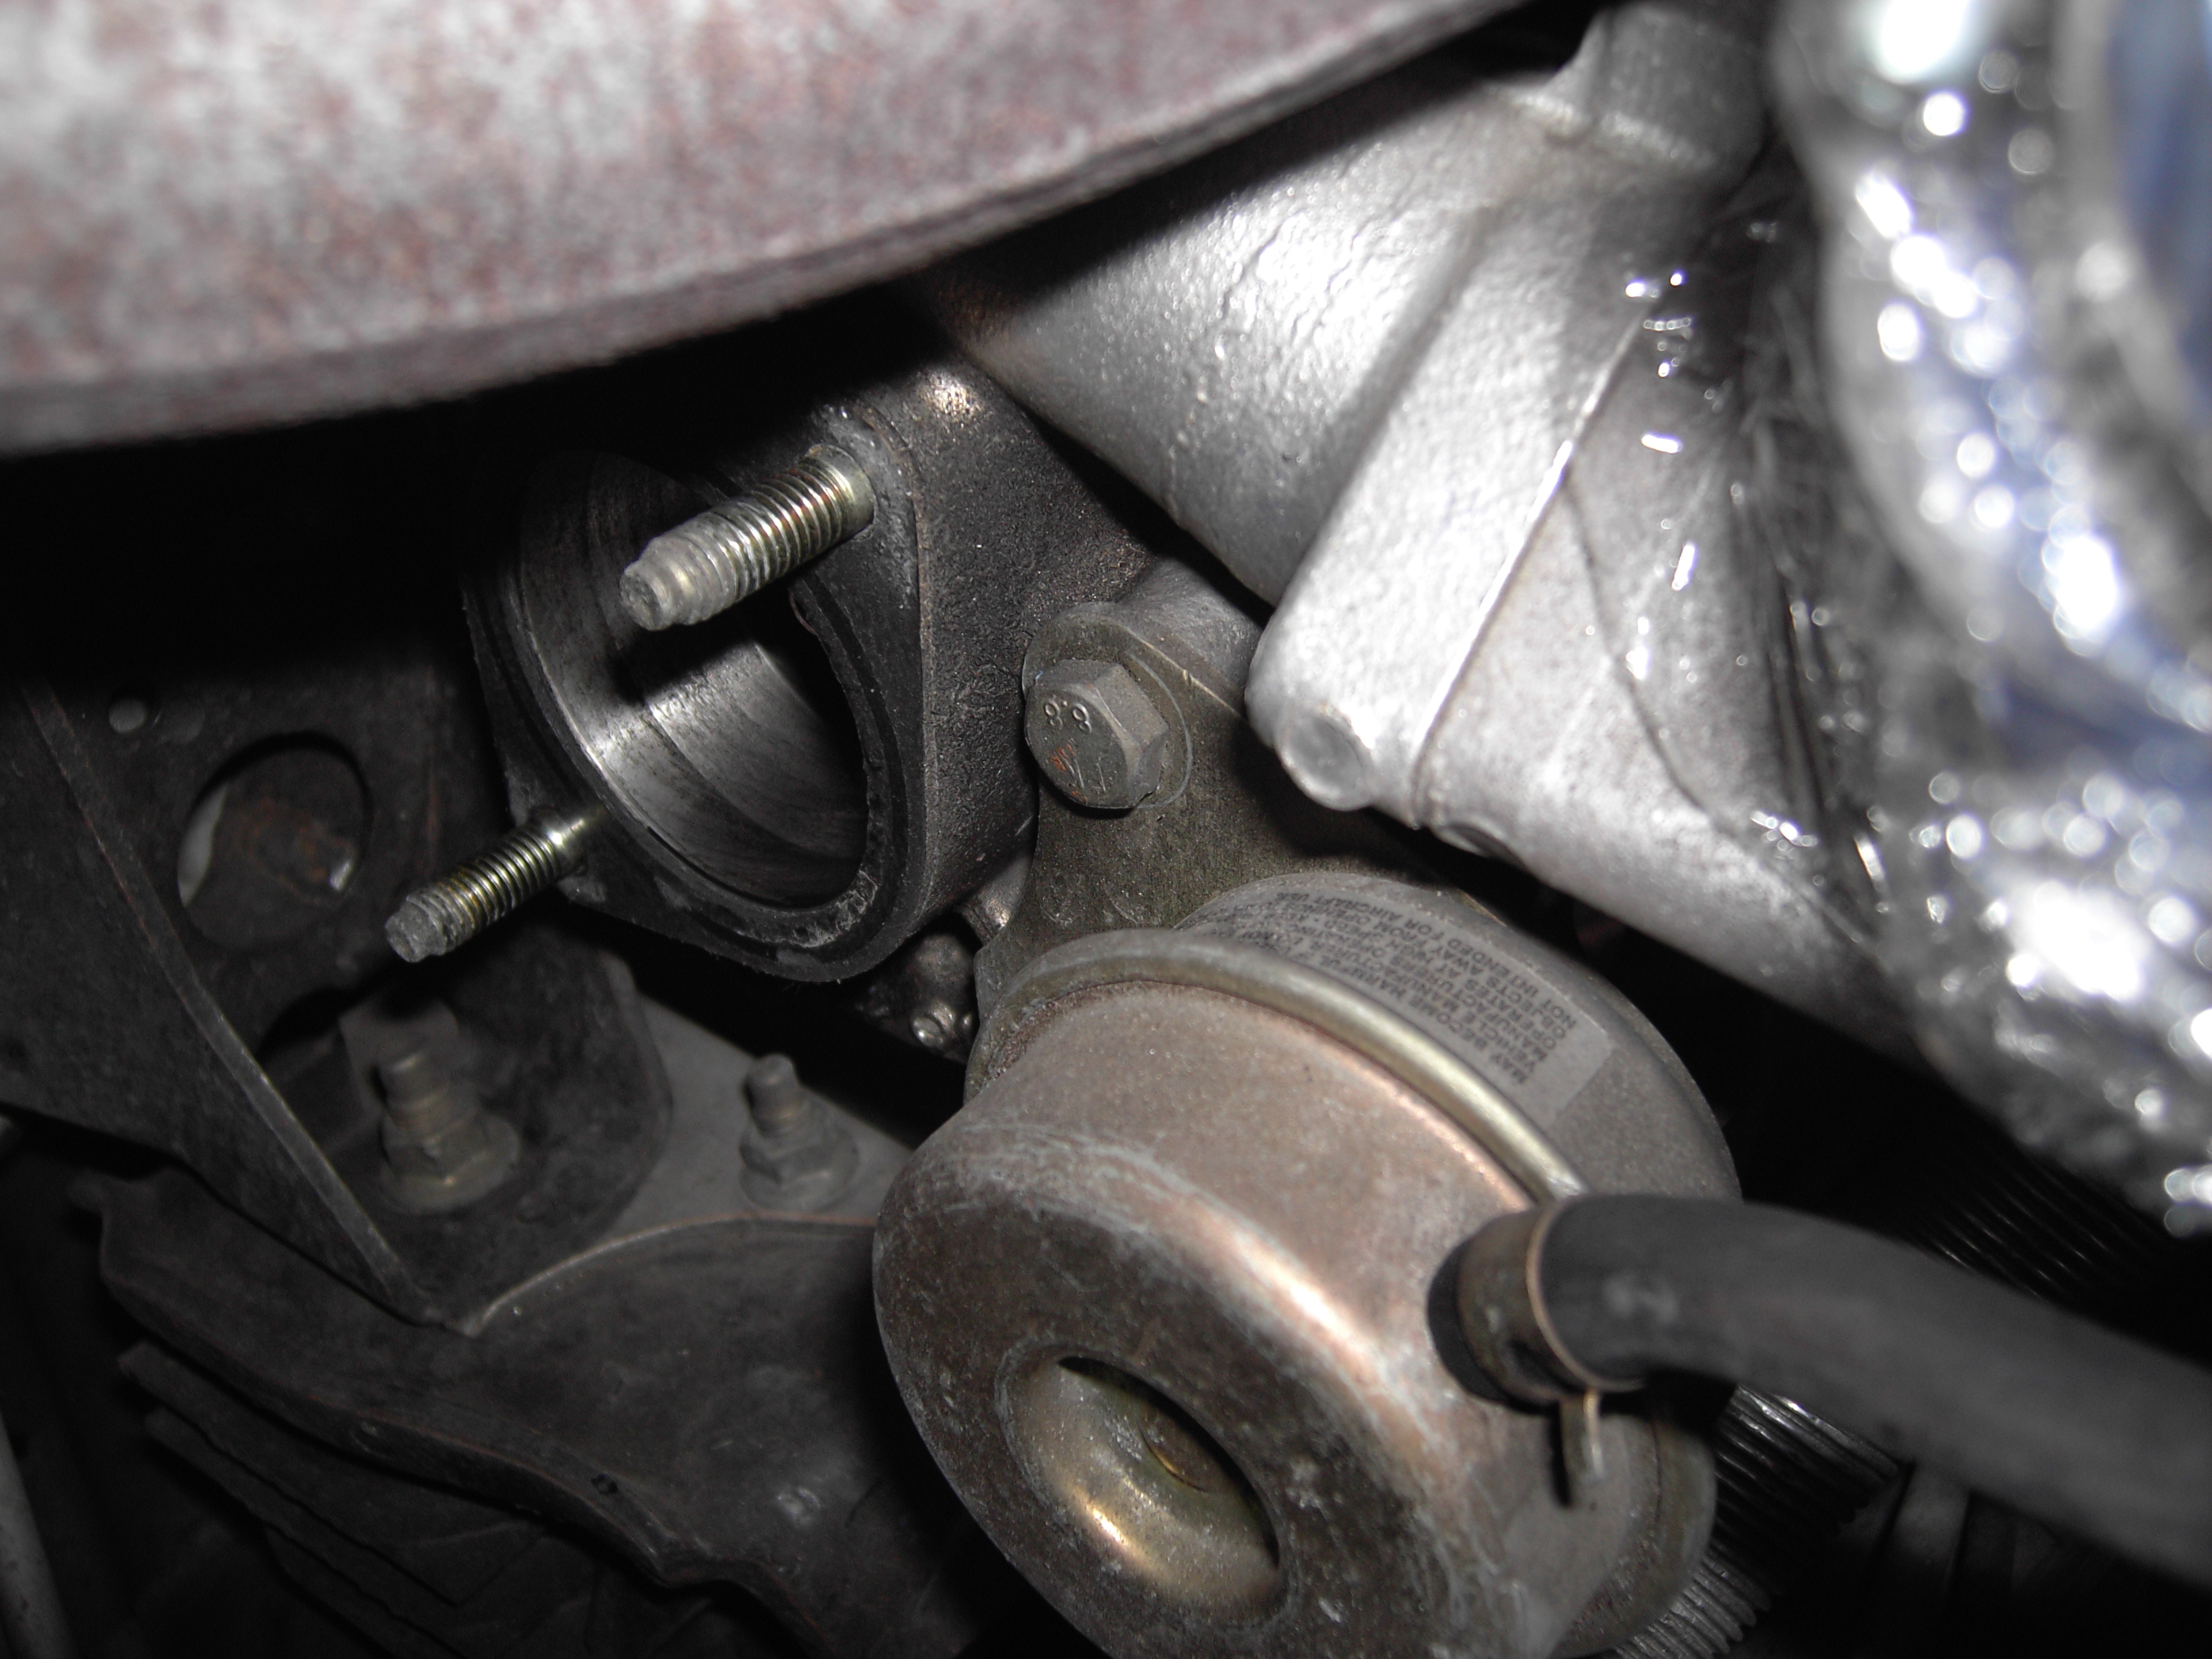
    Once that pipe is out of the way, you have free access to the two small bolts holding the old actuator in position, shown in the following two pictures. The bolts are very short, and on my car, weren't very tight.


    Now you need to remove the circlip which keeps the actuator arm on the wastegate thingy. You should get a new circlip with the new actuator, but try not to drop this one, just in case.


    You can now easily remove the old actuator.
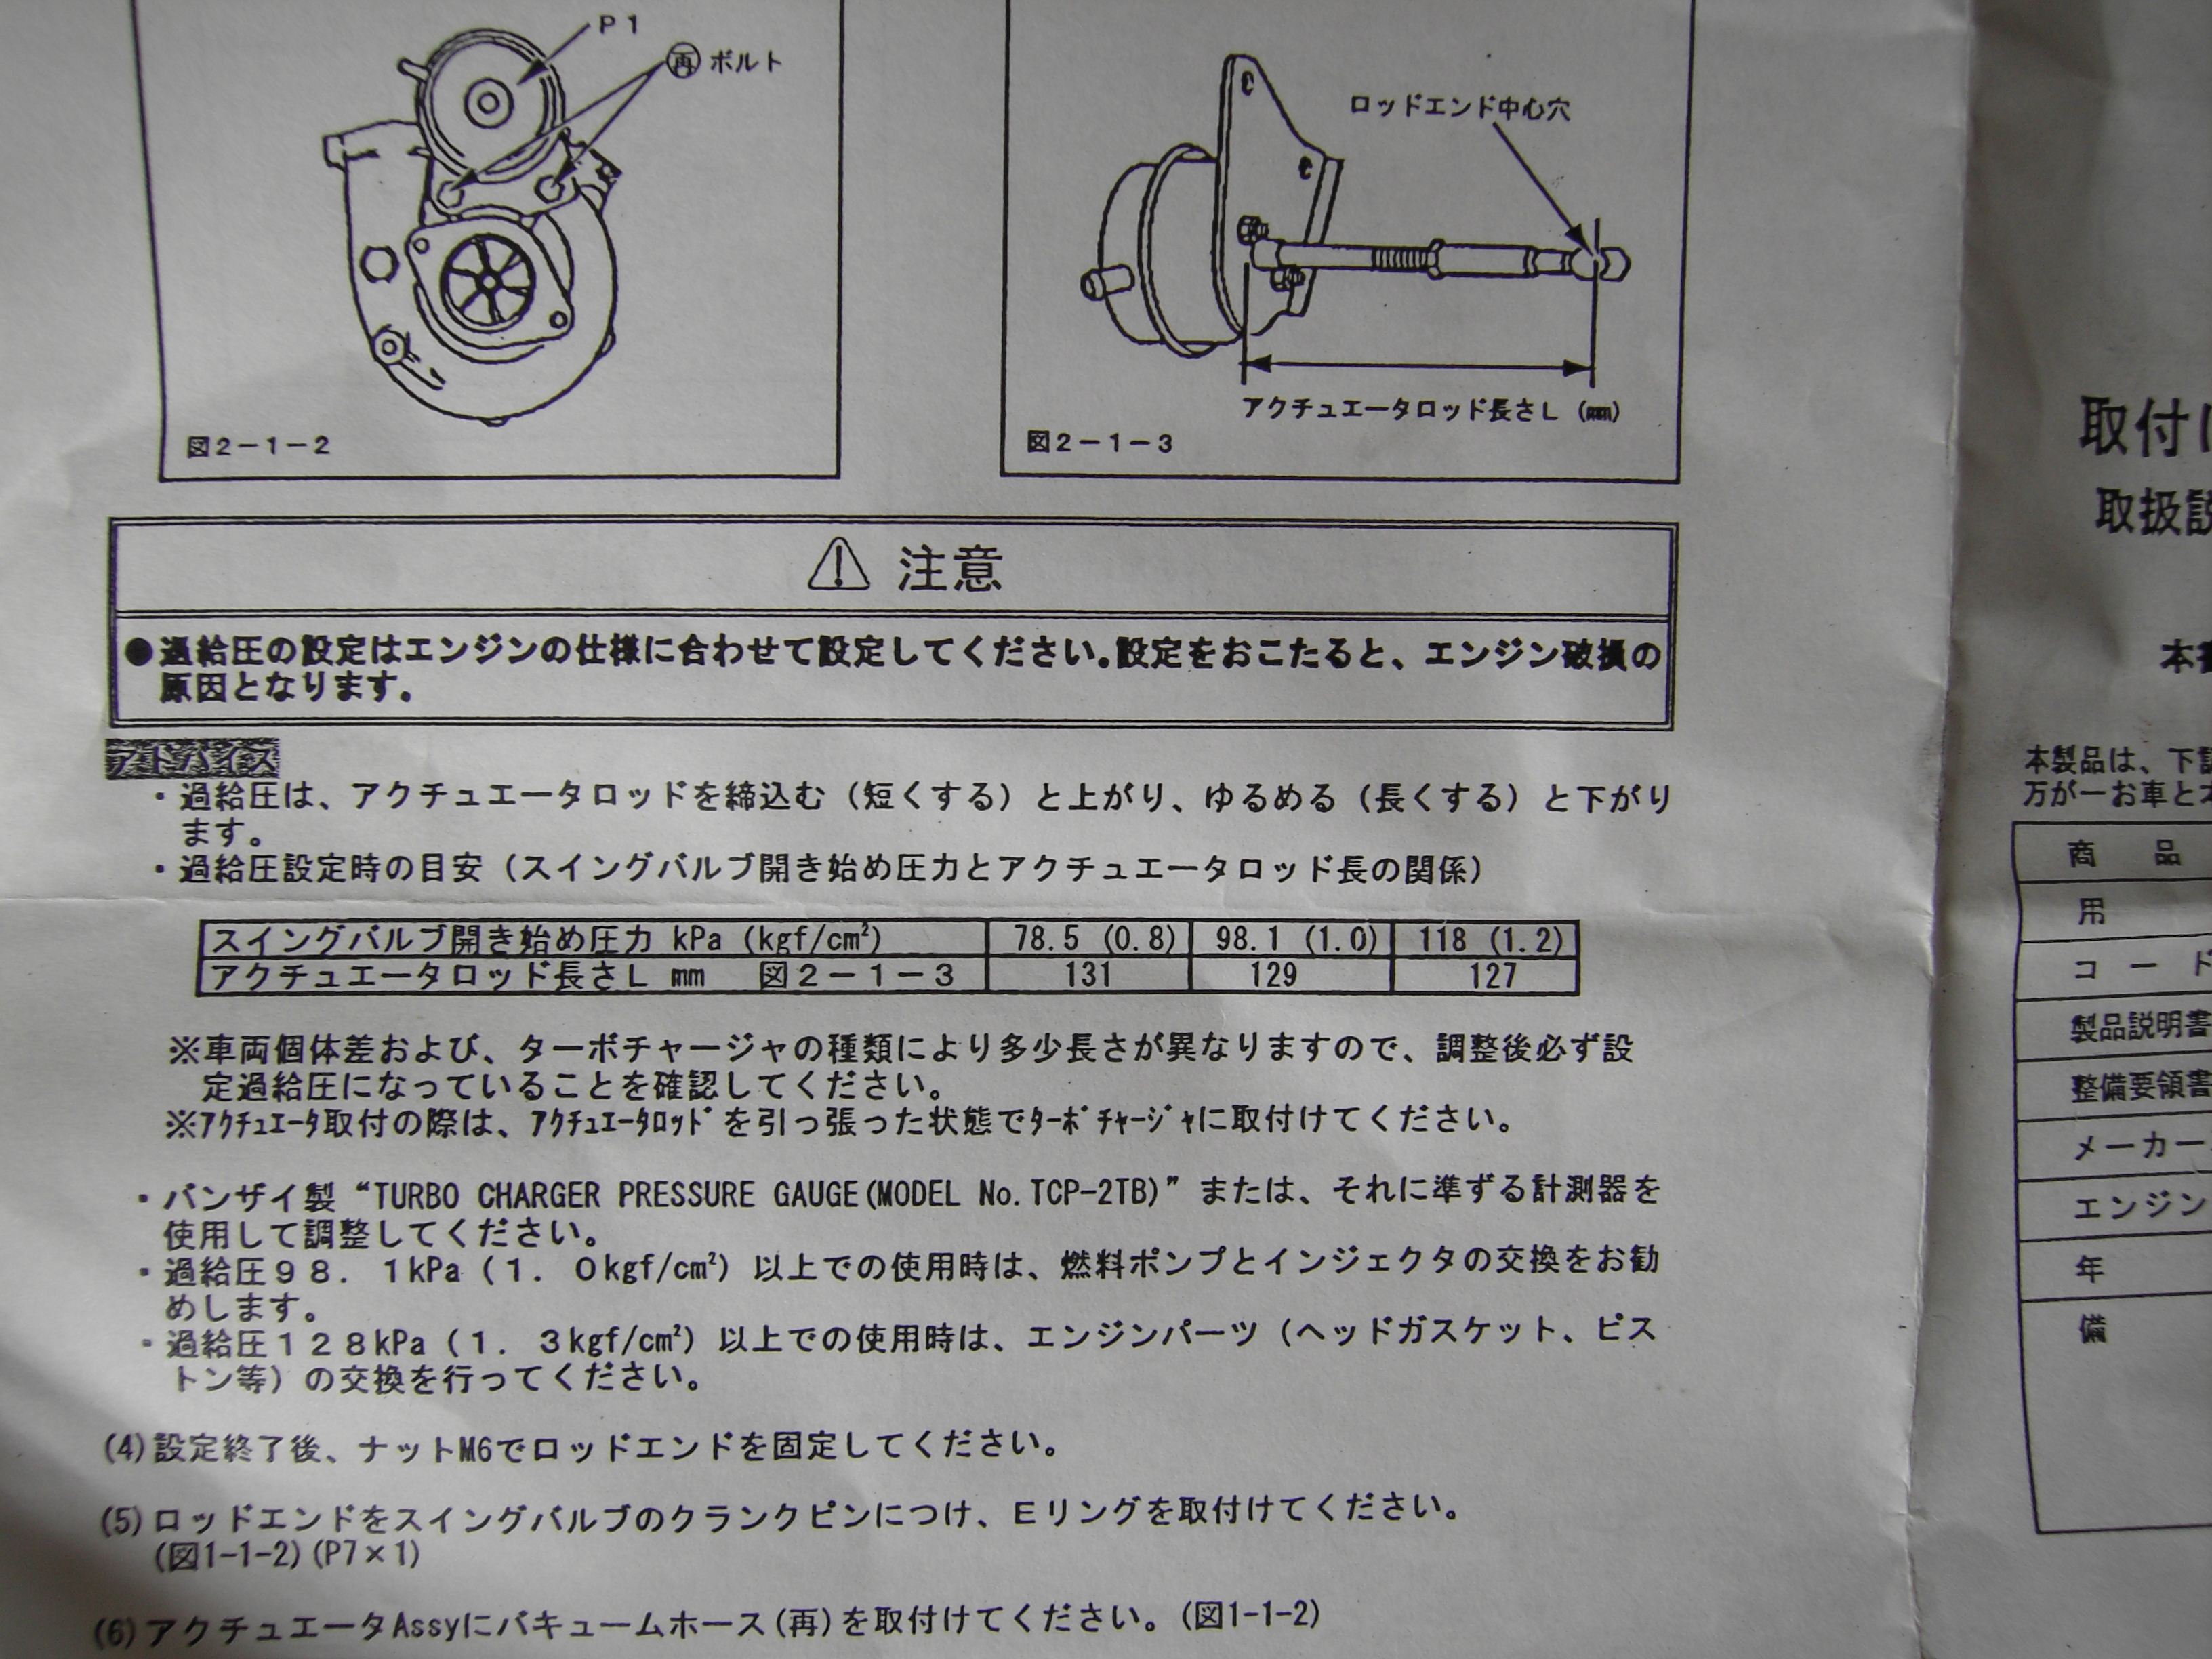
    The instructions in the HKS booklet show that to set boost to 1kg/cm² (~1 bar), you should adjust the arm length to around 129mm (as shown in the manual shot below). However, before making any adjustments, I set mine to roughly the same length as the old one. I will adjust the length of the arm later


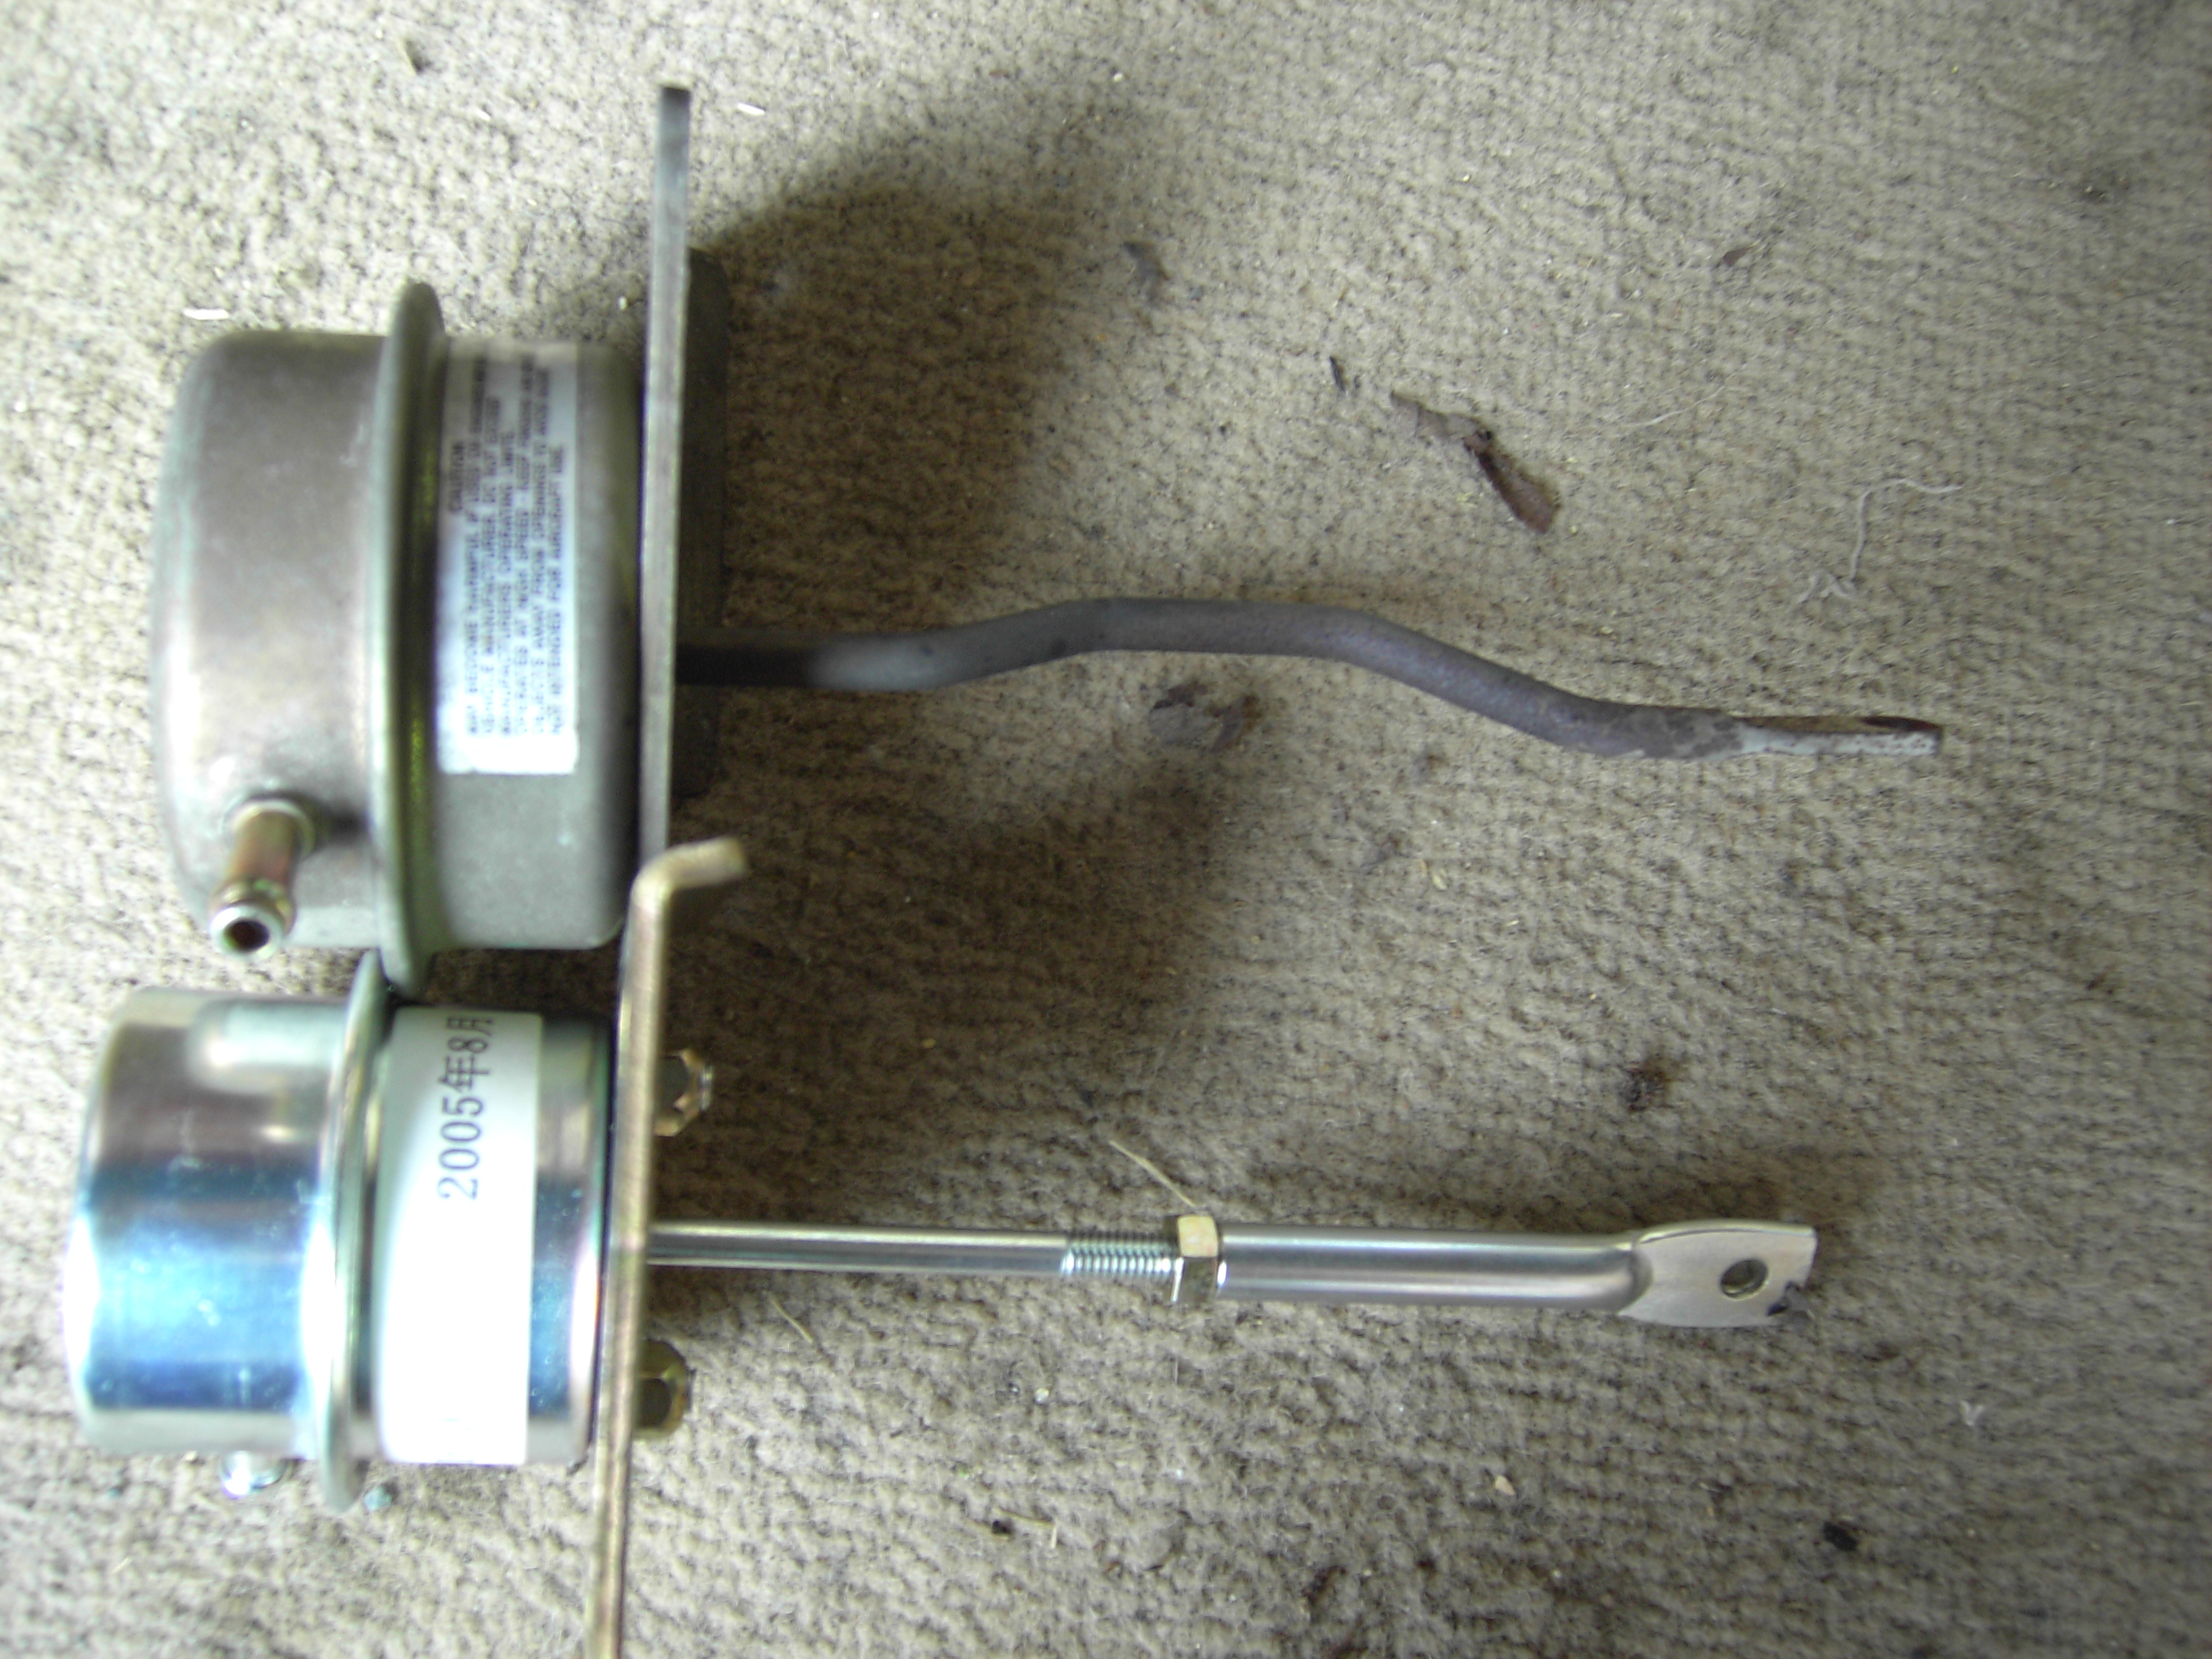
    Here are the two actuators to compare size and the length of arms. The HKS one is set to approx. 1 bar in this picture


    Whilst the metal pipe was off, I gave it a clean . In classic Haynes Manual fashion, fitting is simply a reversal of the removal process. Here's some photos anyway.

    Firstly, the new actuator in position


    and a shot of the arm re-attached to the wastegate. Don't forget to attach the retaining circlip, or else the arm will probably fall off!


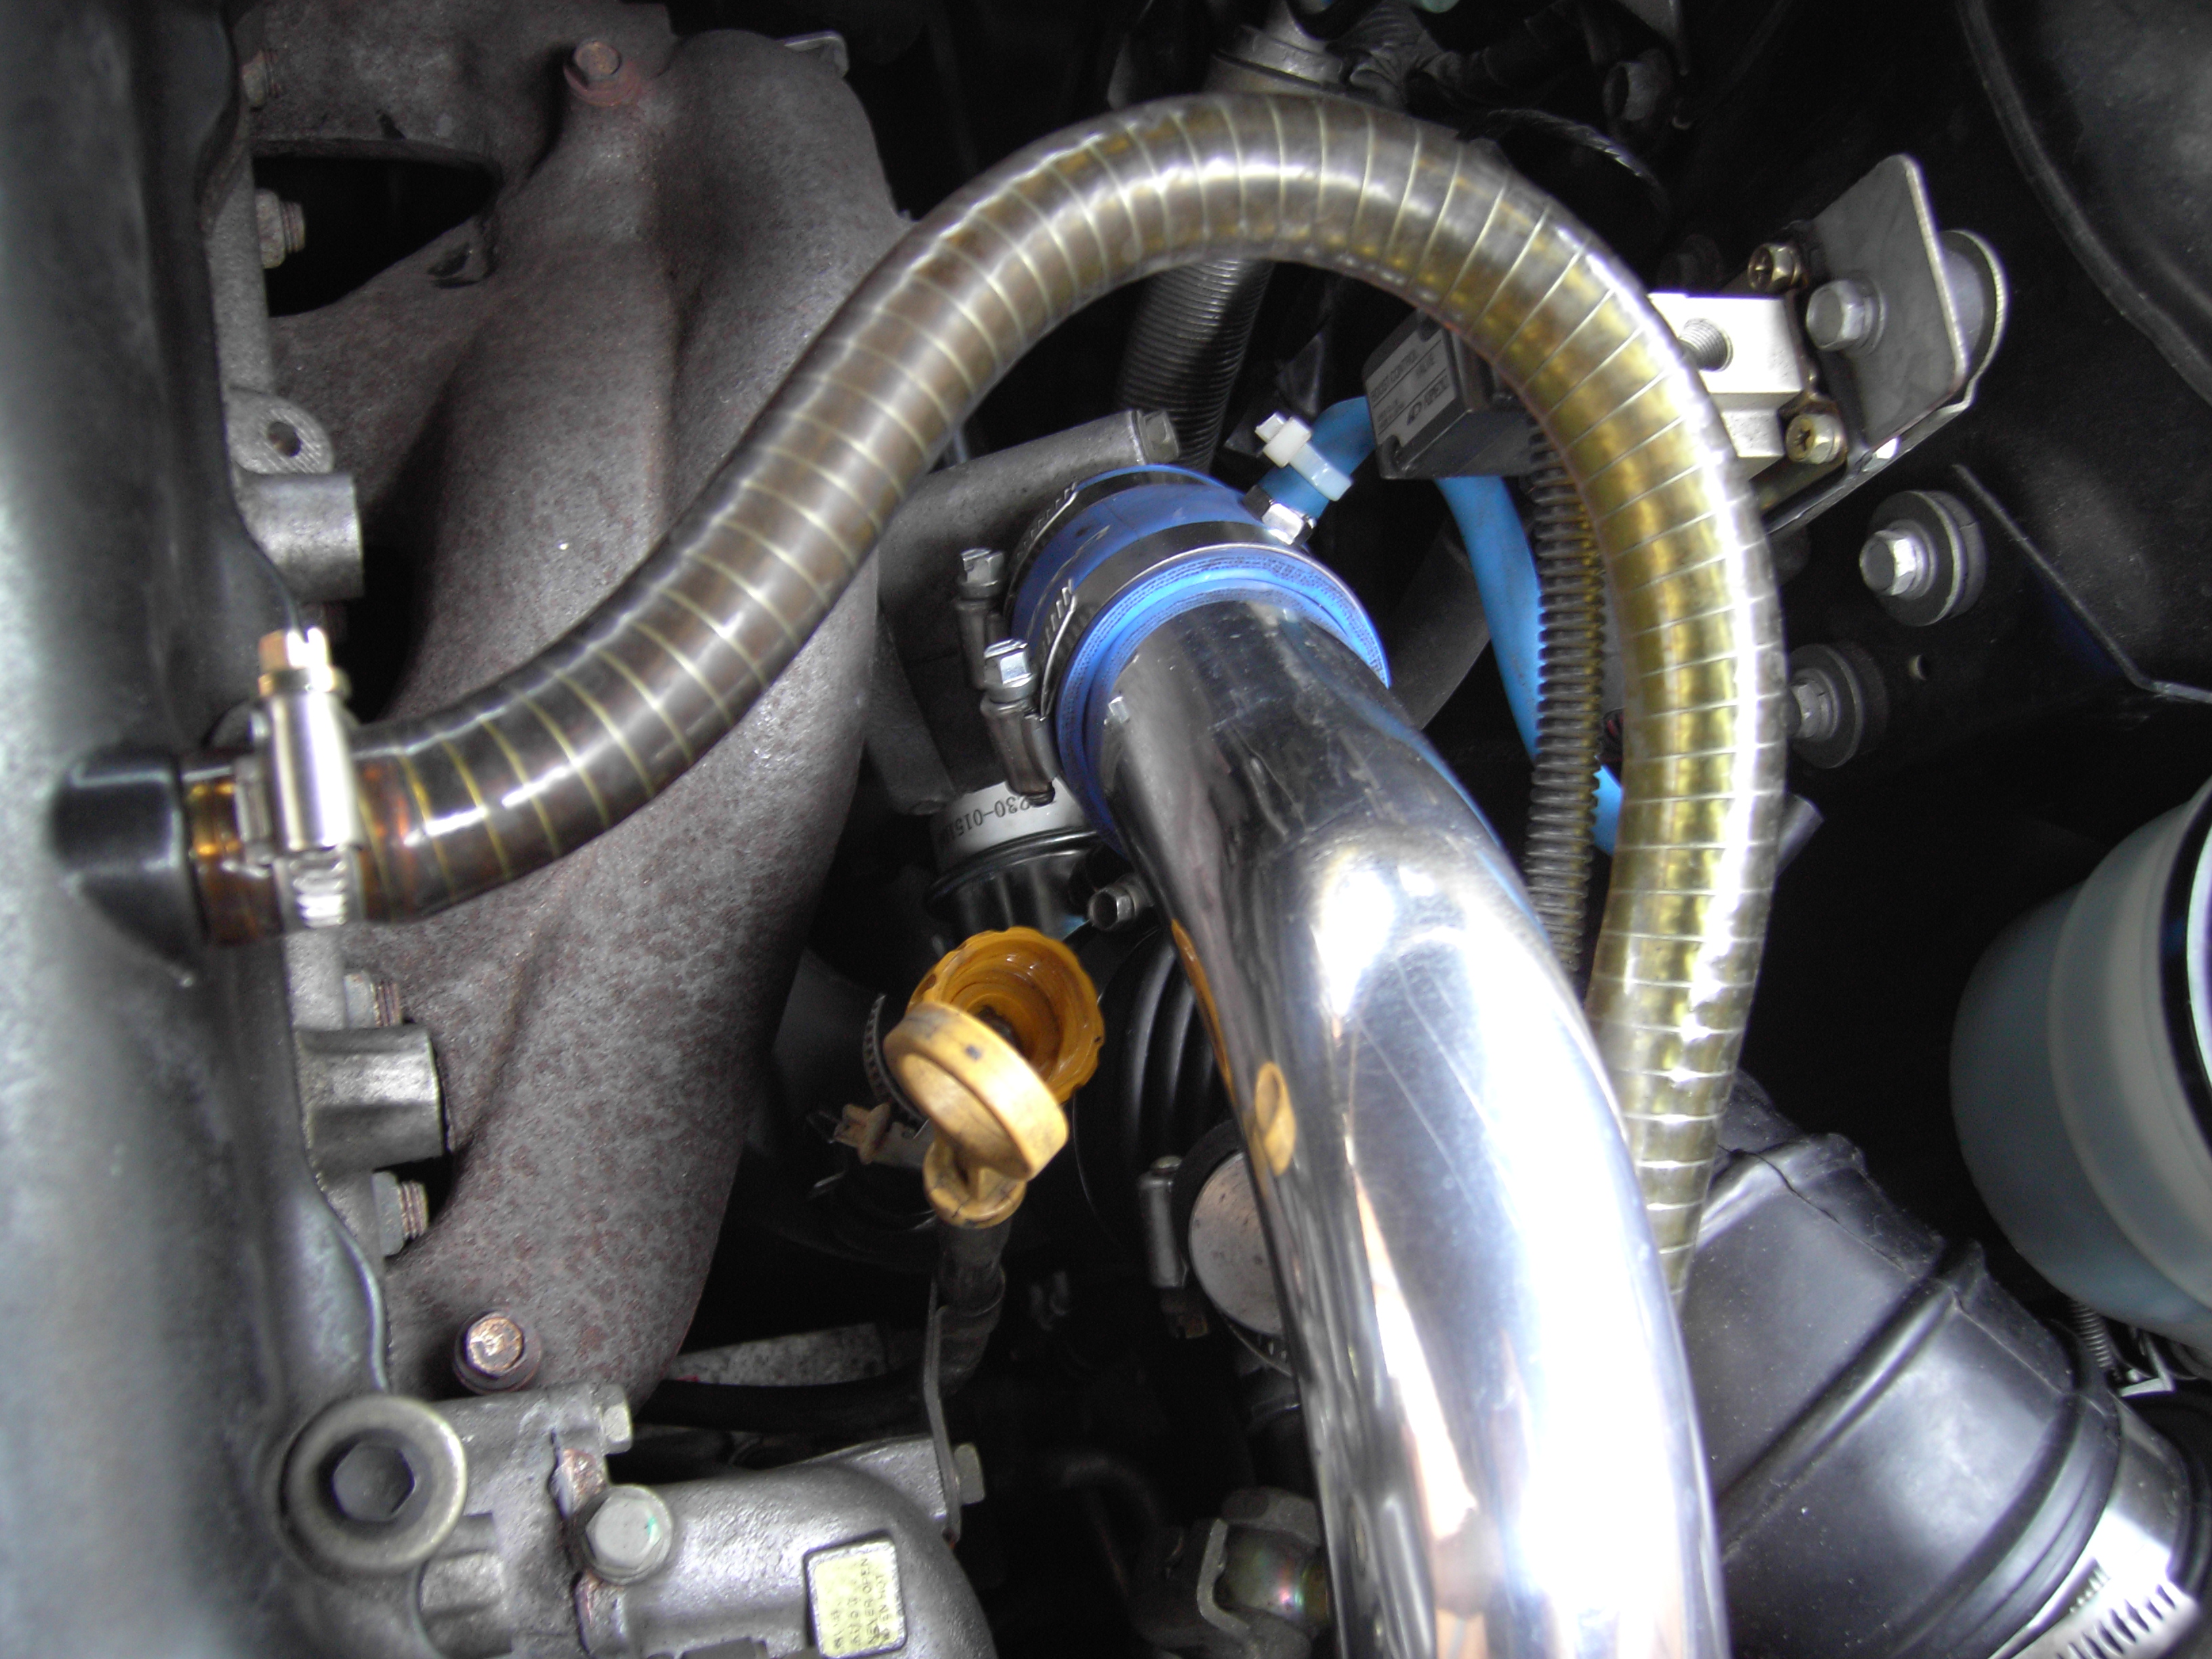
    the metal pipe, cleaned up and back in position. There is a fresh gasket supplied to use between the metal pipe and the turbo, so I suggest you use it. I did.


    Don't forget to re-attach the thin black rubber pipe back on to the actuator. Mine goes to the AVC-R solenoid.


    finally, reattach the rubber air intake pipe and the turbo hotpipe.


    I'm still not able to drive until Tuesday afternoon (bloody ear operation), so I will have to wait until then to make the adjustments to the actuator arm. In the meantime, the car started up and sounded fine.

    (I think I've covered everything. Let me know if I've made any mistakes, and I'll amend it as necessary!)

    Small tip, courtesy of NitroDave (to save you scrolling through the thread!). Thanks bud.
    Quote Originally Posted by Nitrodave
    They are very sensitive to adjusments.

    you want it so the arm needs a small amount of force to get it on to the wastegate arm. I found each half turn on the arm is about 1 to 2 psi.
    Last edited by Cluck; 06-05-2006 at 18:16.

  2. #2
    Guest bates2k's Avatar
    Join Date
    Oct 2005
    Location
    Birmingham - cannock
    Posts
    512
    Rides
    0
    thats 1 nice fitting guide . nice to see a lot of pix too as it makes it sooo much easyer. nice bit of kling-film over the boost pipe cuz if u got butter fingers like me its essential (besides all he dirt it stops too )

  3. #3
    Guest Parker's Avatar
    Join Date
    May 2003
    Location
    Southampton
    Posts
    16,399
    Rides
    0
    Quote Originally Posted by cluck
    10 minutes spent scrabbling around on the floor looking for the actuator arm circlip every time I dropped it.
    Magnet on a stick Worth it's weight in gold

  4. #4
    Guest Cluck's Avatar
    Join Date
    Sep 2002
    Location
    Cambridge-ish
    Posts
    15,747
    Rides
    0
    Quote Originally Posted by bates2k
    thats 1 nice fitting guide . nice to see a lot of pix too as it makes it sooo much easyer. nice bit of kling-film over the boost pipe cuz if u got butter fingers like me its essential (besides all he dirt it stops too )
    Cheers

    kling-film is my friend . I just couldn't take the risk and I figured if I cocked it all up, the cling film would protect it for a while . What you can't see, is that the cling film was wrapped around every whole left exposed, except the main turbo intake one - I could have put the clingfilm over it, but I had nothing to hold it there

    I'd read quite a few threads where people had changed it, or said it was easy, but nobody had ever taken the time to write it out in English and take some reasonable pictures for those numpties amongst us. It's really not that tricky, but it's so much nicer when somebody has done it and given you some pictures to look at and go "aaah, so THAT's where I start" . I think I know why though - it took me 30 minutes to do the write up

  5. #5
    Guest
    Join Date
    Mar 2005
    Location
    Cider country - My luvvers!!
    Posts
    1,146
    Rides
    0
    Good man! I'm gunna be doing this next week when my cars due for its stage 2 mods. Glad to see it comes with a new circlip too as my standard one fell off this week and has been bodged for now

  6. #6
    Guest Cluck's Avatar
    Join Date
    Sep 2002
    Location
    Cambridge-ish
    Posts
    15,747
    Rides
    0
    Quote Originally Posted by The Pilot
    Magnet on a stick Worth it's weight in gold
    got an extendable arm magnet myself. The trick is actually trying to find the bloody thing though

  7. #7
    Guest
    Join Date
    Nov 2005
    Location
    North London
    Posts
    4,884
    Rides
    0
    nice guide there, could have done with that when i did mine not long ago

    i fitted the same actuator to my car. they are very sensitive to adjusments.

    you want it so the arm needs a small amount of force to get it on to the wastegate arm. I found each half turn on the arm is about 1 to 2 psi.

  8. #8
    Guest Cluck's Avatar
    Join Date
    Sep 2002
    Location
    Cambridge-ish
    Posts
    15,747
    Rides
    0
    @nitrodave - thanks mate. I've added your small tip at the end of the main fitting guide

  9. #9
    Guest
    Join Date
    Jan 2005
    Location
    Warsaw, Poland
    Posts
    100
    Rides
    0
    AFAIK you are at the stage 2 with about 309hp. Did you have any issues with the turbo not holding boost at high revs then?

  10. #10
    Guest Cluck's Avatar
    Join Date
    Sep 2002
    Location
    Cambridge-ish
    Posts
    15,747
    Rides
    0
    Quote Originally Posted by Banzai81
    AFAIK you are at the stage 2 with about 309hp. Did you have any issues with the turbo not holding boost at high revs then?
    not really, but I bought it 5 months ago and never got around to fitting it until this week

    I'm going to aim to set it up to around 12-13psi as standard boost and let the AVC-R do a little less work to provide the rest

    Besides, it wasn't an expensive item, and the old one was going to fail sooner or later anyway

    oh, and 309.1bhp (sorry, the .1 makes ALL the difference you know )

  11. #11
    Guest
    Join Date
    Mar 2005
    Posts
    21
    Rides
    0
    Some good tips there. Do you know what the lowest boost pressure that can be achieved with this actuator as well?

  12. #12
    Guest Dai D's Avatar
    Join Date
    Aug 2001
    Location
    Offshore
    Posts
    2,471
    Rides
    0
    Perfect, just ordered one today.

  13. #13
    Guest Cluck's Avatar
    Join Date
    Sep 2002
    Location
    Cambridge-ish
    Posts
    15,747
    Rides
    0
    Quote Originally Posted by Jays
    Some good tips there. Do you know what the lowest boost pressure that can be achieved with this actuator as well?
    I *think* it's 10psi, but please don't quote me on that. I've got mine set to about 0.9 bar (~13 psi) and then the Apexi AVC-R does the rest

  14. #14
    Guest
    Join Date
    Mar 2005
    Posts
    21
    Rides
    0
    Cool, have avcr just need to get adjustable actuator now to have steady boost. Was wondering how low i could go on OFF setting. Cheers.

  15. #15
    Guest Philh100's Avatar
    Join Date
    May 2006
    Location
    Milton Keynes
    Posts
    300
    Rides
    0
    Good bit of info, I find its always a great help when the instructions that come with the actuator are all in japanese. This needs adding to the useful threads post so you can find it easier hope one of the mods sees it and puts it there.

  16. #16
    Guest Cluck's Avatar
    Join Date
    Sep 2002
    Location
    Cambridge-ish
    Posts
    15,747
    Rides
    0
    Quote Originally Posted by Philh100
    Good bit of info, I find its always a great help when the instructions that come with the actuator are all in japanese. This needs adding to the useful threads post so you can find it easier hope one of the mods sees it and puts it there.
    It already is, as I put it there Looksie here

    EDIT - oh and cheers. always nice to be able to help others out
    Last edited by Cluck; 19-10-2006 at 22:04.

  17. #17
    Guest
    Join Date
    Jan 2005
    Location
    with the wife
    Posts
    3,051
    Rides
    0
    going to be chopping mine up soon and making it adjustable

  18. #18
    Guest
    Join Date
    Sep 2006
    Location
    NorthWest London
    Posts
    996
    Rides
    0
    i already have one fitted to my car, and its on 17psi, how would i go about adjusting it?? (would i have to remove it first or can it be done whilst already fitted?)

  19. #19
    Guest Cluck's Avatar
    Join Date
    Sep 2002
    Location
    Cambridge-ish
    Posts
    15,747
    Rides
    0
    Quote Originally Posted by BlazeSX
    i already have one fitted to my car, and its on 17psi, how would i go about adjusting it?? (would i have to remove it first or can it be done whilst already fitted?)
    You have to remove the retaining circlip, remove the arm from the wastegate, rotate the arm the required amount and re-fit it to the wastegate and then refit the circlip.

    As mentioned at the end of my guide, each half-turn of the arm equates to approximately 1-2 psi

    EDIT - And no, you don't have to remove the actuator to do this. Just don't lose the circlip, that's all
    Last edited by Cluck; 20-10-2006 at 09:01.

  20. #20
    Guest
    Join Date
    Jan 2005
    Location
    cumbria
    Posts
    1,493
    Rides
    0
    I have just fitted my HKS adjustable actuator and now seem to have a little problem, very little boost (1-2psi till 3.5k and then starts building boost slow and steady till a max of 14psi at 6k) What have i done/set wrong? The actuator is set to 5mm less (135mm) than the std one.

Posting Permissions

  • You may not post new threads
  • You may not post replies
  • You may not post attachments
  • You may not edit your posts
  •