


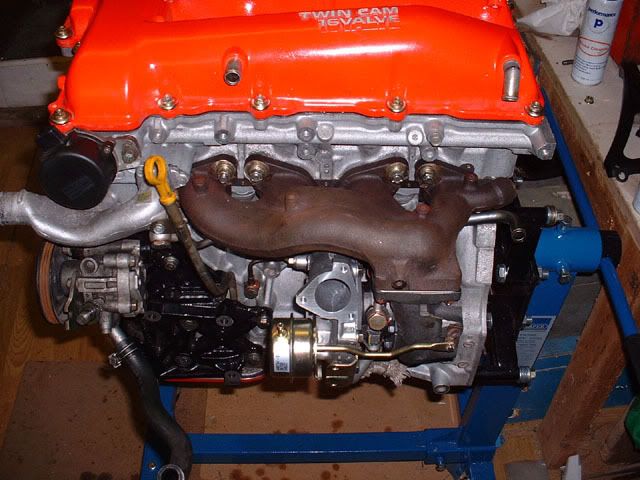
Well after a year of fooking about stripping 2 engines down, sorting out the good bits, getting them machined and buying the bits required today i finally started to put the old SR20 back together
Below are the first pics to bore you with and i will be adding to this as i progress
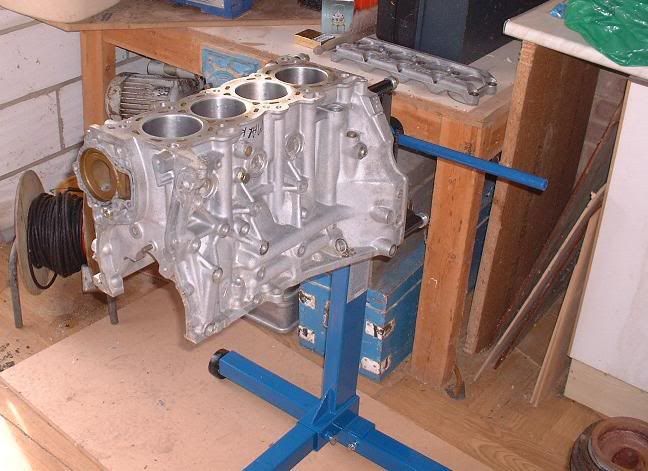
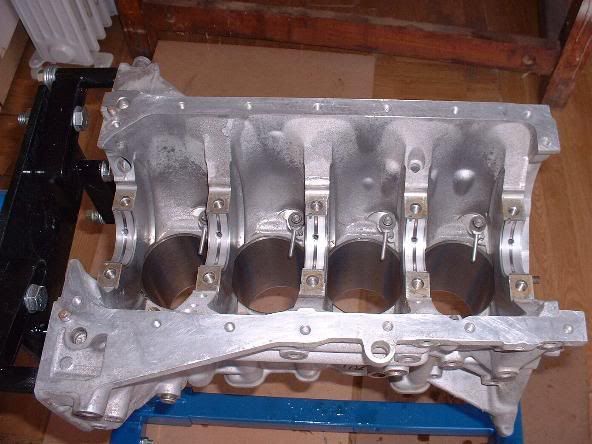
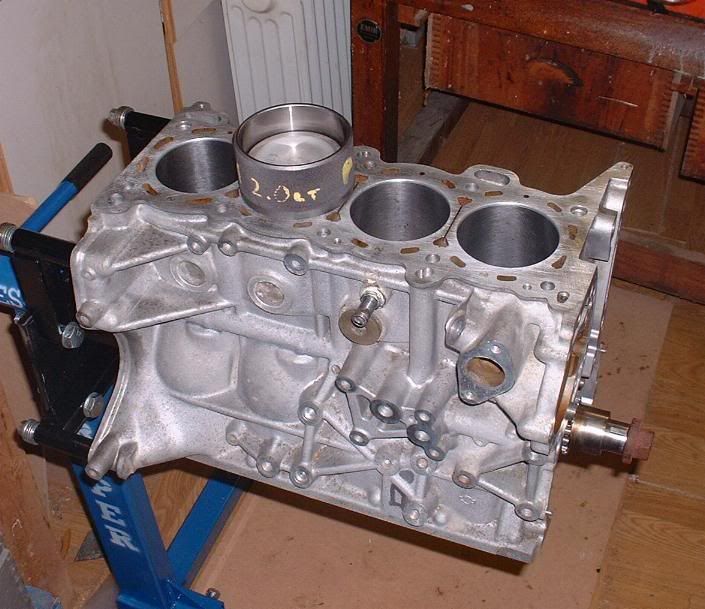
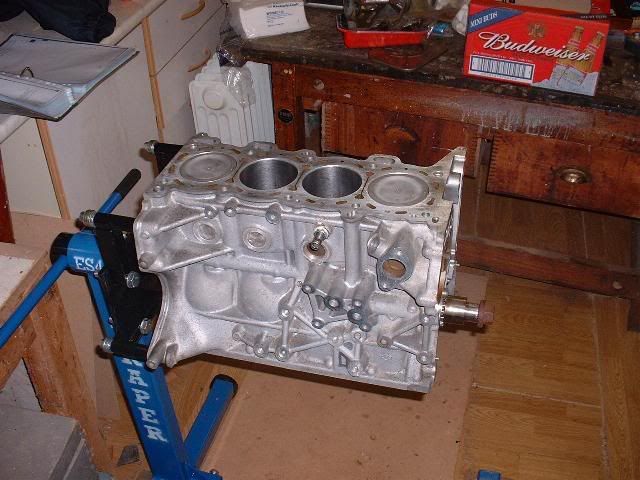
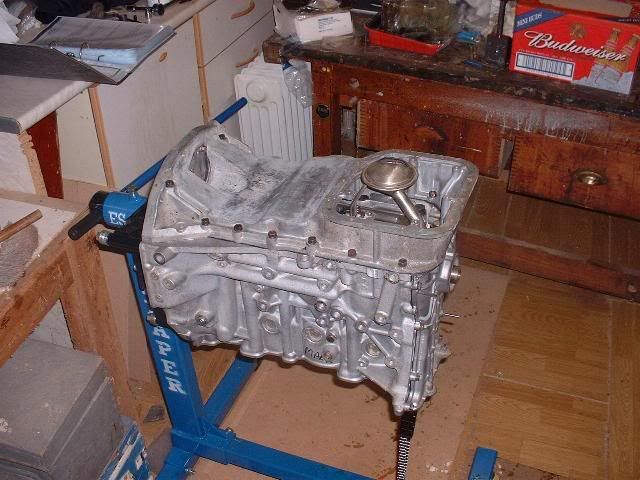
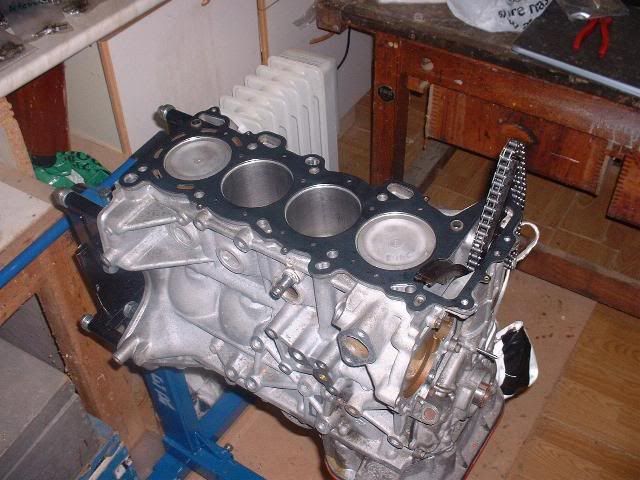
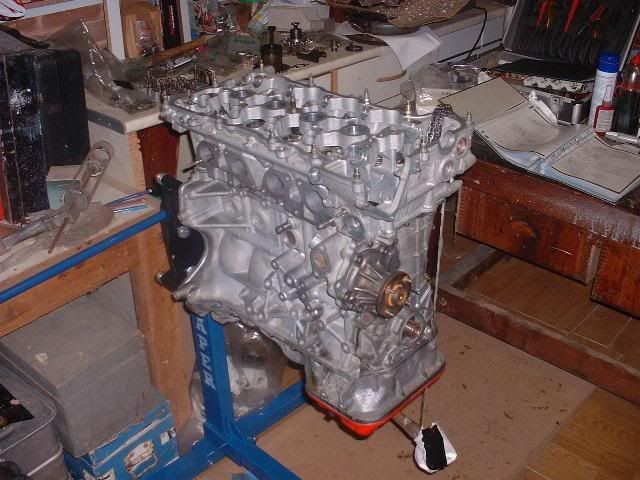
Bare block on stand
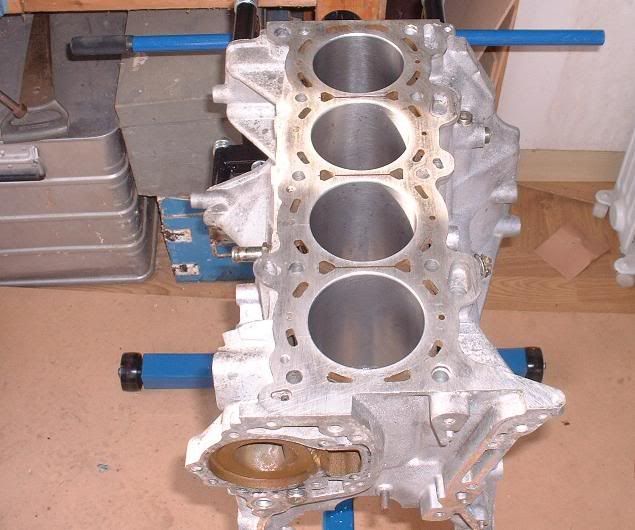
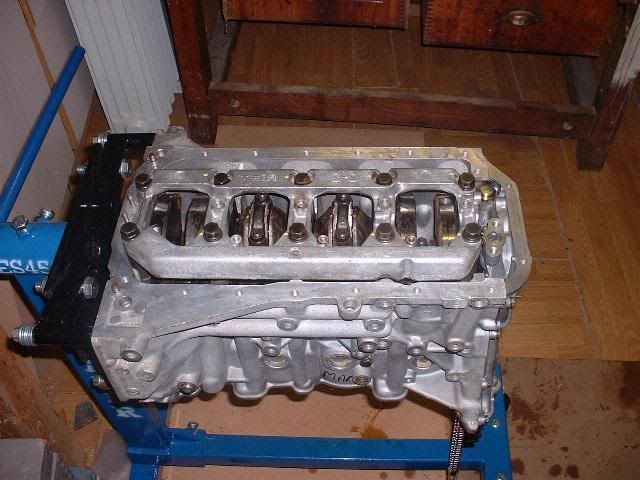
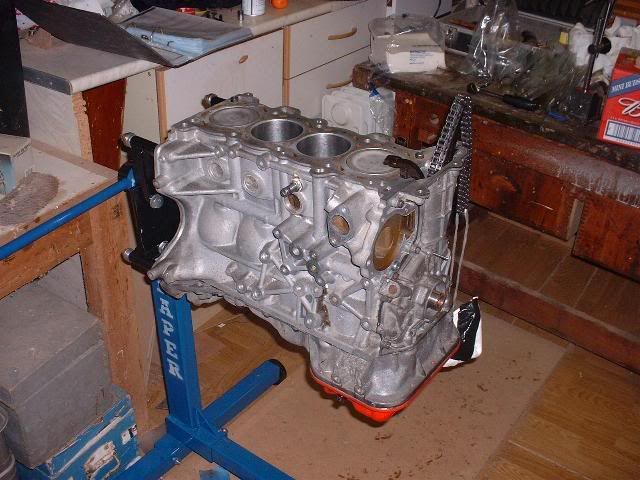
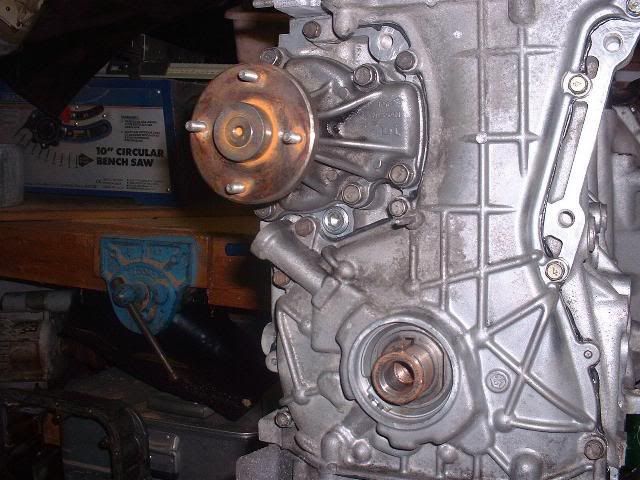
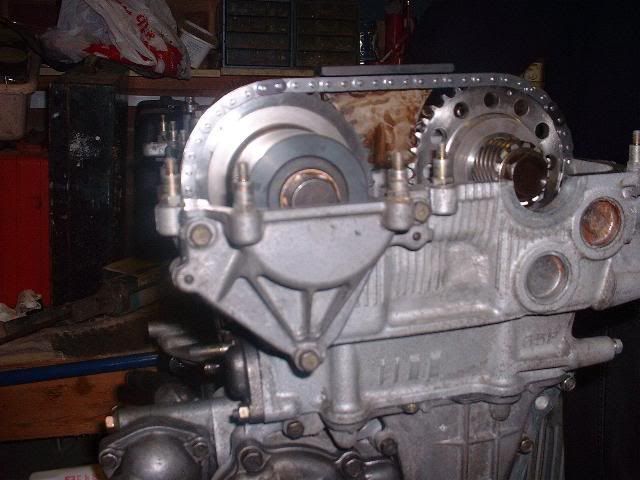
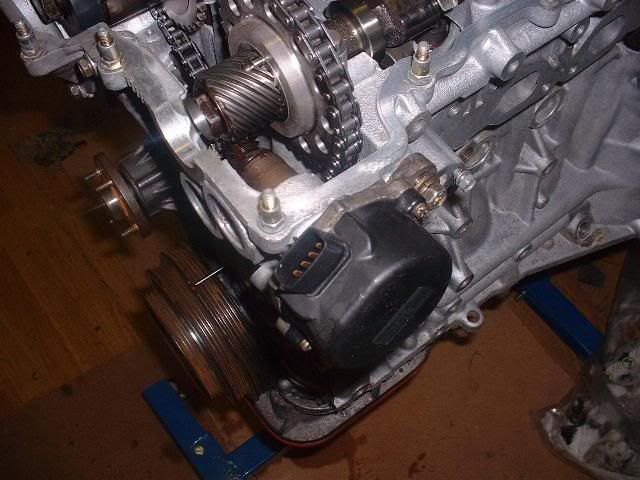
Front view of block
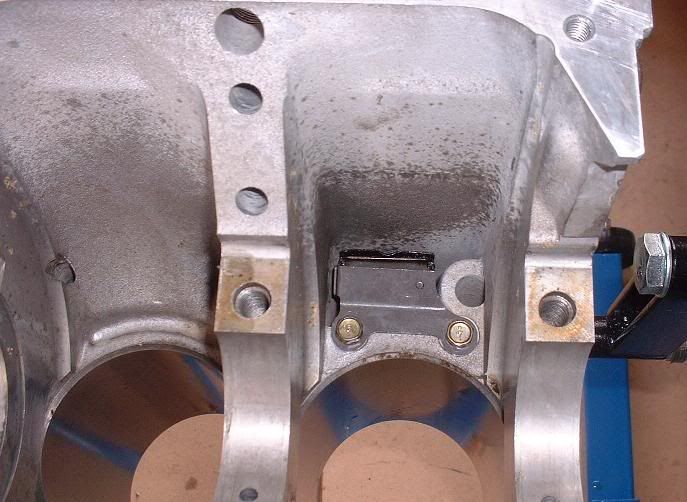
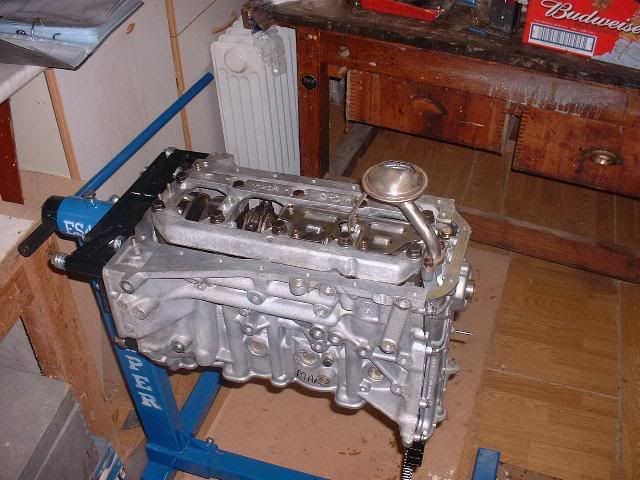
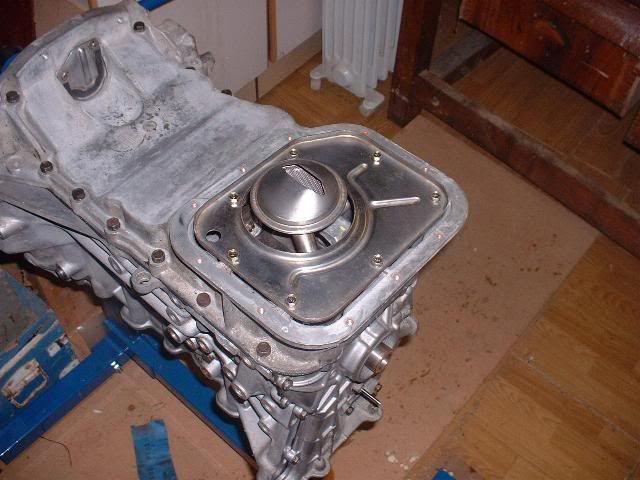
Oil return baffle plate fitted
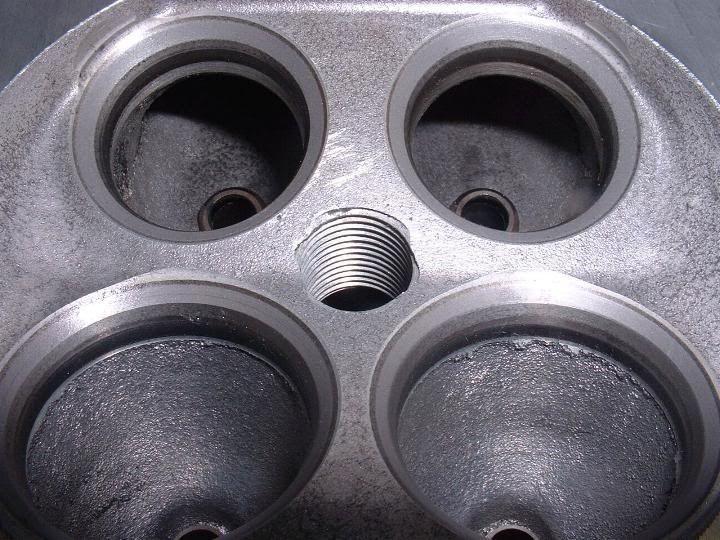
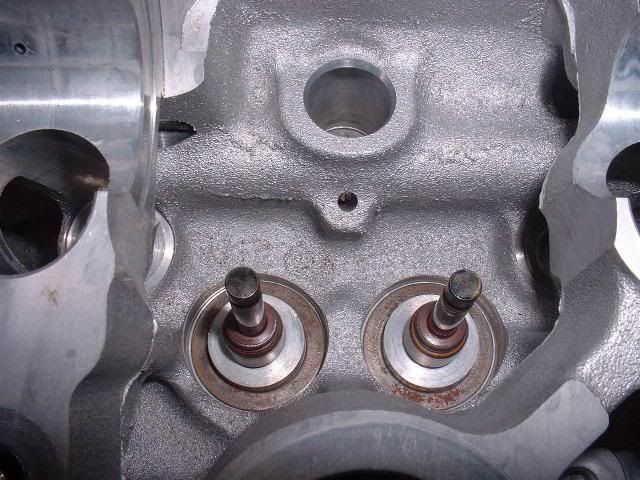
Piston cooling jets fitted
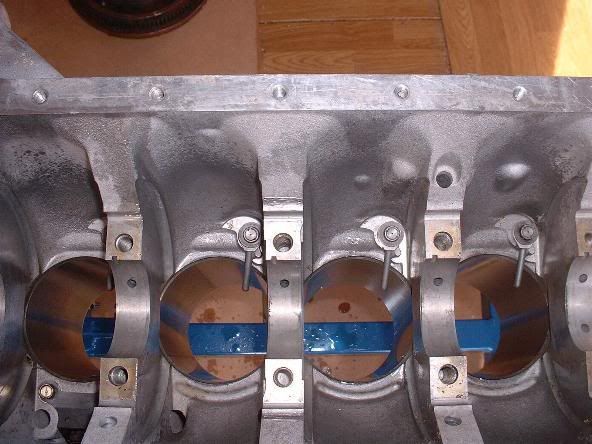
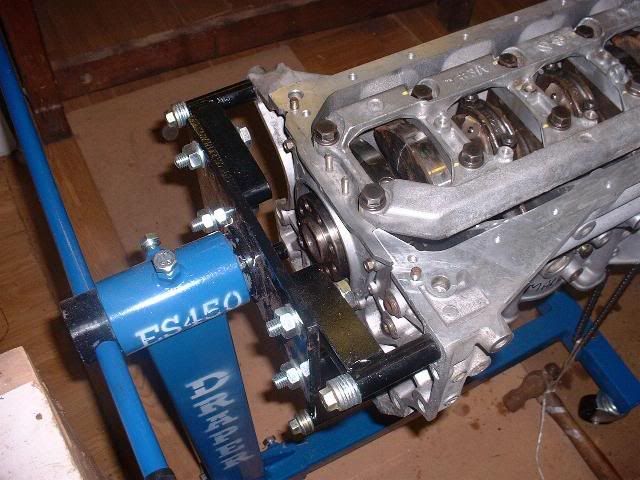
Main bearing upper shells in place
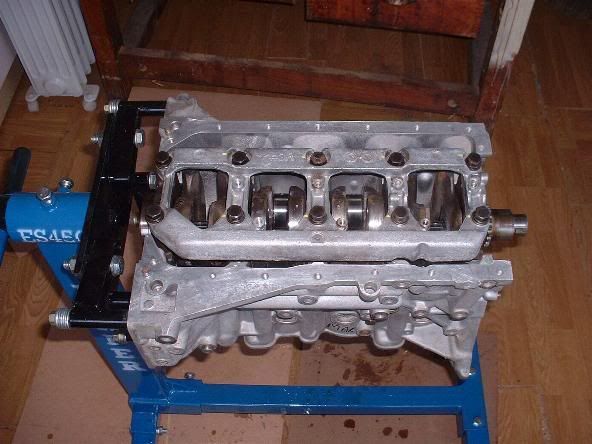
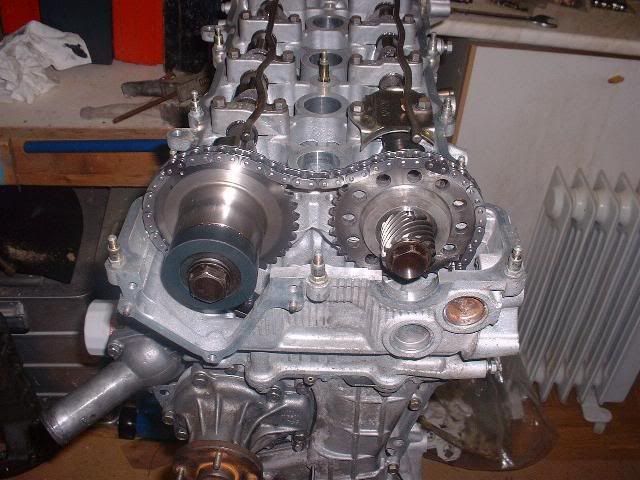
Crank fitted and main caps in place
Ladder frame fitted and main bolts torqued
Next weekend i should have the pistons in and maybe the oil pump fitted and sump


 Reply With Quote
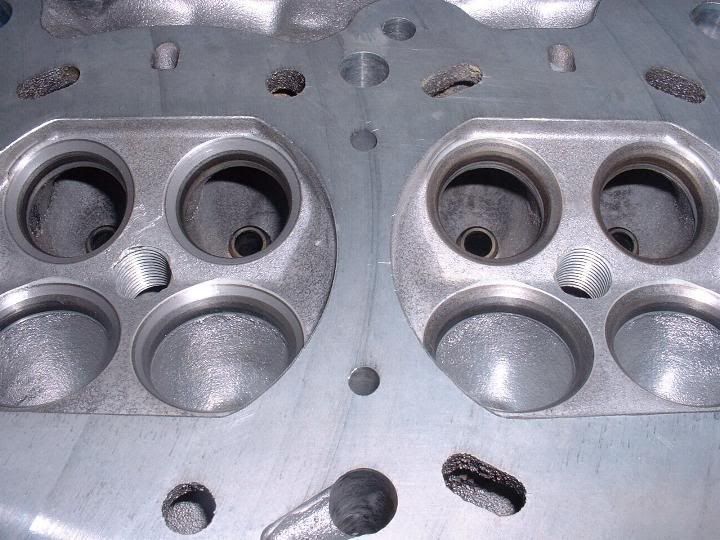
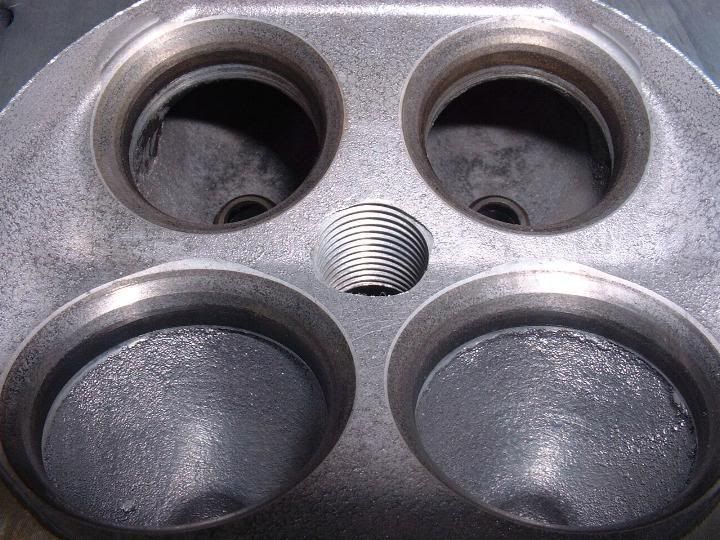
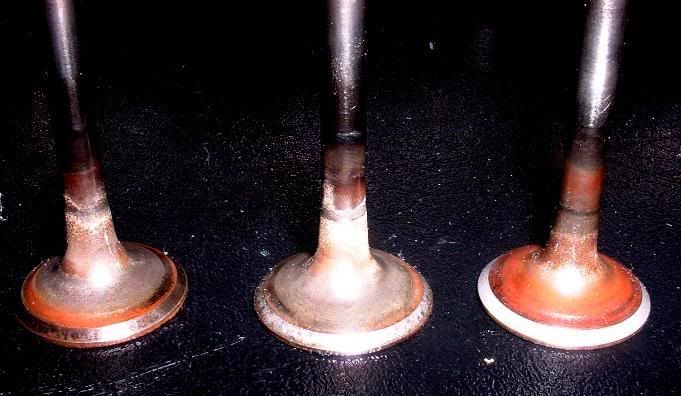
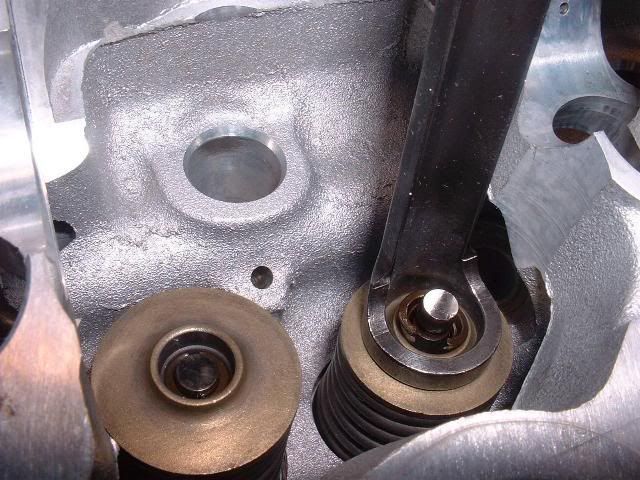
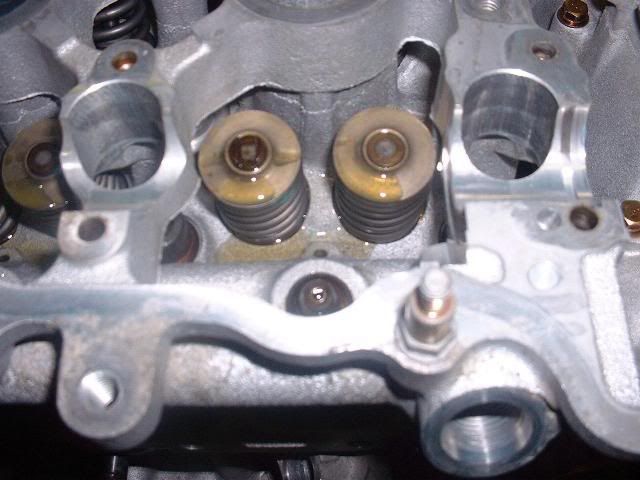
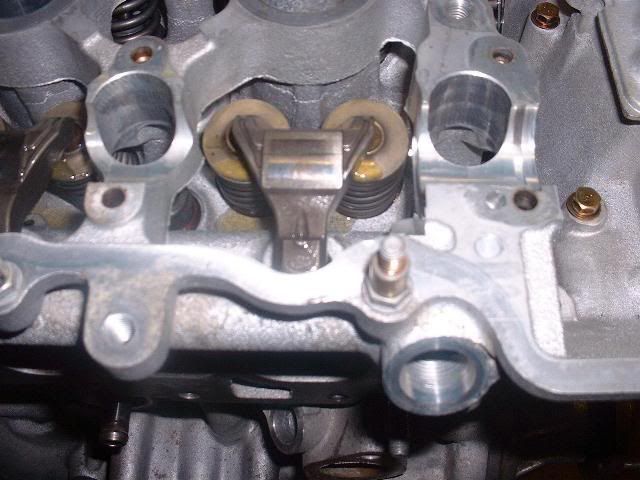
 the normal SR20 uses both the same seal on inlet and exhaust but because the DET exhaust valves are sodium filled they are thicker
 ") oh well will ring Nissan in the morning to get the stupid price on the stem seals (guessing £50 a set)
oh well will ring Nissan in the morning to get the stupid price on the stem seals (guessing £50 a set) 
 Paul had a power cut


 real good pictures you have got pal would love to see some more