Results 1 to 10 of 10

Thread: Fitting Tein HE Coilovers Guide (56k Warning)

  1. #1
    Guest kirkster's Avatar
    Join Date
    Mar 2003
    Location
    Godalming
    Posts
    4,950
    Rides
    0

    Fitting Tein HE Coilovers Guide (56k Warning)

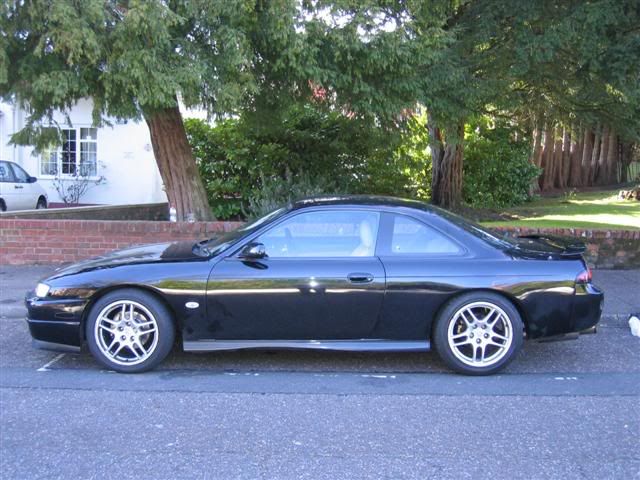
    I fitted my Tein Drift Spec HE coilovers today and heres the guide on how to fit them

    Many many many thanks to Ben Taylor (again) for all his advice over the phone

    I did the rear suspension first as its the easiest to do and gets you in the mood for tackling the fronts! Loosen off your wheel nuts then get in the car and take the rear seats down and pop off the rear parcel shelf with the speaker covers on it.


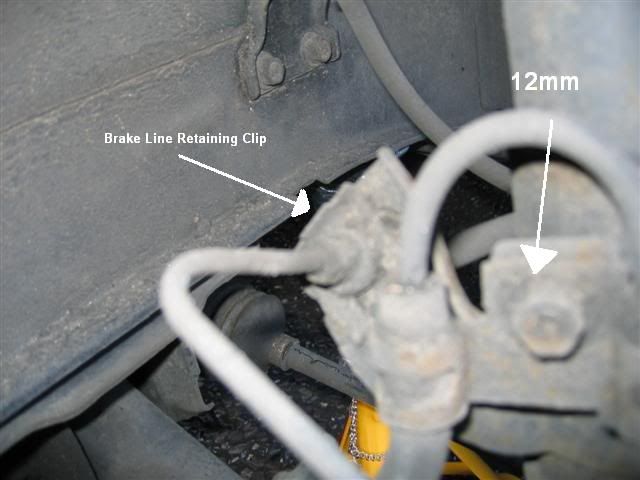
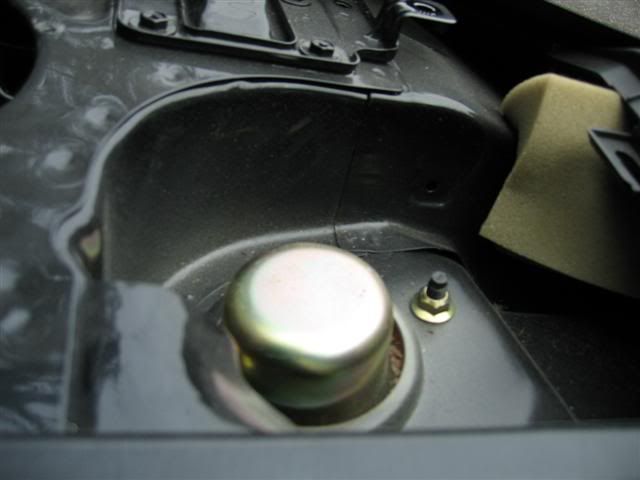
    Then use a 12mm socket to undo the two bolts on the top of the suspension turrets on either side.


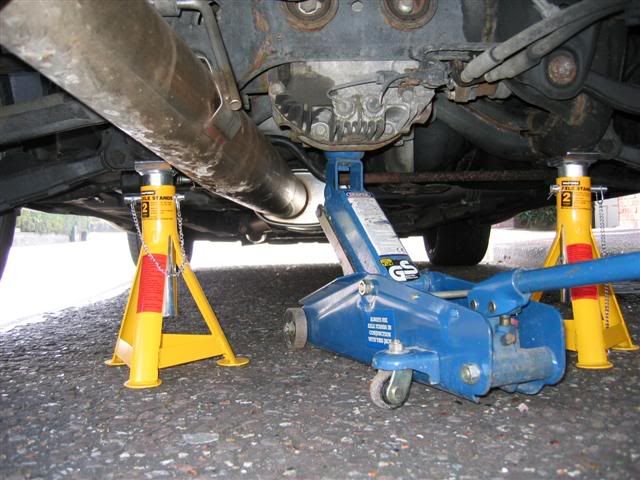
    After you've done this get your trolley jack out and slide it underneath your car. Position it under the front part of the diff, not the back as this is aluminium and may bend . Then put some axle stands under the rear subframe of the car like this


    Once you've got the car on the axle stands and its nice and stable you can take the wheels off and begin taking out the old suspension. I left the jack in place as a precautionary measure

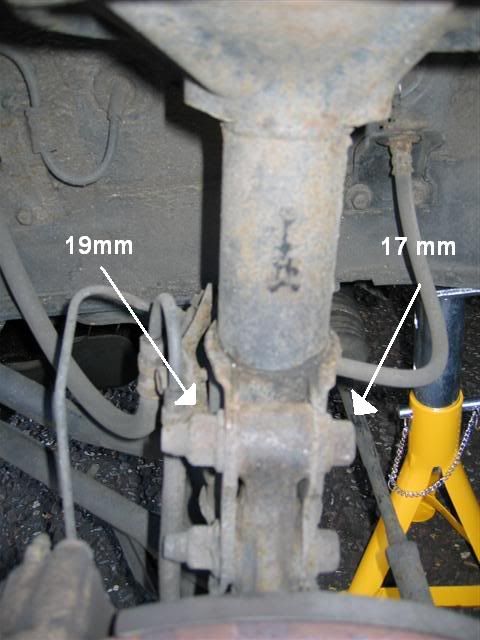
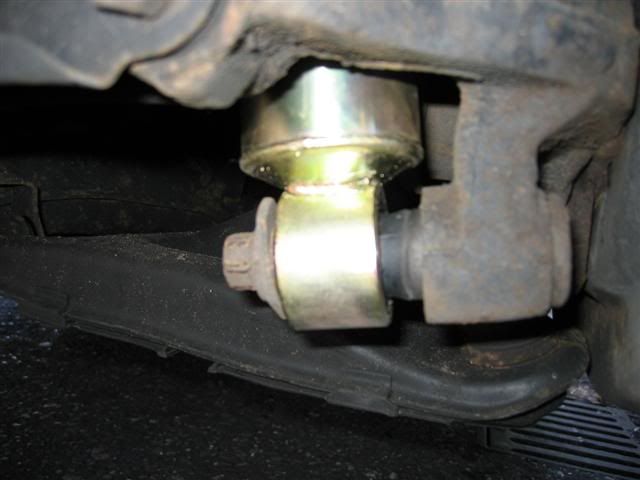
    On the rear suspension there are only 3 bolts to undo, the first two are on the top which you've already taken off so now just one bolt remains on the bottom and it can be a right bastard to get off

    Its a 17mm bolt and I had to use my foot to pry it off as it had been the first time in 6years that it had moved


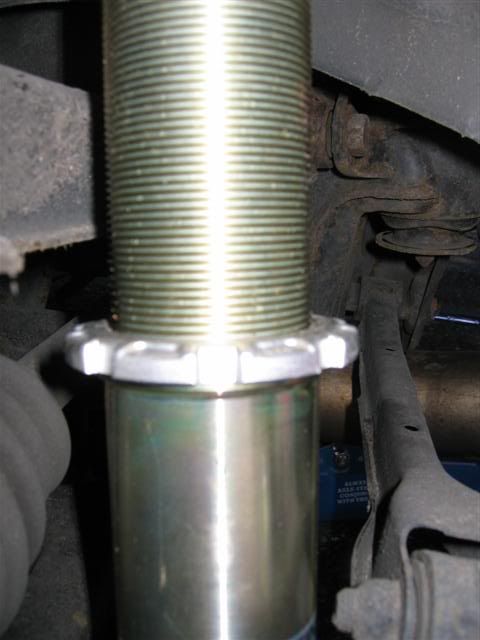
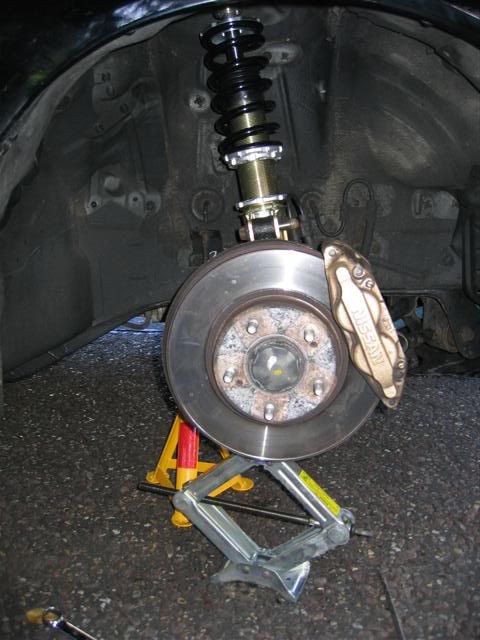
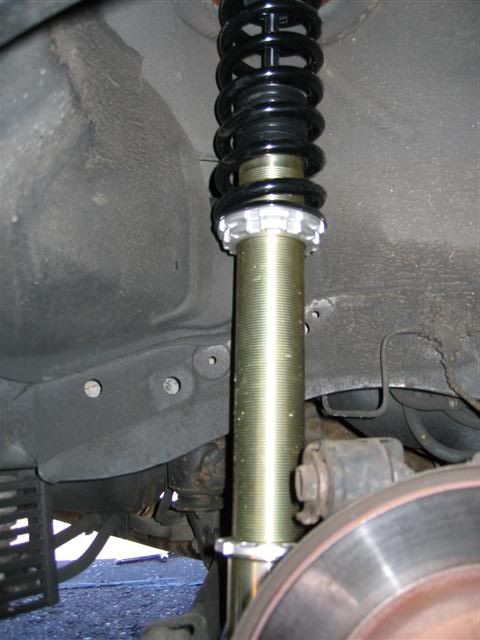
    Once this bolt comes out you should be able to quite easily push the bottom of the strut out and the whole lot falls out and looks like this.


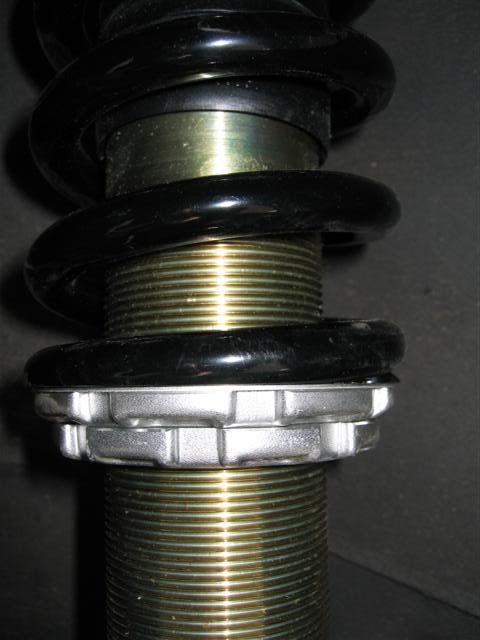
    Get your new shiney rear coilovers, make sure they are both the same height and then put the lower part on first. On the bottom of my coilovers the spacer was wider on one side than the other and I put this side on the inside.


    You'll notice that the upper part is quite a lot shorter than the standard shock so you'll need to either use the scissor jack to jack the hub up or get someone to push it up for you When its in place it will look like this...


  2. #2
    Guest kirkster's Avatar
    Join Date
    Mar 2003
    Location
    Godalming
    Posts
    4,950
    Rides
    0
    Once you've got the upper part back into the car you'll need to redo the 12mm bolts. I did mine as tight as I could, but not overtight.


    Once this is done and you've made sure the lower bolt is tight you need to make sure that there is no slack in the spring. You do this by adjusting the upper perch on the coilover then tightening it with the lockin nut below it. You should have some c-spanners with your coilovers for this. You also adjust the ride height with these nuts.


    You will also need to make sure the lower nut is tight on the coilover :-


    Once you've done this the rears are on and you can put your wheels back on. I'm no expert at setting the height up properly so I'm getting someone to do it for me this coming week. I also bottled out of putting my upper arms on to sort the camber out properly as I didn't want to fcuk it up royaly.

    Take the axle stands out, lower the jack and you should be able to see the difference

    Now to do the fronts.

    Find a suitable point on the car to jack it up again, loosen the wheel nuts off first, then jack it up. Put the axle stands where you can find a decent support, I used the front subframe just behind the steering rack.

    Take the wheel off one side, and undo the three bolts on the top of the strut.


    Then you need to undo the abs 12mm bracket bolt and the brake line from the lower part of the strut. I used a screw driver and a hammer to tap the retaining clip off with. I also sprayed WD40 and left it for 5 mins


    After you've knocked the retaining clip off you need to slide the brake line along and out of the bracket its in. Move the ABS line out of the way and then remove the two bolts on the lower part of the strut. A lot of force was needed for these two bolts


    Once they're undo the front strut should like the rear fall out and you can insert your front coilover. Again make sure they're both roughly the same height and attacht the lower part first.

    Tighten the two bolts up very tight, put the abs line back on with the 12mm bolt and the put the brake line into its bracket. You can if you can't get the clip back on use cable ties, i eventually managed to get the clips back on but it was a nightmare.

    I then used the scissor jack to lift the strut up to the holes in the wing so that I could secure it back in place.


    When lining the top of the coilover up you must have the bolt at the top of the oval inner section on the top lined up with the inner most hole

    I will take a photo tomorrow and post it here.

    Tighten these three bolts up and then do the same with the spring locking nuts as you did with the rears.

    Voila! New coilovers fitted and you can put your wheels back on

    You just need to adjust the damping to suit your driving standards, this is done by altering the allen key nut on the top of the damper. Your coilovers should have come with a key for this.

    I'll post a photo up tomorrow of the damper adjustment area.

    I hope all of this makes sense as I'm not the best with these kind of things.

    Kirky

  3. #3
    Guest kirkster's Avatar
    Join Date
    Mar 2003
    Location
    Godalming
    Posts
    4,950
    Rides
    0
    Car has now gone from this


    To this


    The ride is a lot better and feels so much more planted on the road.

    Anyway its 12.45 and I'm half cut so I'm off to bed

    Hope you all like the guide

  4. #4
    Guest
    Join Date
    Aug 2003
    Location
    Bedford
    Posts
    5,206
    Rides
    0
    good work mate! you know you want to lower it a bit more though!

  5. #5
    Guest
    Join Date
    Nov 2003
    Location
    Ashford, Kent
    Posts
    1,619
    Rides
    0
    need to let them settle first as they may drop a little over the first few hundred miles. i would want it a little lower than that thoguh, but see what its like after a week or so.

    Jamie

  6. #6
    Guest kirkster's Avatar
    Join Date
    Mar 2003
    Location
    Godalming
    Posts
    4,950
    Rides
    0
    I was going to drop it on the floor but thought I'd just get them on first

    She's going to be set up properly on tuesday

  7. #7
    Guest
    Join Date
    Oct 2001
    Location
    Near St. Evenage
    Posts
    10,730
    Rides
    0
    Great guide Makes it look a lot easier than mine were - one bolt in particular took us... er... about an hour

  8. #8
    Guest kirkster's Avatar
    Join Date
    Mar 2003
    Location
    Godalming
    Posts
    4,950
    Rides
    0
    Cheers mate

    If its any consolodation i'm covered in cuts n bruises

  9. #9
    Guest archenemy.co.uk's Avatar
    Join Date
    Dec 2002
    Location
    Herts
    Posts
    13,008
    Rides
    0
    Quote Originally Posted by kirkster
    I was going to drop it on the floor but thought I'd just get them on first

    She's going to be set up properly on tuesday
    Nice guide

    two things

    1. would it not be best to let it sit a little longer before having it all set up? I presume you mean toe camber etc,

    2. I'd spray those exposed threads with some waxoil etc to stop them rusting up - nothing lasts in the arches

  10. #10
    Guest kirkster's Avatar
    Join Date
    Mar 2003
    Location
    Godalming
    Posts
    4,950
    Rides
    0
    I'm fairly sure that they're already treated with some form of protection If not then I'll get some on sharpish

    Tuesday is mainly alignment / camber etc, and she'll go in again before Japfest

Posting Permissions

  • You may not post new threads
  • You may not post replies
  • You may not post attachments
  • You may not edit your posts
  •