Page 1 of 2 12 LastLast
Results 1 to 20 of 27

Thread: How to rebuild S13 front calipers

  1. #1
    Guest
    Join Date
    Mar 2004
    Location
    Helston, West Cornwall
    Posts
    24,438
    Rides
    0

    How to rebuild S13 front calipers

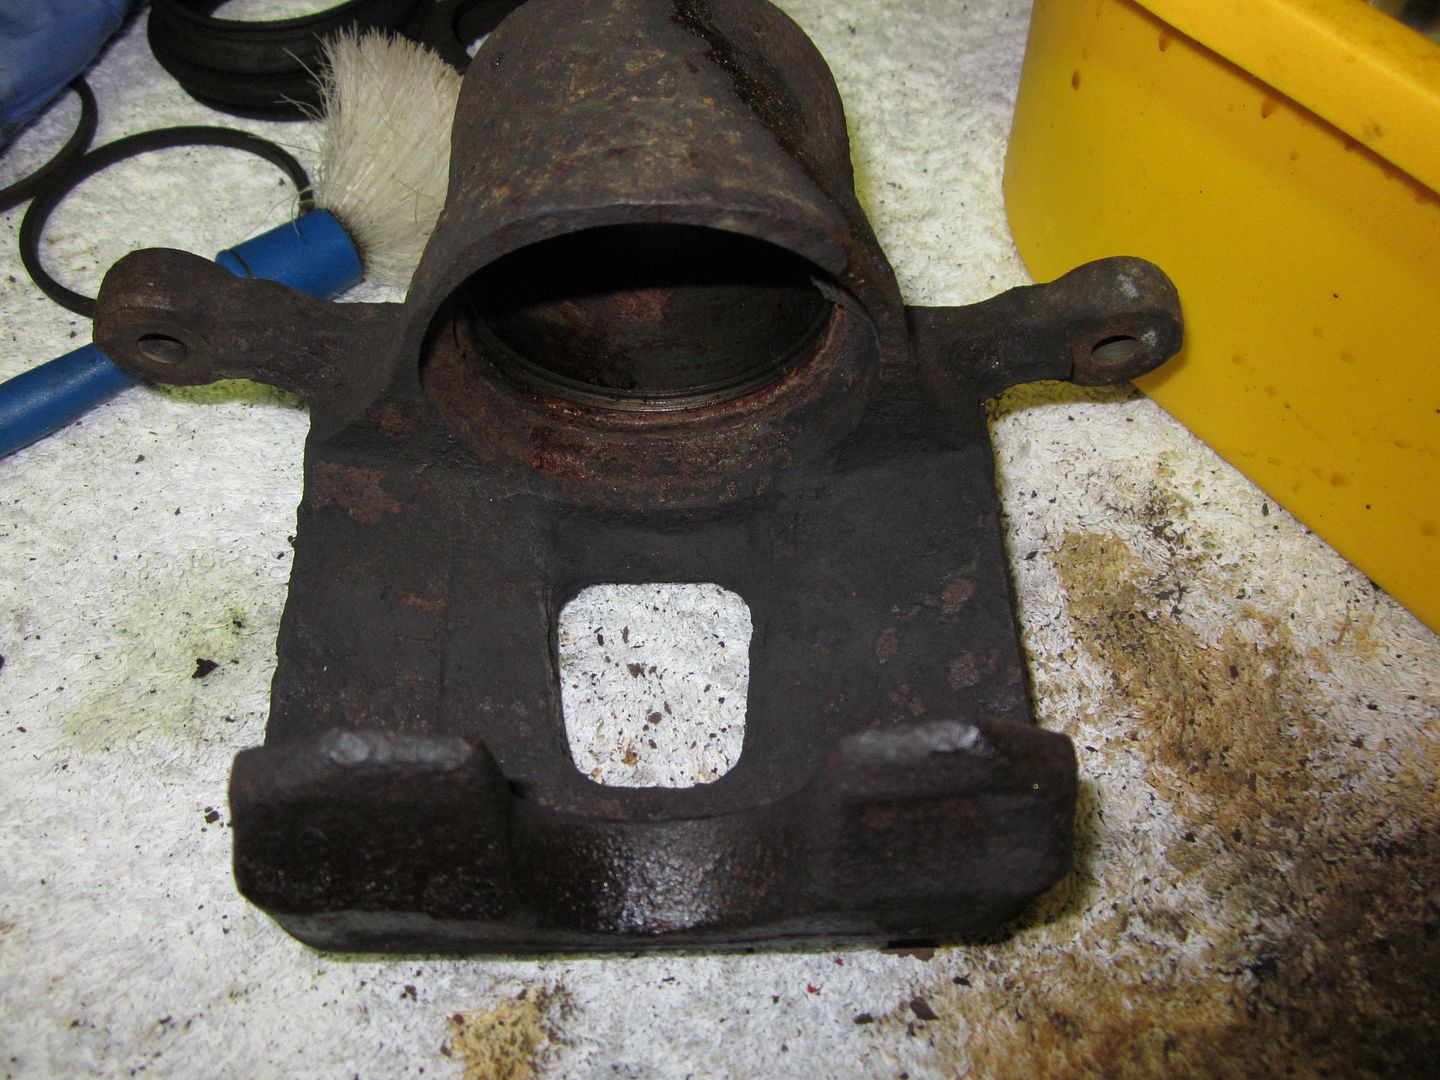
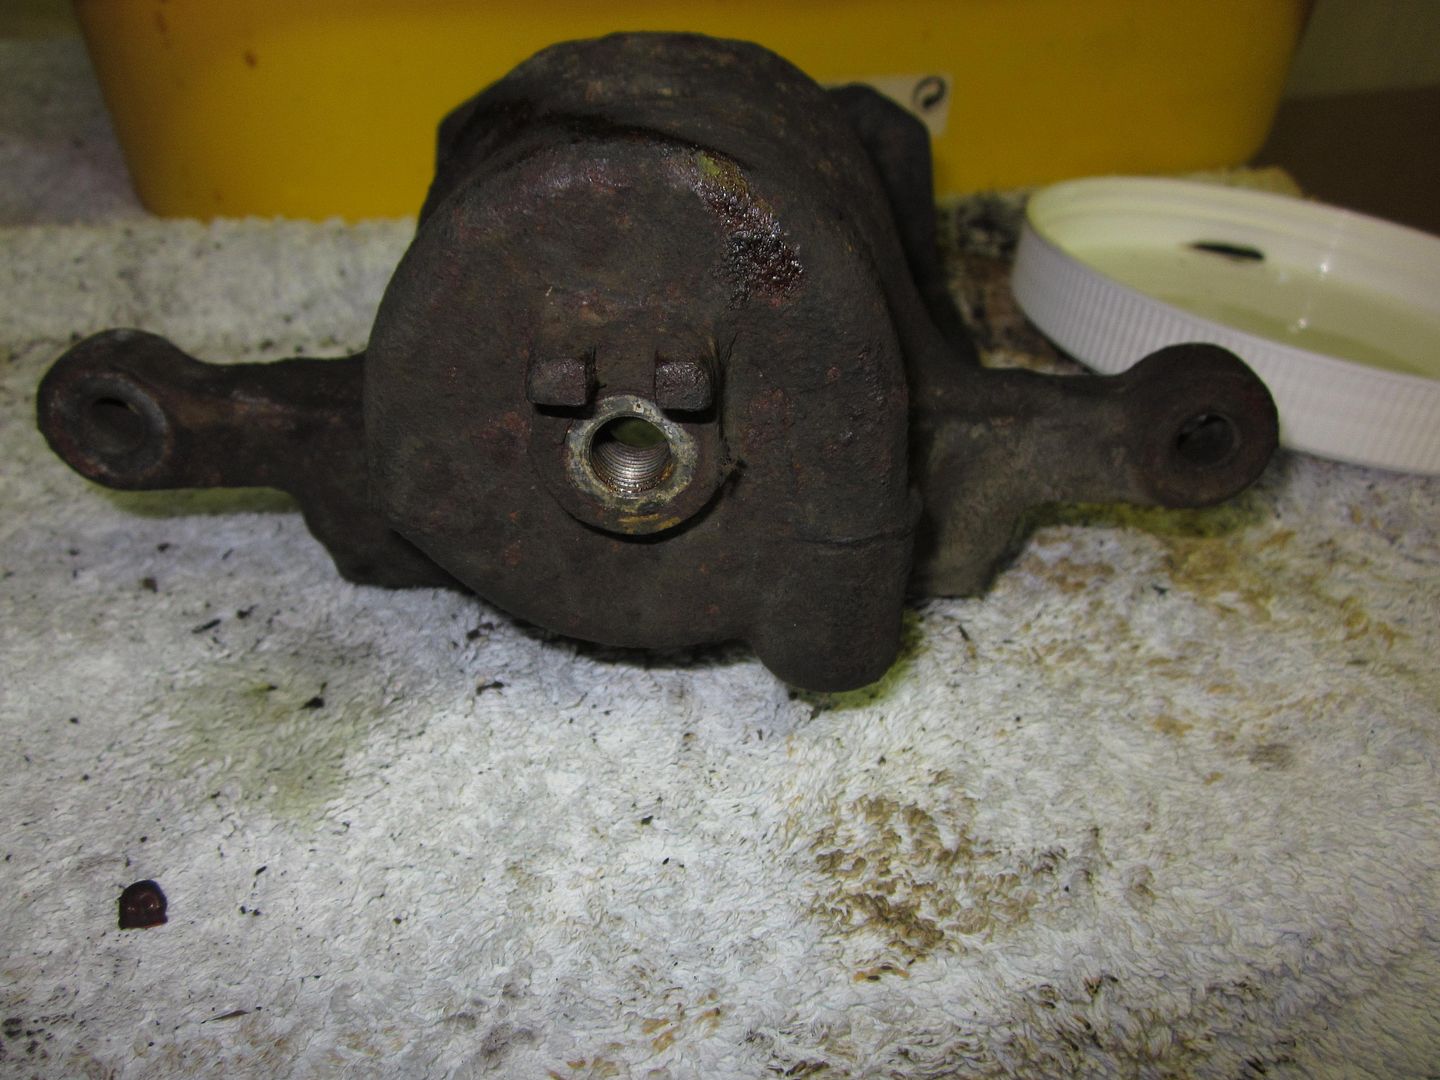
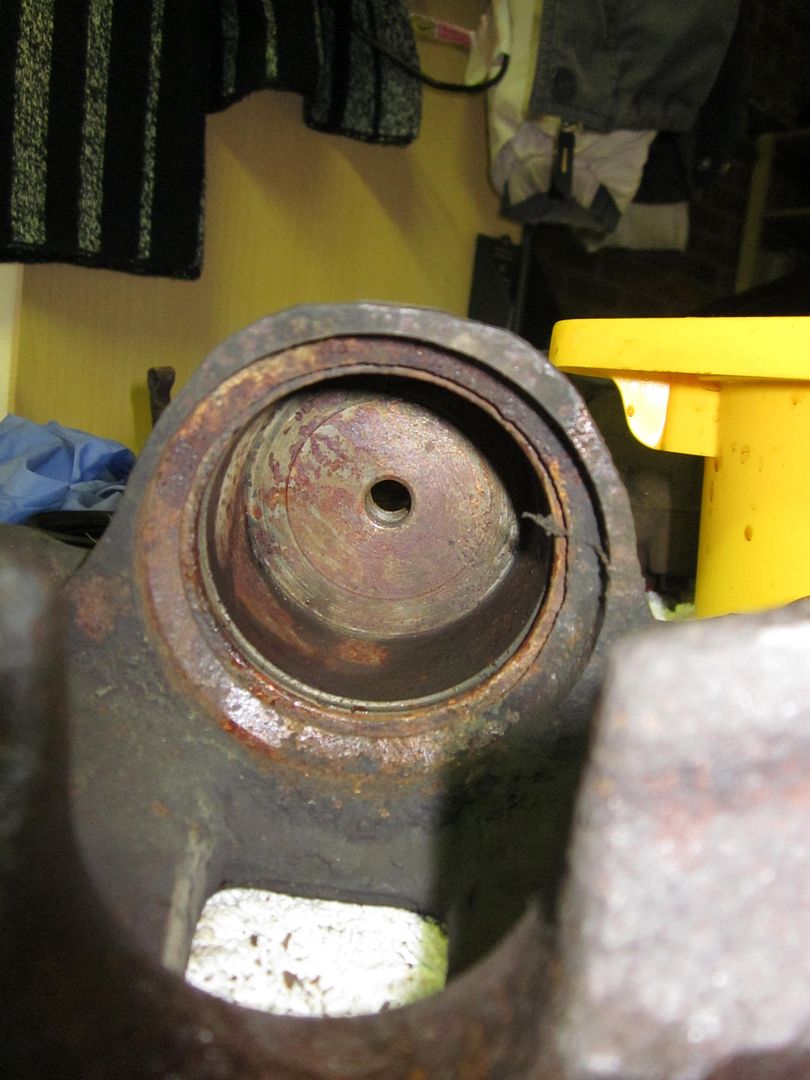
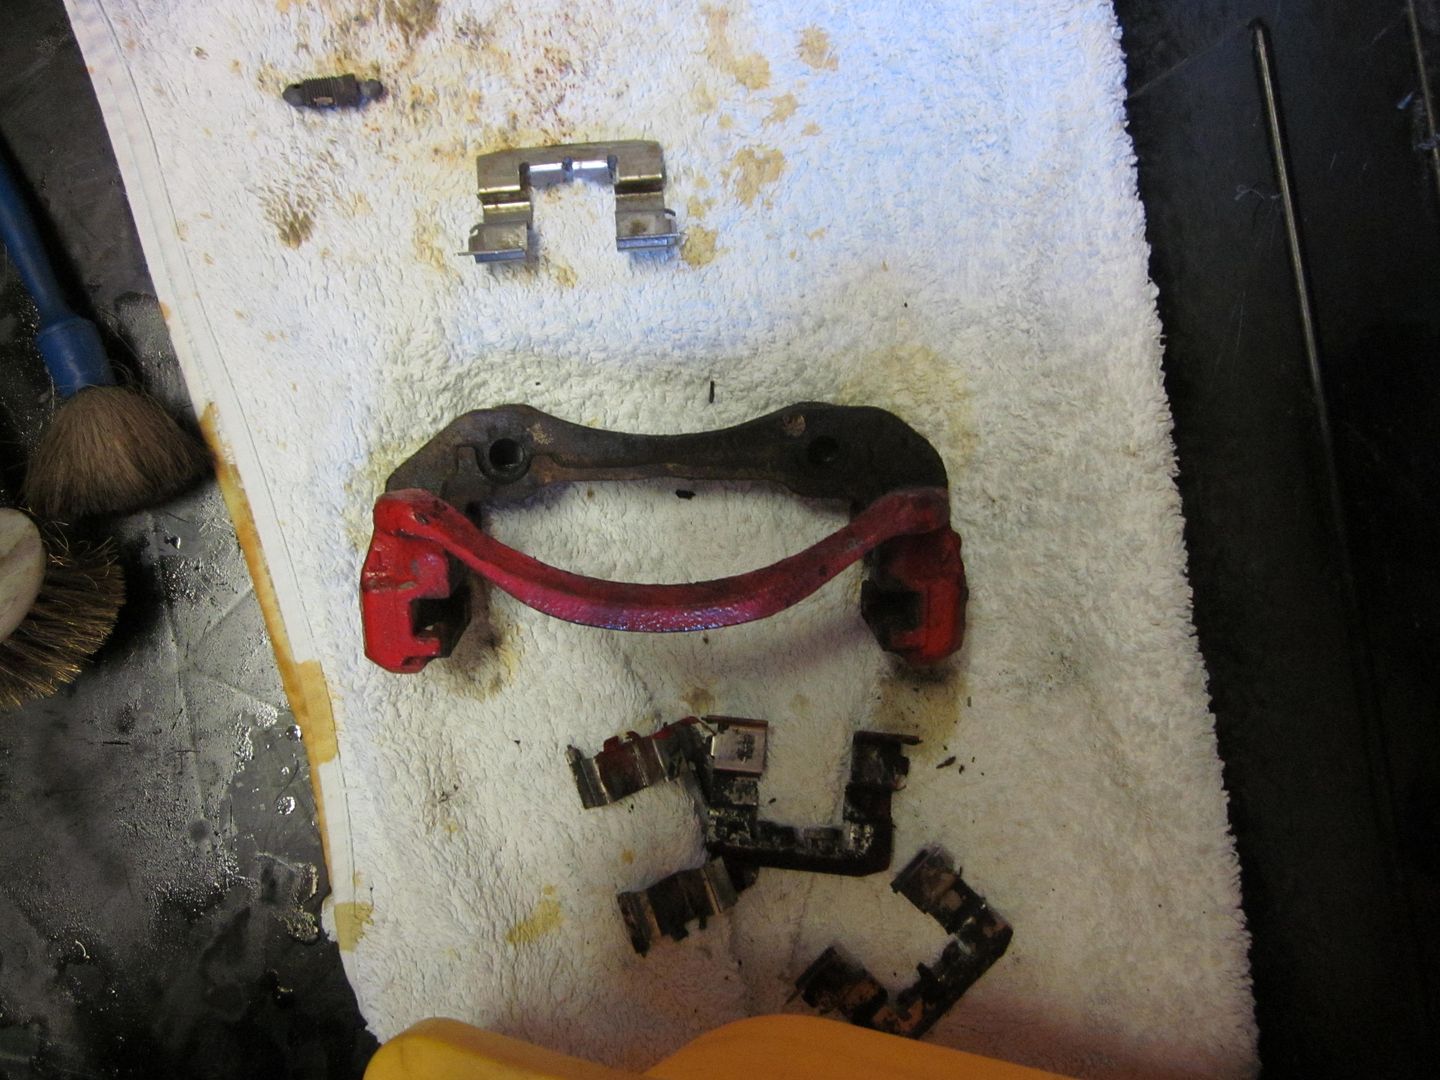
    Thought I'd post up some pictures from the rebuild I'm doing of a set of S13 front one-pot sliding calipers.

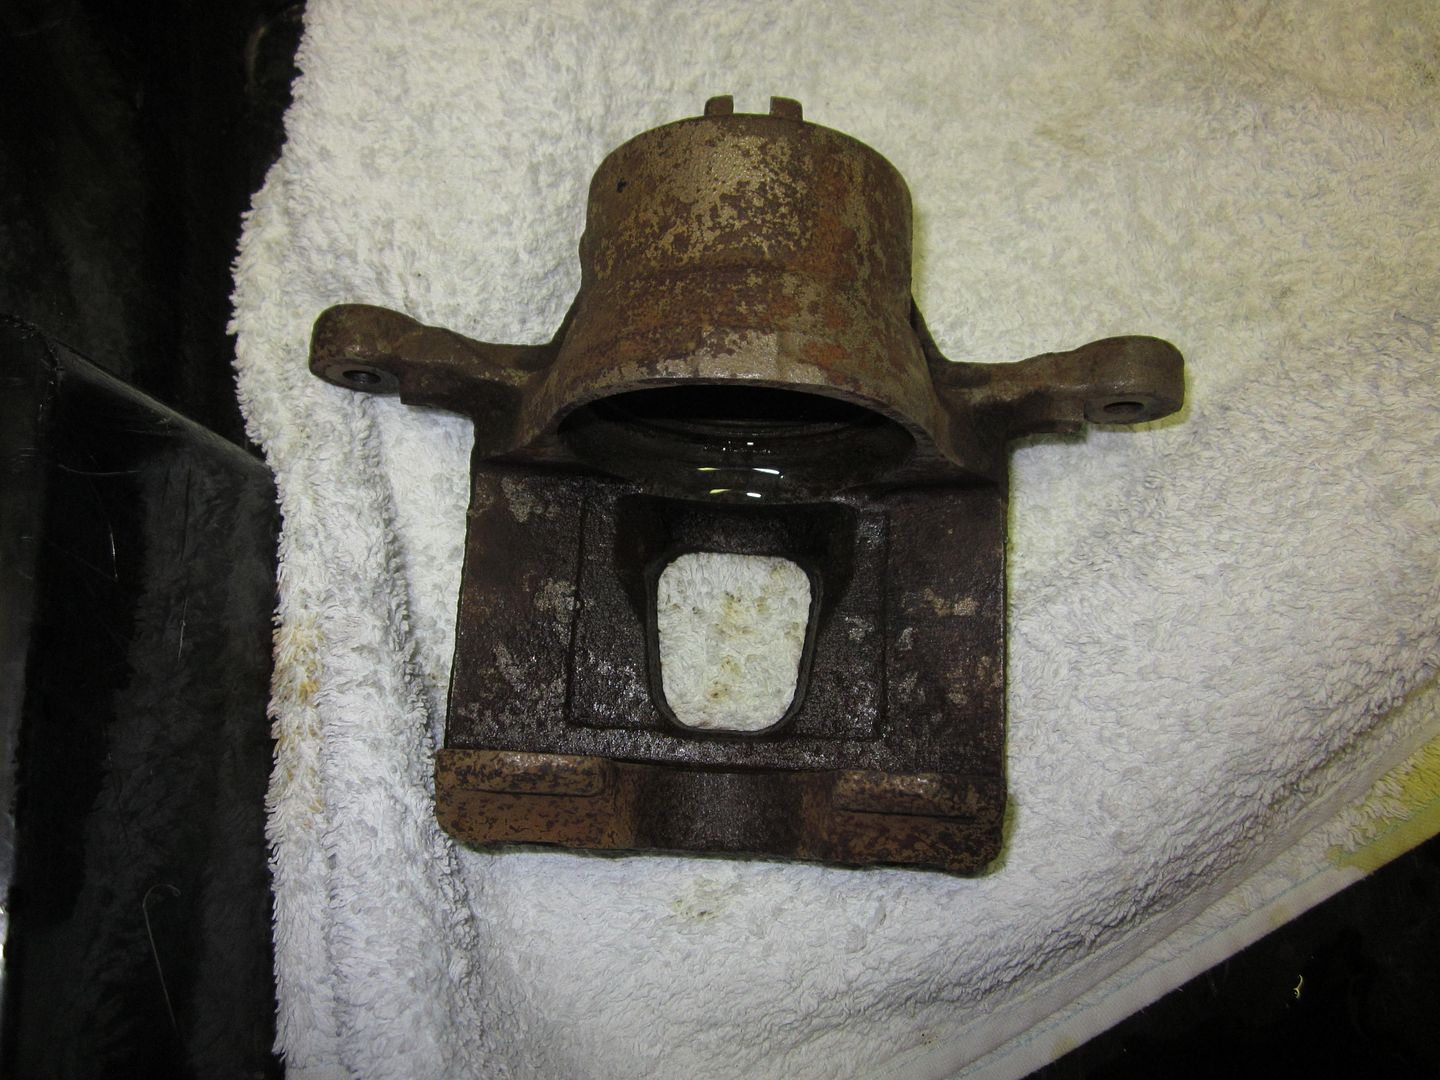
    So, Step 1 - Go fishing for some S13 calipers that have sat on the bottom of the ocean for 20 years (or look like it )


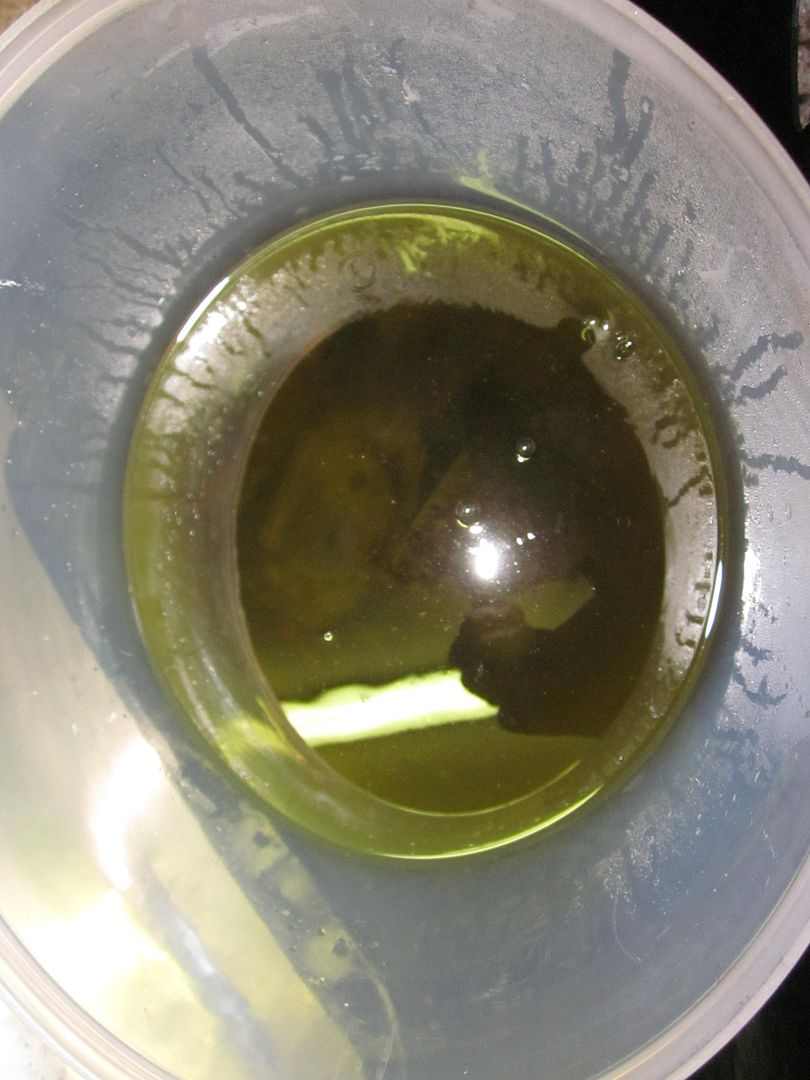
    Strip them (see my thread on rebuilding S13 rear calipers for how to) and drop them in a bucket of acid (www.bilthamber.com/deox-c) for a bit...


  2. #2
    Guest R3K1355's Avatar
    Join Date
    Nov 2006
    Location
    Yorkshire
    Posts
    12,176
    Rides
    0
    Those look proper mullered, rebuilding those would be awesome work.

  3. #3
    Guest
    Join Date
    Mar 2004
    Location
    Helston, West Cornwall
    Posts
    24,438
    Rides
    0
    Be disappointed in what comes out of the acid bucket ...


    Yep the above is a picture of "after"

    ...so get them blasted to get rid of all the nasty paint and deposits...


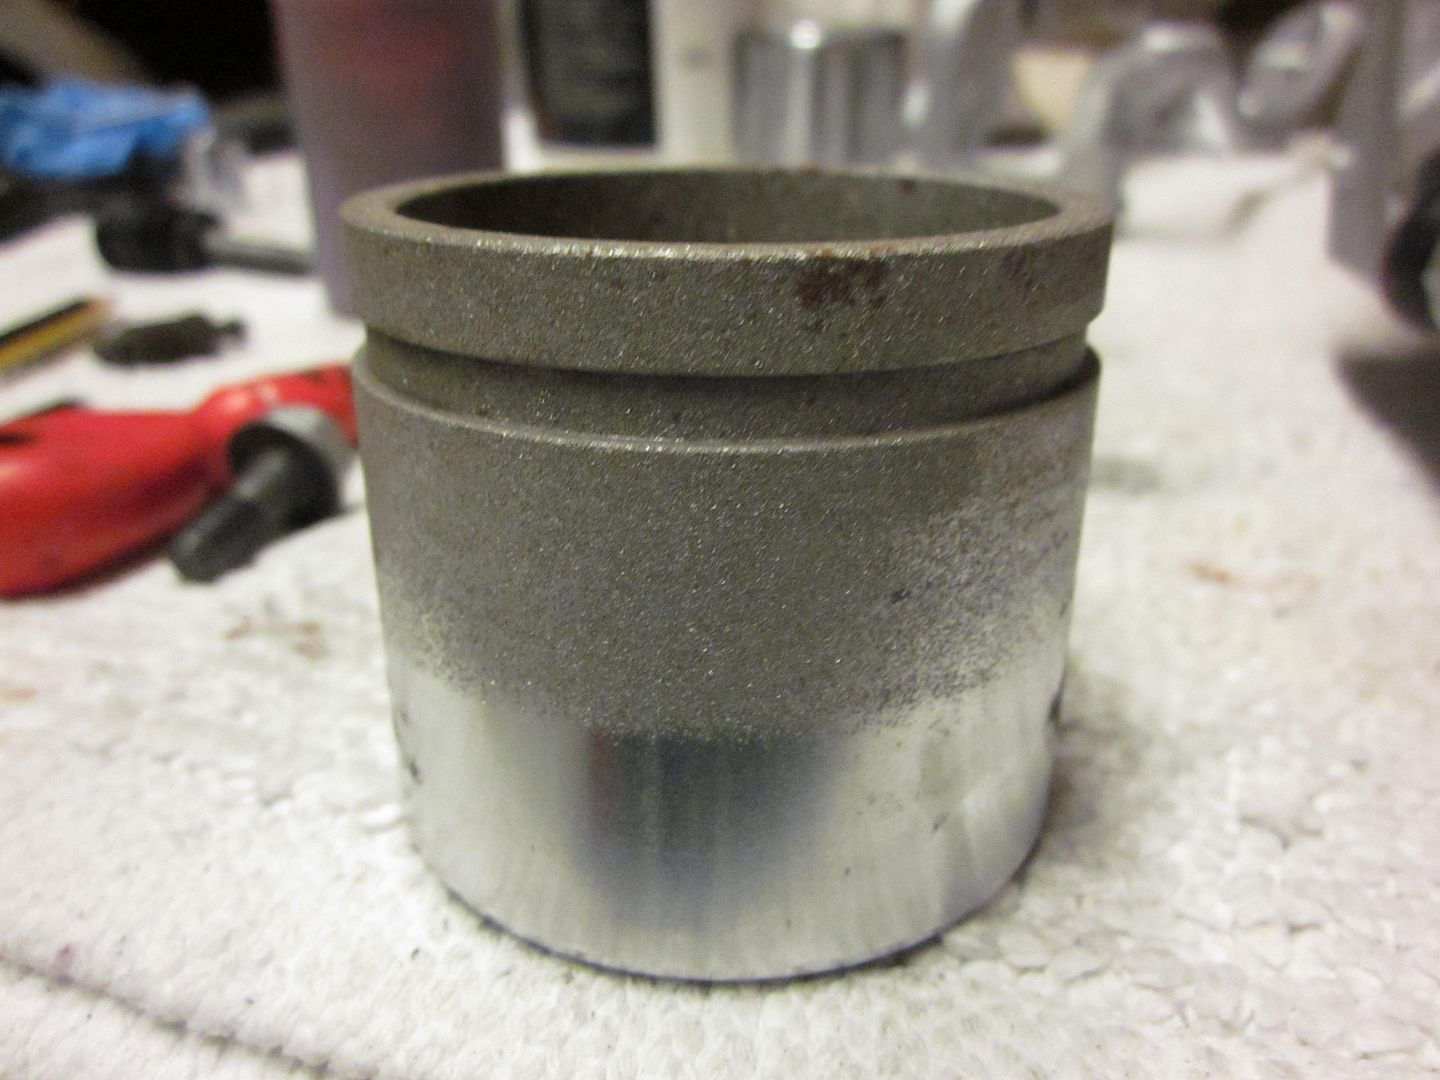
    ...forget to tell the guy who blasts them that you want to re-use the pistons


    ...so buy new ones and clean up all the pins and sliders (this only takes 5 minutes....not )


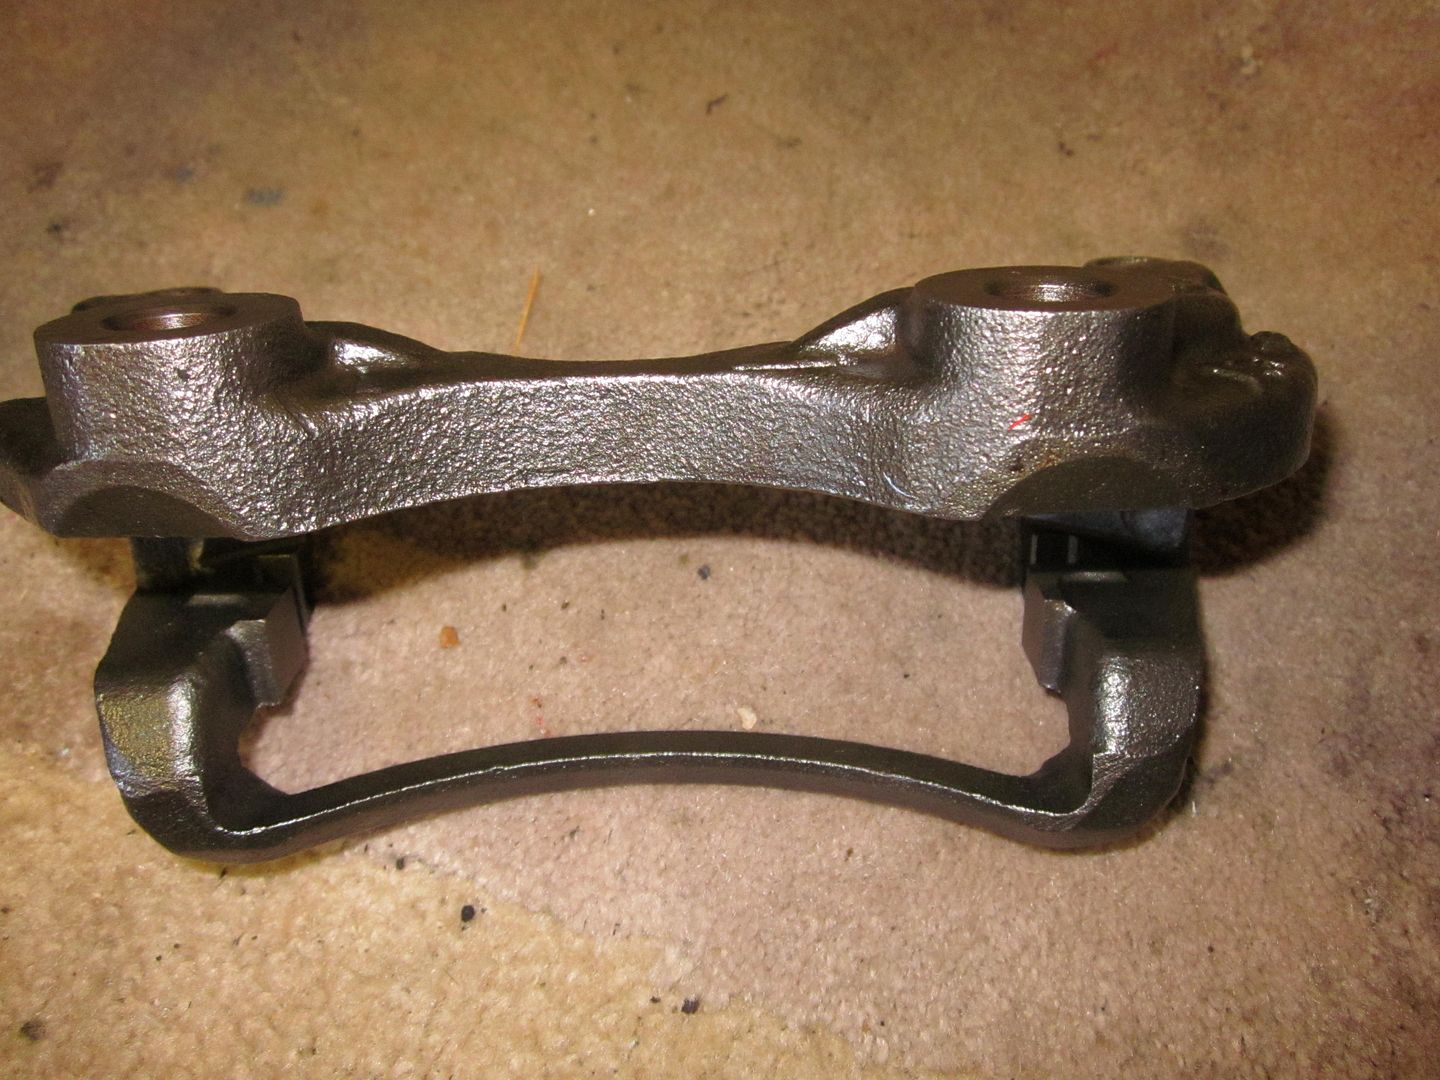
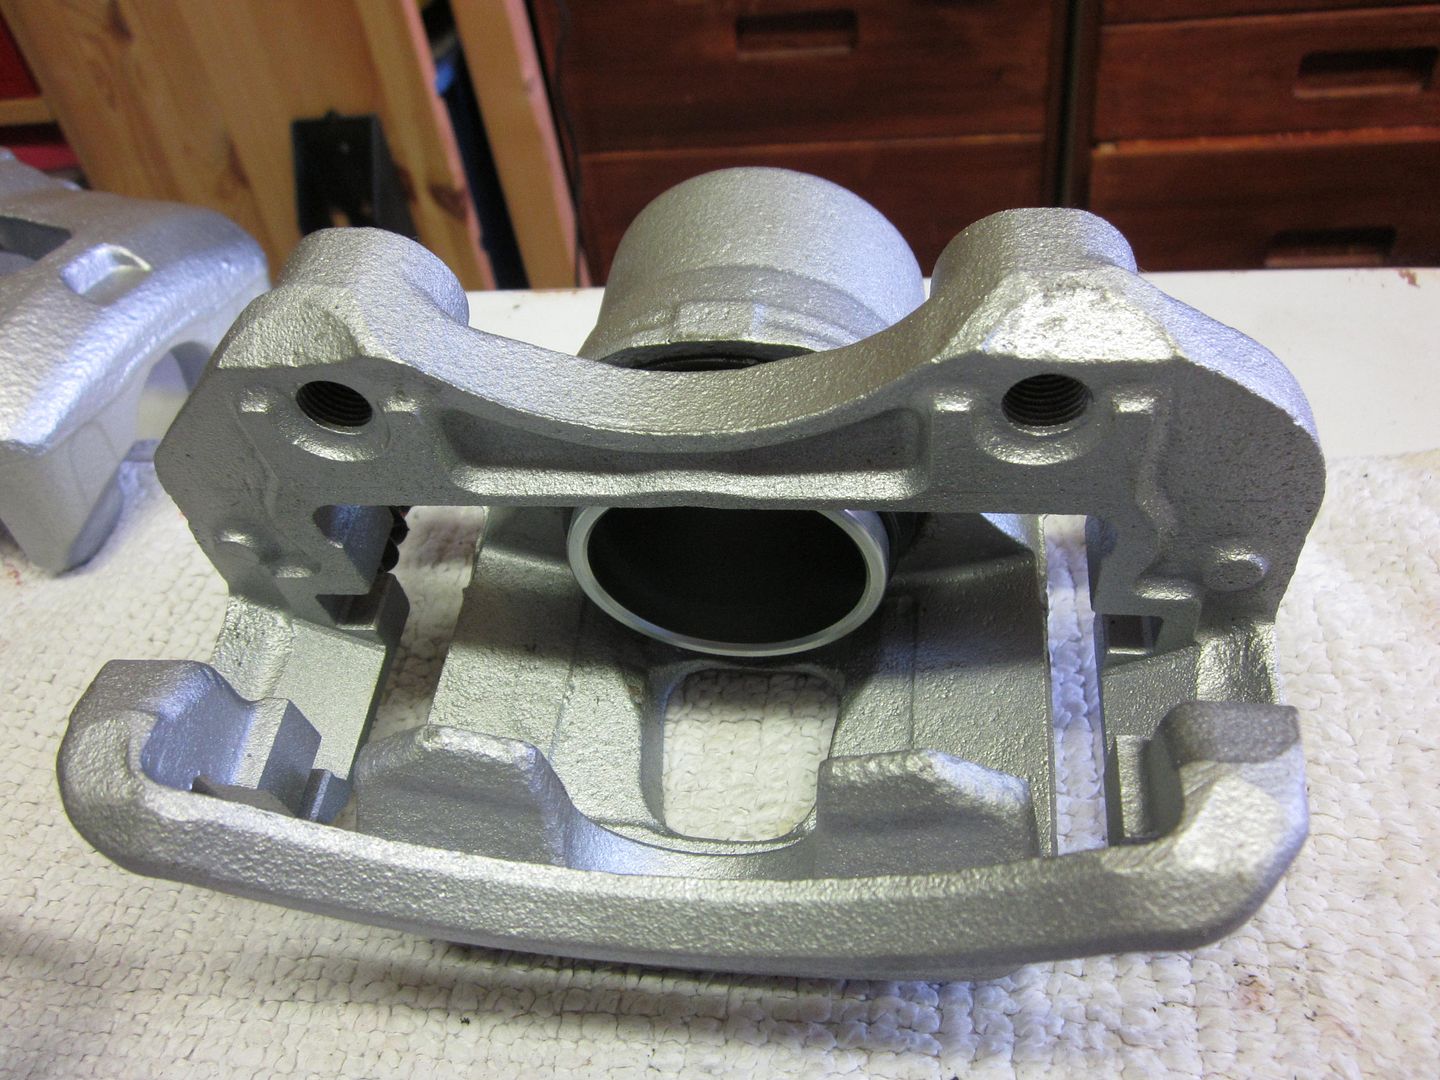
    clean up the calipers and carriers by degreasing the holes, clearing all the blast materials, and get a clean surface to paint using a wire brush. Using quality taps, clean out the threads on the bleed nipples (M10 x 1mm) and the caliper mounting bolt holes (M12 x 1.25mm) (again this is like timelapse photography here folks...)


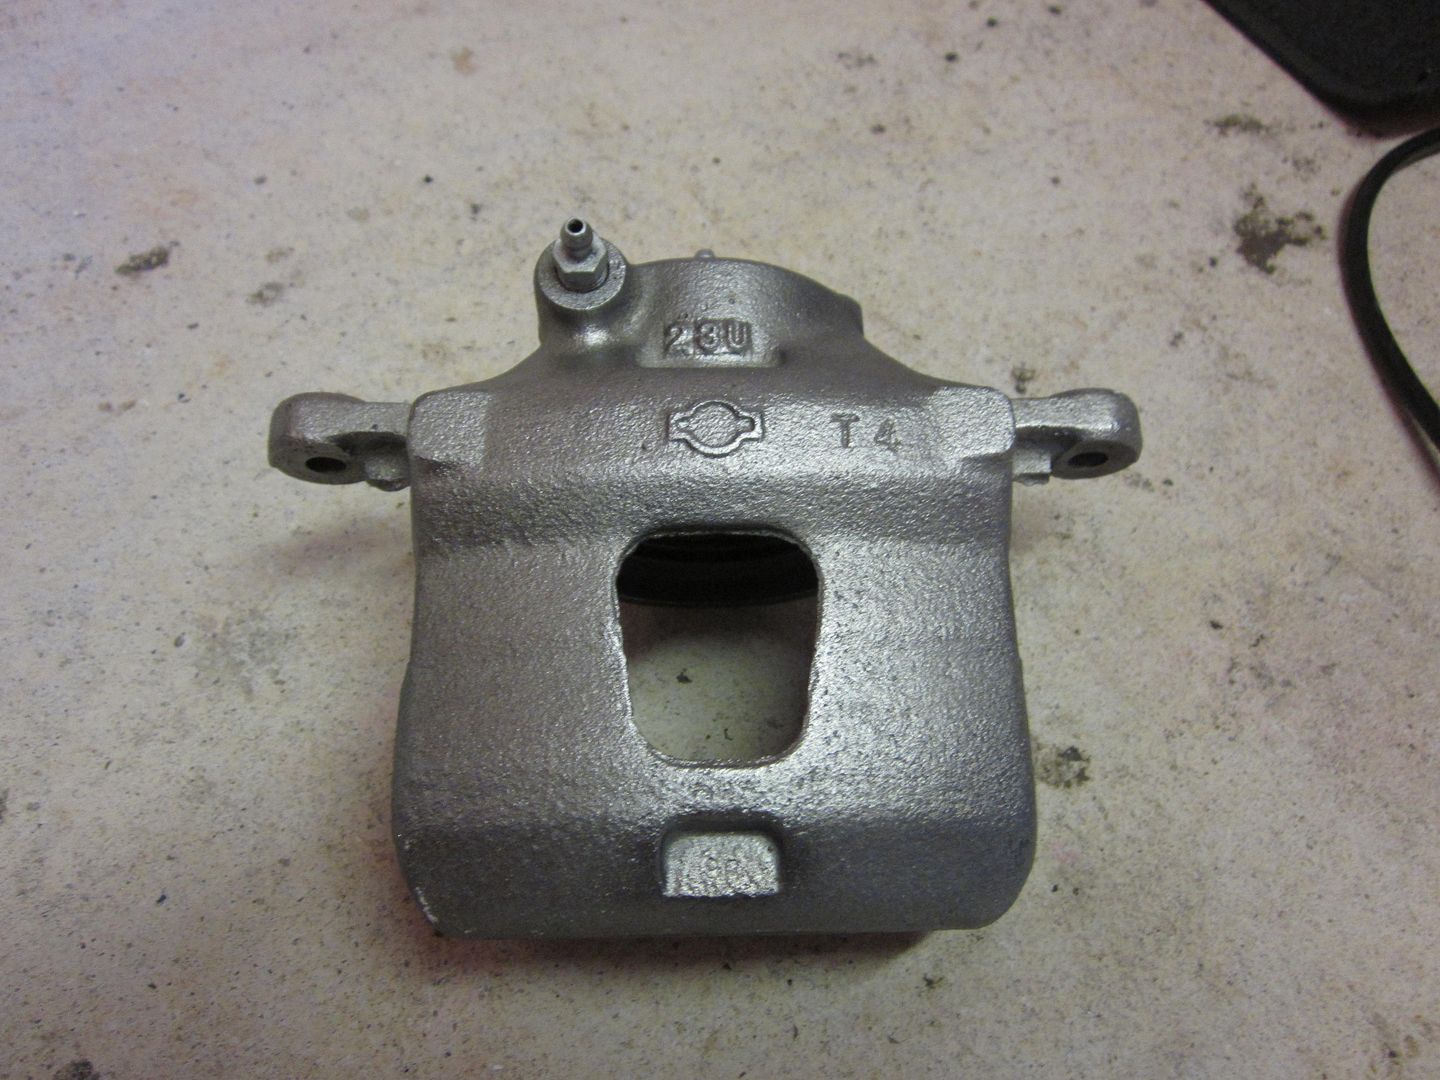
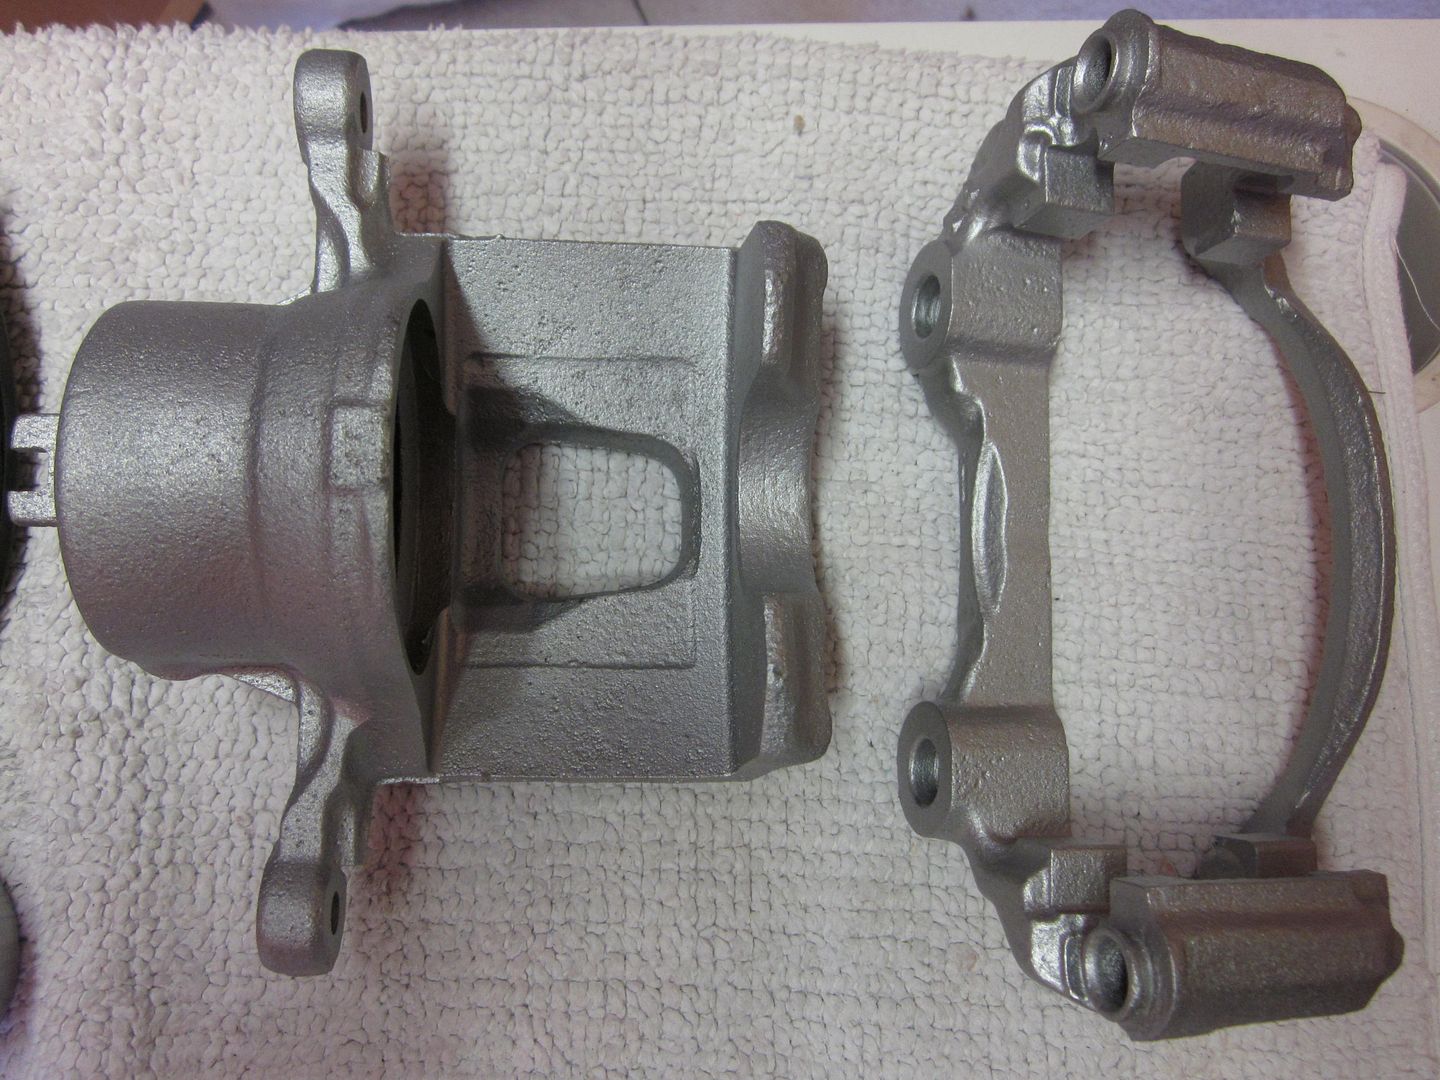
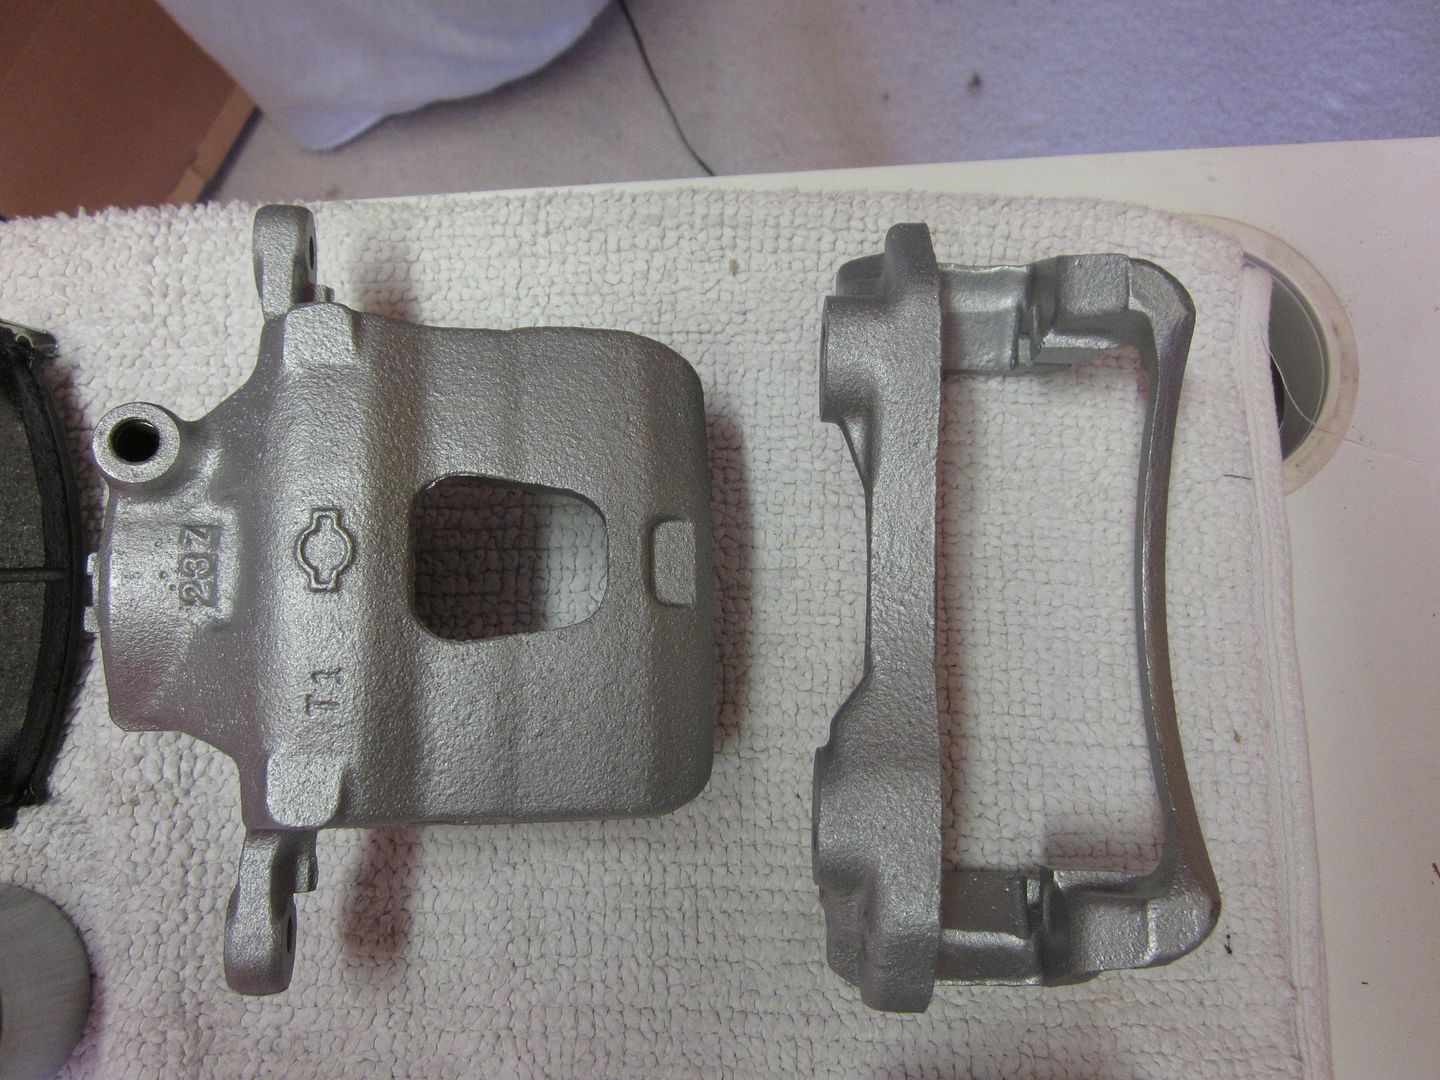
    ... paint them up...


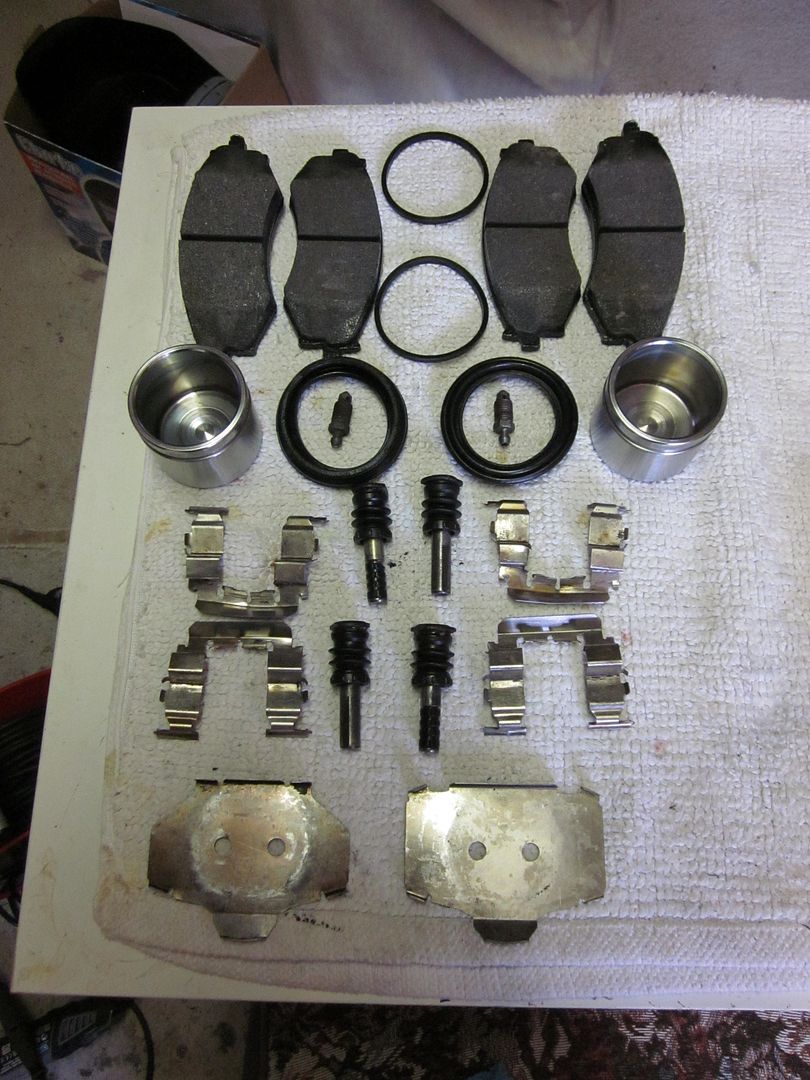
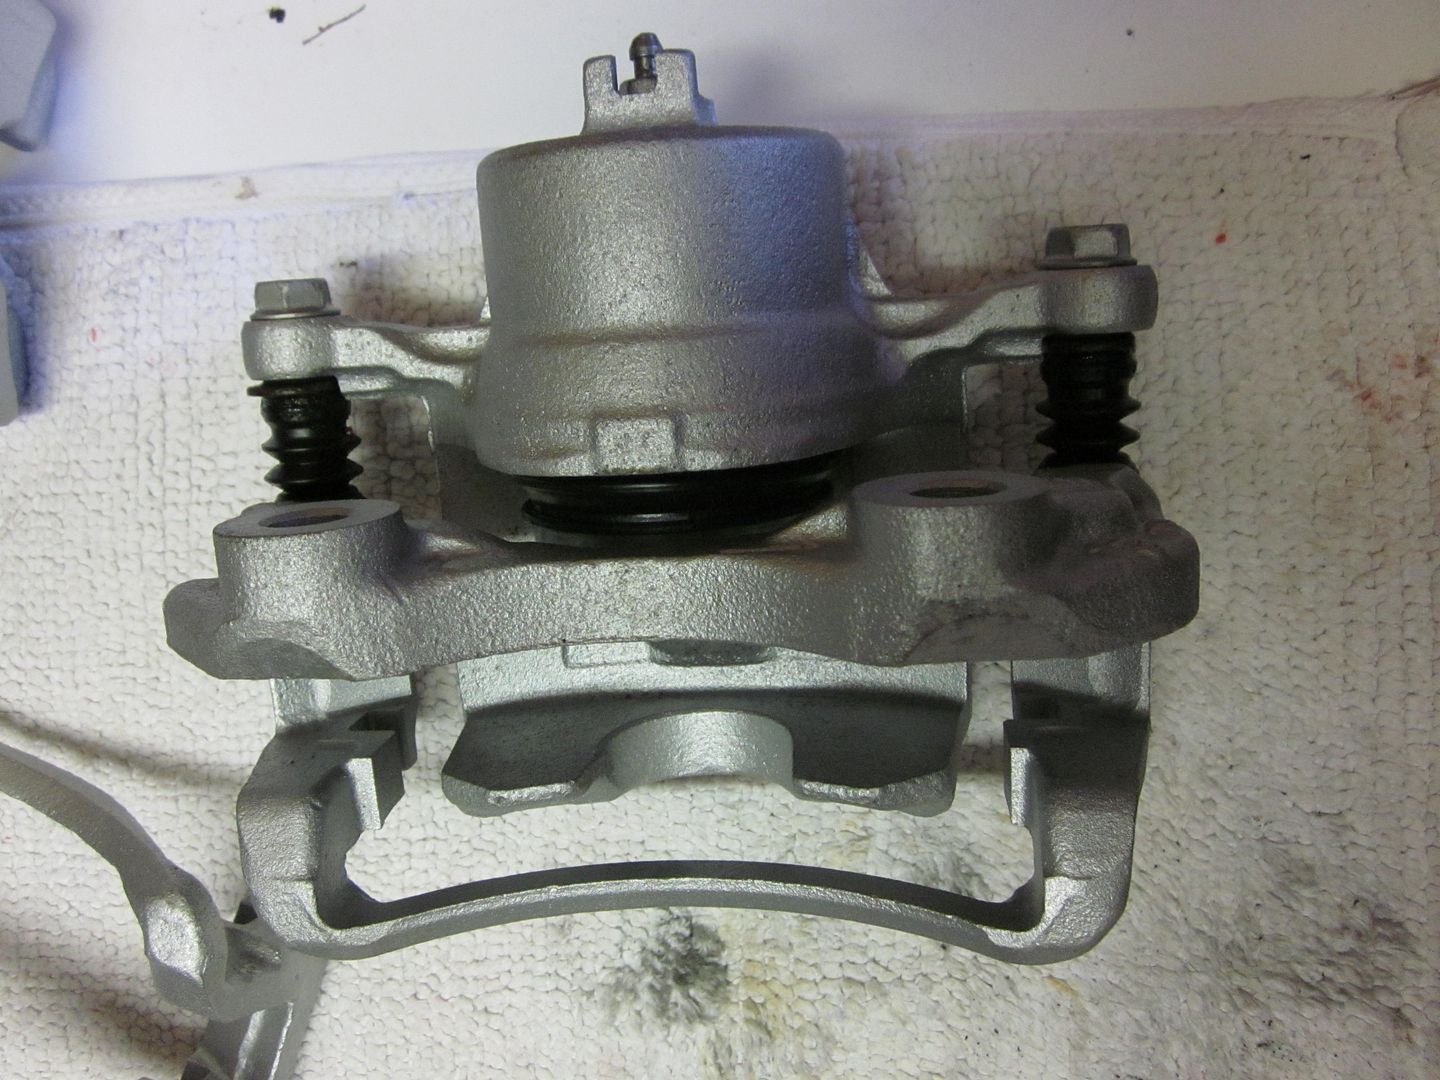
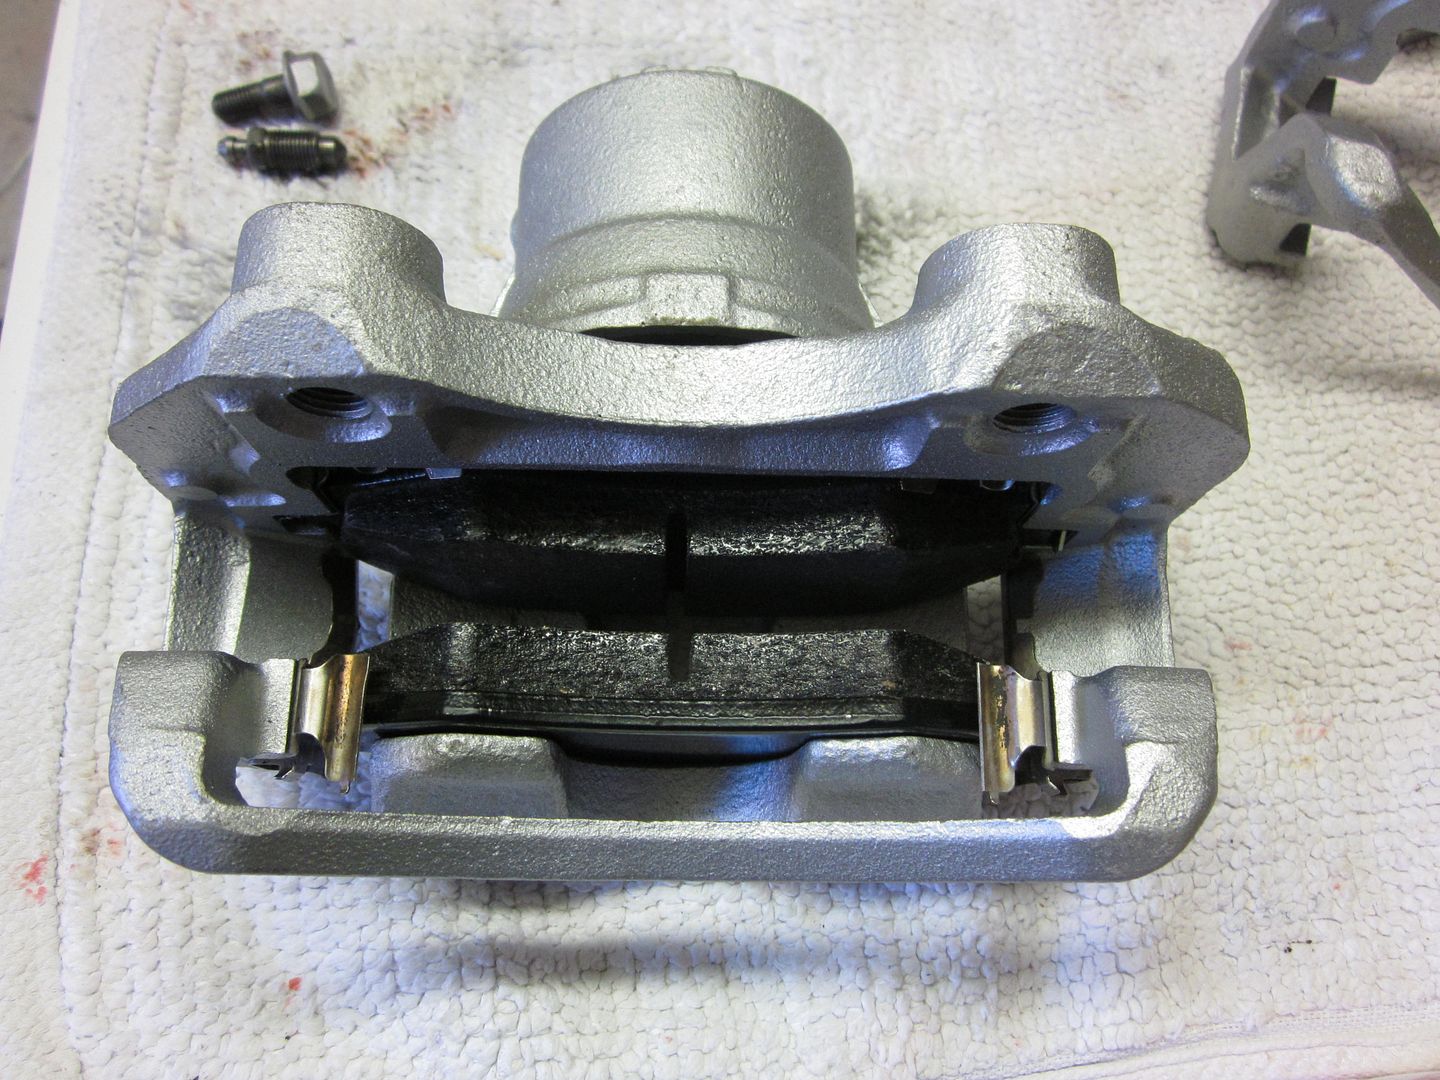
    ... buy a seal kit and wack them back together with a bit of red rubber grease and brake fluid...


    Fit the pads and shims using a smear (and only a smear) of copperslip.

    Last edited by Jonny Wilkinson; 30-01-2016 at 19:02.

  4. #4
    Guest
    Join Date
    Mar 2004
    Location
    Helston, West Cornwall
    Posts
    24,438
    Rides
    0
    Ta-da. Two minutes from when you posted Reckless. Are you impressed ?

  5. #5
    Guest R3K1355's Avatar
    Join Date
    Nov 2006
    Location
    Yorkshire
    Posts
    12,176
    Rides
    0
    Excellent work

  6. #6
    Guest
    Join Date
    Mar 2004
    Location
    Helston, West Cornwall
    Posts
    24,438
    Rides
    0
    Oh, and the bit I forgot...

    Before you put them back together, spot a Wanted thread and sell them at a loss

    Still, it all helps to keep the old Nissans on the road, eh ?

  7. #7
    Dorset & Hants Rep pointz's Avatar
    Join Date
    Sep 2009
    Location
    southampton
    Posts
    7,904
    Rides
    0
    Awesome job on them Jonny! How long did it take all in all?

    I did some z32 calipers a while back but not to that quality.

  8. #8
    Guest
    Join Date
    Mar 2004
    Location
    Helston, West Cornwall
    Posts
    24,438
    Rides
    0
    Points to note from the rebuild...

    1. Clean out the grooves and the holes for the slider pins religiously. Any debris in there will stop the seals/pins fitting properly.
    2. Lightly oil the fluid seals with brake fluid when fitting them. Coax the pistons past the seals. Do NOT force them as you can damage the seals leading to fluid leaks past the seals.
    3. The dust seals are a pig to fit. The manual suggests that you slide the seal over the piston first then fit the seal to the caliper then push the piston past the fluid seal then fit the seal into the groove in the piston. Whichever way you do it, its a twat !
    4. Check that the bolt that hold the sliding pin to the carrier is not bent. If the pin is forced then the bolt will bend rather than the pin. If its bent, replace it.
    5. Many S13 calipers have one slider pin with a rubber bush set into a recess in the end of the pin and one without. The one with the bush, goes in the higher of the two holes.
    6. When refitting the calipers, make sure the bleed nipple is at the top of the caliper, not the bottom as otherwise, it won't bleed up. If its at the bottom, you're fitting it to the wrong side
    7. Use red rubber grease for any lubrication that involves rubber. Regular grease or moly/high temp grease will attack the rubber and cause it to expand.
    8. If two parts touch, both are metal and they don't move in the normal course of events but you do want to be able to get them apart, then use copperslip/coppergrease. It is an anti-seizing compound NOT a lubricant. It wears moving parts out very quickly because it contains metal (copper).
    9. Regards, 7 and 8 above, if it says in the manual to use [R} use red rubber grease. If it says [P], use coppergrease.

  9. #9
    Guest
    Join Date
    Mar 2004
    Location
    Helston, West Cornwall
    Posts
    24,438
    Rides
    0
    Quote Originally Posted by pointz View Post
    Awesome job on them Jonny! How long did it take all in all?

    I did some z32 calipers a while back but not to that quality.
    I wasn't counting but probably the cost was

    Seals £25
    Pistons £30
    Blasting £10 (I got them done with some other stuff)
    Paint £22
    Grease £3
    Original Calipers £20
    Pads £40
    Nipples £8

    So about £158 for parts.

    Time....probably 15-20 hours including stripping, taking to the blasters, cleaning, painting, rebuilding and hunting for spares.

    I just sold them for £80 delivered Really glad you made me add that up, Rich
    Last edited by Jonny Wilkinson; 07-02-2016 at 18:53. Reason: Forgot the nipples (phnarr)

  10. #10
    Guest
    Join Date
    Jun 2012
    Location
    NW, England
    Posts
    1,761
    Rides
    0
    Good thread, I would have thought though that it should have been obvious to the blaster that you wanted to use the pistons.

  11. #11
    Guest
    Join Date
    Feb 2004
    Location
    Burton on Trent
    Posts
    11,209
    Rides
    0
    How did you clean up the bore, it's showing clear rust so should have been pitted?

  12. #12
    Guest
    Join Date
    Mar 2004
    Location
    Helston, West Cornwall
    Posts
    24,438
    Rides
    0
    It was surface rust and looked worse than it was. The piston doesn't touch the cylinder in any case. It rides on the seal. That's why the piston is chromed and the barrel isn't.

    Sent from my XT1032 using Tapatalk

  13. #13
    Guest R3K1355's Avatar
    Join Date
    Nov 2006
    Location
    Yorkshire
    Posts
    12,176
    Rides
    0
    So you can get away with slightly smeggy bores so long as the piston and seal are tidy?

    good to know

  14. #14
    Guest
    Join Date
    Mar 2004
    Location
    Helston, West Cornwall
    Posts
    24,438
    Rides
    0
    Quote Originally Posted by R3K1355 View Post
    So you can get away with slightly smeggy bores so long as the piston and seal are tidy?

    good to know
    I wouldn't say smeggy. The bores need to be clean so that it doesn't contaminate the fluid but the bore is just there to keep the fluid in as far as I am aware.

    Its not like the engine cylinders where there are metal rings running up and down it so it needs to be smooth.

    Happy to be corrected by anyone with more expertise than me though.

    I just cleaned it up with the acid bath then a dremel and wirebrush and it came up spotless. I don't expect it to corrode again if its kept covered with clean (non-hydroscopic) fluid.

  15. #15
    Guest
    Join Date
    Feb 2004
    Location
    Burton on Trent
    Posts
    11,209
    Rides
    0
    Quote Originally Posted by Jonny Wilkinson View Post
    I wouldn't say smeggy. The bores need to be clean so that it doesn't contaminate the fluid but the bore is just there to keep the fluid in as far as I am aware.

    Its not like the engine cylinders where there are metal rings running up and down it so it needs to be smooth.

    Happy to be corrected by anyone with more expertise than me though.

    I just cleaned it up with the acid bath then a dremel and wirebrush and it came up spotless. I don't expect it to corrode again if its kept covered with clean (non-hydroscopic) fluid.
    I suppose it depends on how well or slack the pads fit the calliper mount bracket. If they move they will drag the piston with them.

    Corrosion depends on how much water the brake fluid absorbs.

  16. #16
    Guest
    Join Date
    Mar 2004
    Location
    Helston, West Cornwall
    Posts
    24,438
    Rides
    0
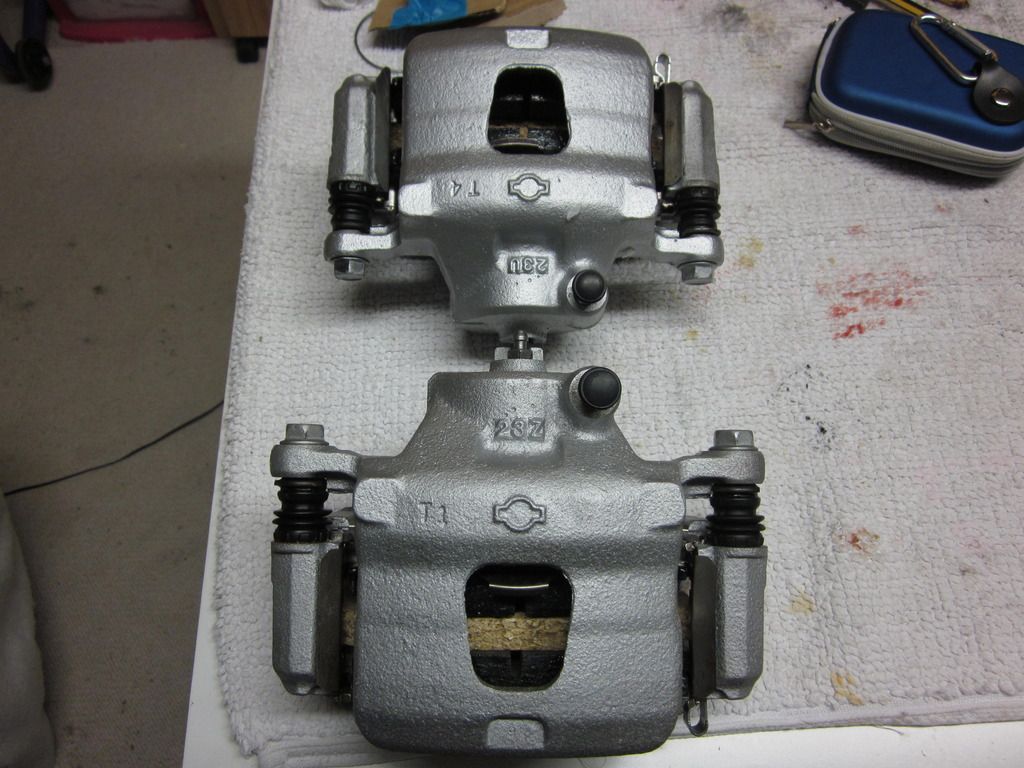
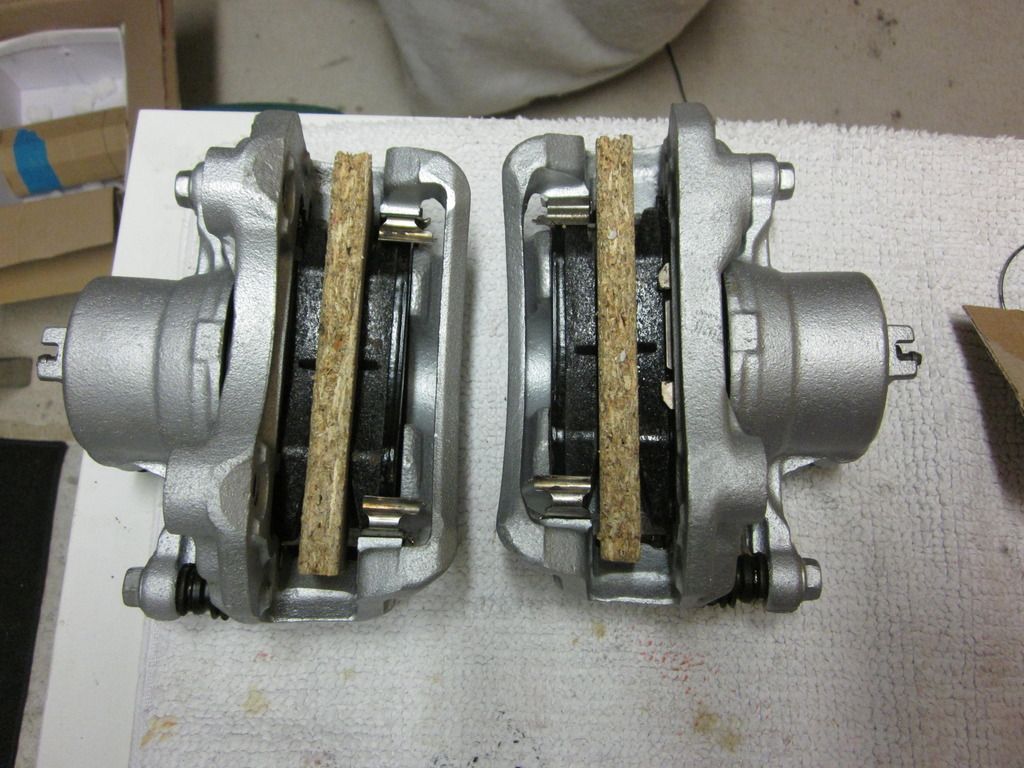
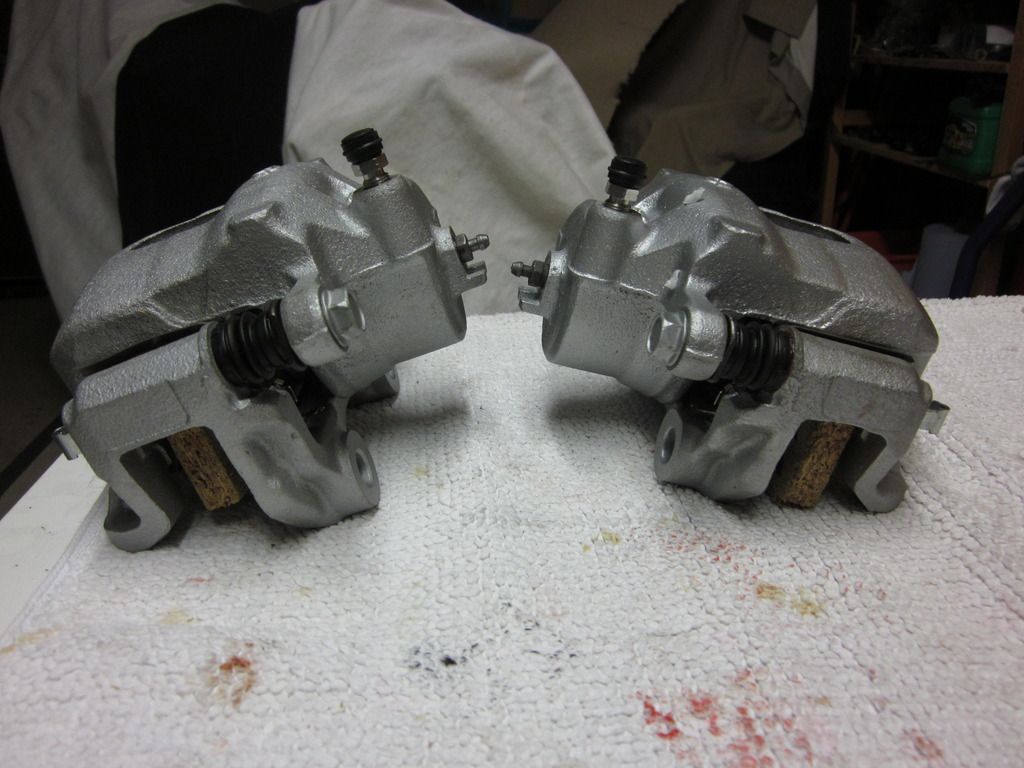
    Finished making these up this weekend. Here's a few pictures of them finished. Quite pleased with them.


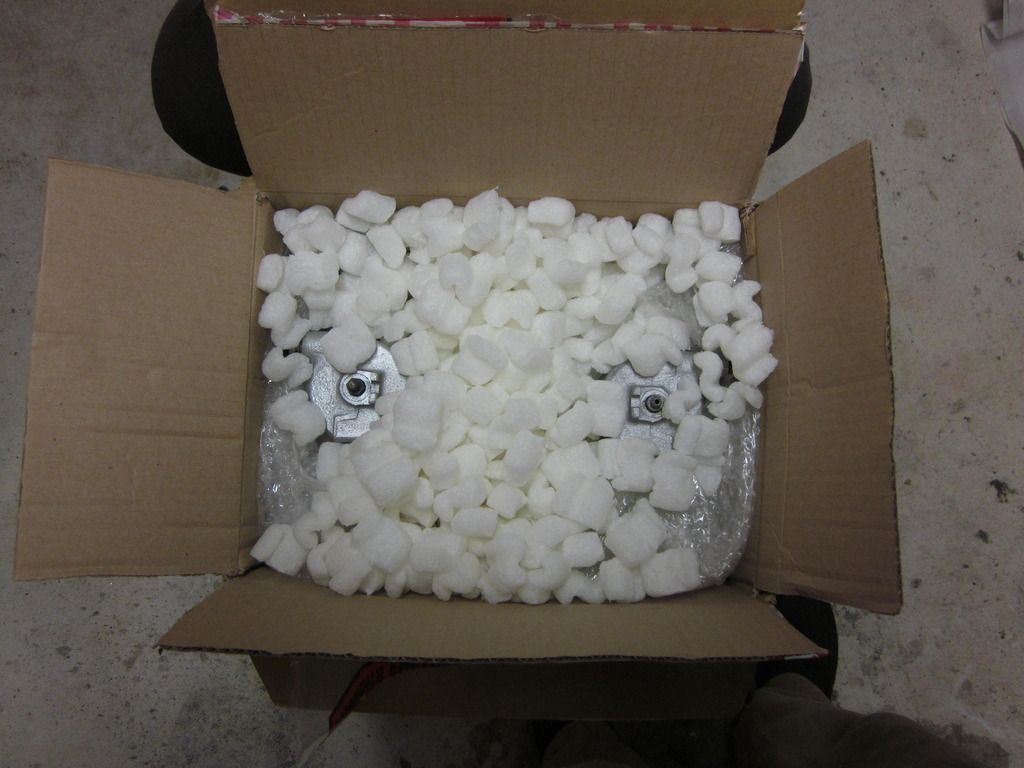
    ...and all boxed up ready to send out...


  17. #17
    Guest
    Join Date
    Jun 2012
    Location
    NW, England
    Posts
    1,761
    Rides
    0
    They look like new.

  18. #18
    Guest
    Join Date
    Mar 2004
    Location
    Helston, West Cornwall
    Posts
    24,438
    Rides
    0
    Apart from the caliper bodies and the carriers, they are

  19. #19
    Guest Sheepie's Avatar
    Join Date
    May 2007
    Location
    Glasgow
    Posts
    1,317
    Rides
    0
    Just seen this having issues with tapatalk on phone

    Sent from my GT-I9505 using Tapatalk

  20. #20
    Guest
    Join Date
    Mar 2004
    Location
    Helston, West Cornwall
    Posts
    24,438
    Rides
    0
    No worries.

    Sent from my XT1032 using Tapatalk

Posting Permissions

  • You may not post new threads
  • You may not post replies
  • You may not post attachments
  • You may not edit your posts
  •