After much searching I found the existing S13 starter motor threads a bit lacking (especially in pics) and since I found an easier way of attacking the top bolt I thought I'd share it, along with how to solve the sticky solenoid issue.
This isn't supposed to be a full guide but you should start by disconnecting the battery, removing the Y-shaped bracket under the intake, and disconnecting the rubbed-covered cable and spade connector from the motor.
I jacked up the front-right of the car nice and high (using two jacks and two axle-stands because I'm always nervous climbing underneath cars!). With the wheel removed I slid under the car from the side, level with the back of the wheel arch. If you duck your head just under the chassis rail and look up towards the back of the engine you can just see the head of the upper bolt over the horizon of the gearbox.
The lower bolt is straighforward (it has a bracket supporting two black cables) but you should leave it in and do the top bolt first. It will help support the weight of the motor and make spinning the top bolt easier.
I managed to get a flat 14mm spanner on the upper bolt but it was so awkward and the bolt wasn't budging so I quickly switched to plan B:
Note the black impact socket... Regular sockets are absolutely useless on tight bolts/nuts, always trying to slip off or round the heads.
The 14mm socket, flexi-joint and 10" extension fit nicely into the gap between the gearbox and body and let you apply some welly from below:
Make sure you don't trap any cables/tubes or damage the reverse gear sensor/wire:
Even with a decent ratchet my bolt still wouldn't budge so I grabbed my trusty electric impact gun. Once cracked you should be able to just spin the extention by hand. After a few turns take the socket off and use your fingers otherwise the socket will jam against the bulkhead. With the difficult top bolt out you can then support the heavy motor and remove the easier lower bolt.
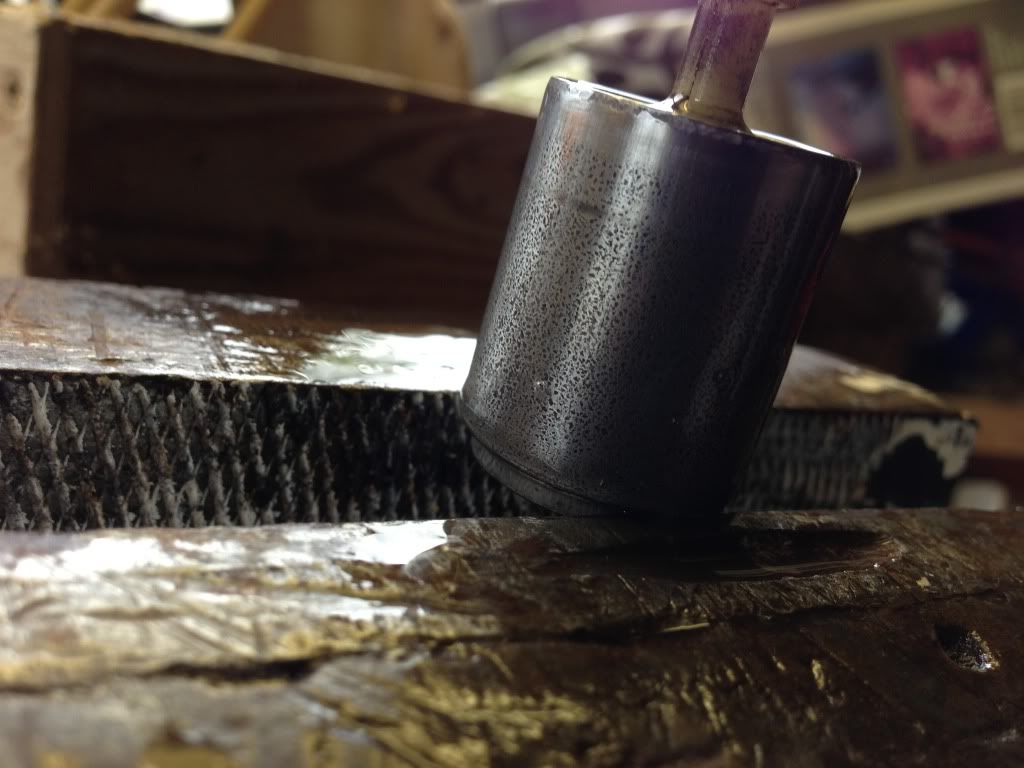
I completely stripped and cleaned my starter (following the workshop manual) and it was obvious why the solenoids stick... When the motor isn't engaged the plunger sits 7/8mm out of it's cylinder and because it's not a tight fit it rattles against the edge, creating a groove. Once the groove gets deep enough the plunger hooks onto the edge of the cylinder and can't be sucked in by the magnetic field... This is what you're unsticking when you whack a dead starter back into life
This pic is after I polished my plunger and the groove is still visible. I could have polished it out completely but I didn't want to take away too much metal and it was already smooth to the touch. When re-assembling I covered the plunger and cylinder in grease to help avoid rattling/sticking.
End result is my starter now works and even sounds like new! Not bad for a zero-cost fix taking only a few hoursThe motor brushes and solenoid will eventually need replacing but I've hopefully extended it's life for a few more years until a professional refurb is needed.
Here's a video showing the rebuild of a very similar Mitsubishi starter if you're nervous about taking it apart... There really aren't that many moving parts


 Reply With Quote